There have recently been some excellent new releases of Narrow Gauge items most notably the Double Fairlie from Bachmann and this has prompted me to try my hand at building a new layout in this gauge. It is something I have never worked with before so let’s hope that I can cope with the small scale of some of the models.

Here is a photo of the item which triggered my interest, The Bachmann Double Fairlie Loco.
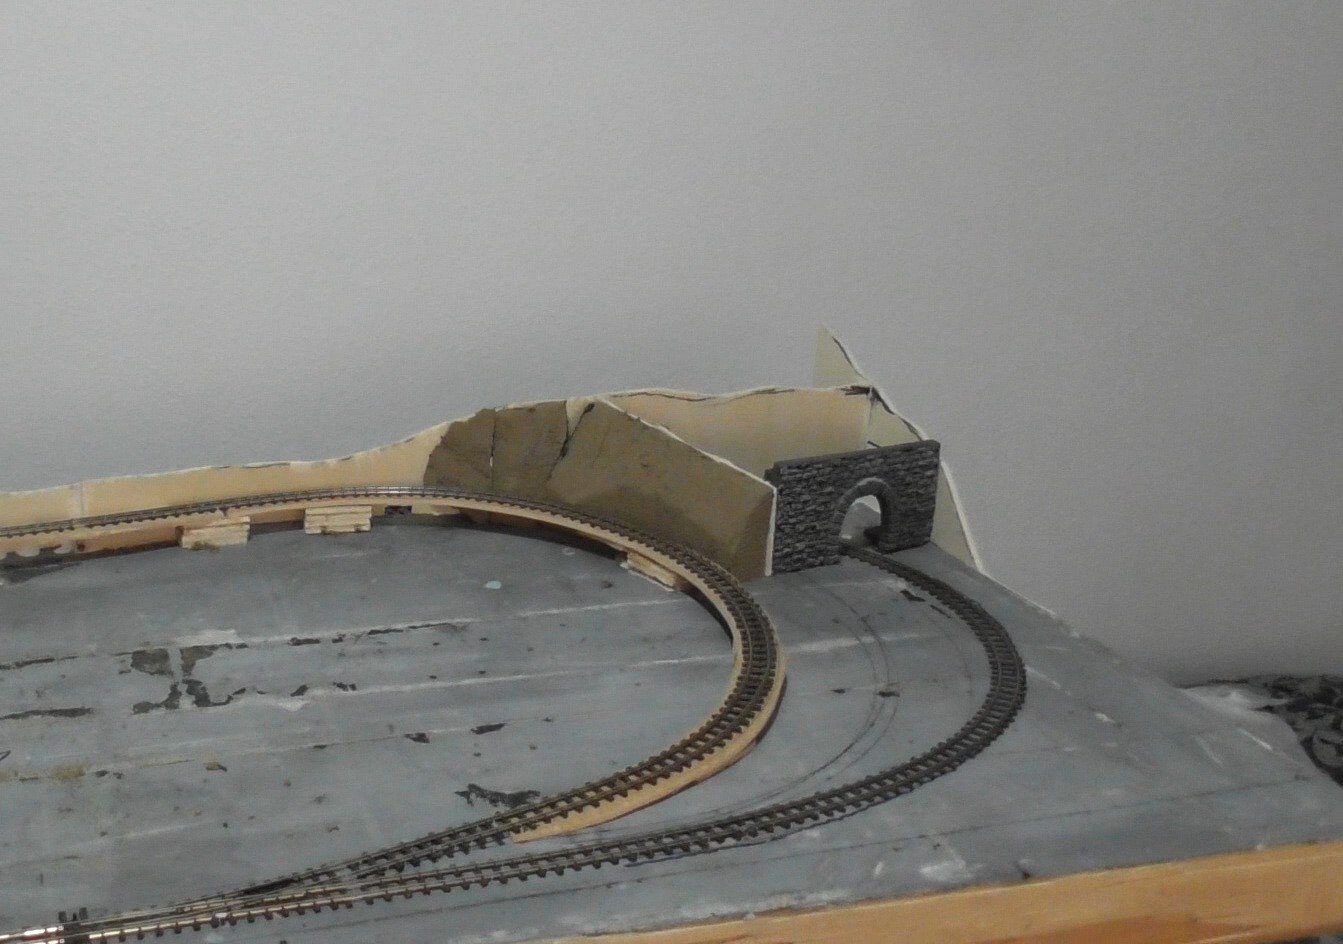
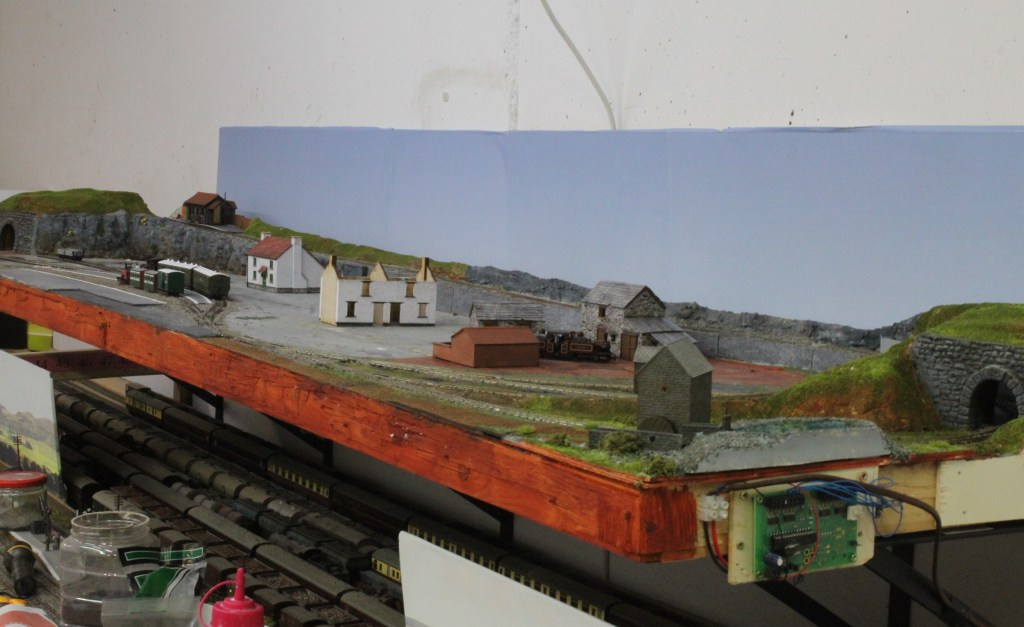
And shown below is a rough drawing of what I am trying to achieve in a space approximately 240by 60cms. As is obvious from the sketch I don’t go into great detail with my plans, I just try to get an idea of what is possible in the space and then tweak it as I go along. The back of the layout has already been modified to provide a couple of storage loops so that you will get different trains entering and exiting the tunnel section.

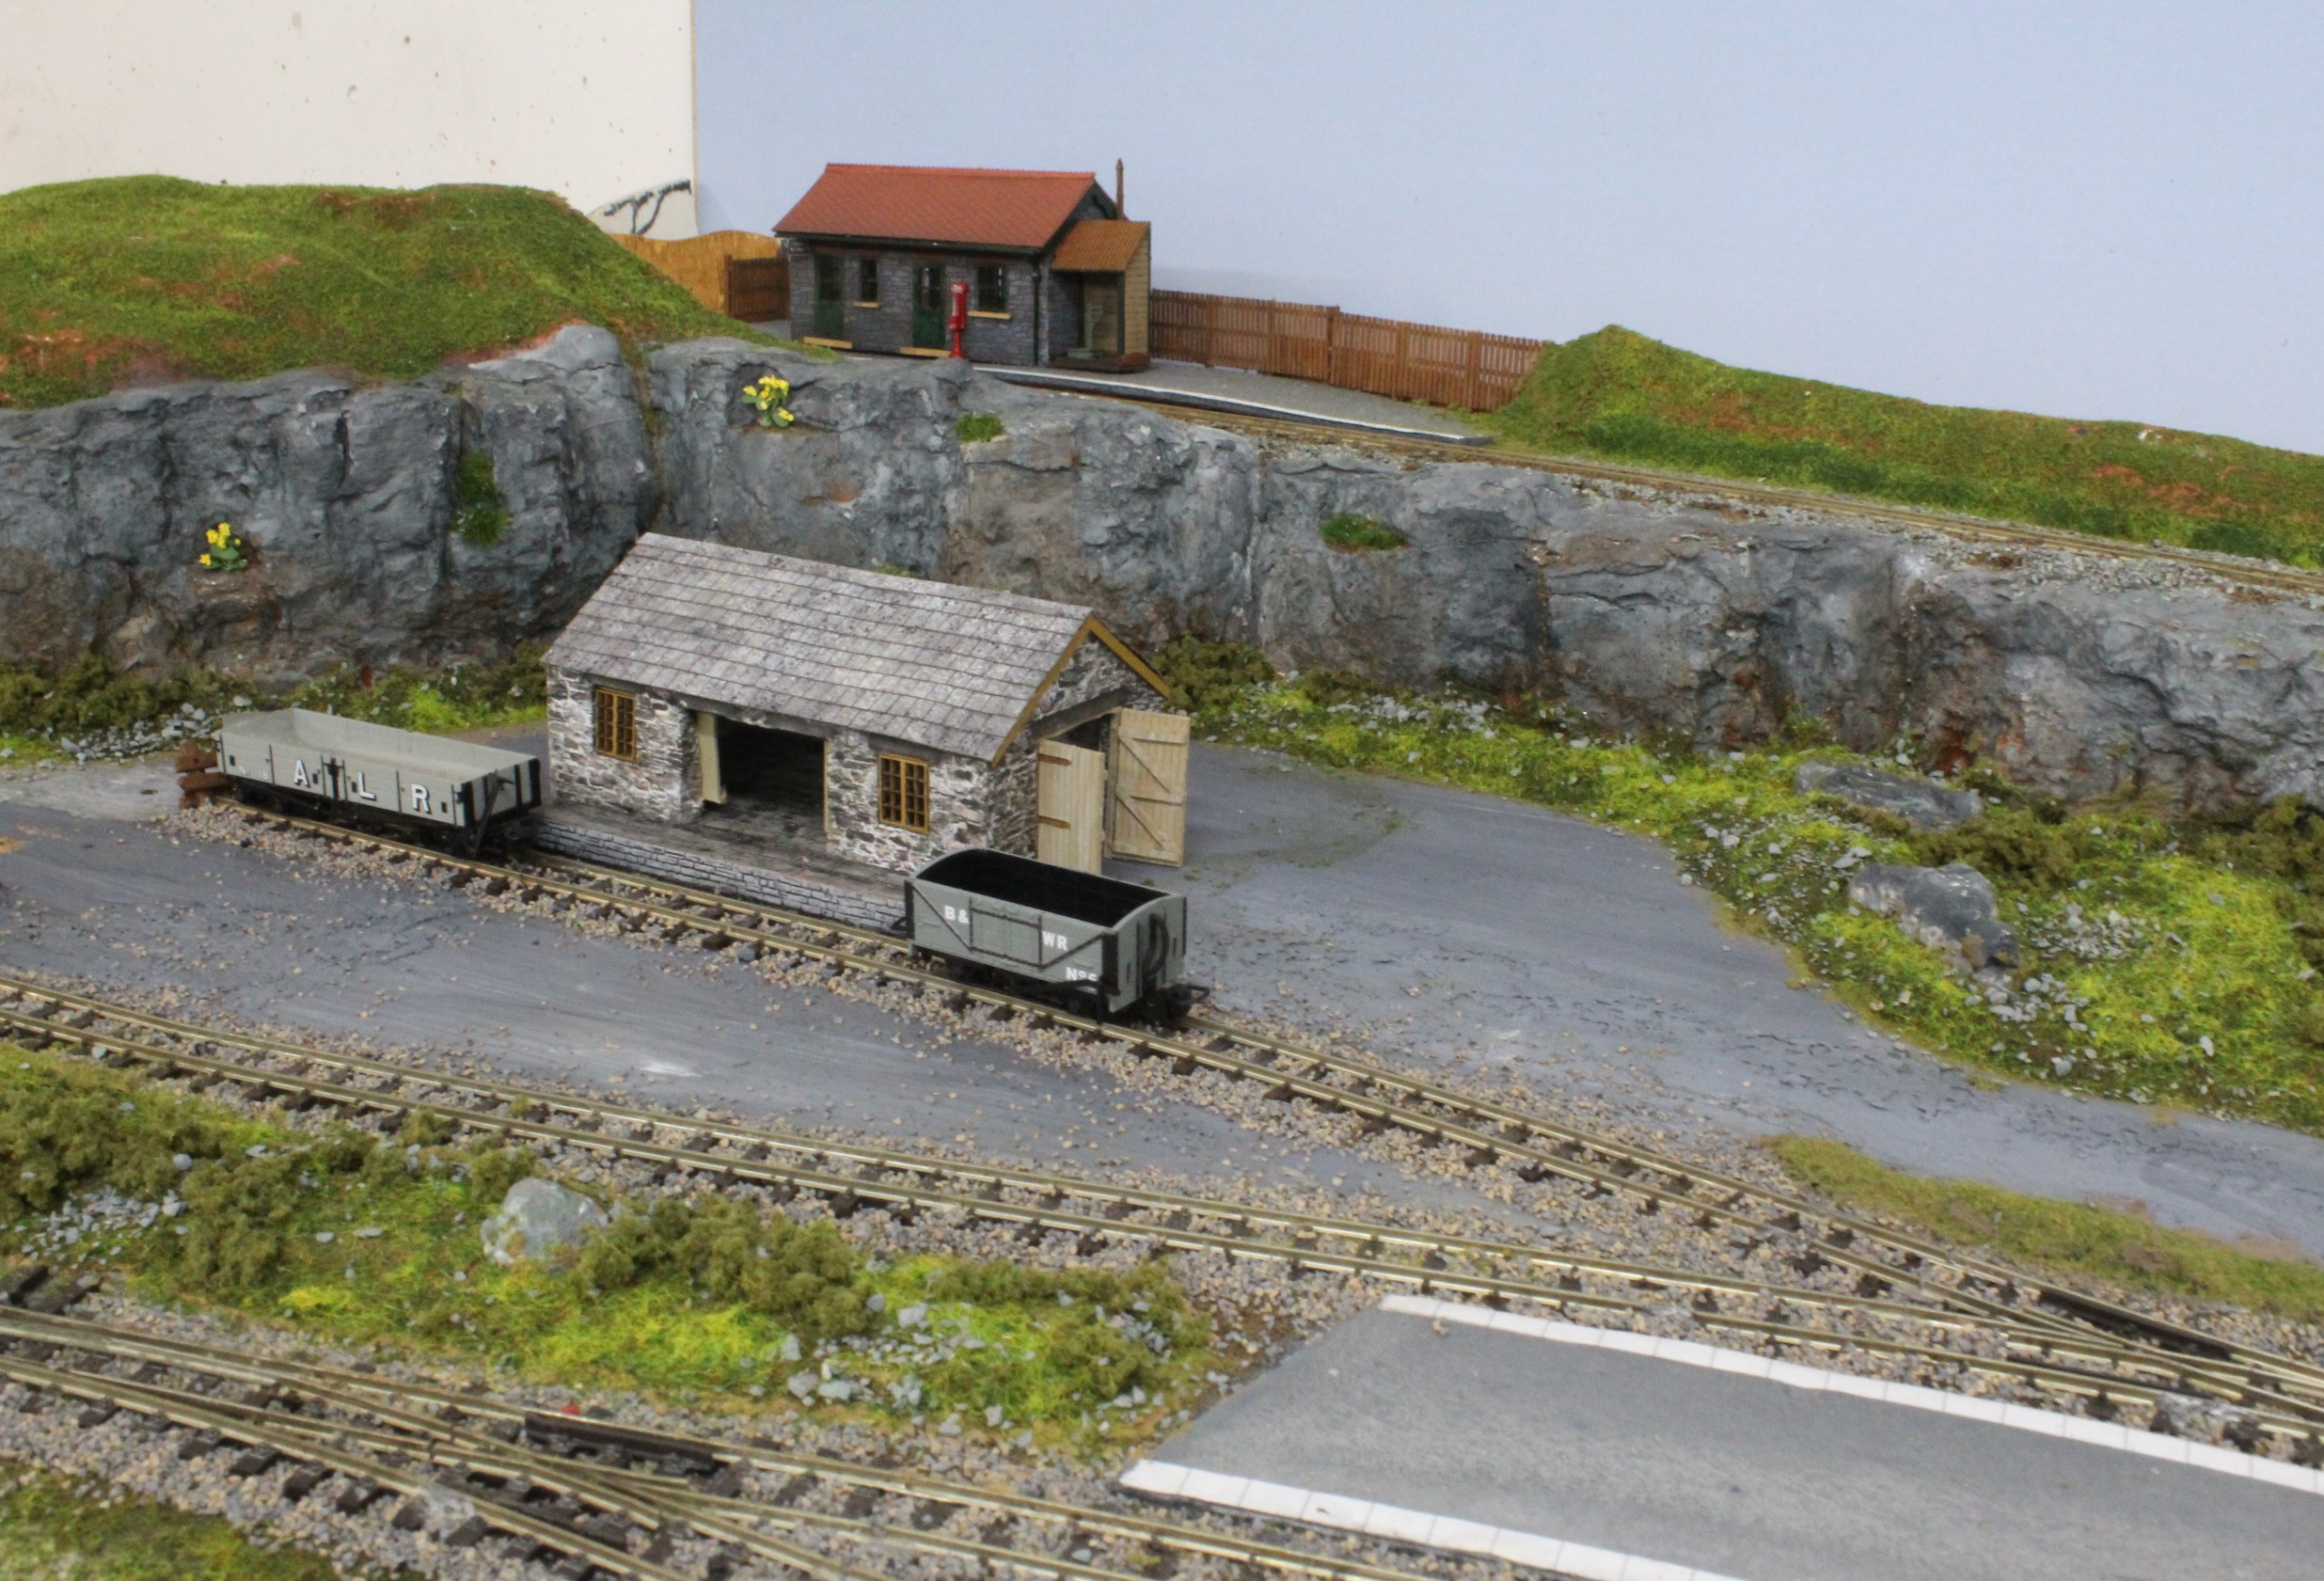
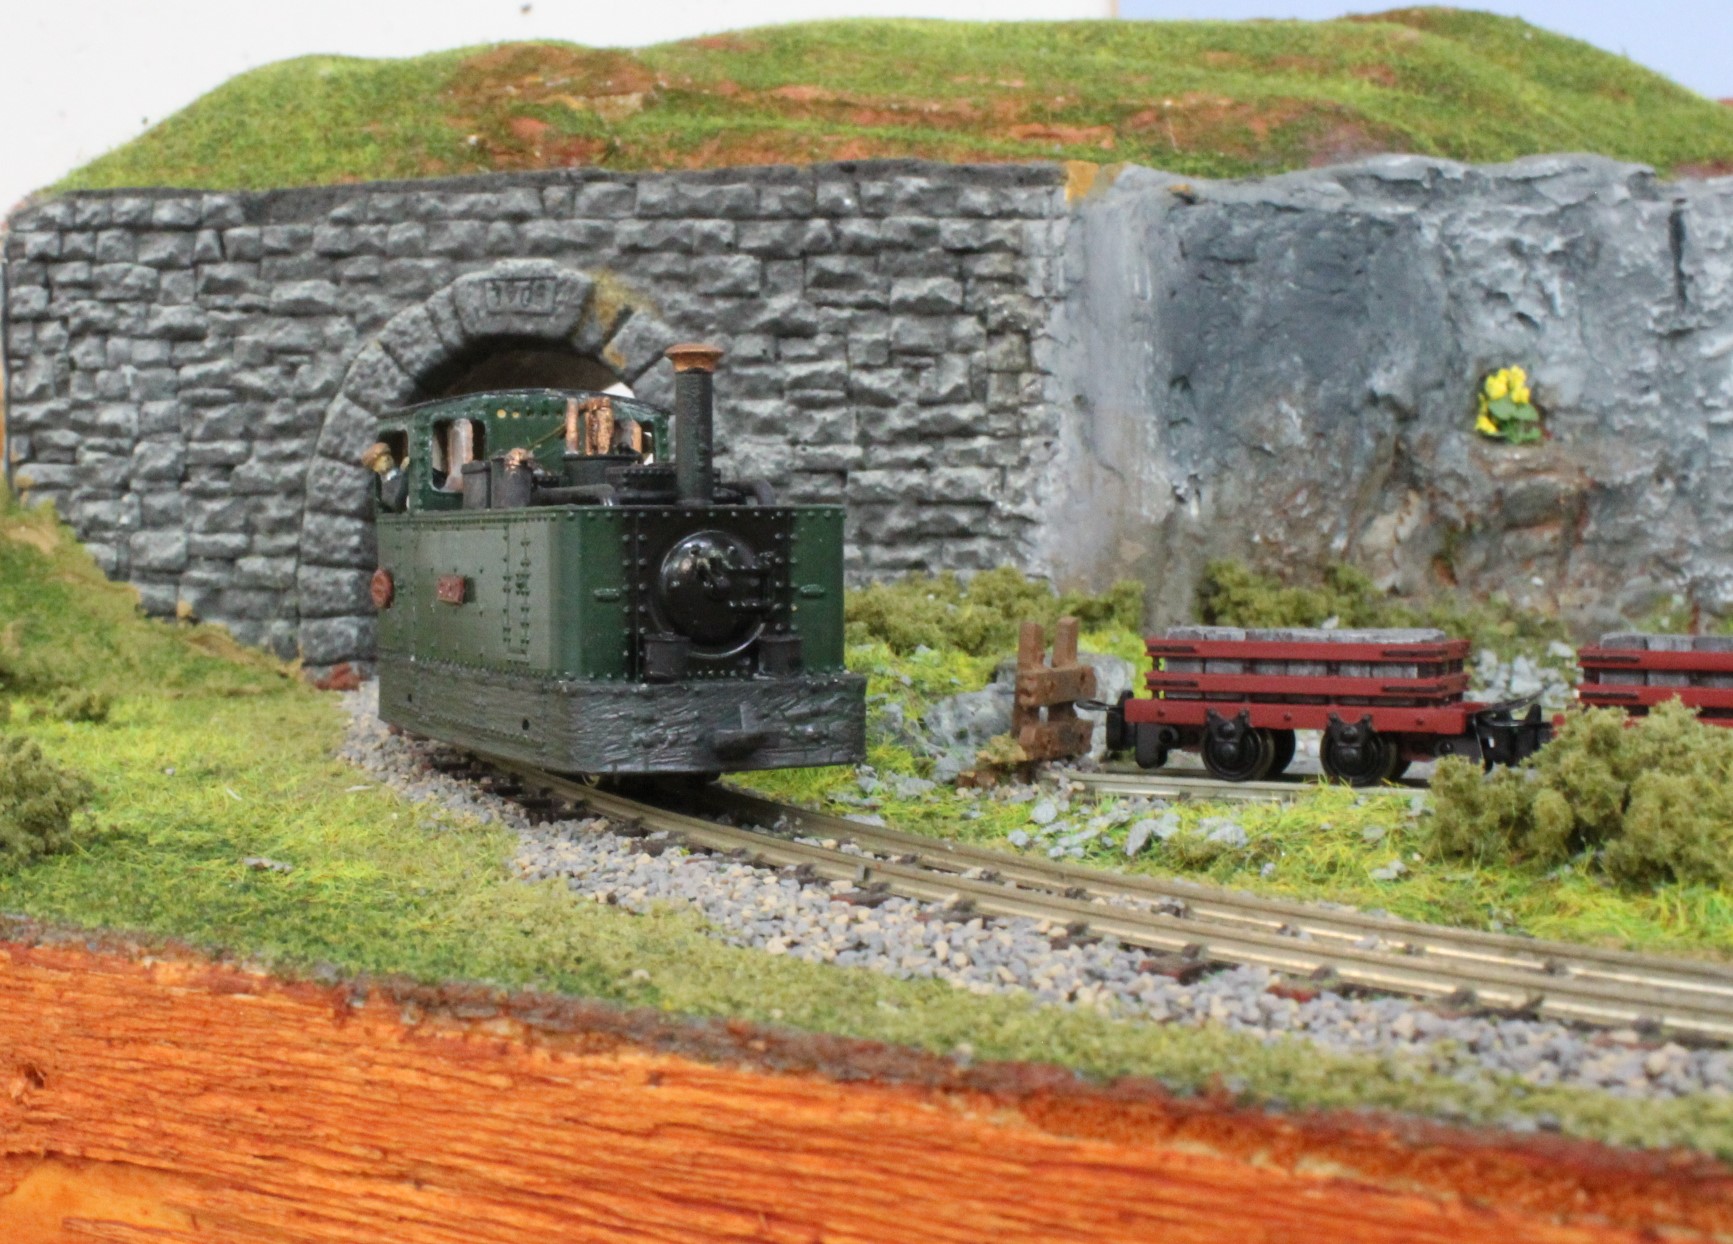
This is intended to be the central board of three and is the only one that will provide a continuous running loop, to the left the second board will feature a climb to a Slate Quarry and on the right the line will drop down to a Station in the Port with fishing quay.

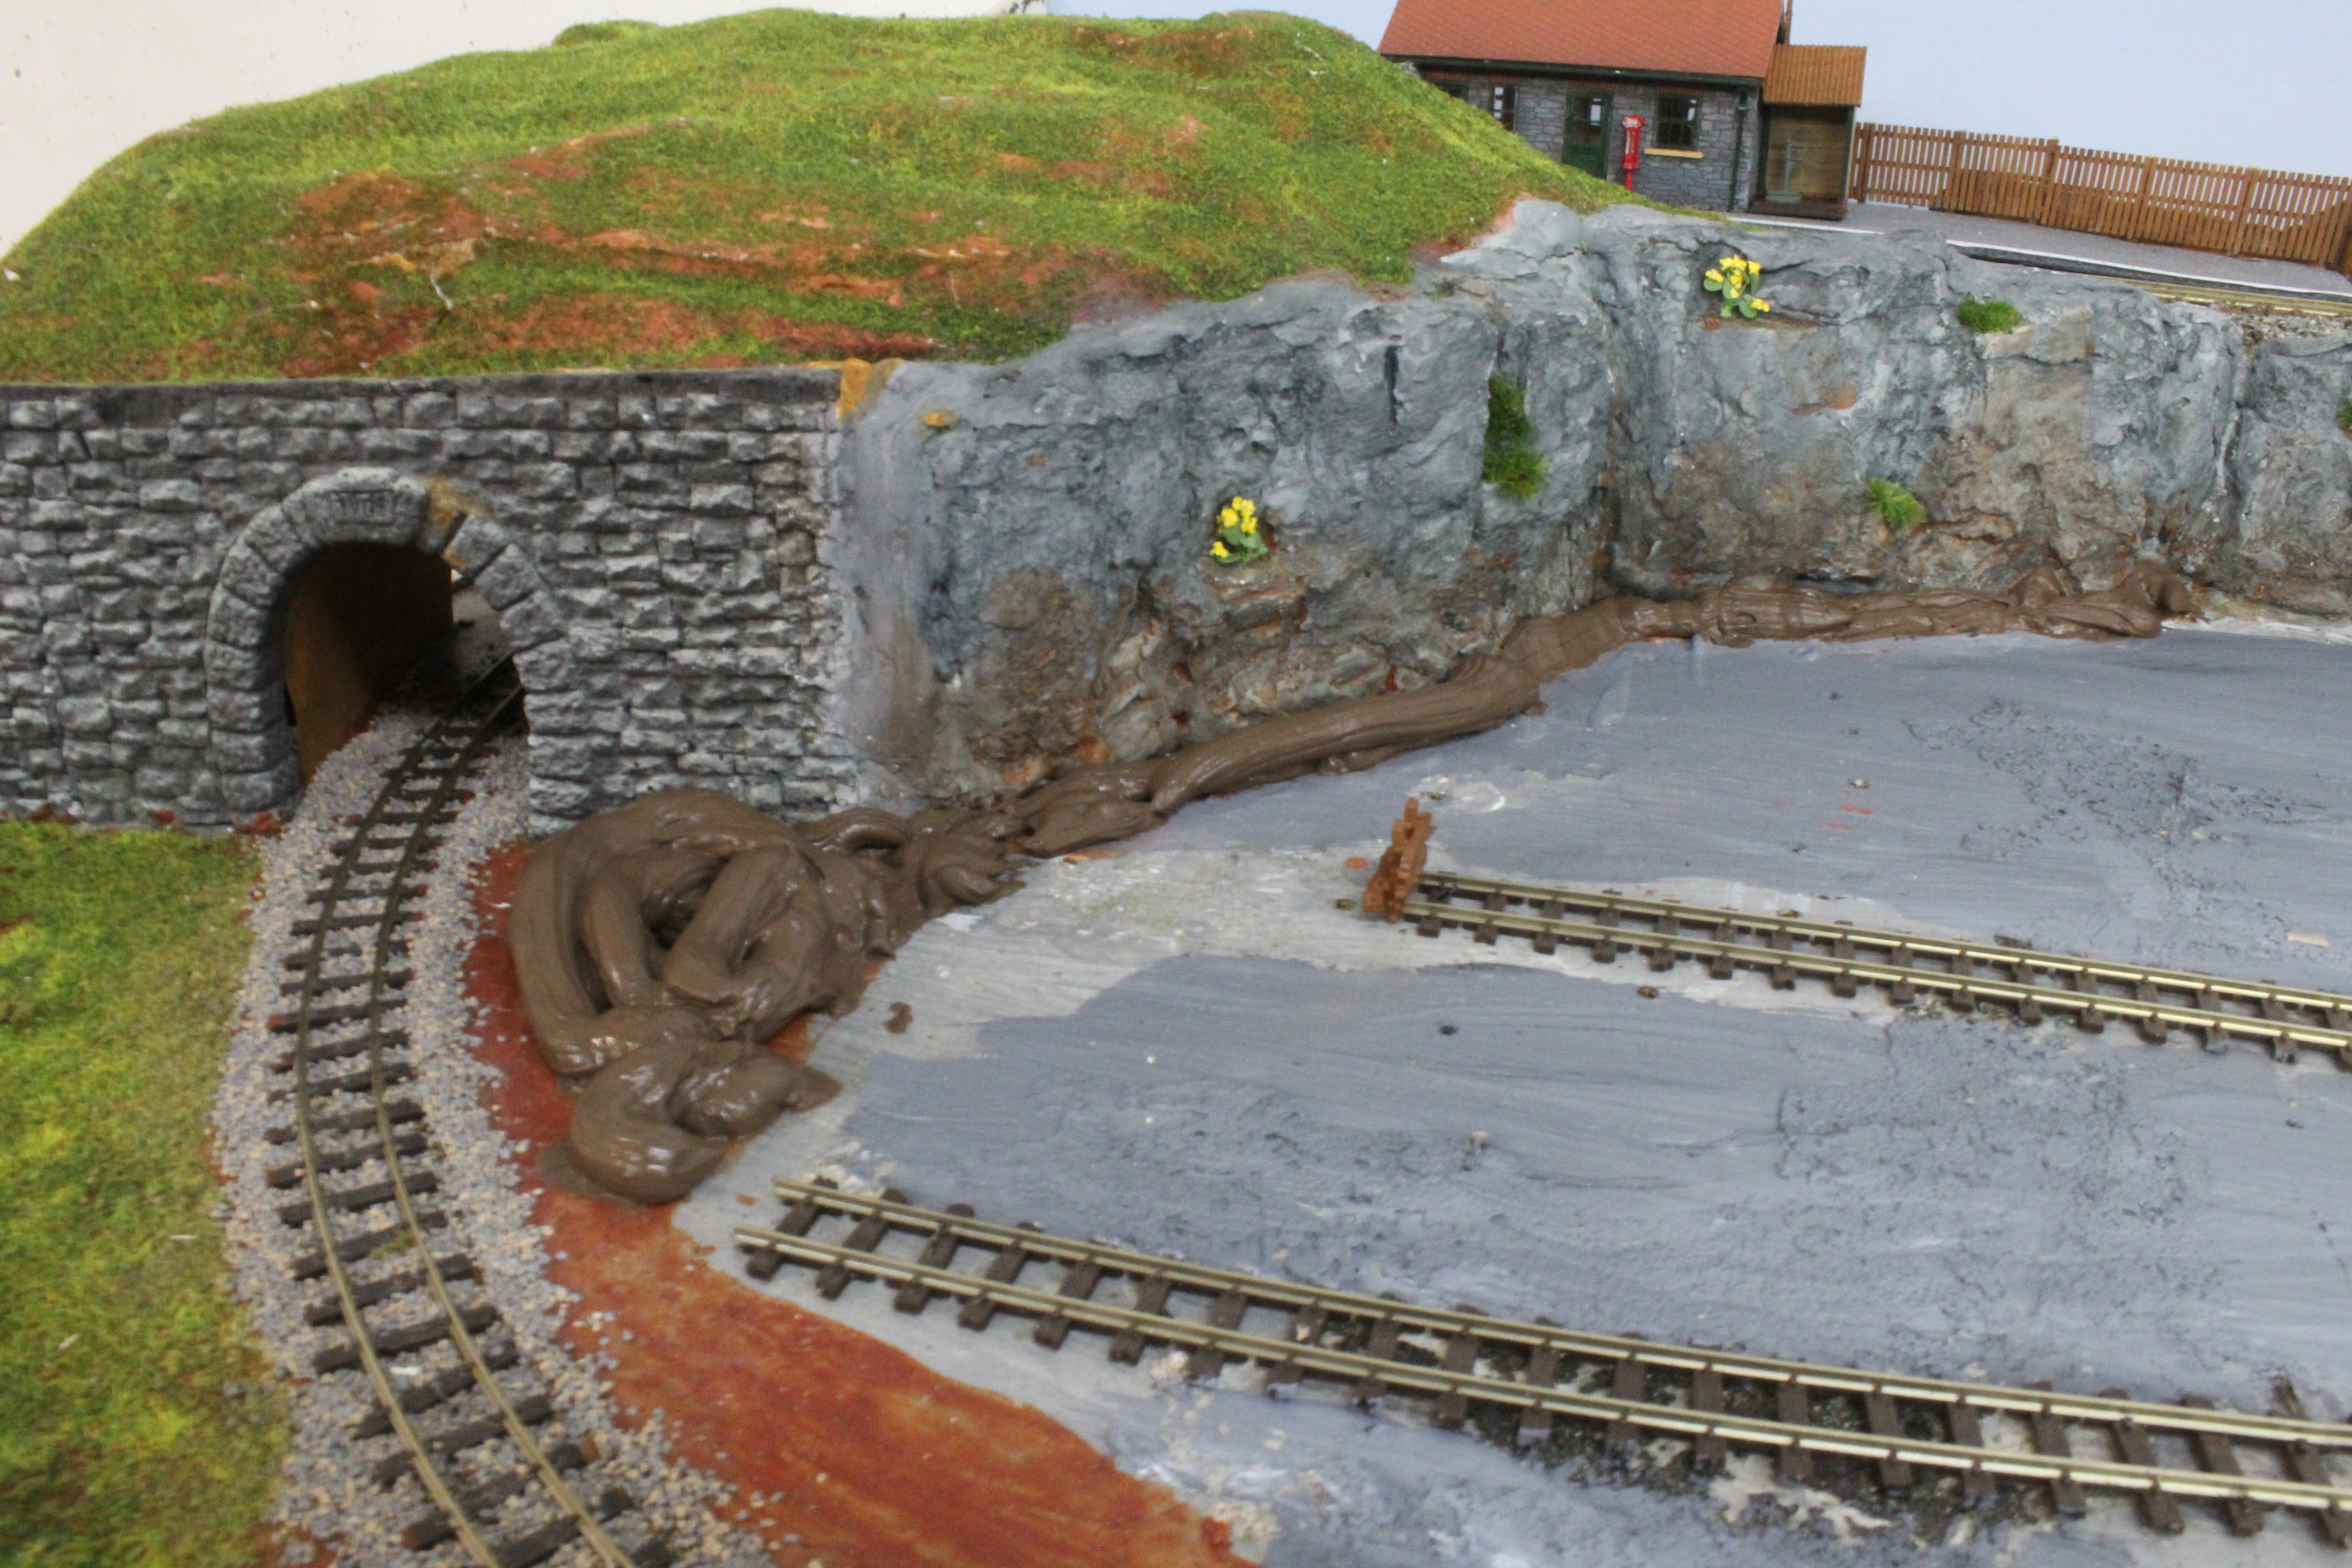
The critical part of the layout is the reverse curve leading up to the higher level. By necessity it has to be 10inch radius when the minimum recommended 9 inches but it is also combined with a 1in 45 climb. This meant that it took some time making it smooth as possible so that the locos could negotiate it without problems.
Now we have our first video with a short review of the Fairlie Locomotive an incline loading test and a look around the layout after the first stages of tracklaying.
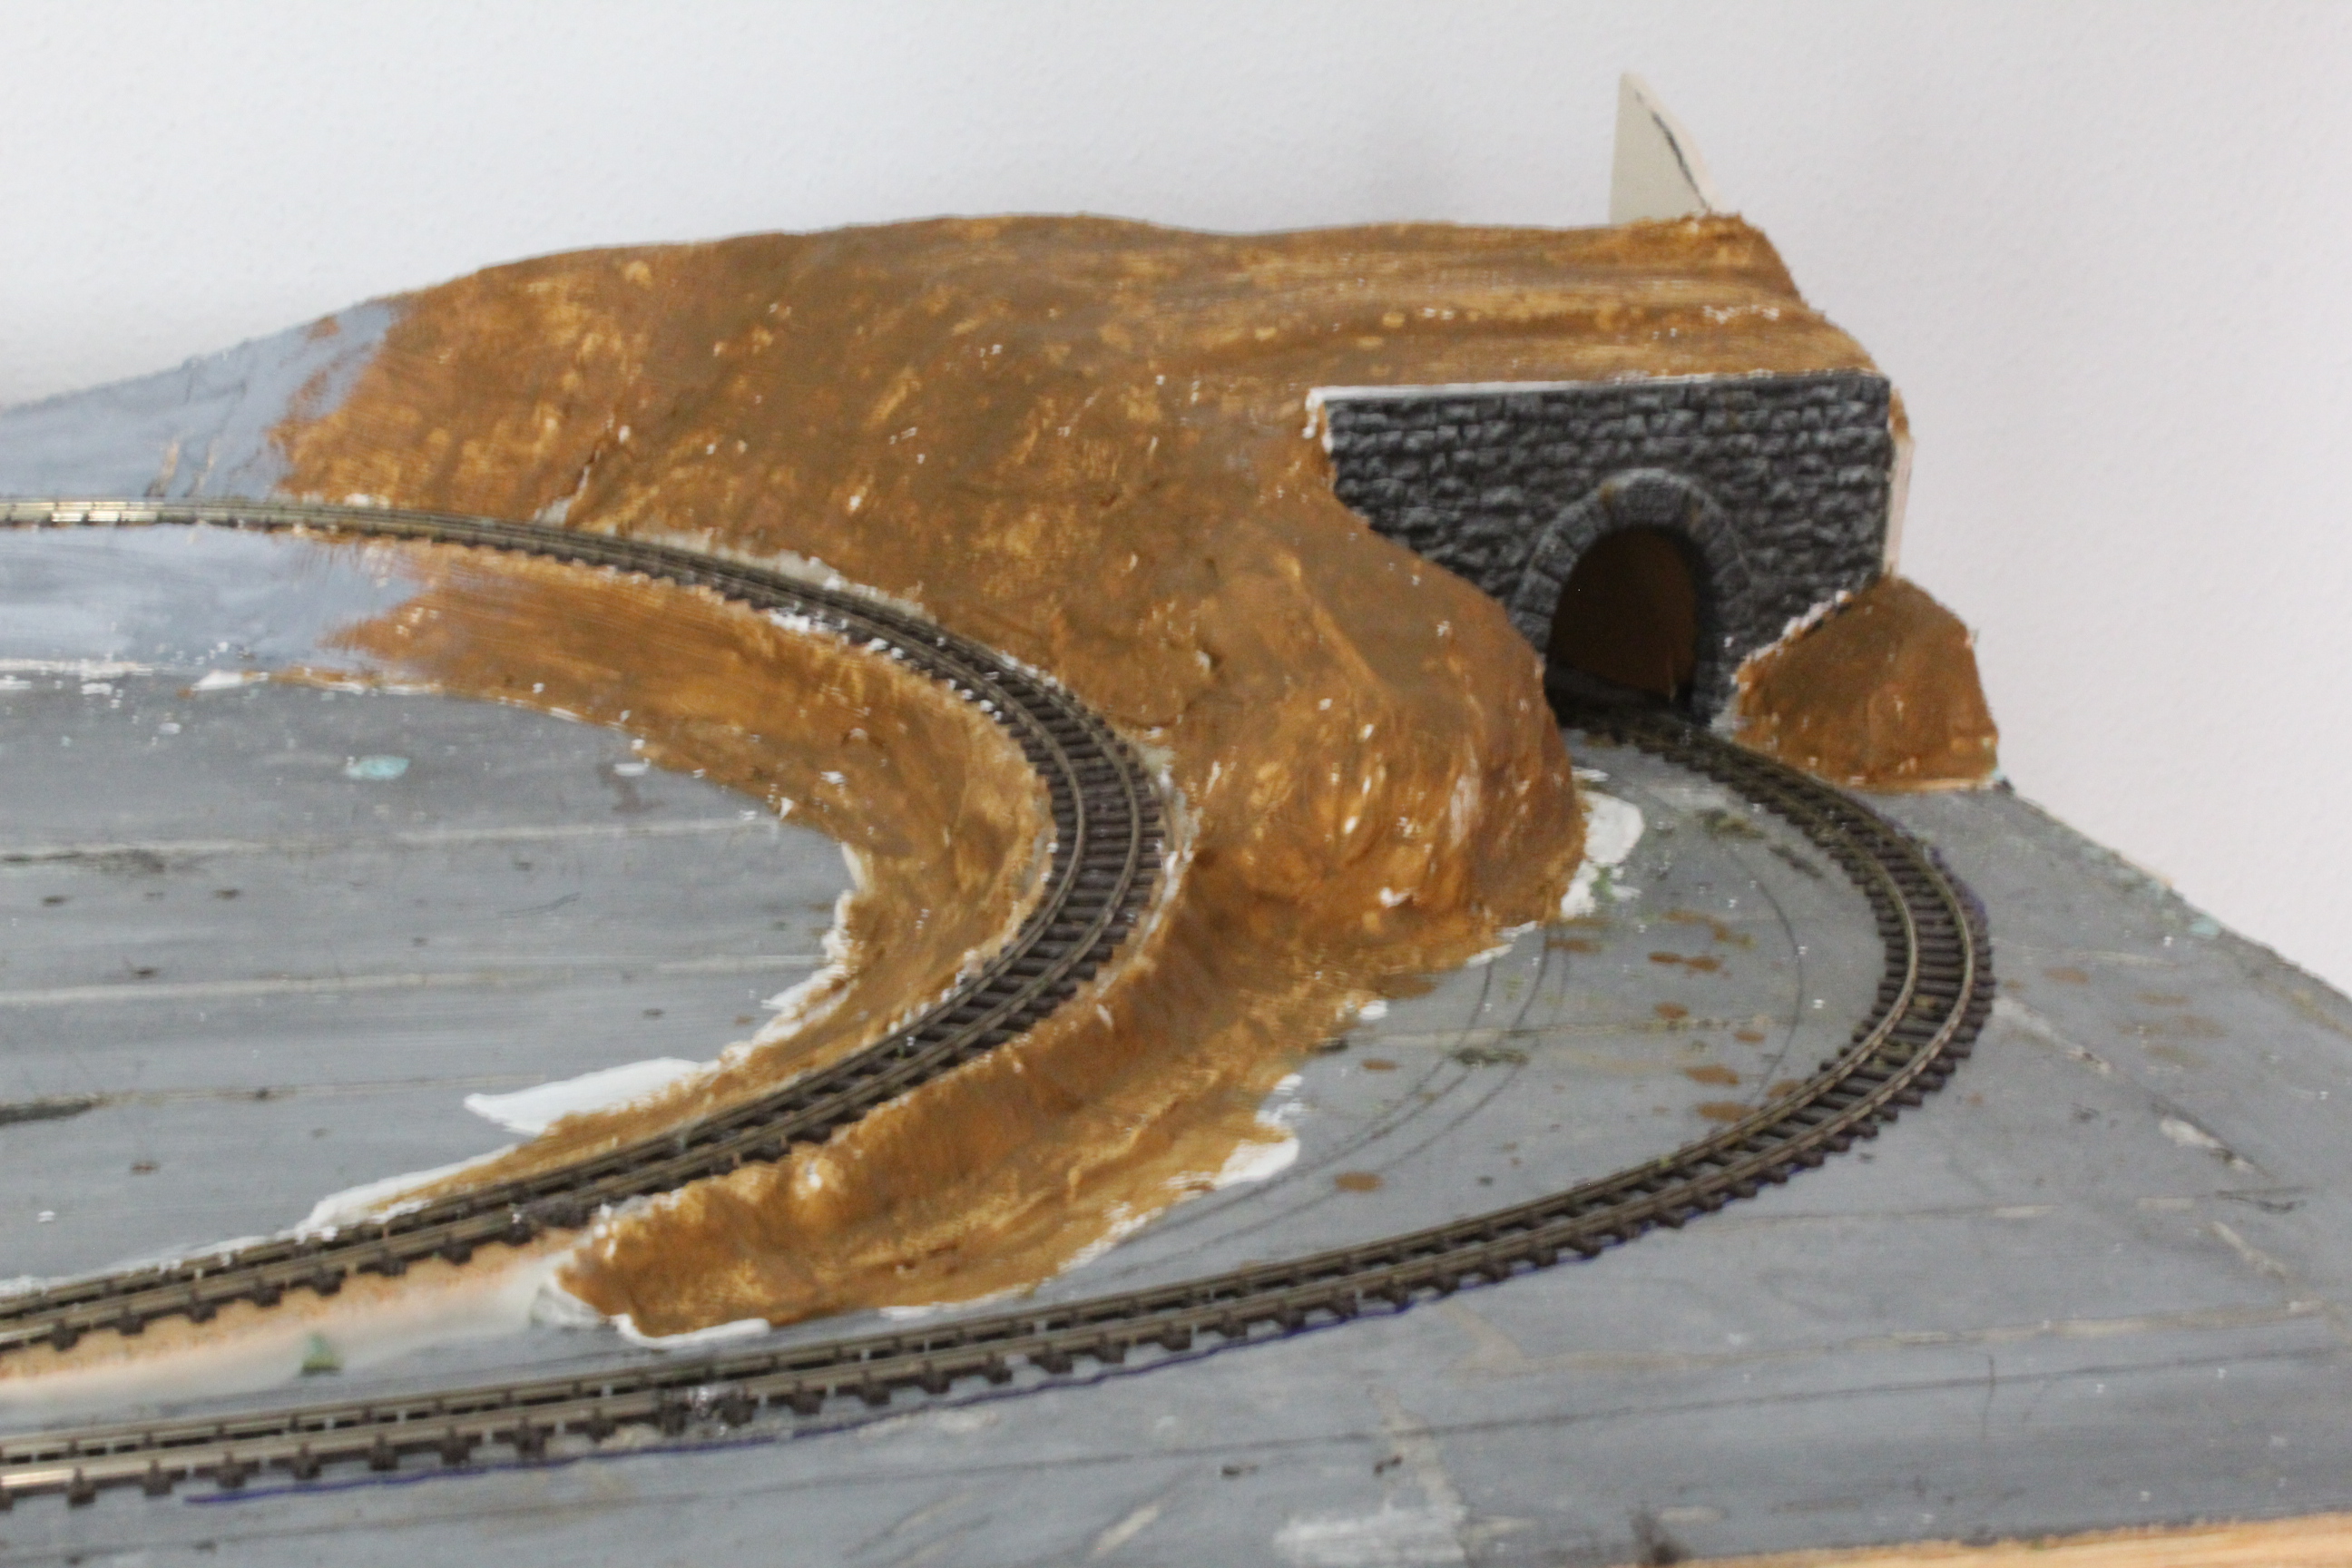
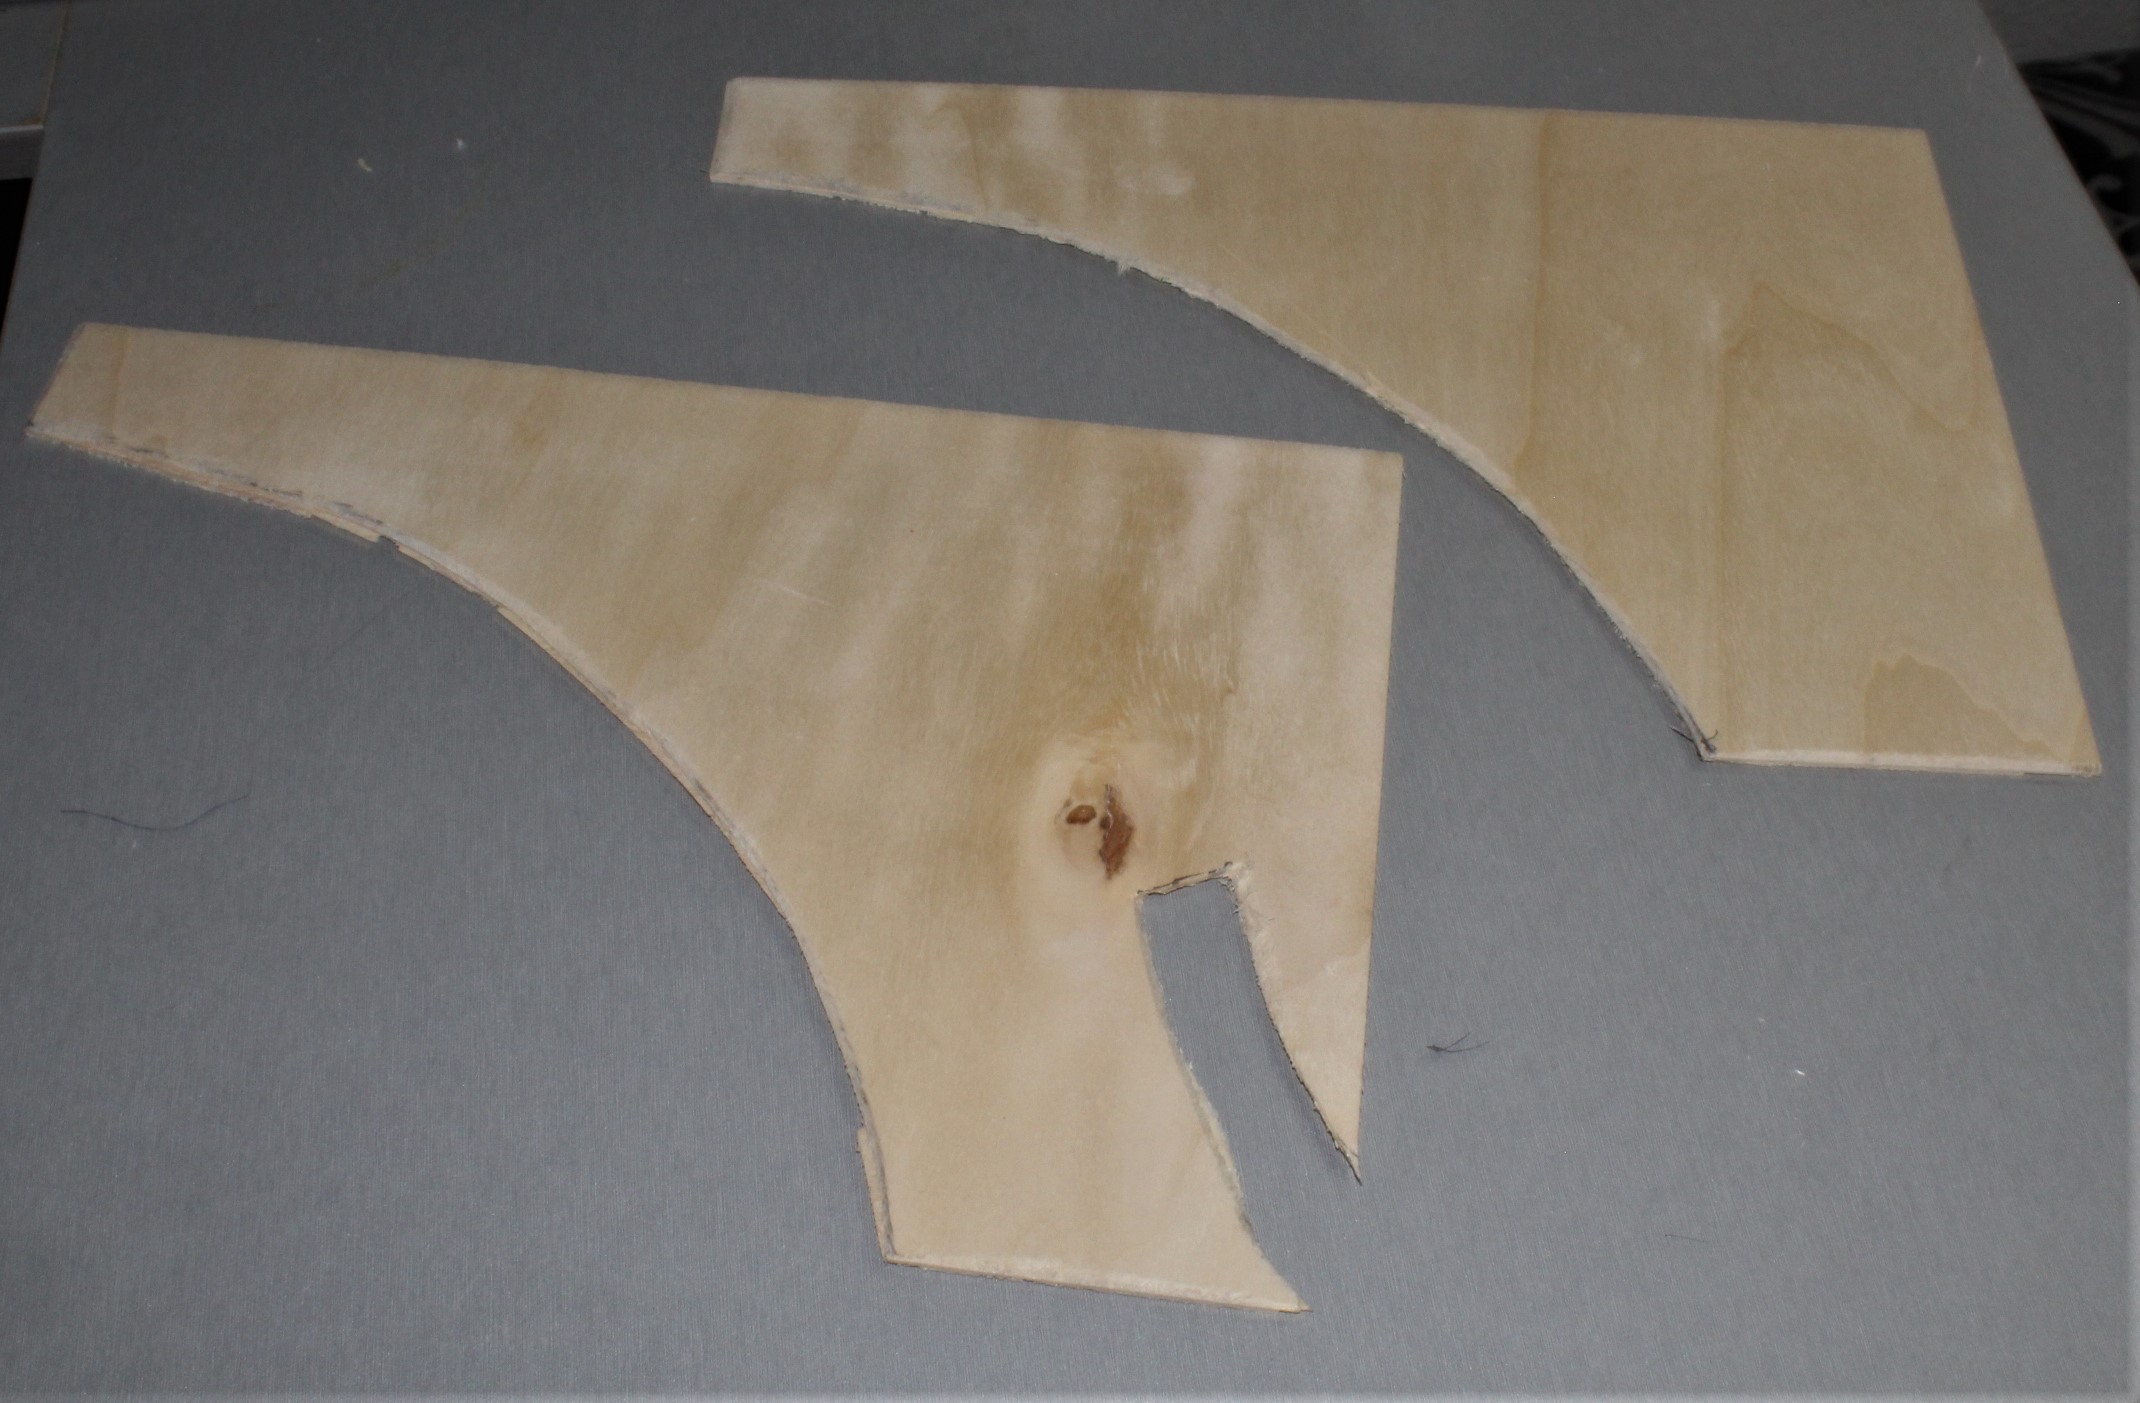
Building The Scenery
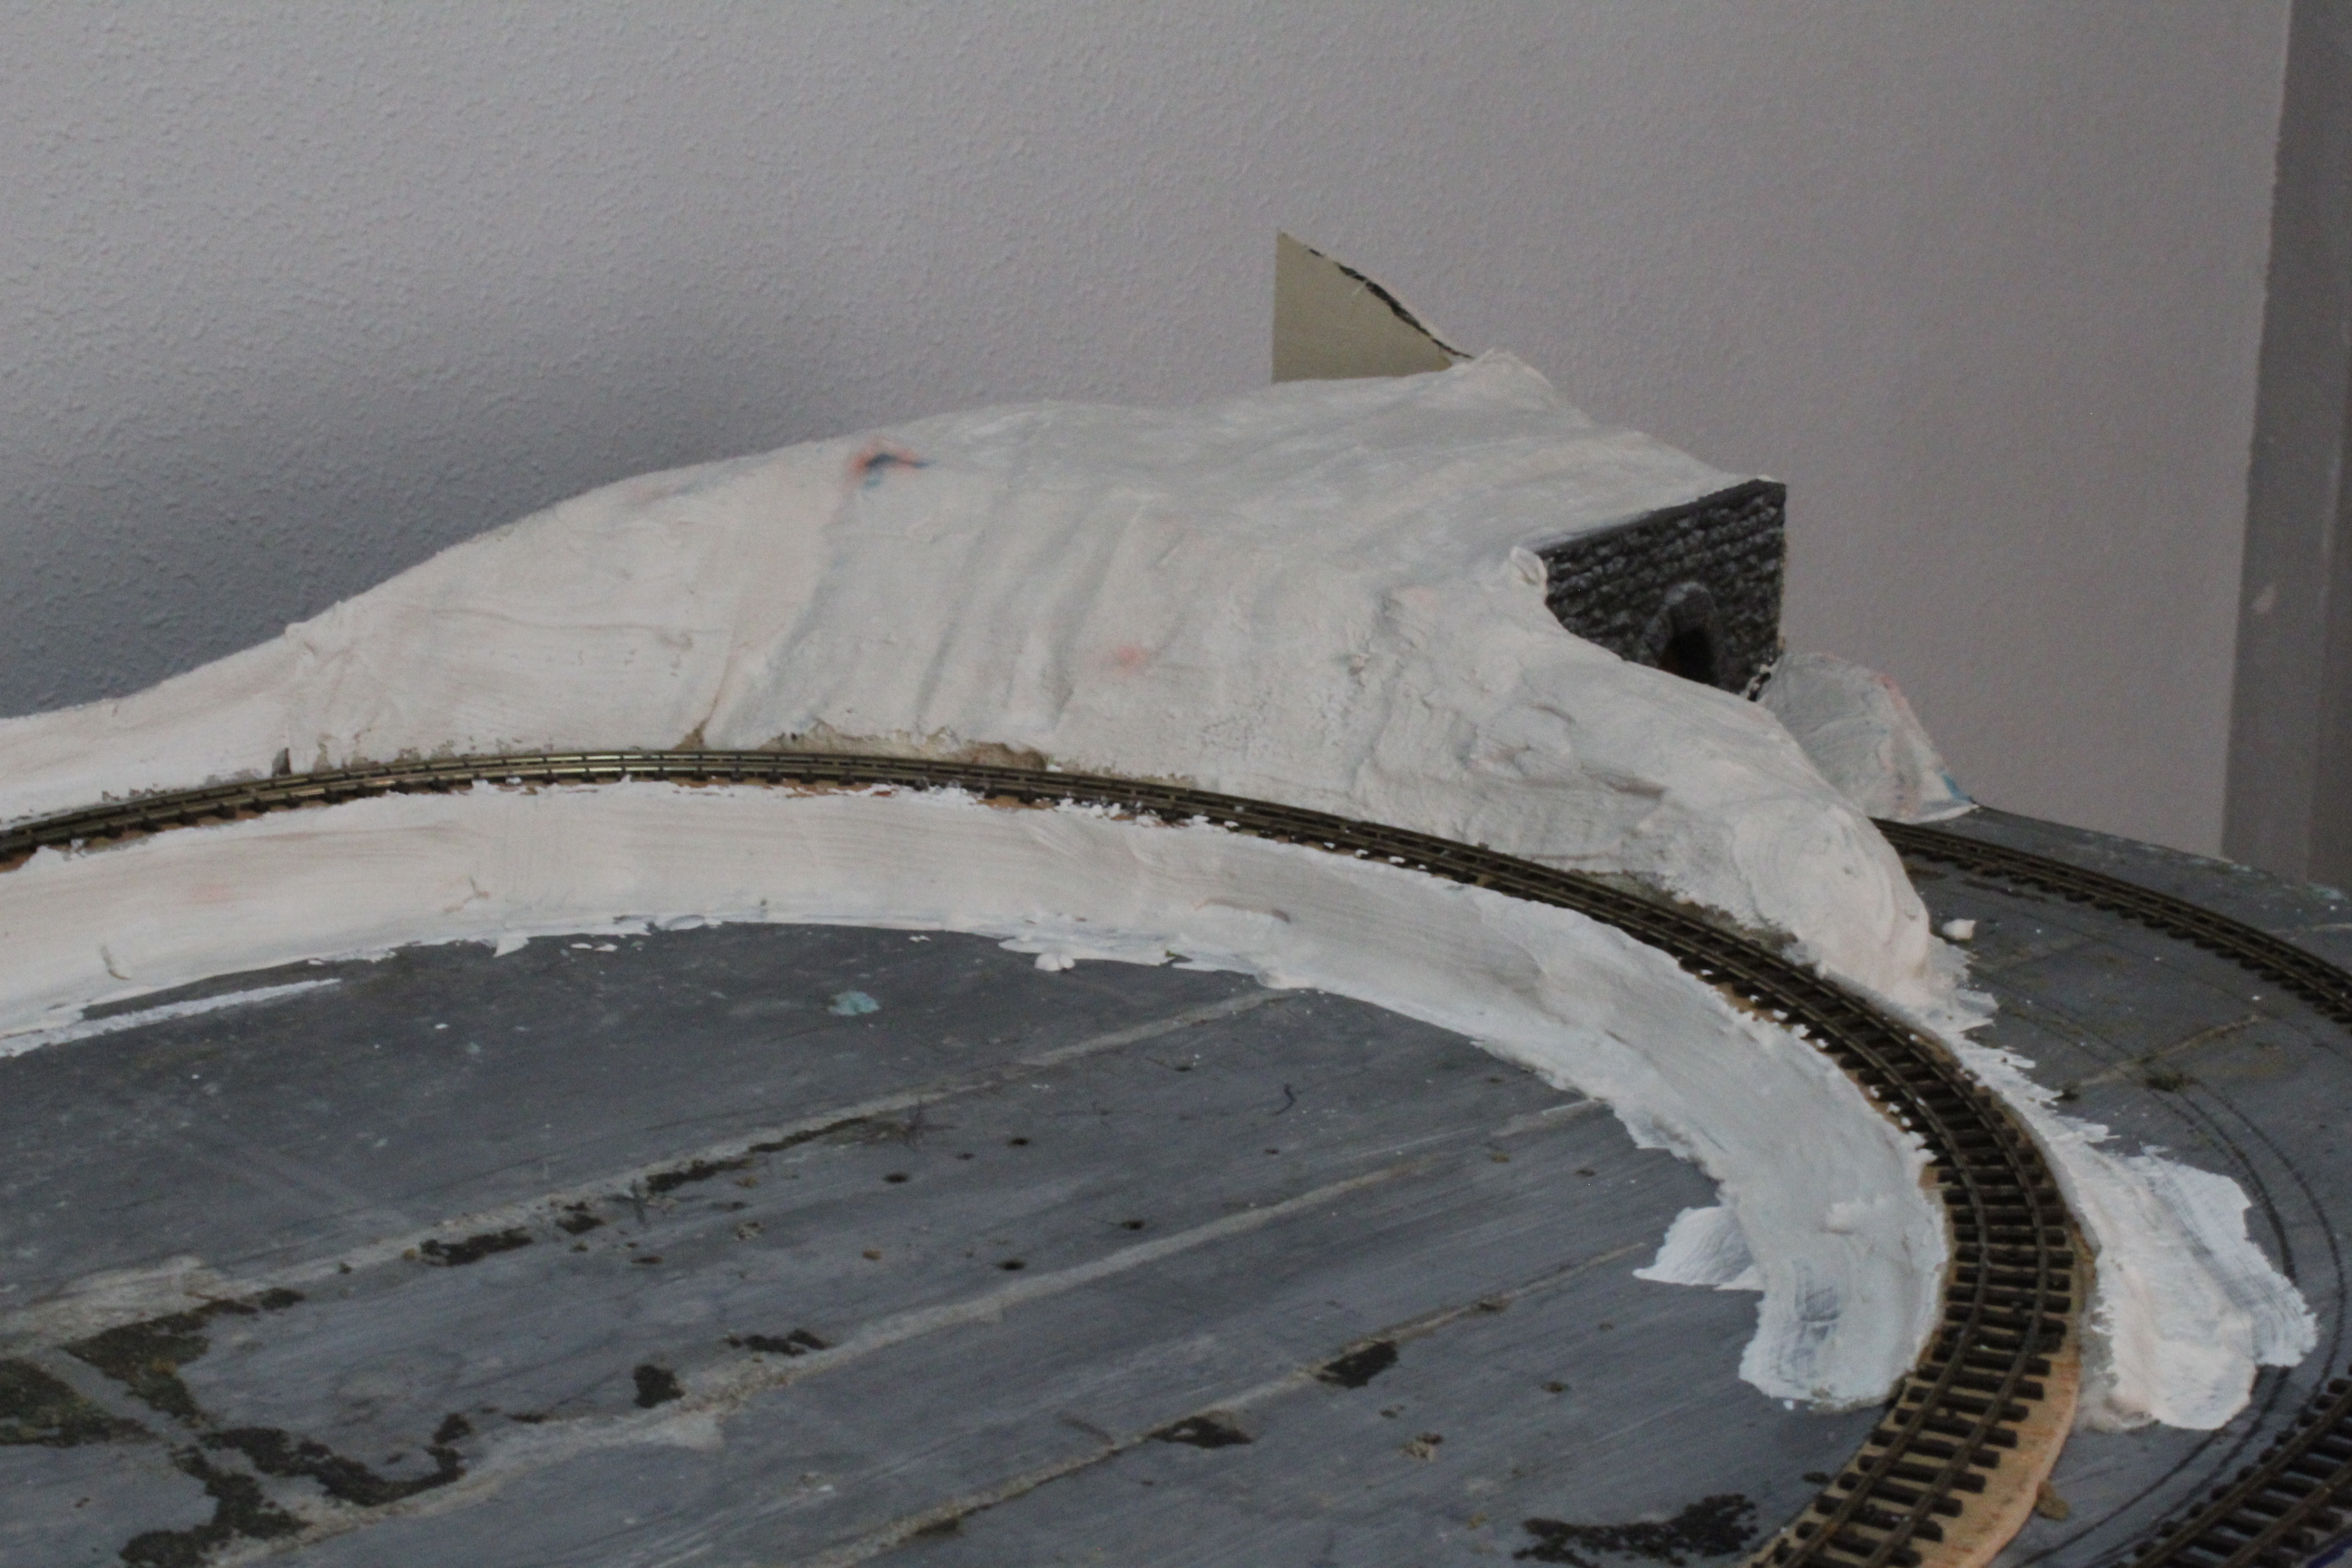
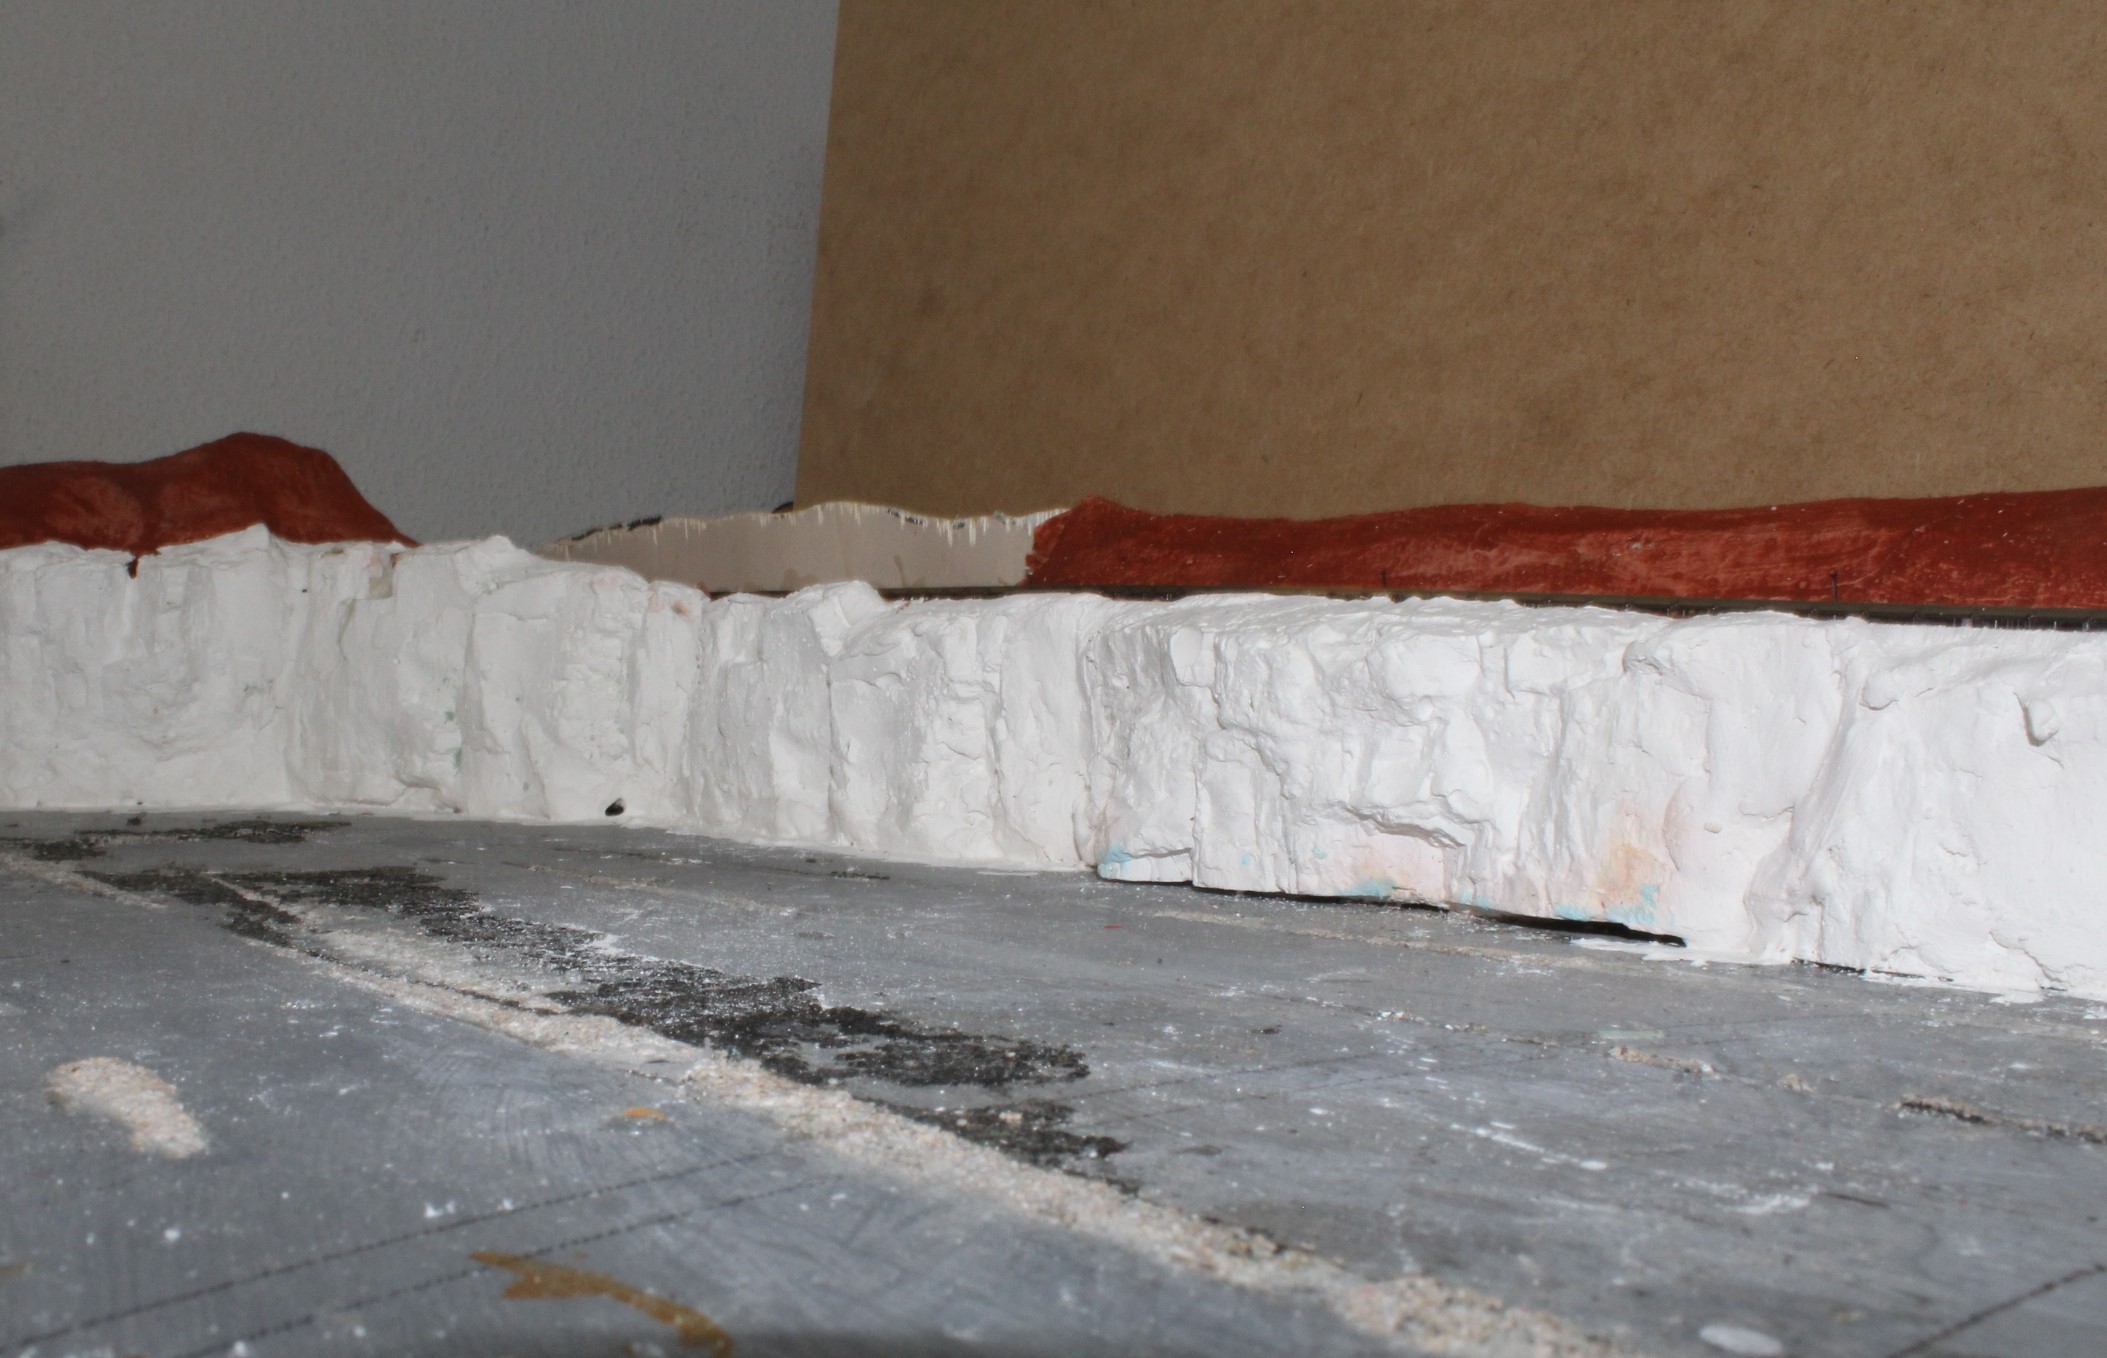
We start by building a framework of 2 and 4mm ply plus foam blocks to form the contours.
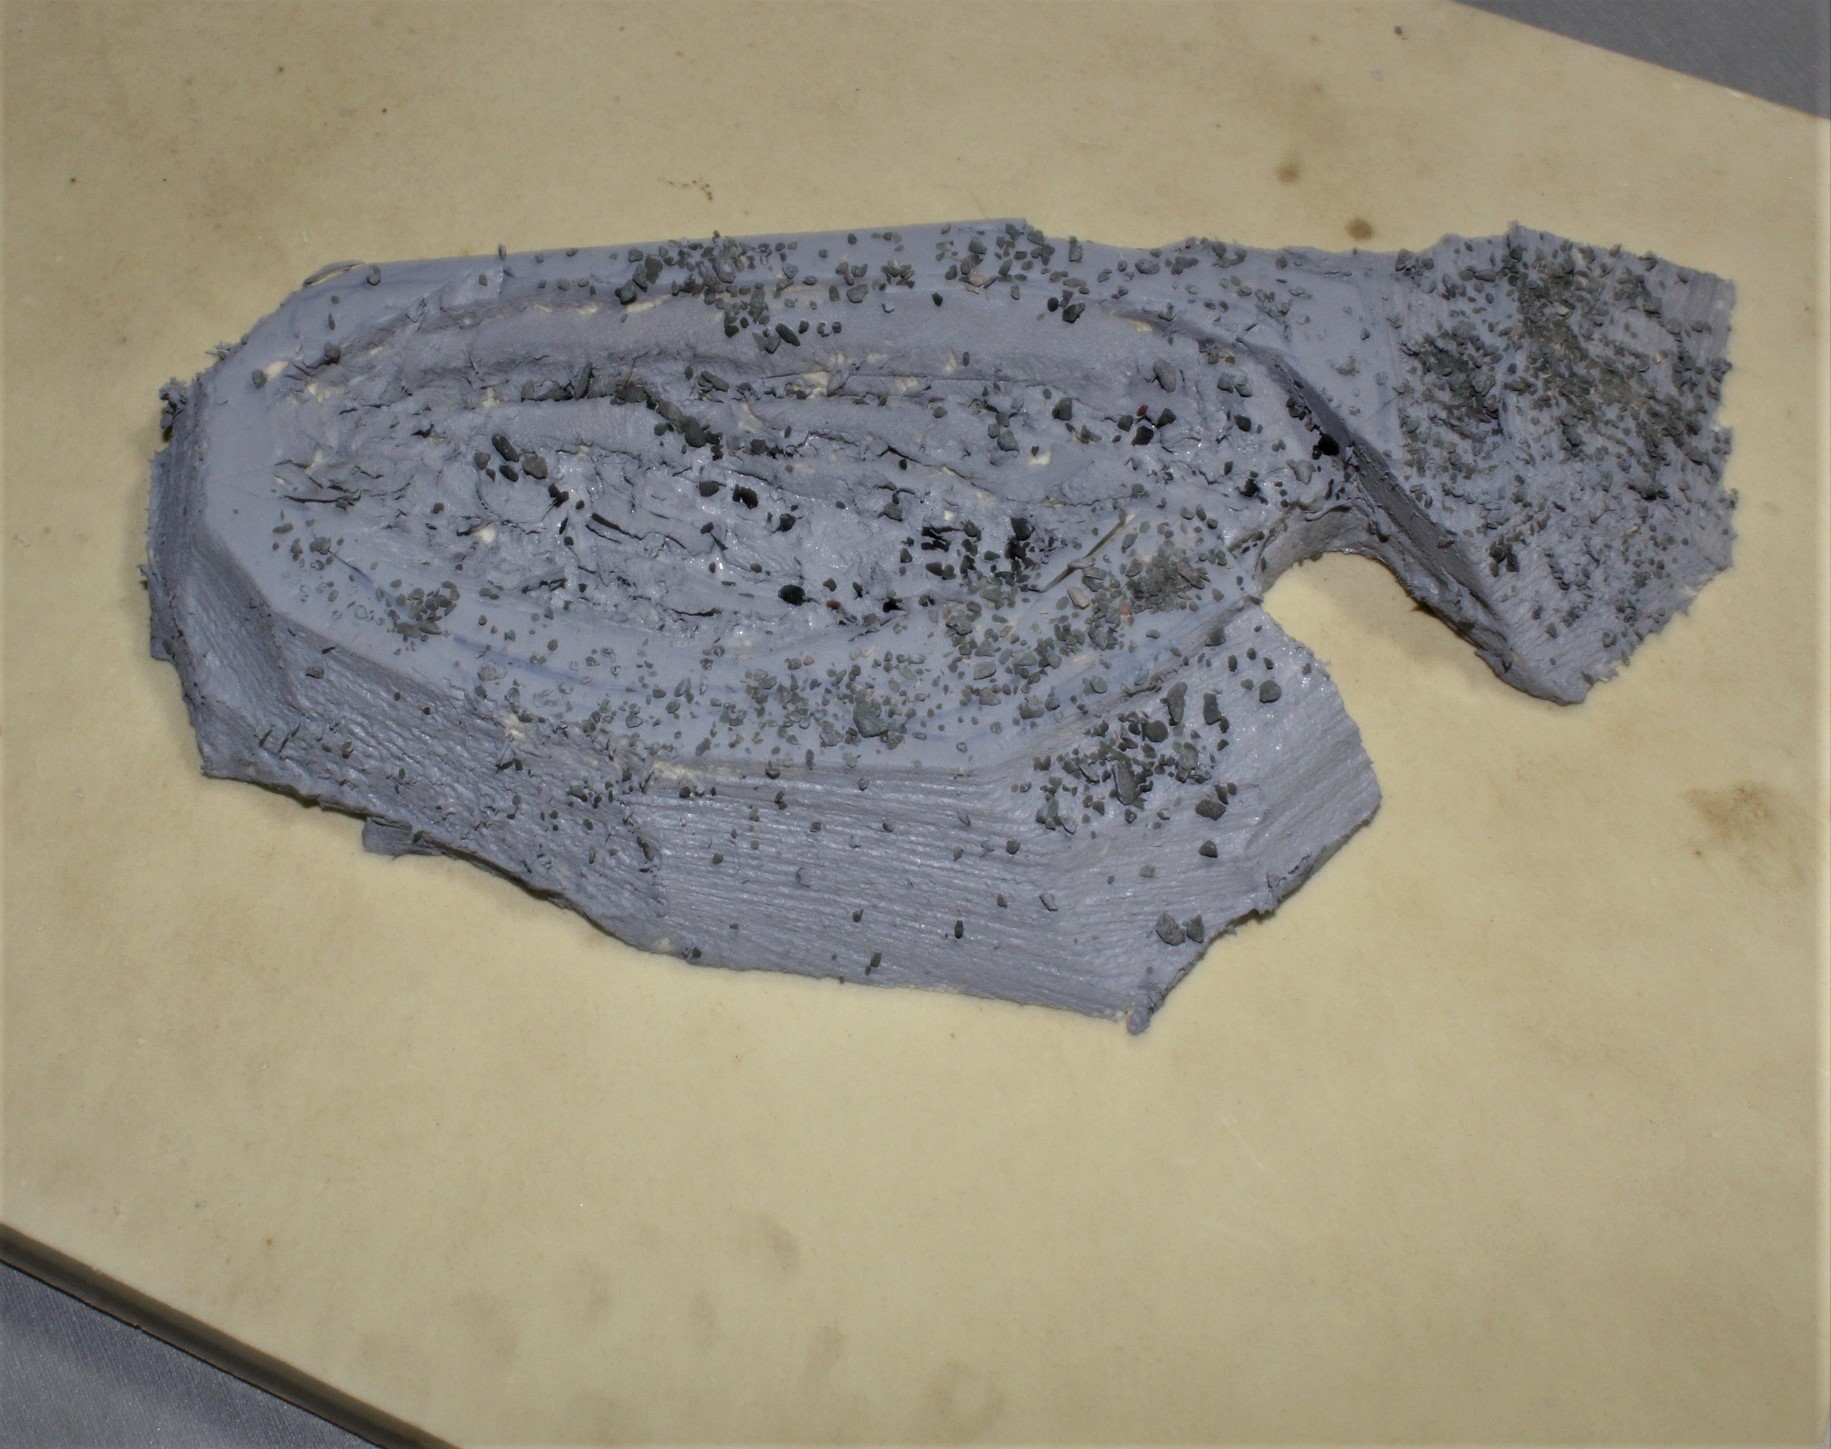
Then using bandages dipped in or painted with plaster of Paris we build up the hillside and then finally a coat of earth effect paint to form a base for the scatter materials to follow.
Here is a short video showing how the work progressed when building the rear scenic area
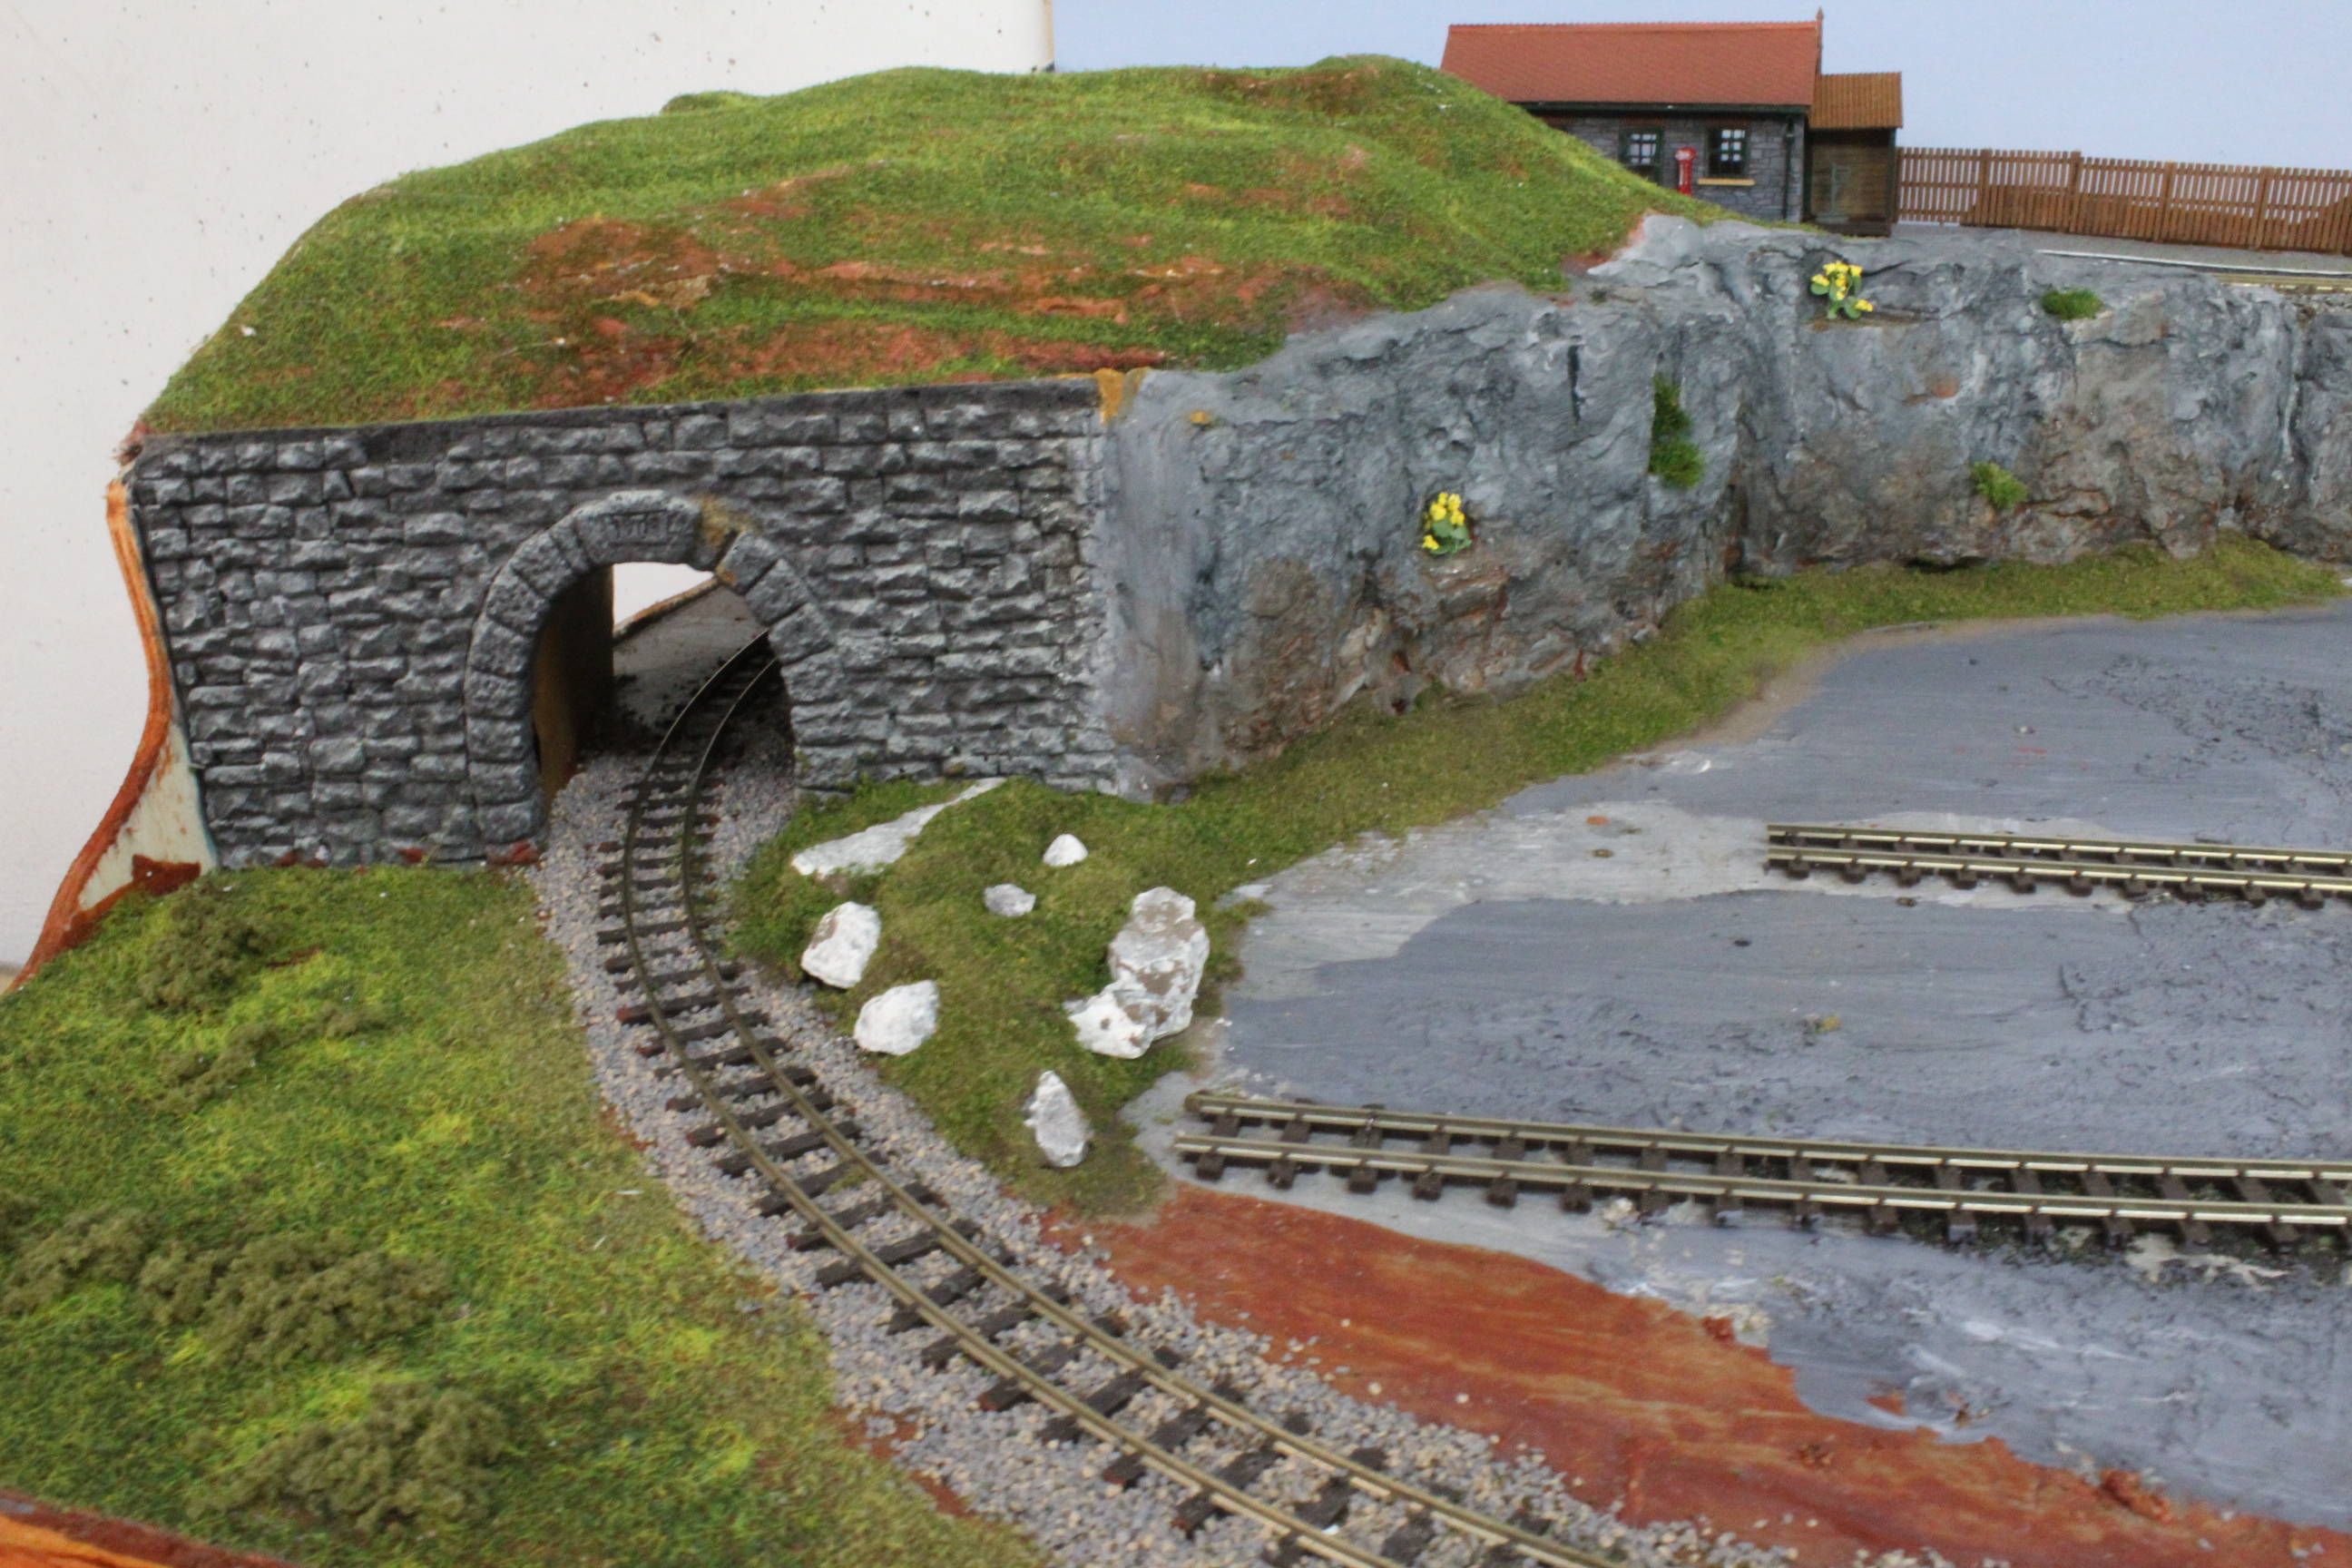
Working on The Rockface

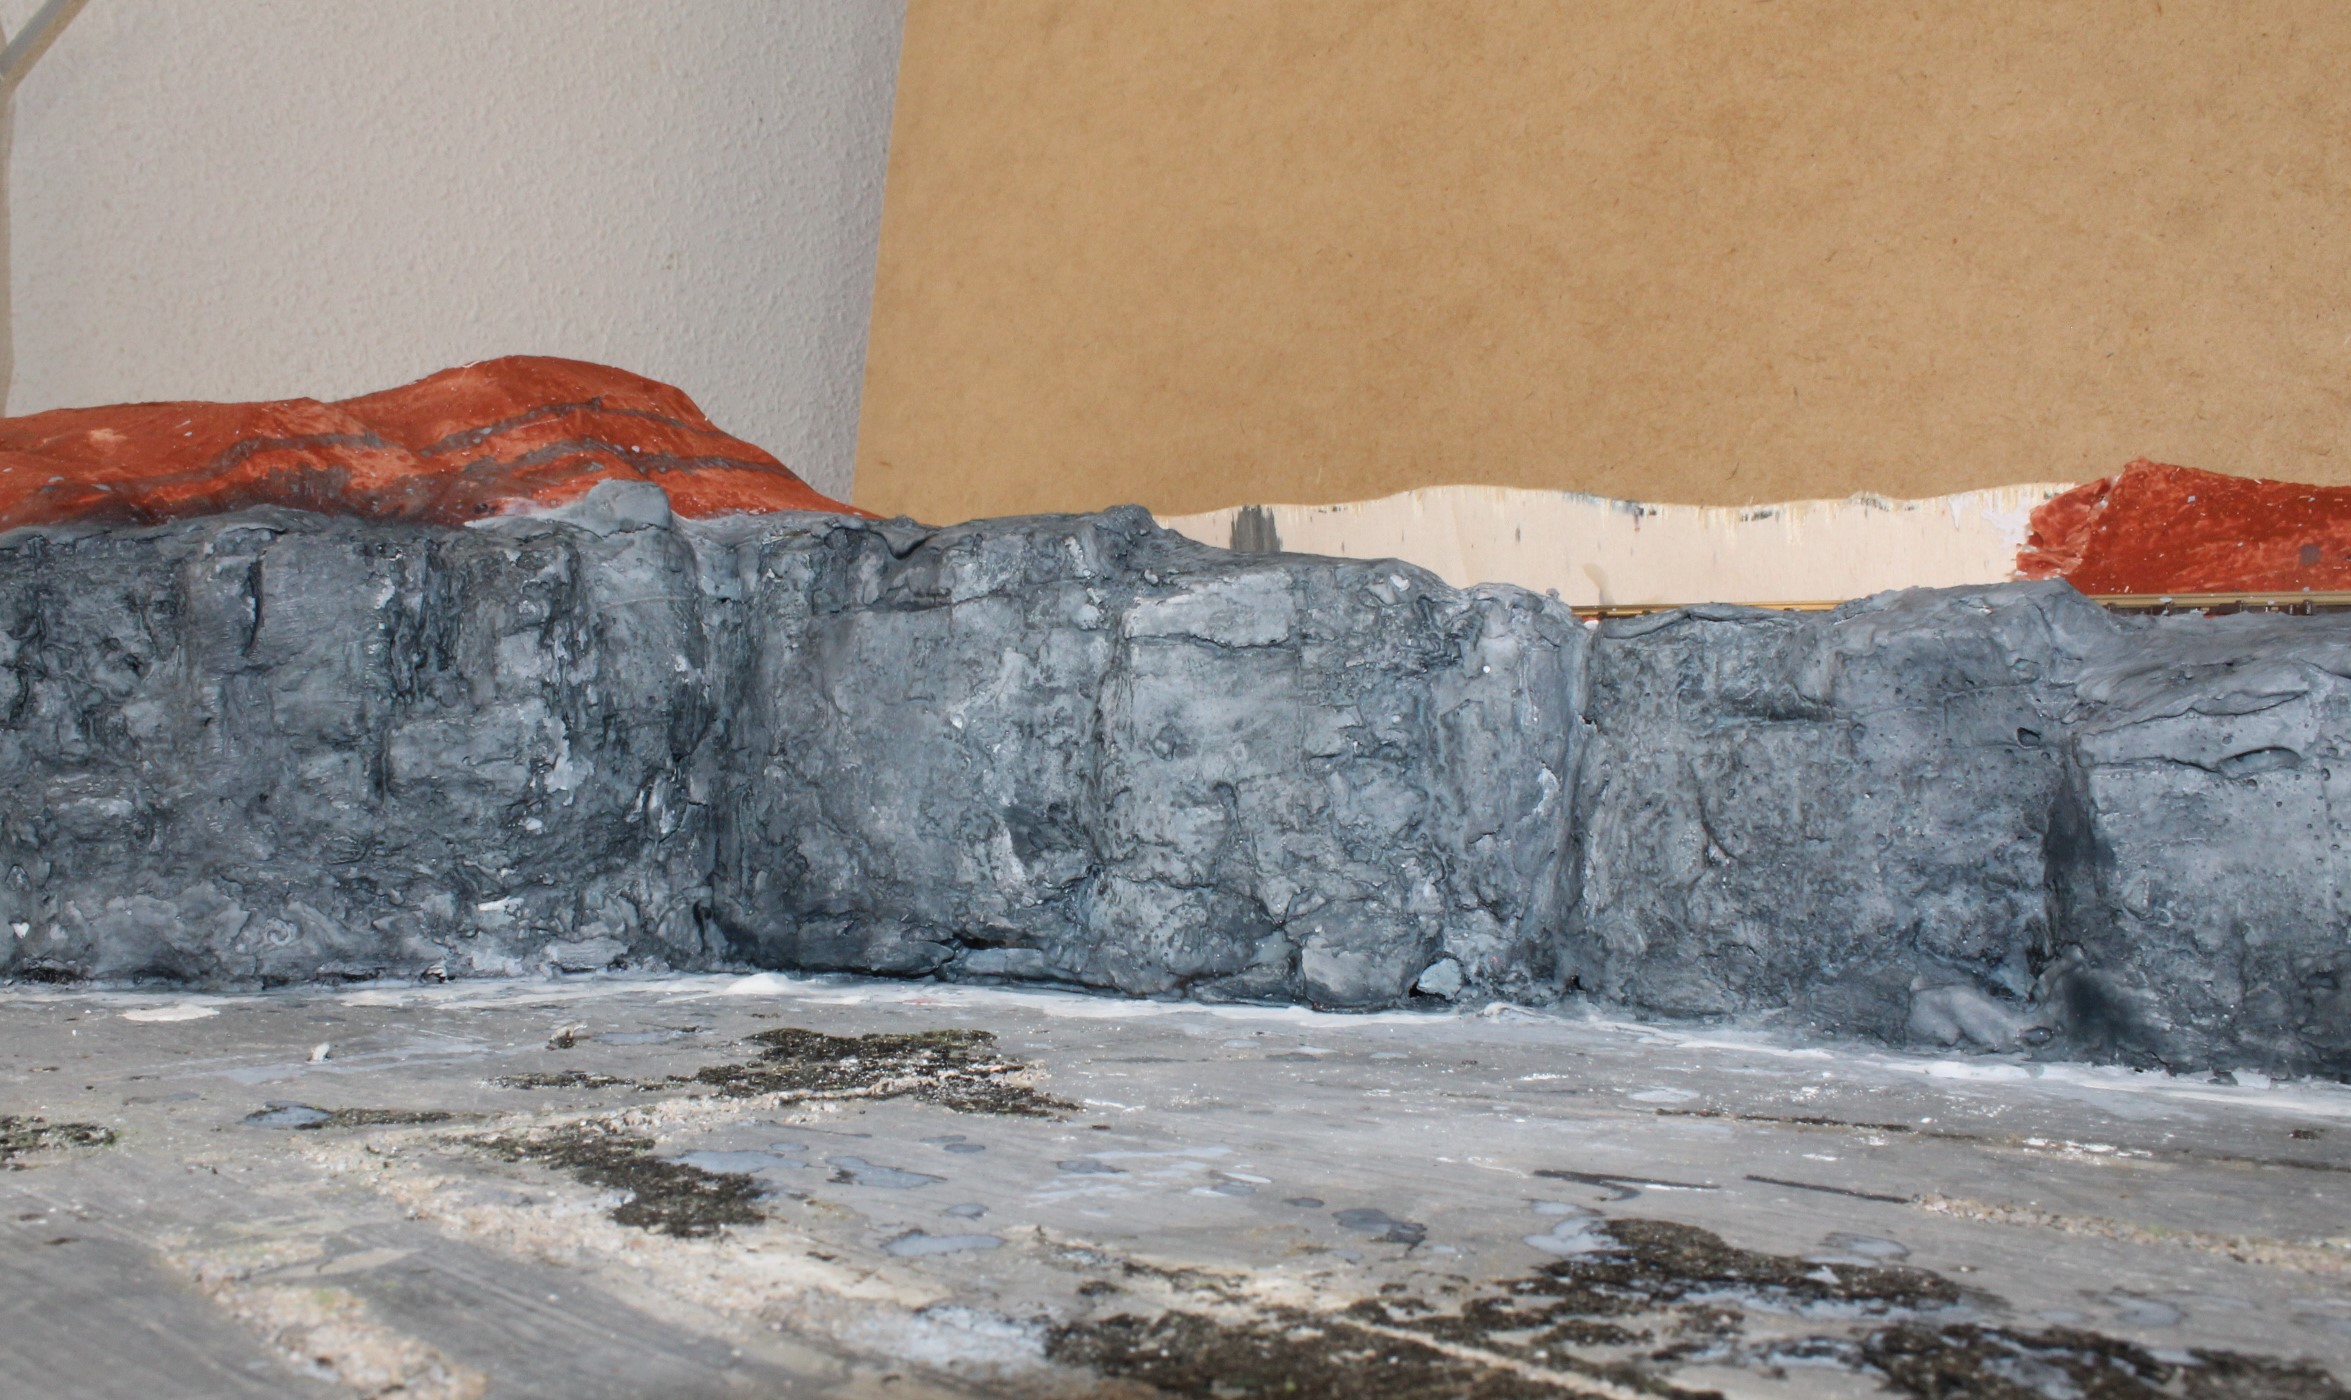
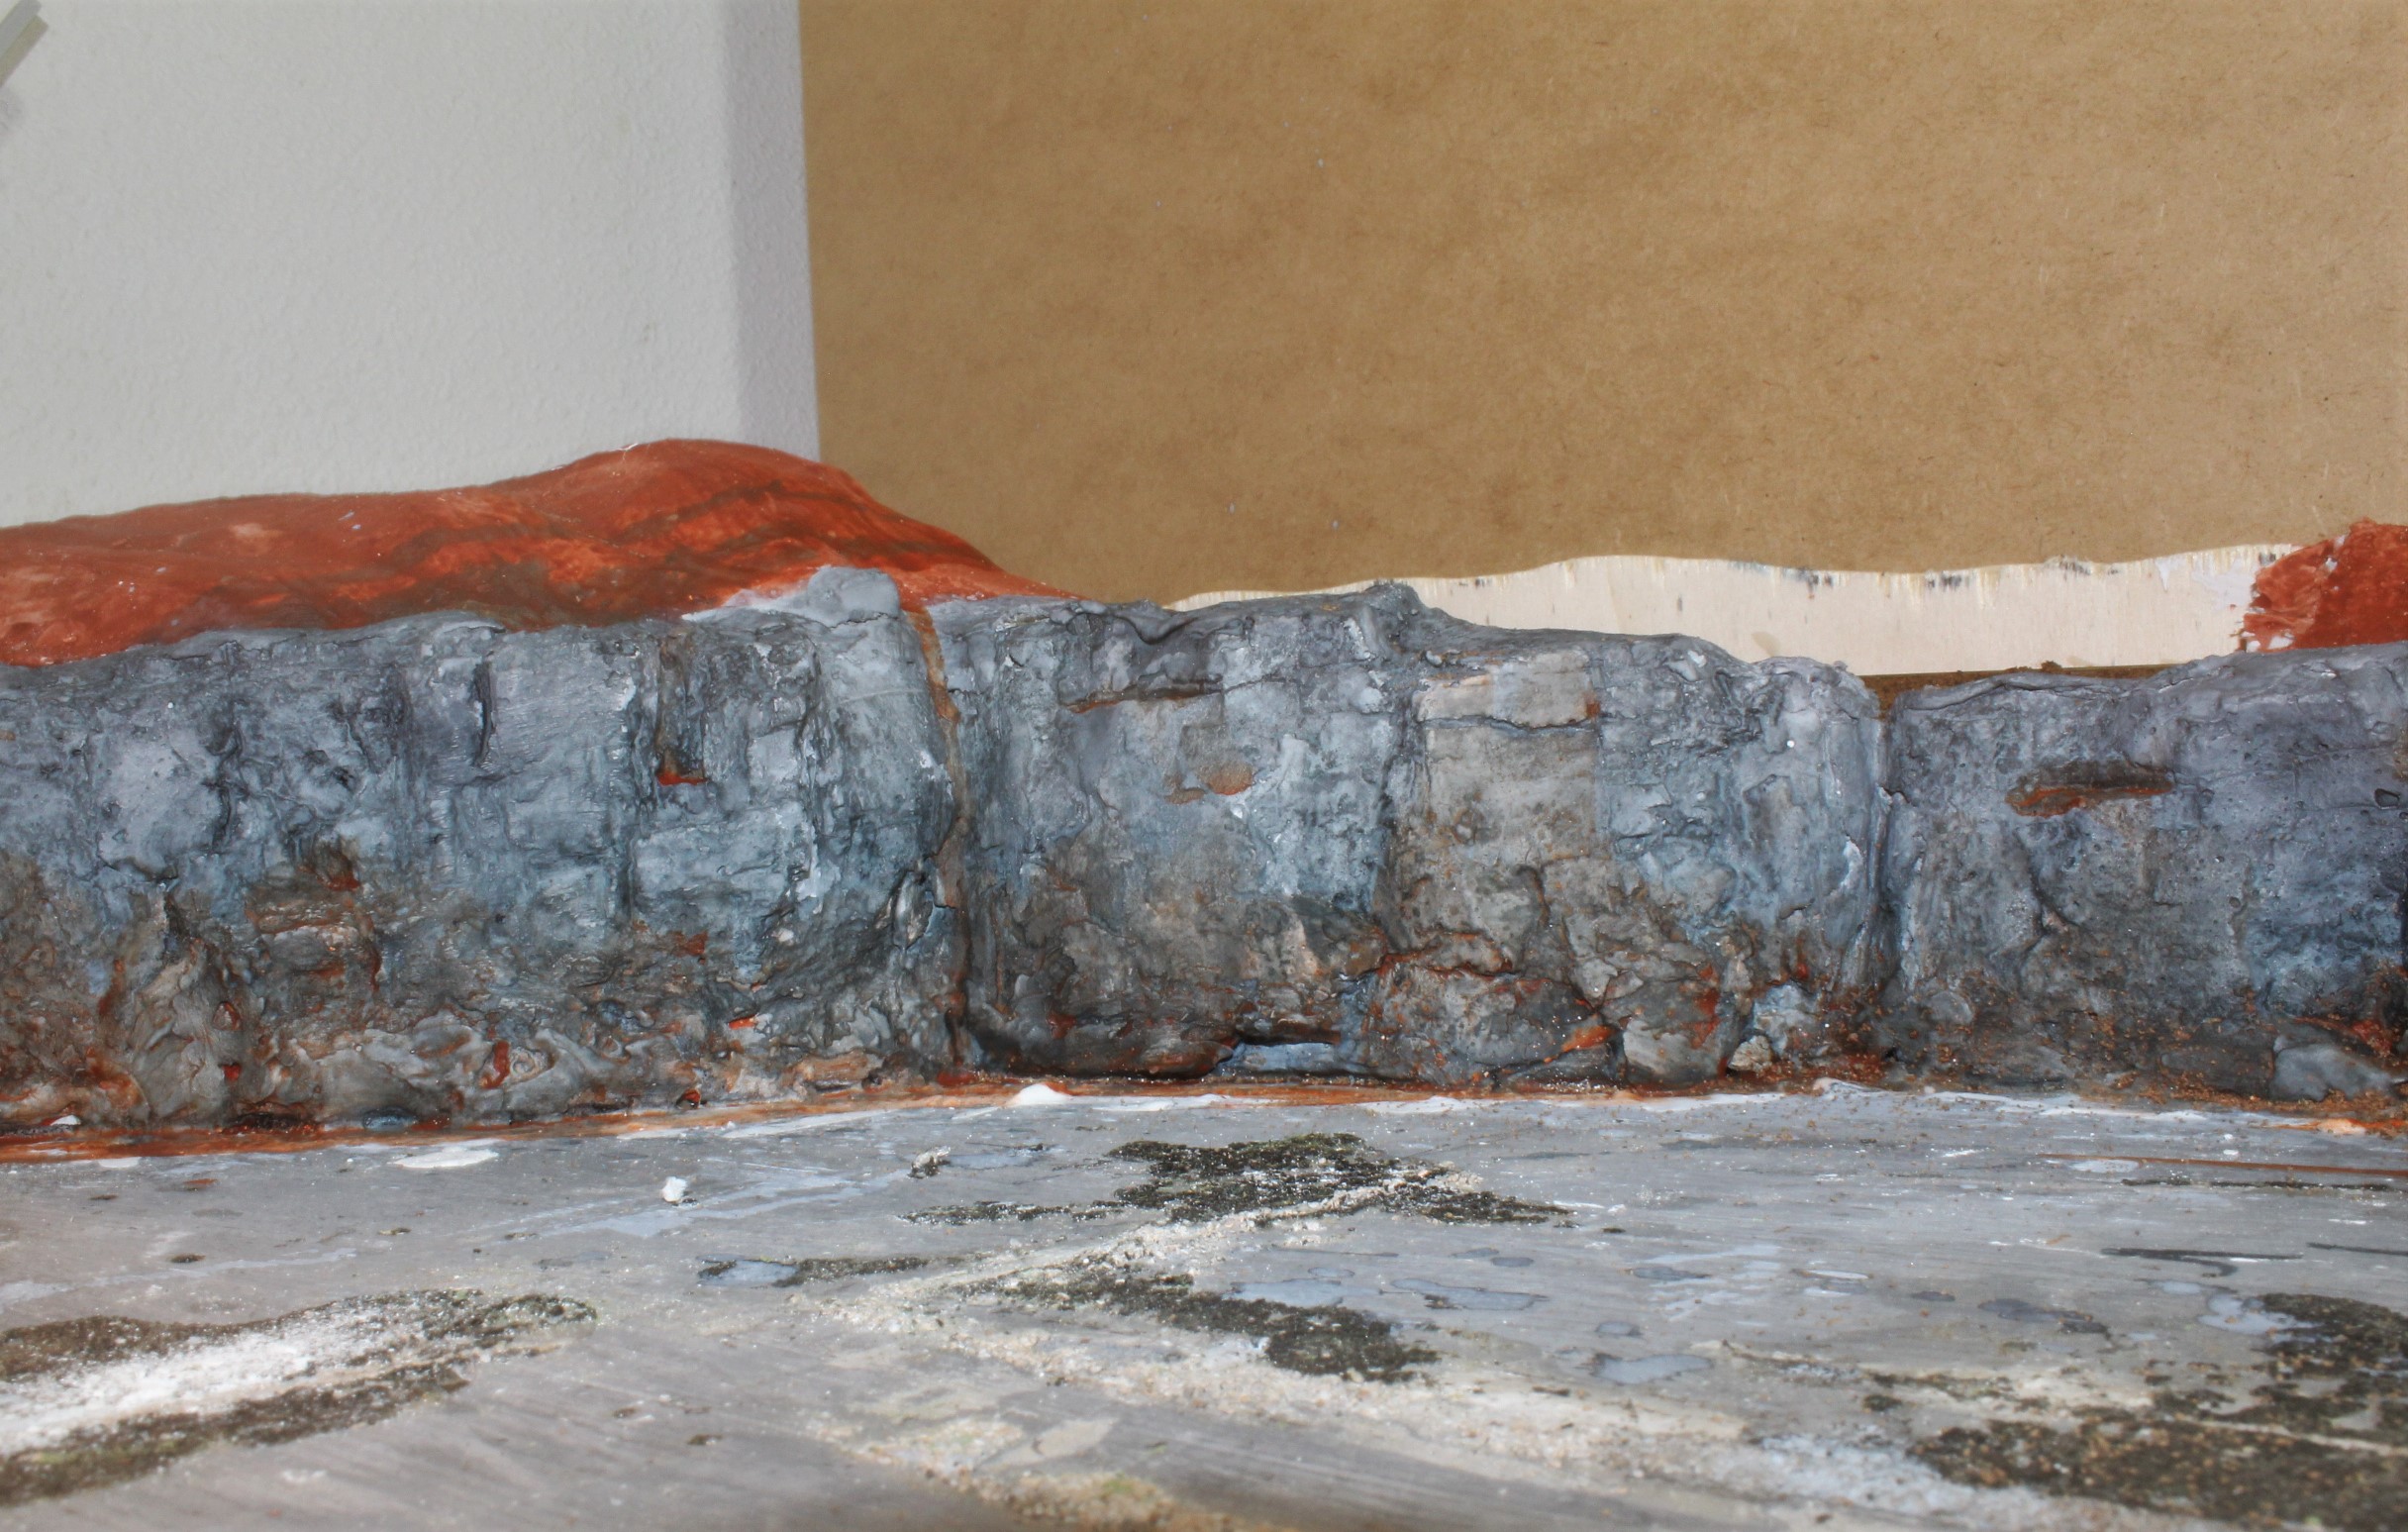
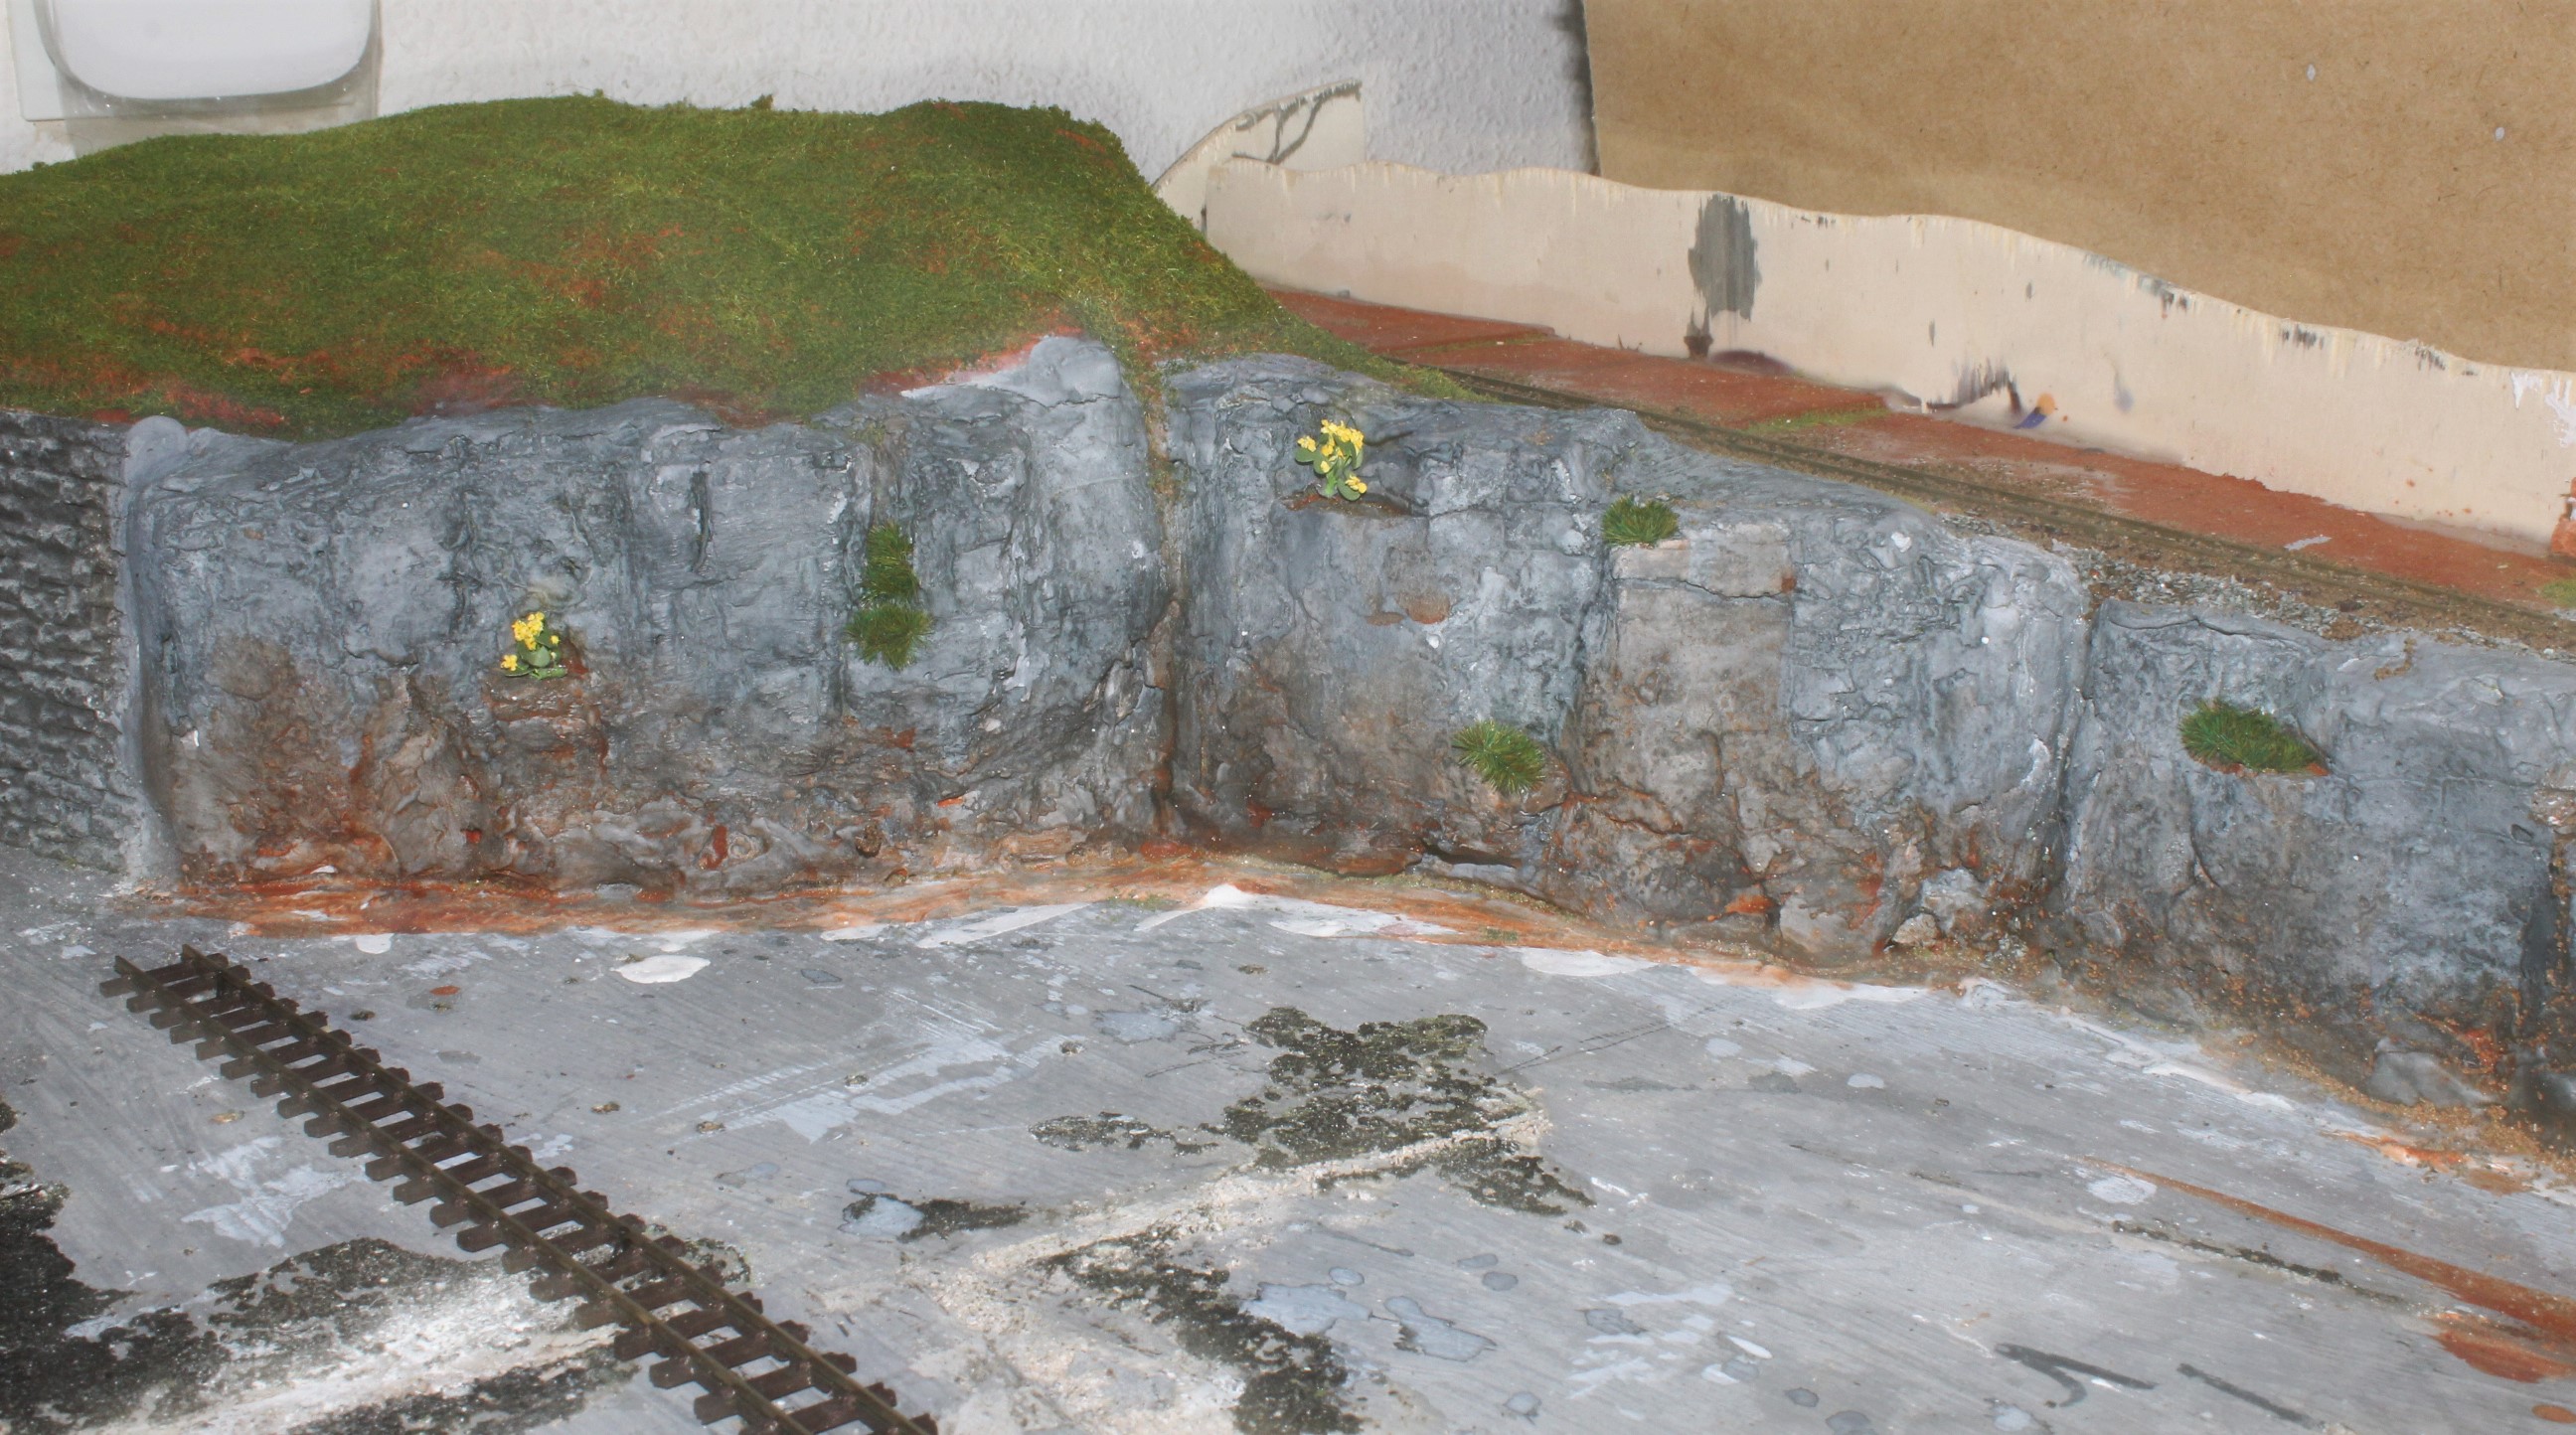
Starting with the Plain Woodland Scenics rock mouldings we give an overall coat of light grey and then start adding coats of progressively darker greys, applying them in patches and working the paint into the nooks and crevices of the rockface.
As a final touch I applied burnt umber onto any ledges where earth and vegetation might appear and also worked the paint up from the ground level, again to simulate soil and mineral contamination.
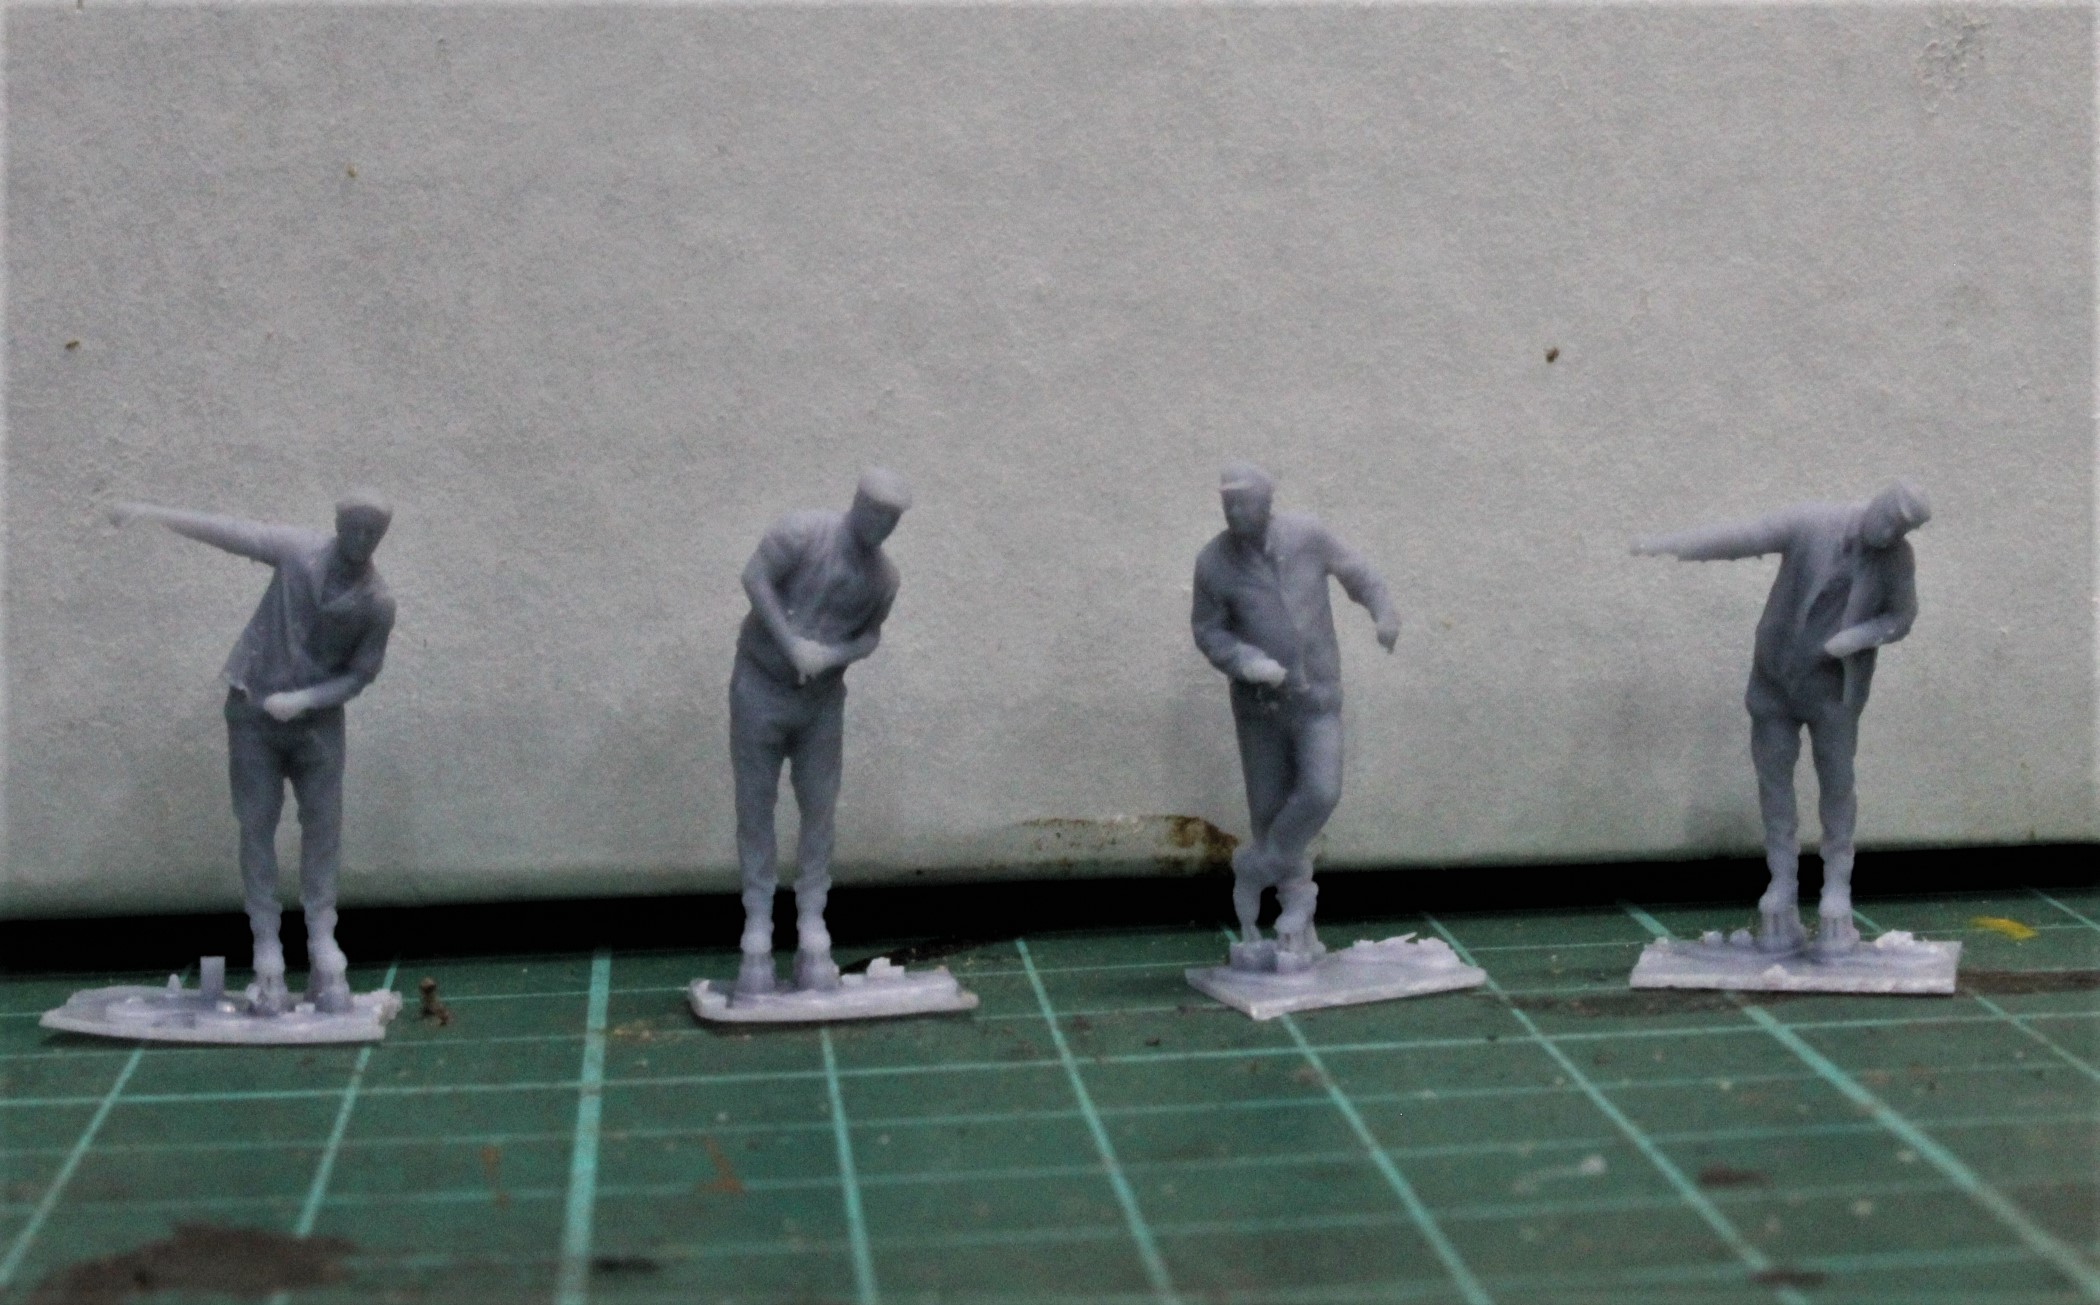
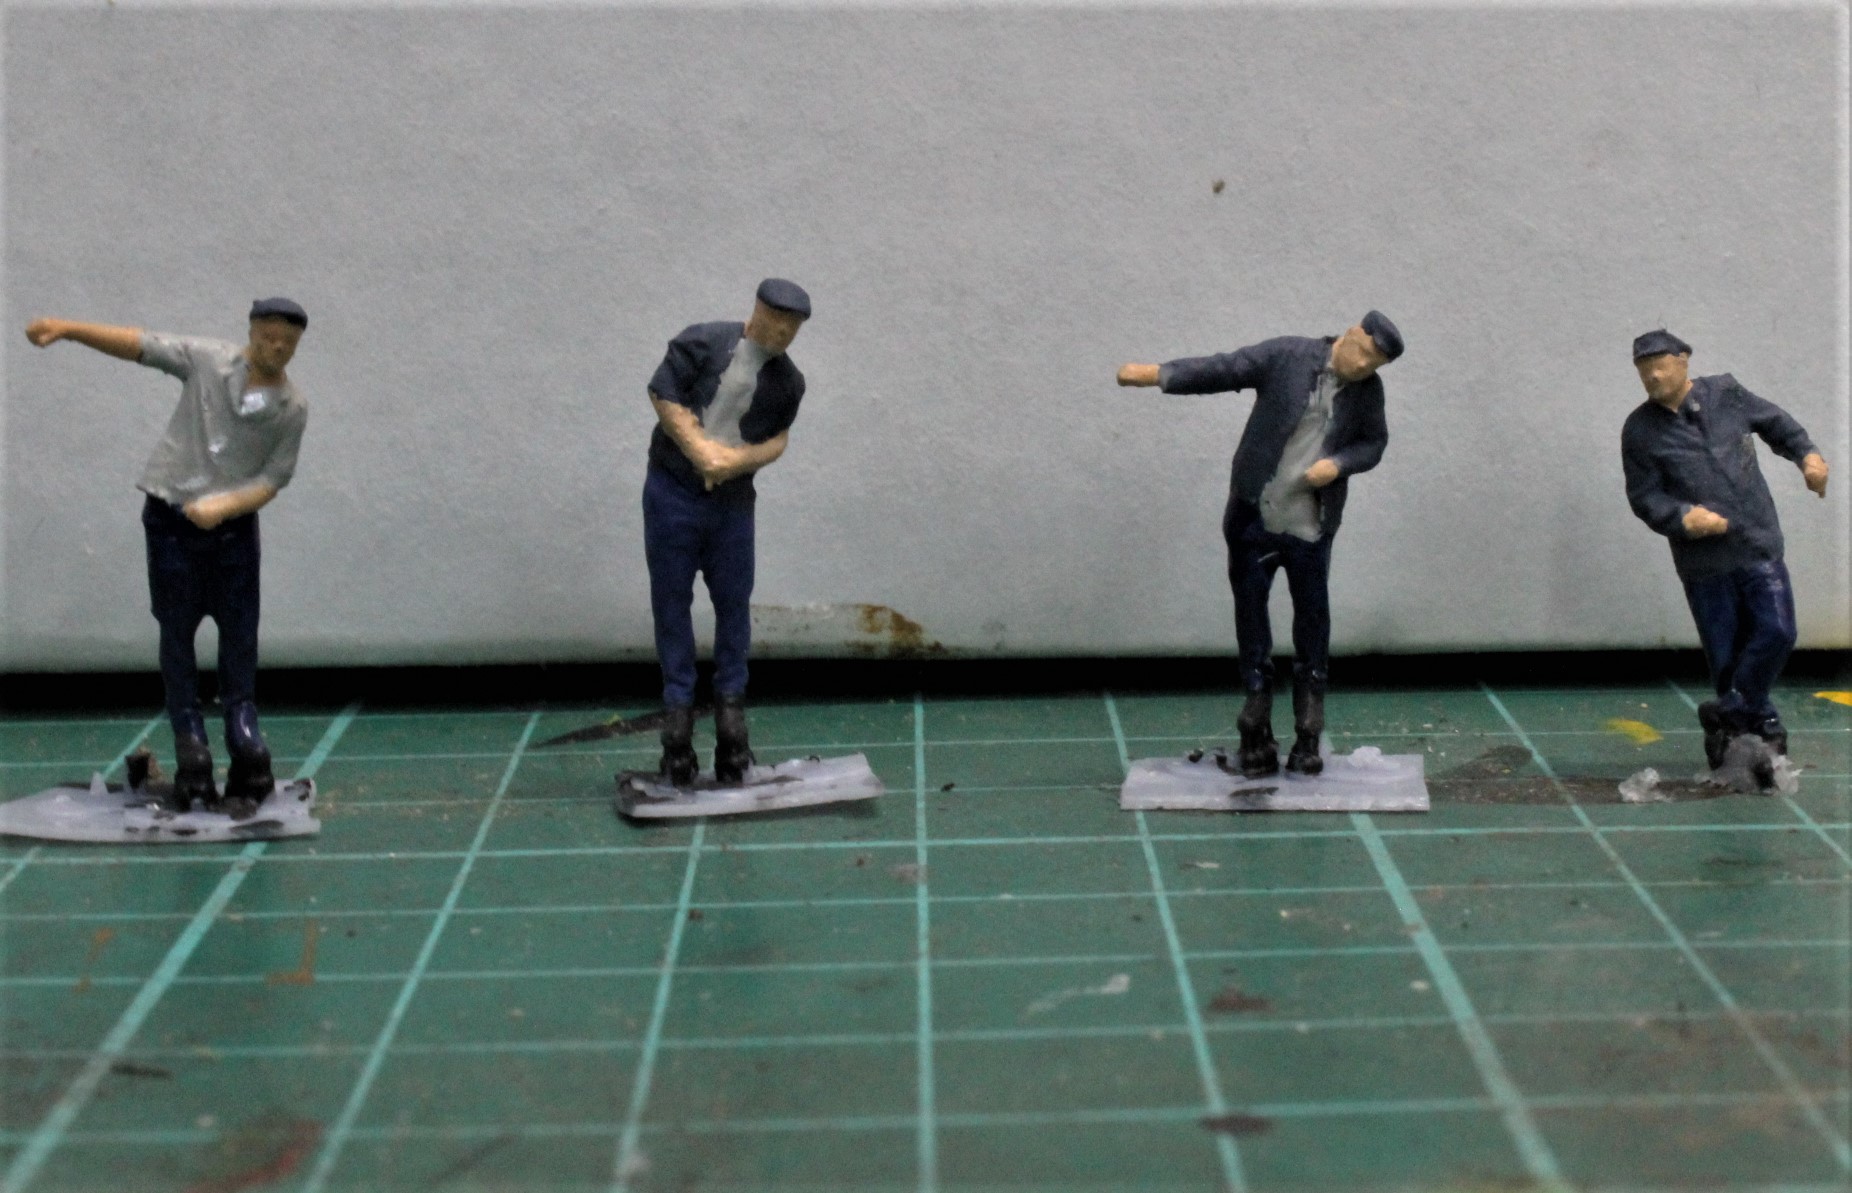
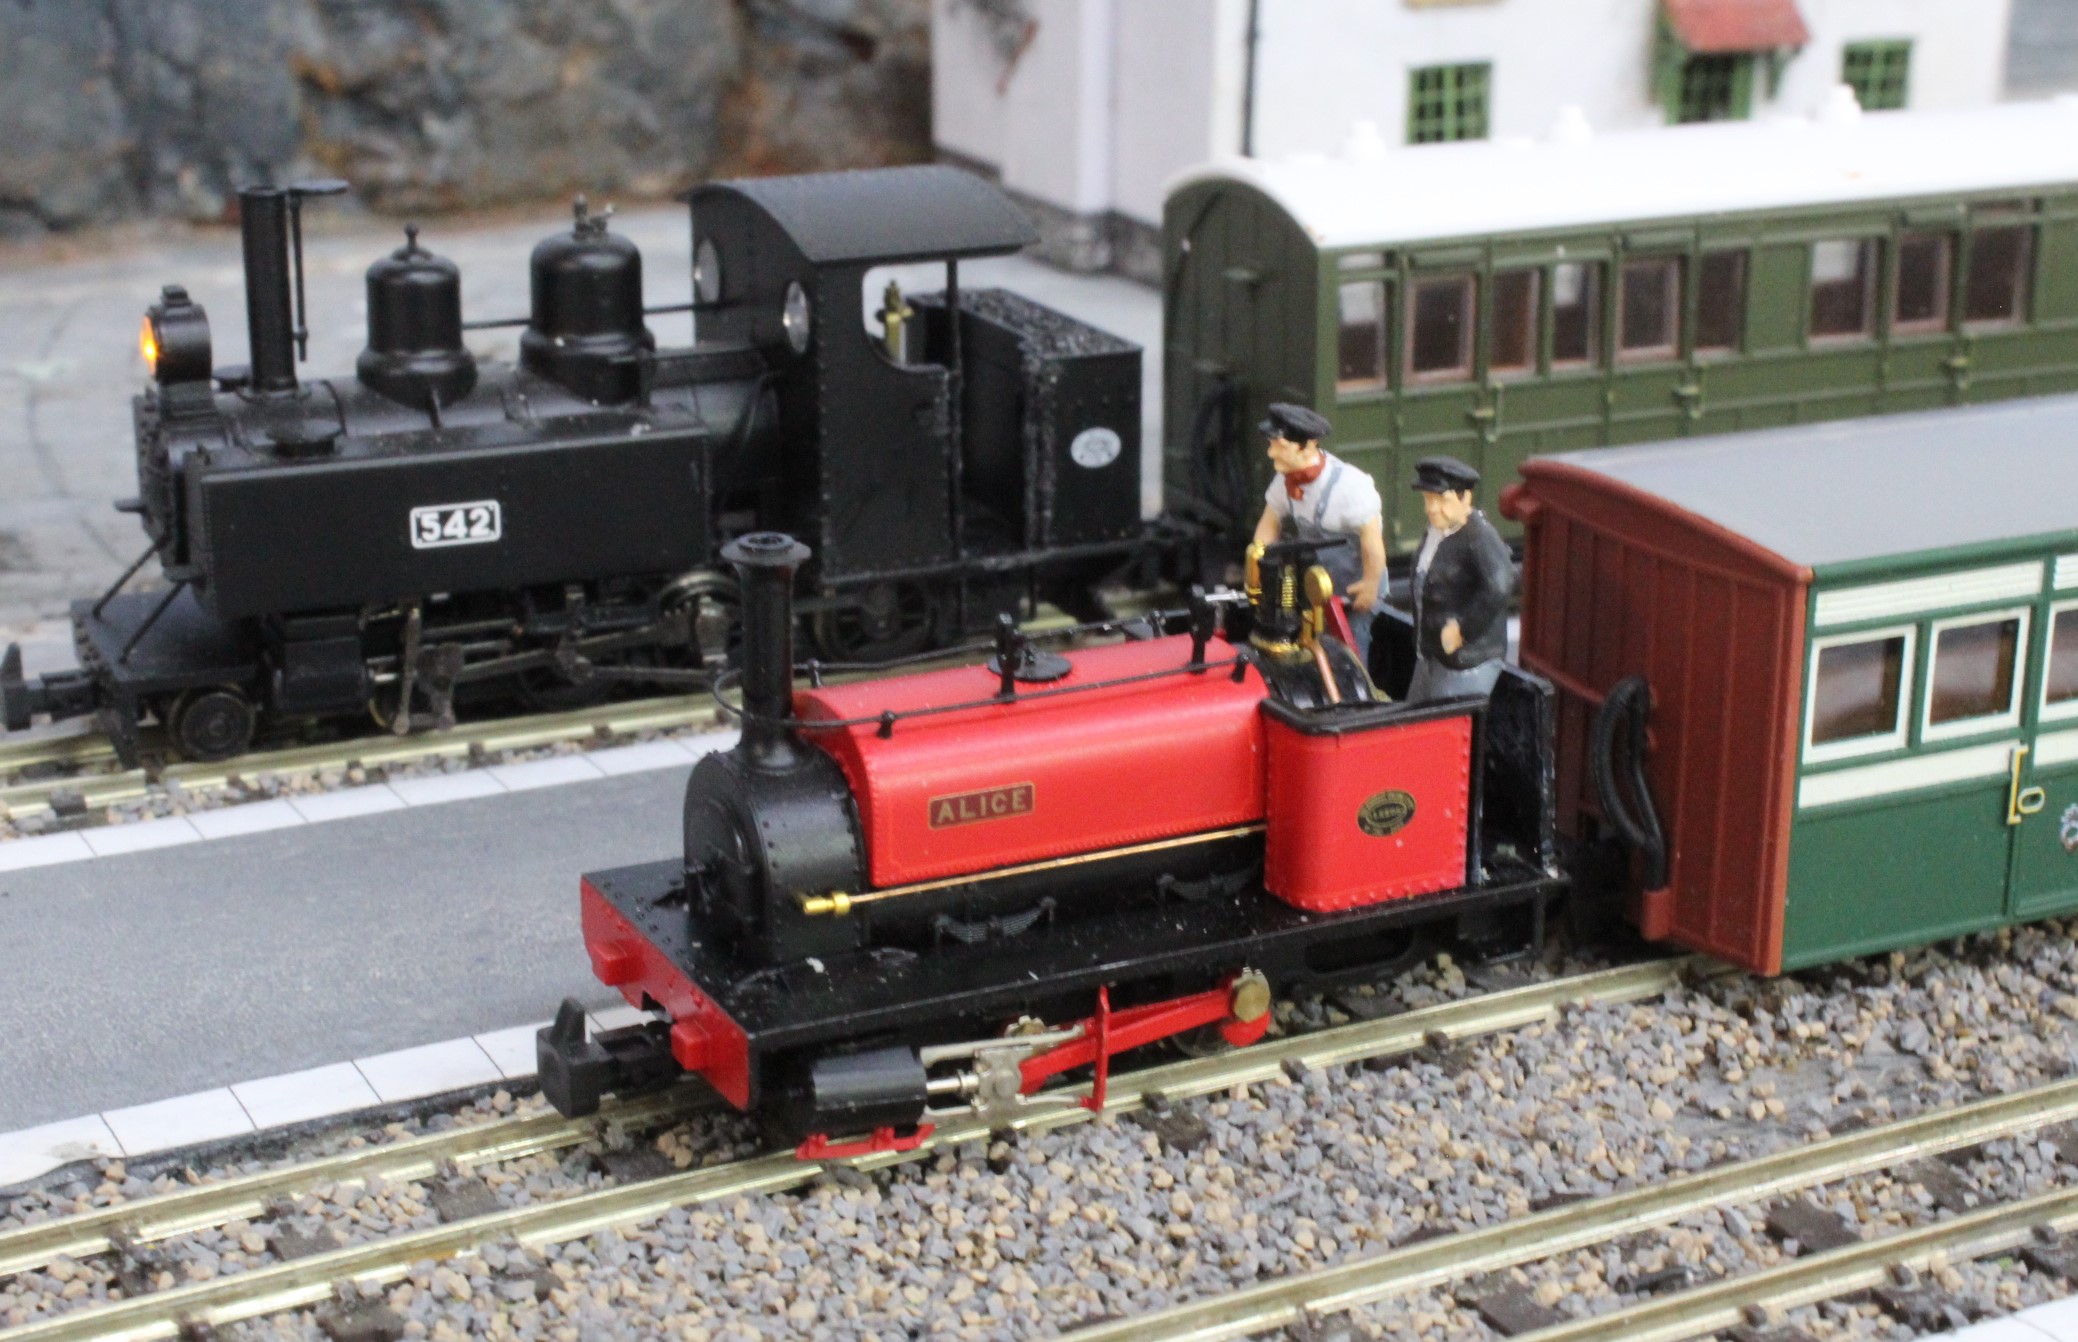
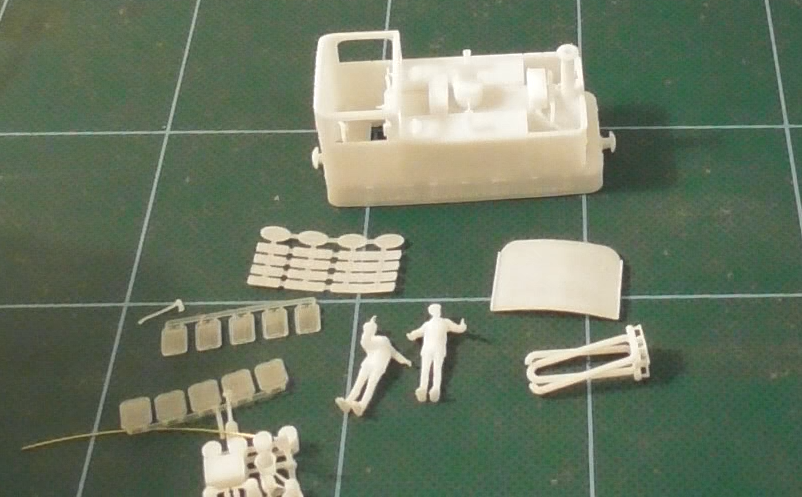
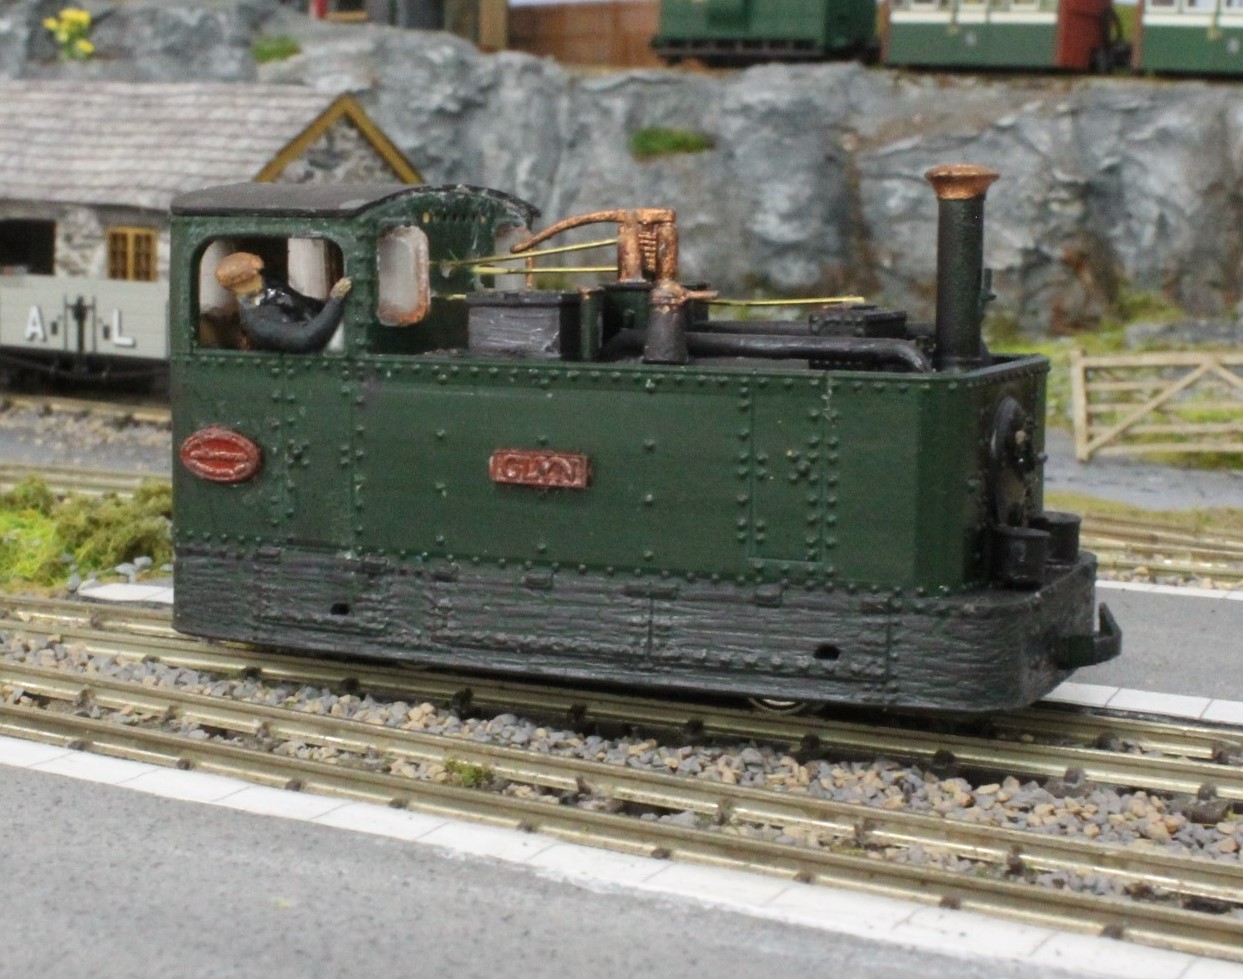
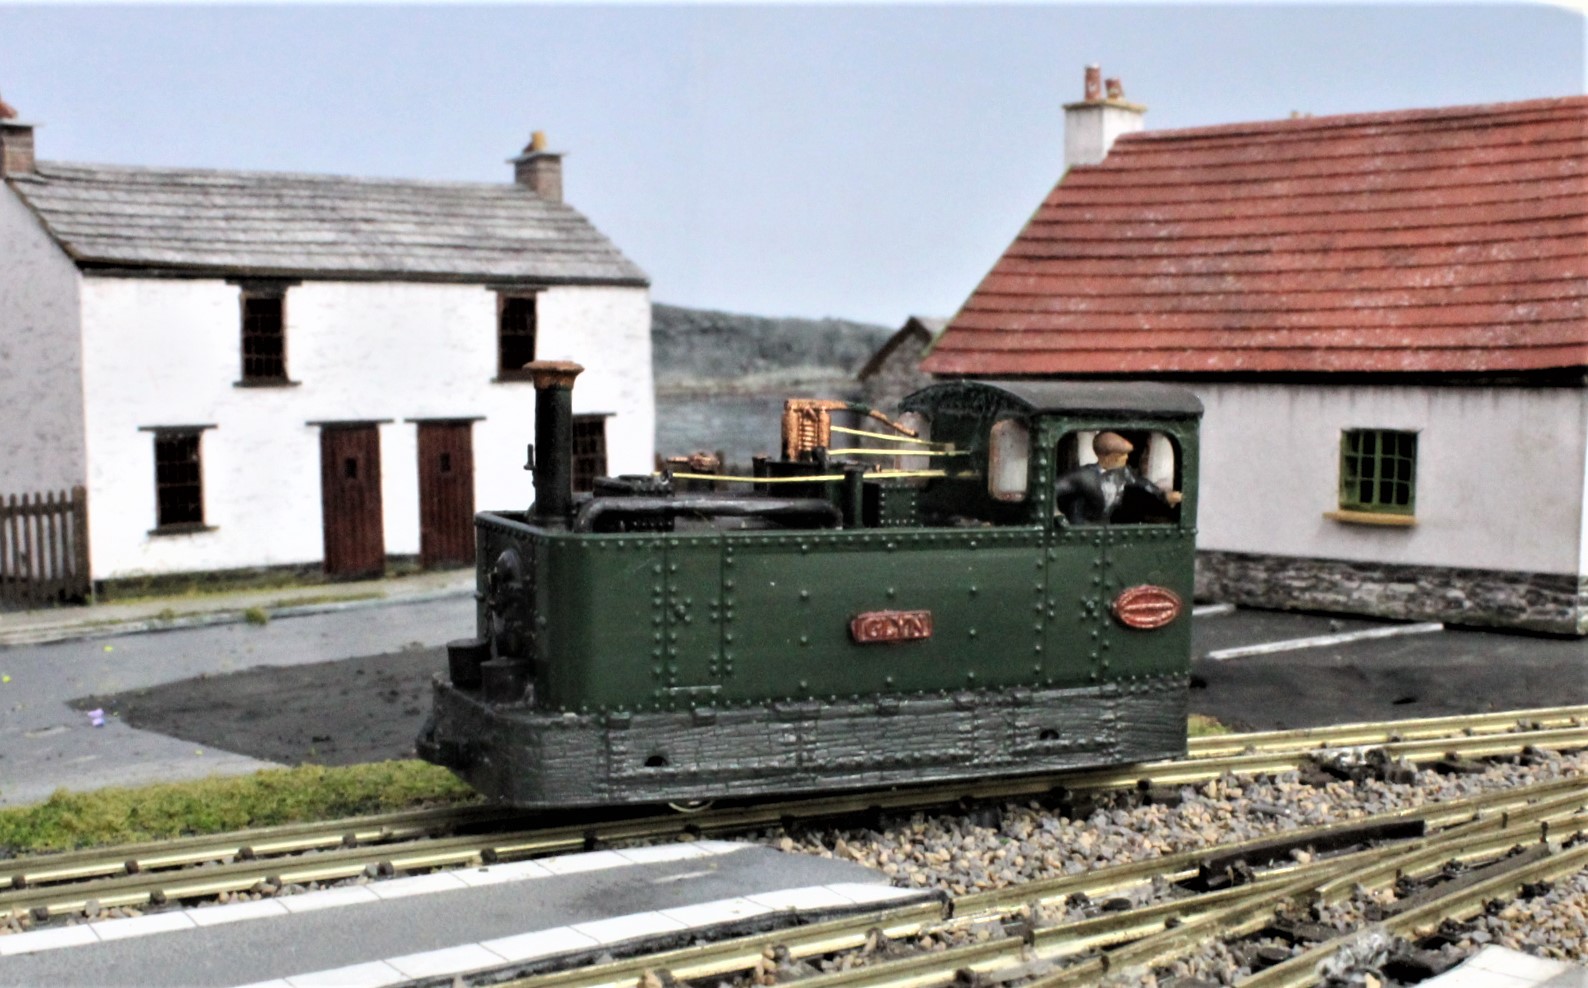
A Fairlie Crew
I normally put crews to all my Locos but with the limited amount of space in this engine I was struggling to find suitable figures that would fit. Luckily Modelu have recently released some sets specifically for the Fairlie so some were duly ordered, painted and fitted
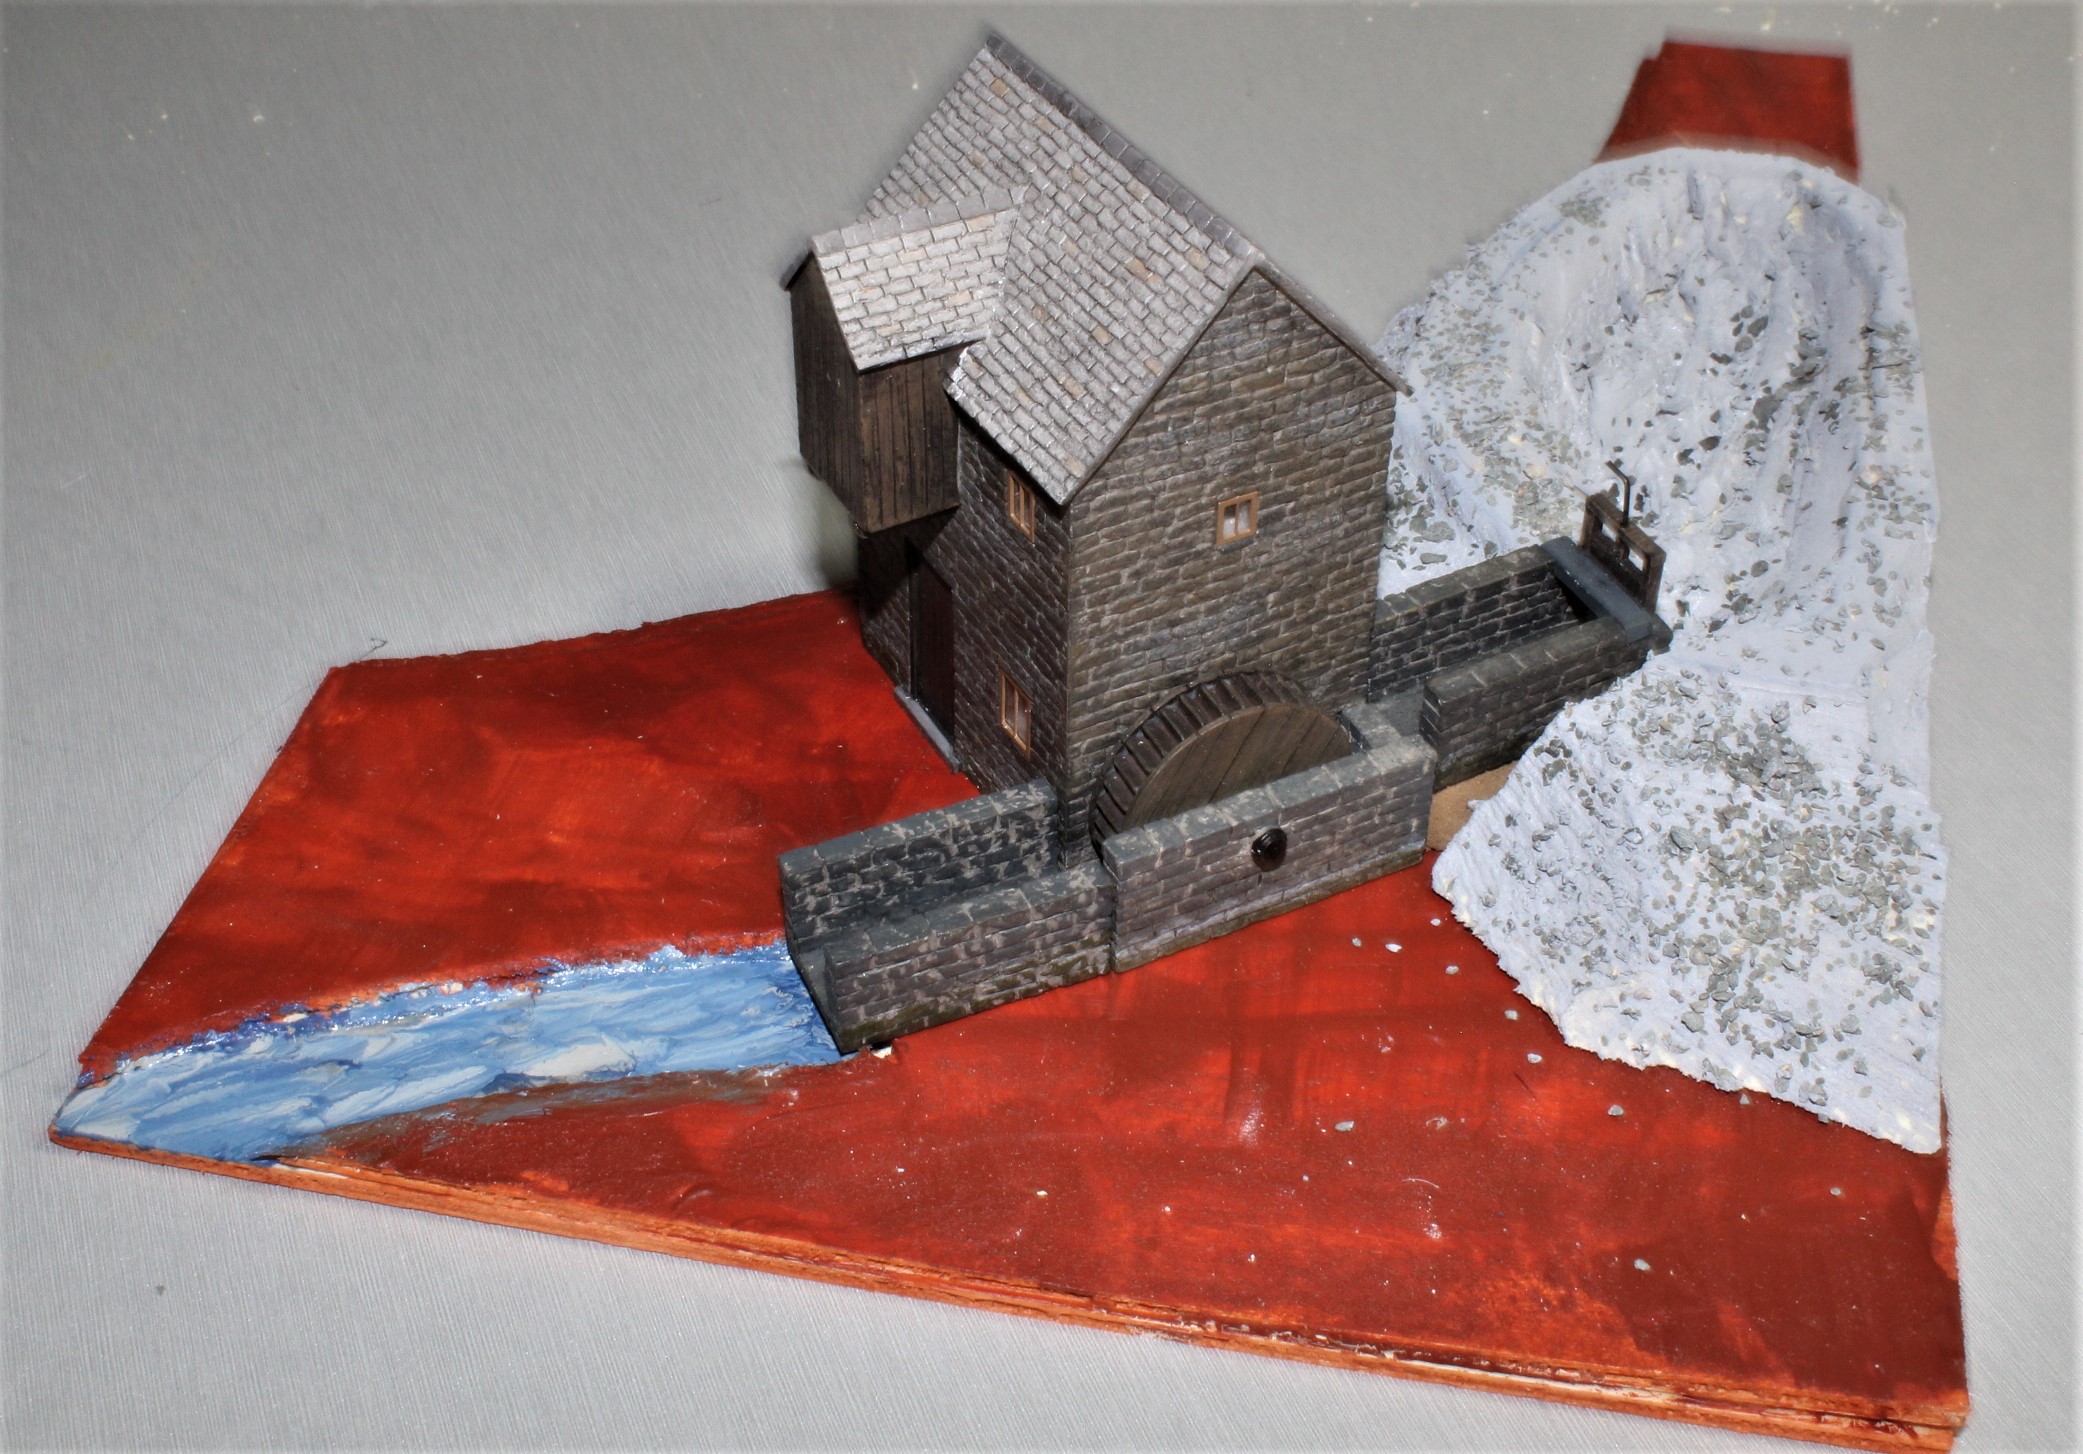
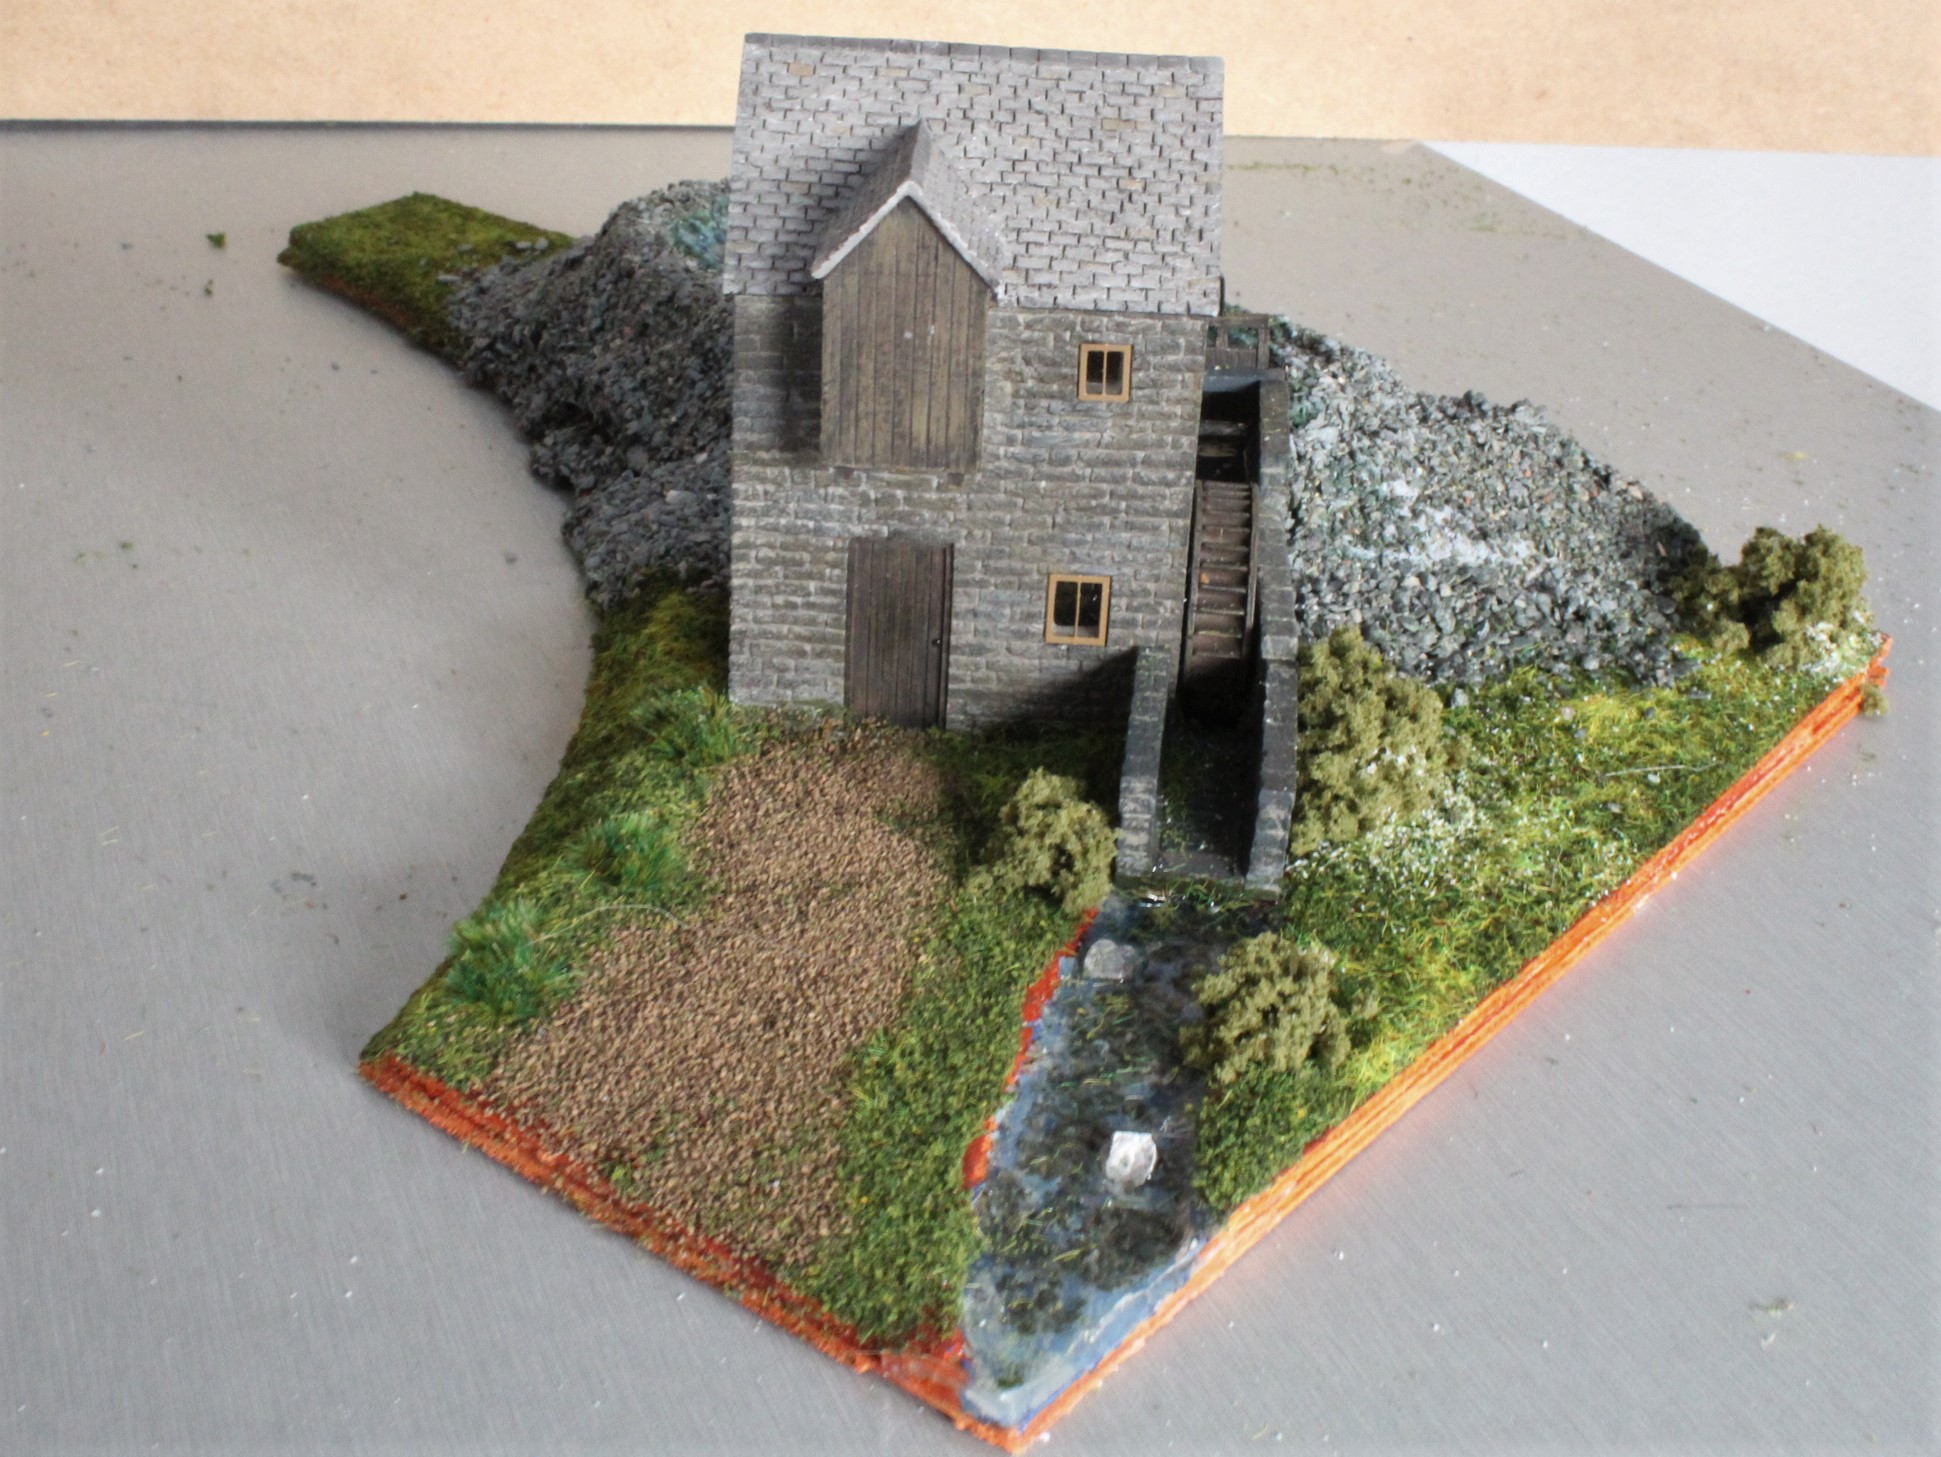
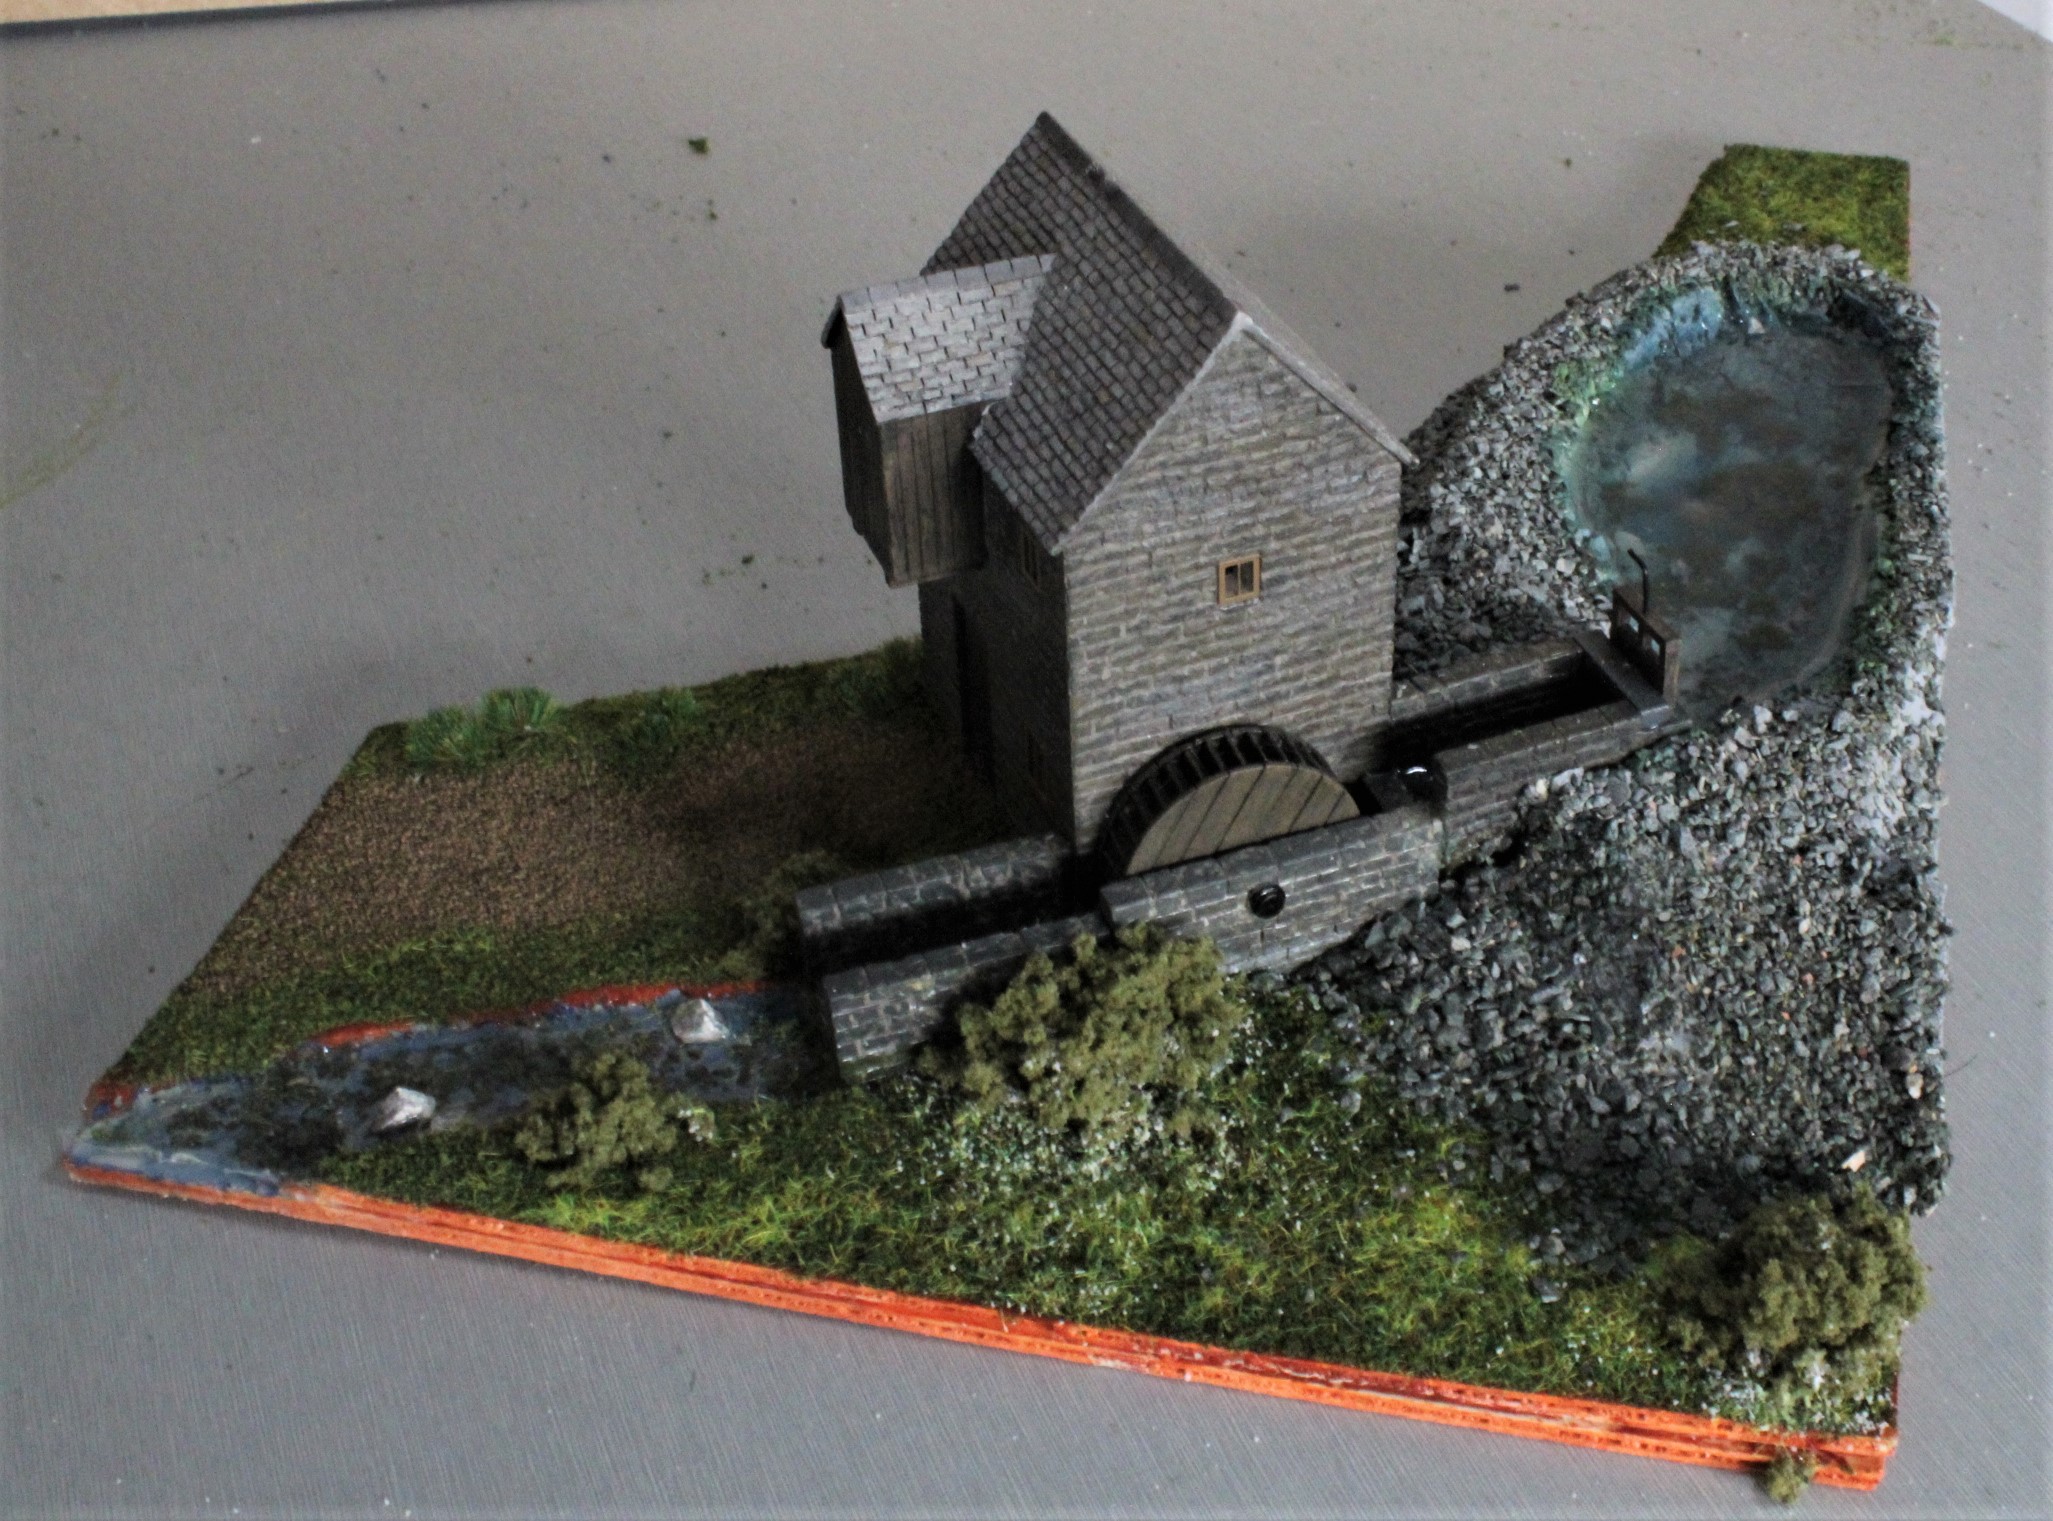
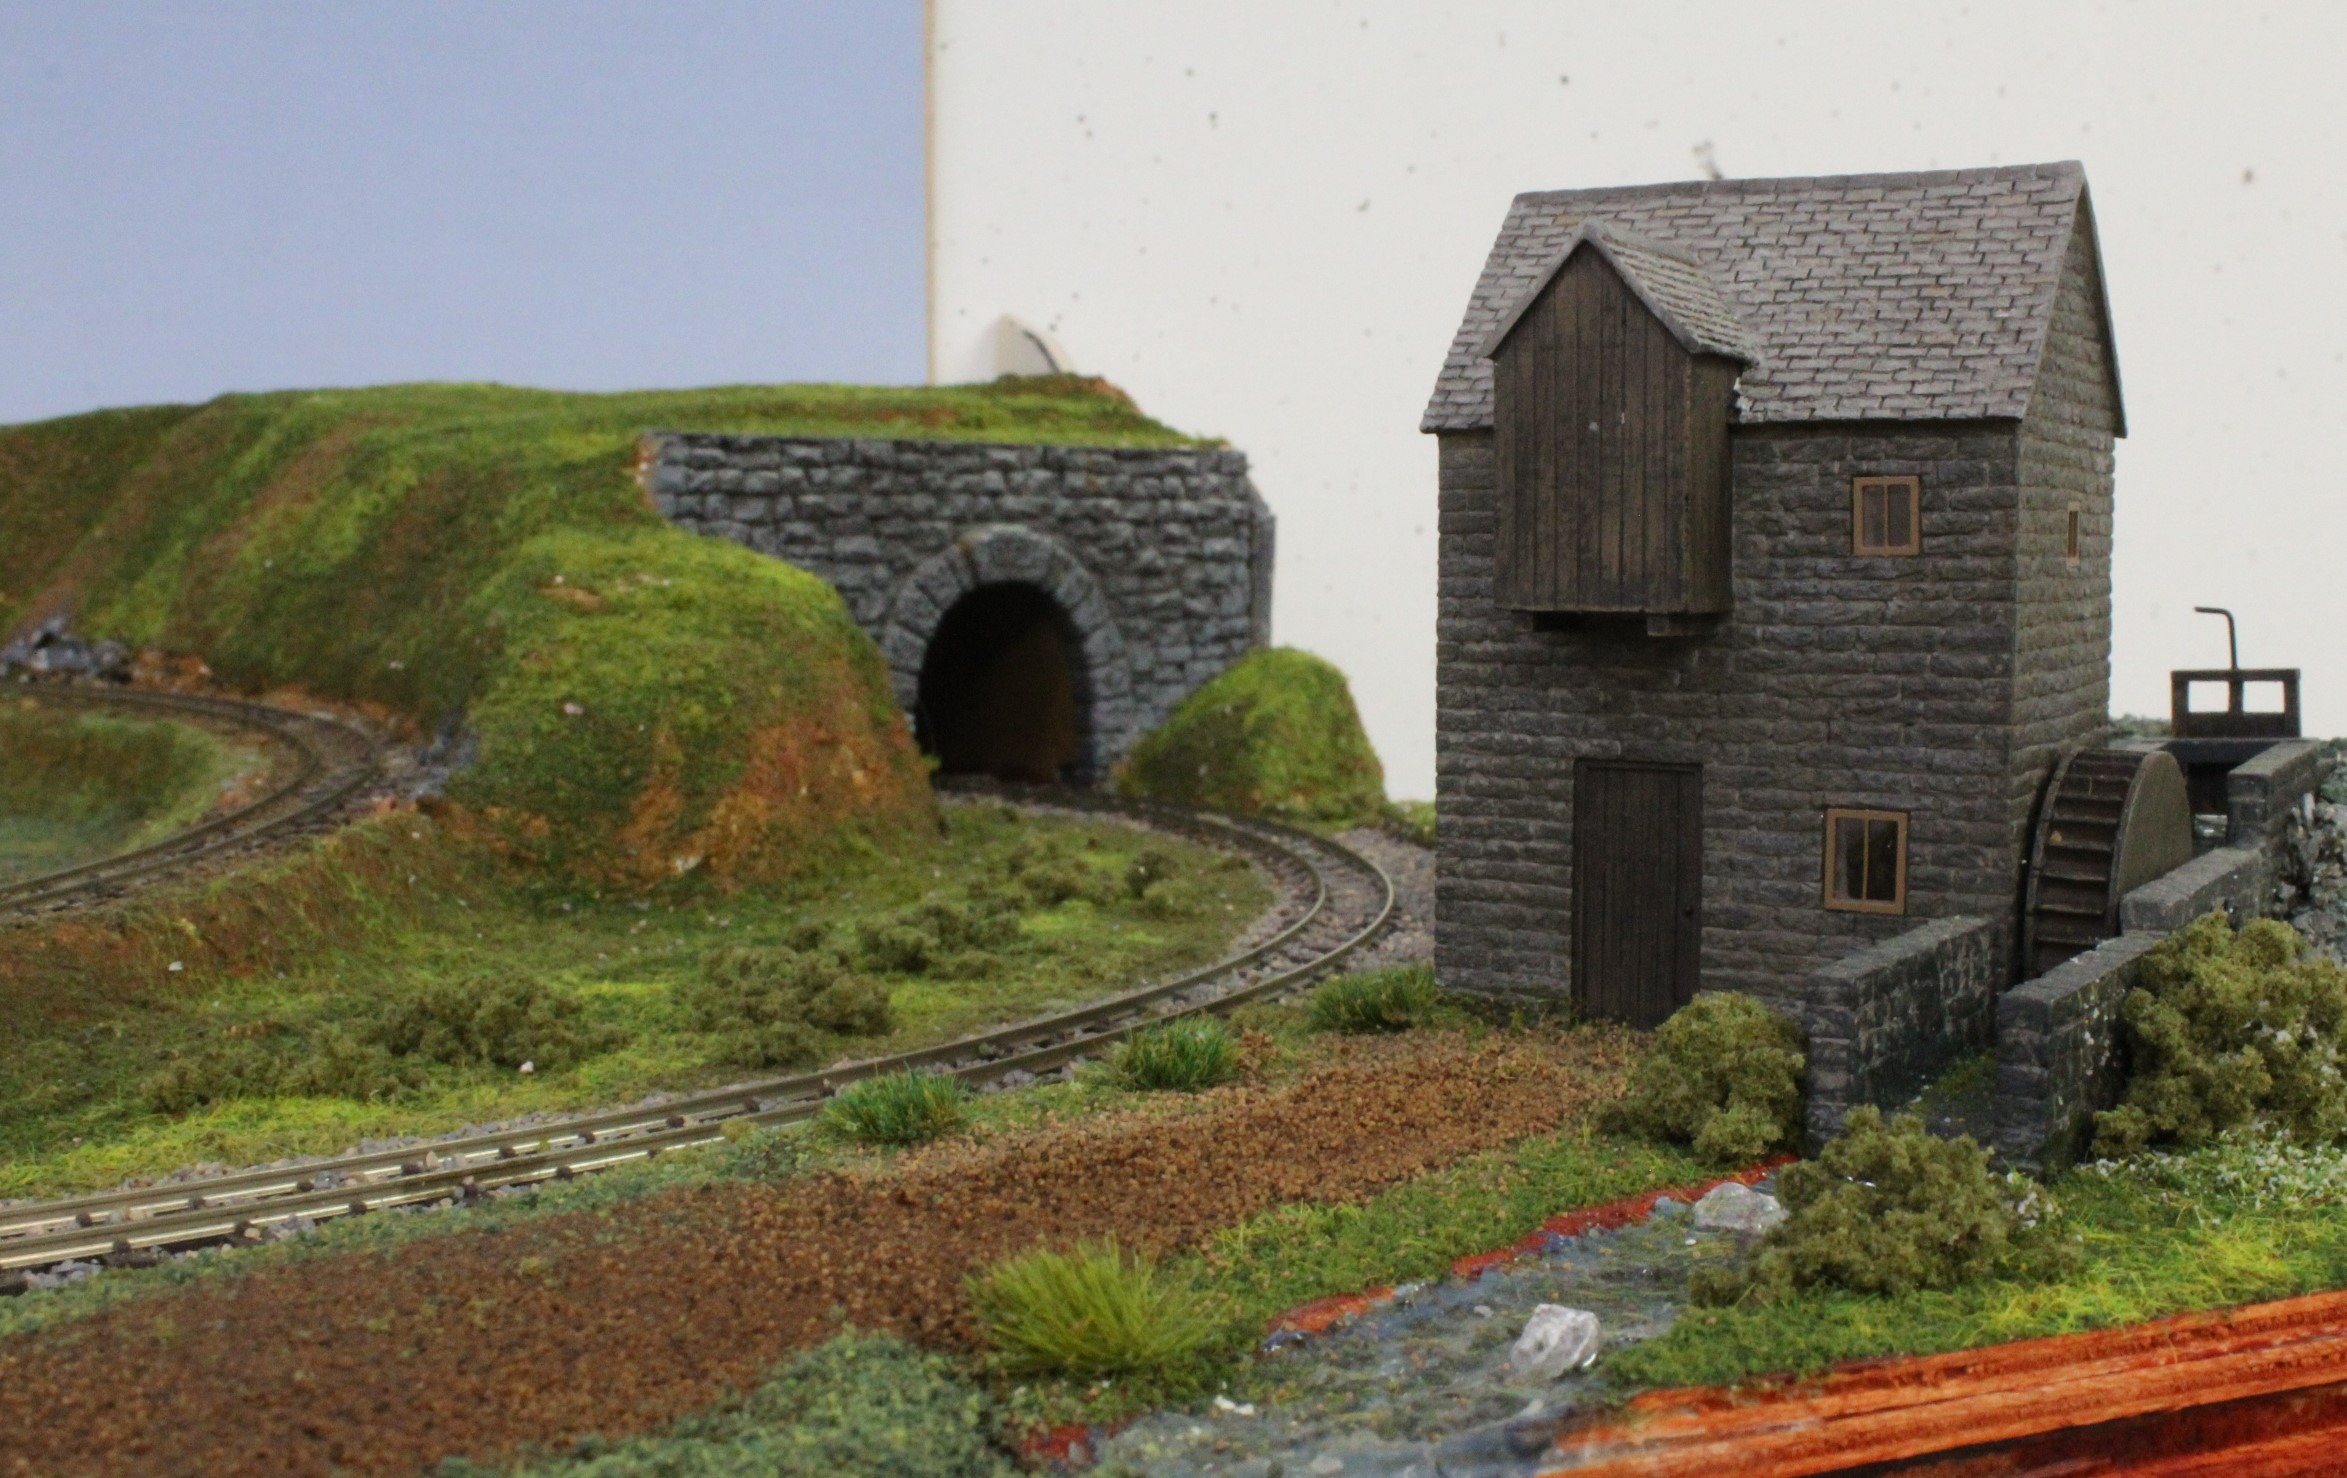
The Water Mill
I recently purchased a Bachmann Water Mill which turned out to be quite a bit smaller than expected so it wouldn’t really fit where it was intended to, any way after a re-think I decided make a small cameo with it by sitting it on a small corner of the layout. I cut two pieces of 2mm ply to give the depth to make a small outlet stream. The catchment pond was carved out of a piece of fine grain packing material. This was all put together, painted and textured with a still water compound used for the pond and stream.
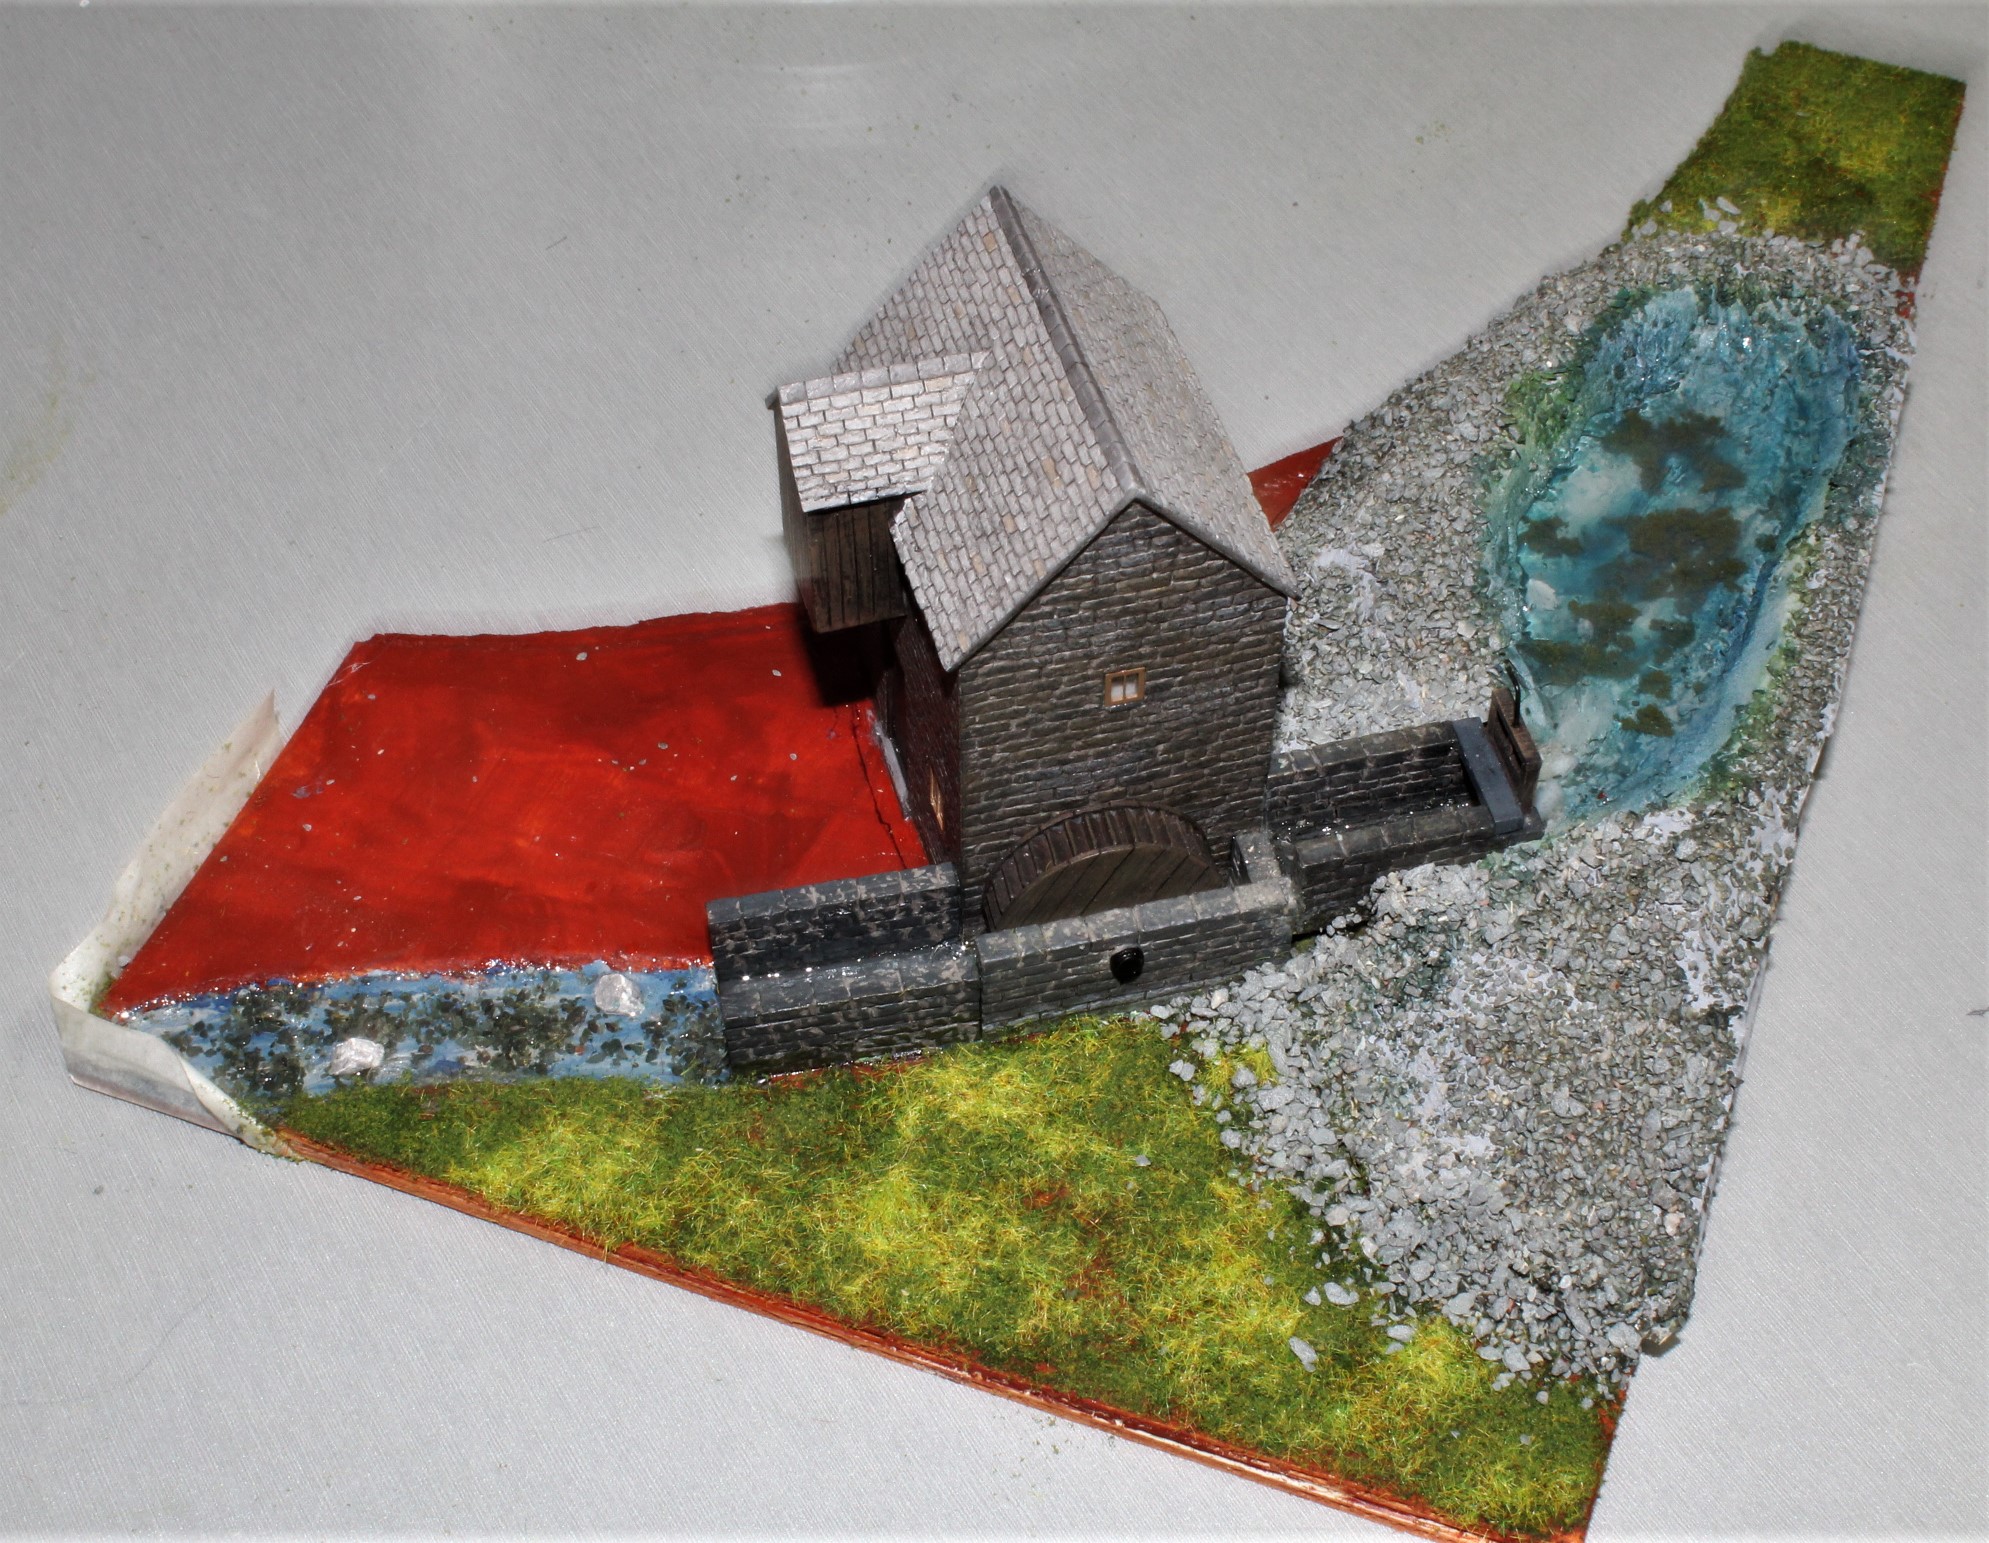
So, after a few final touches of scenery and building up the water level a couple of millimeters each day we end up with this, just need to find some finishing touches, such as people and accessories now.
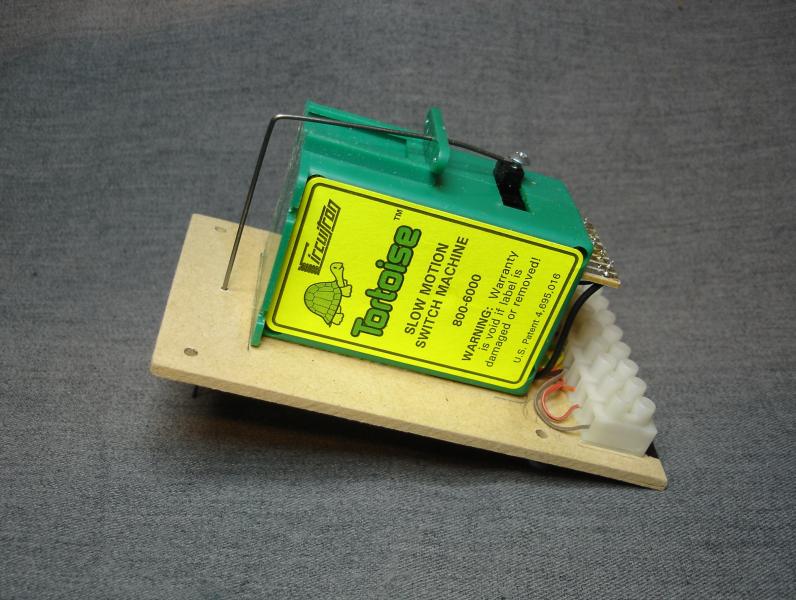
A Sideways Tortoise
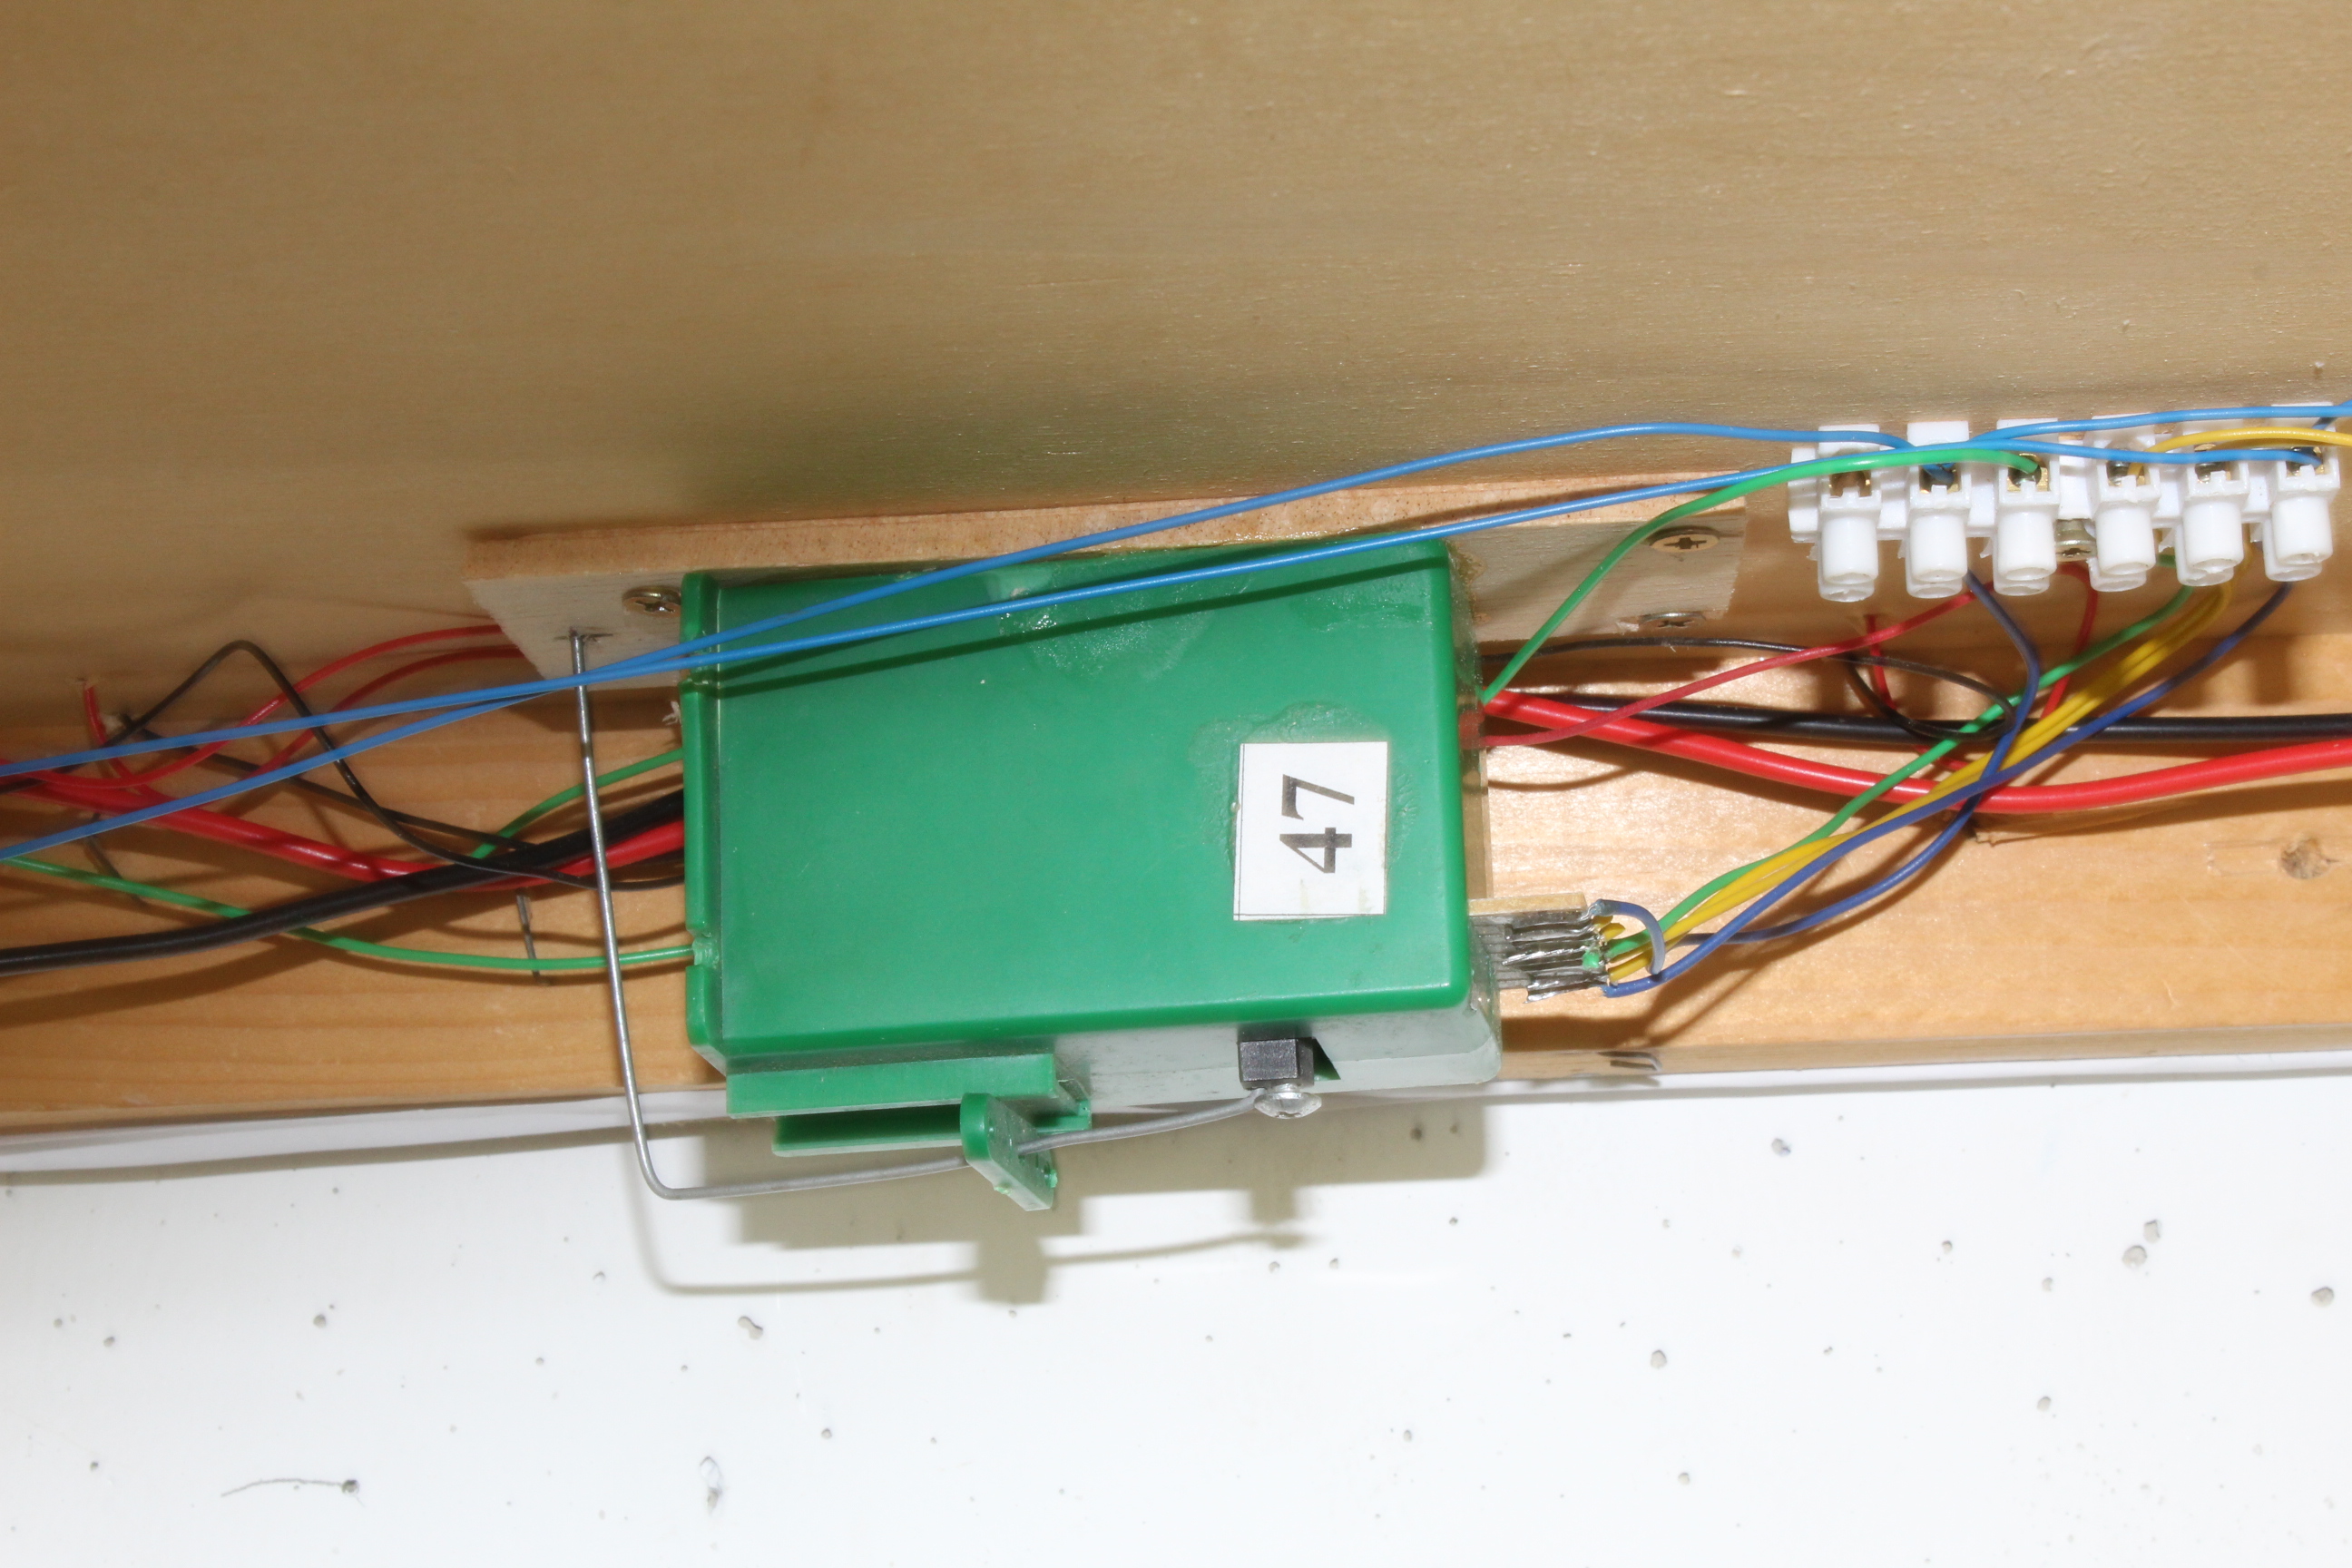
I have always used Tortoise point motors on my main layout and have been very pleased with their easy installation and reliability so I wanted to continue using them on this layout. The problem was that as mounted normally they have quite a depth so I found a way to mount them sideways which meant that they would be contained within the baseboard framework and the added bonus was that all the wiring was tucked safely out of harms way under the board
Up The Embankment
In this third video we show the process of building the embankment plus some detail of modifying the Tortoise point motors so that they will fit snugly under the baseboard.
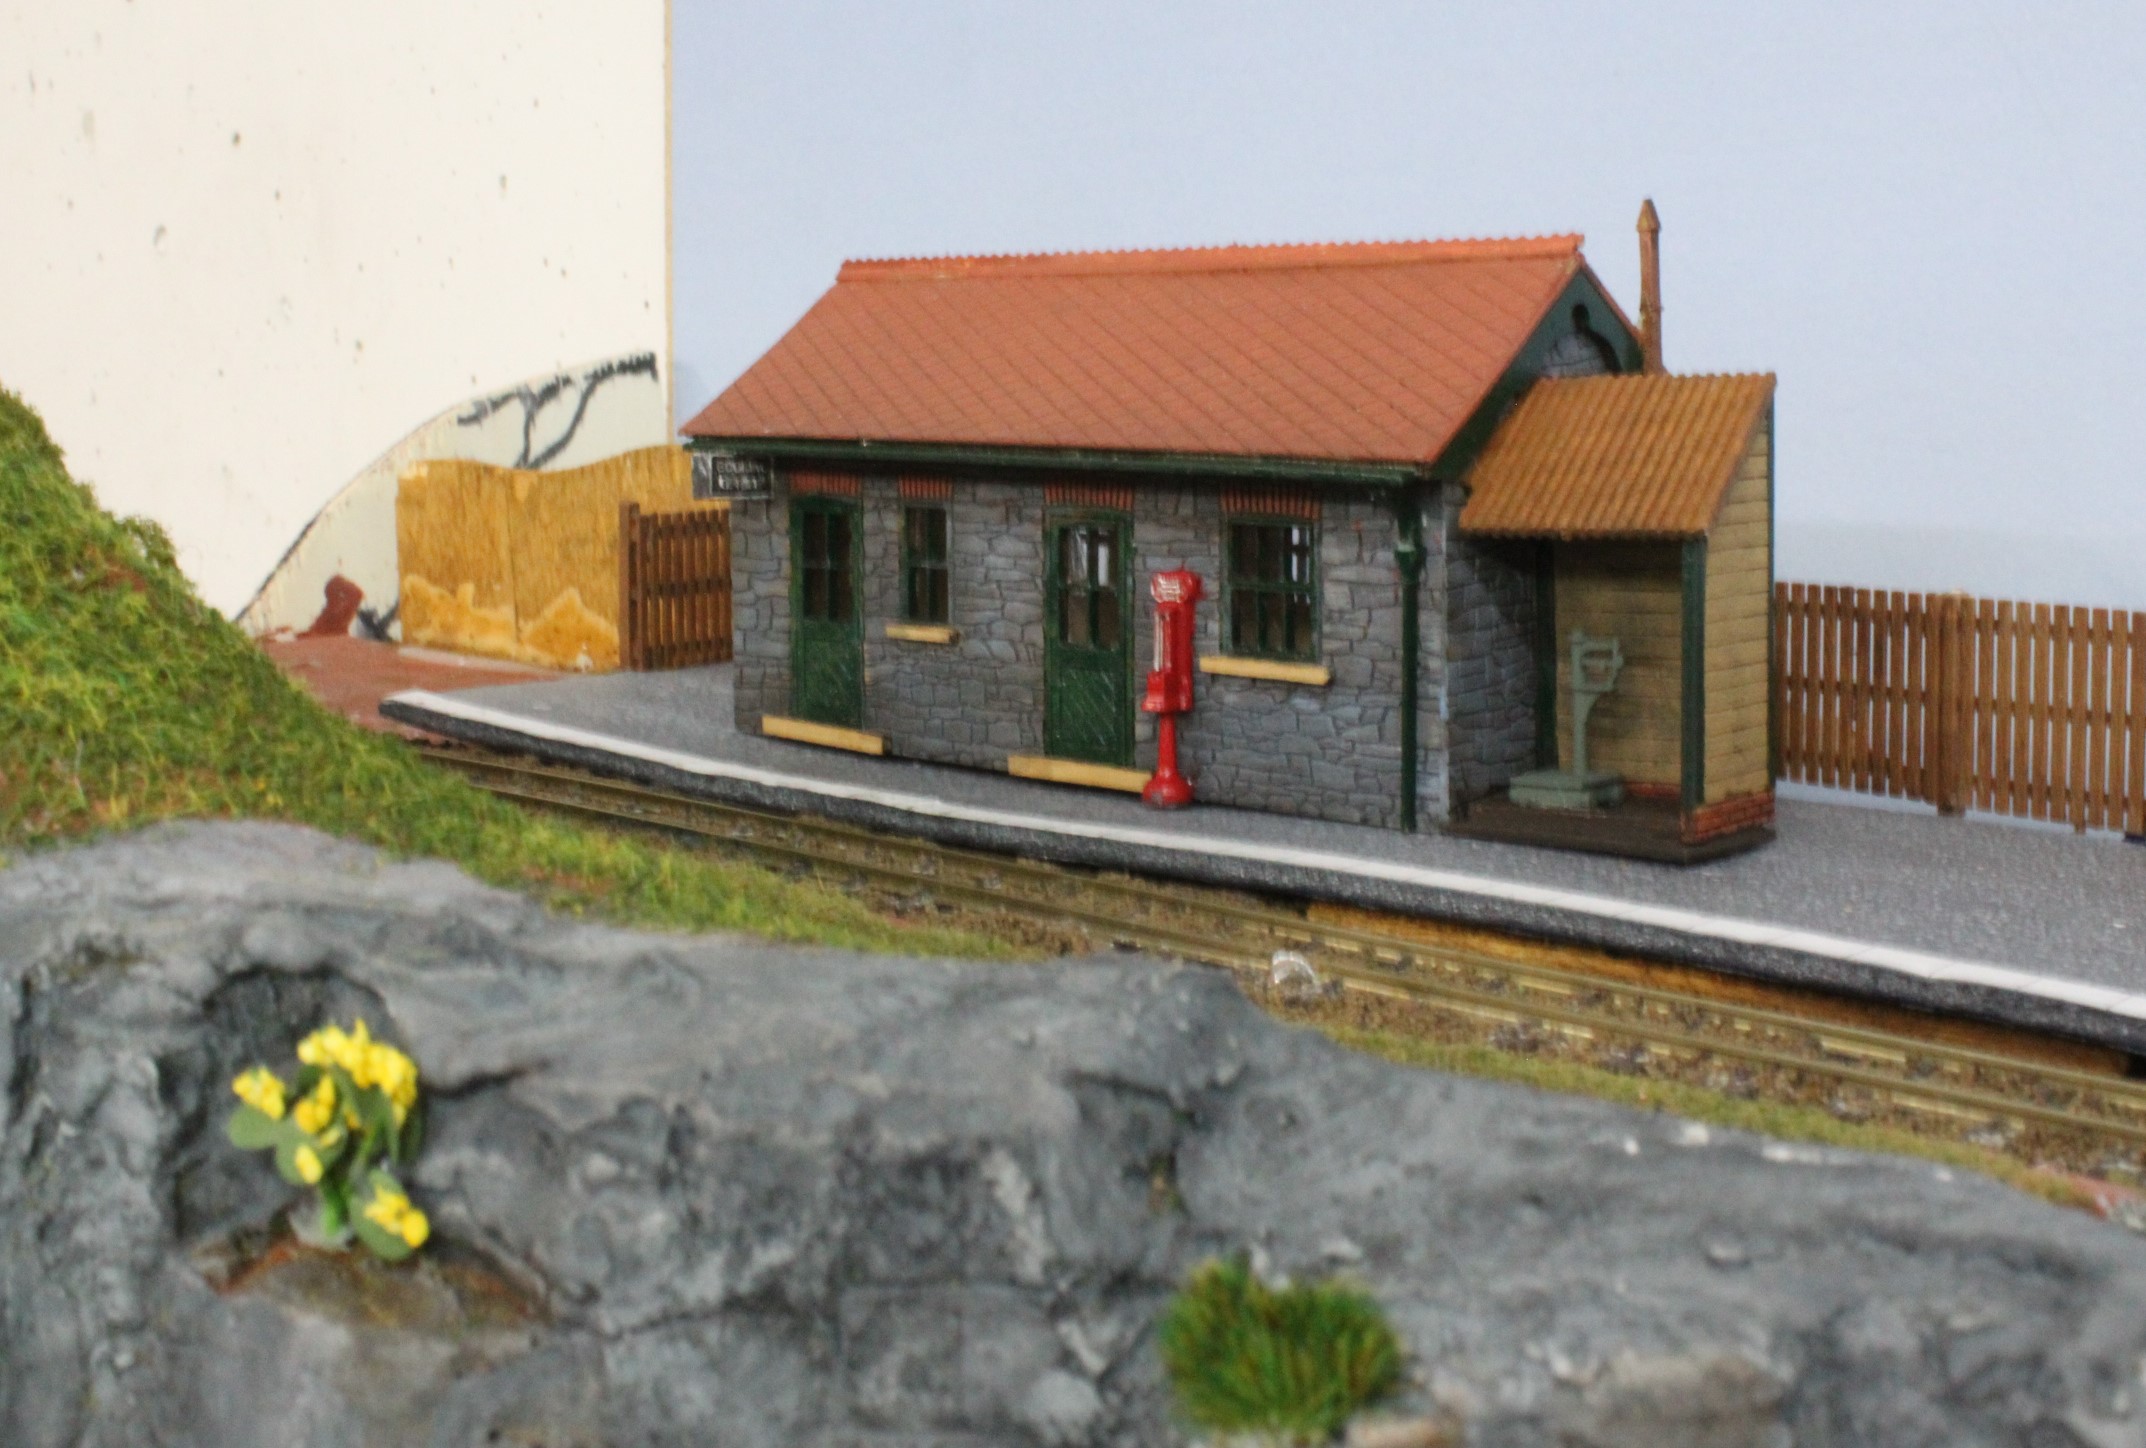
The next items that were fitted were the Platforms, for this I used Styrene Sheet, cut to fit and painted grey. I was going to texture them by sprinkling on a fine scatter material but they do have quite a convincing texture of their own providing you vary the grey surface colour to make it appear more realistic. For the platform edging I used a strip of the printed sheets that were previously made for tiling my model buildings.

A New Arrival
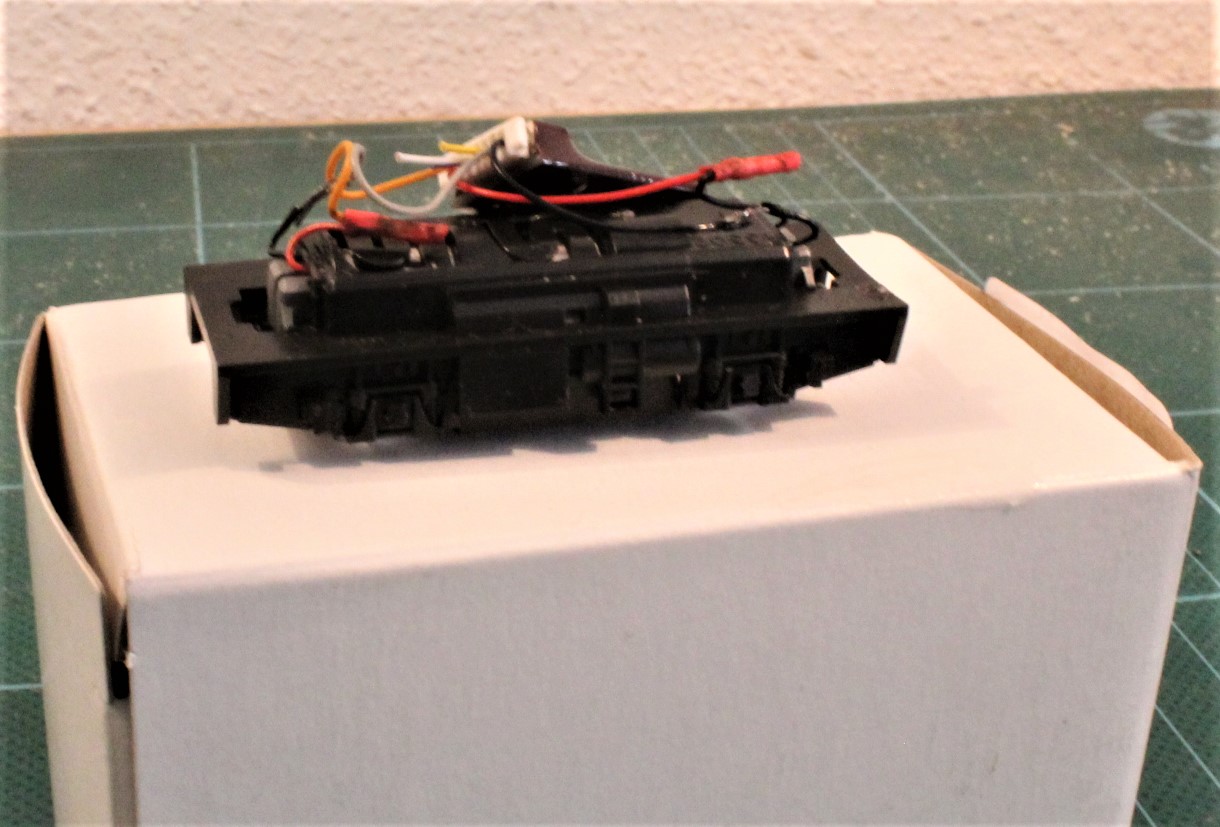
The latest Loco to join the fleet is the little Quarry Hunslet, I was a bit hesitant about buying such a small loco as I wondered how good the performance would but it turns out to be an excellent runner with lots of detail and with the loco specific crew from Osbourne Models it looks superb. The trickiest part was fitting the 6 pin decoder I couldn’t get the recommended Bachmann one but managed to find an ESU equivalent that would just squeeze in.

Let’s Get Started
Well finally after a very long wait we can start making progress, the all important pack of Tortiose point motors have arrived so now I have enough to complete the board, it took three and a half months to get them and three trips before they got here. Lost in the post first time, returned with incorrect paperwork the second time but on the third trip they made it. So, now we can get the layout wired up and fitted on the wall brackets that have been patiently waiting for them.
Once the layout was fitted and tested the first two buildings were put in place, these were the Water Mill feature that had been built previously and a little wayside halt station that at the moment is at the top of the incline that will eventually lead up to the Slate Quarry.
So now we can make progress, lot’s of thing to build, a village to plan but first of all let’s just sit back and run a few trains, after all that’s really what this is all about isn’t it
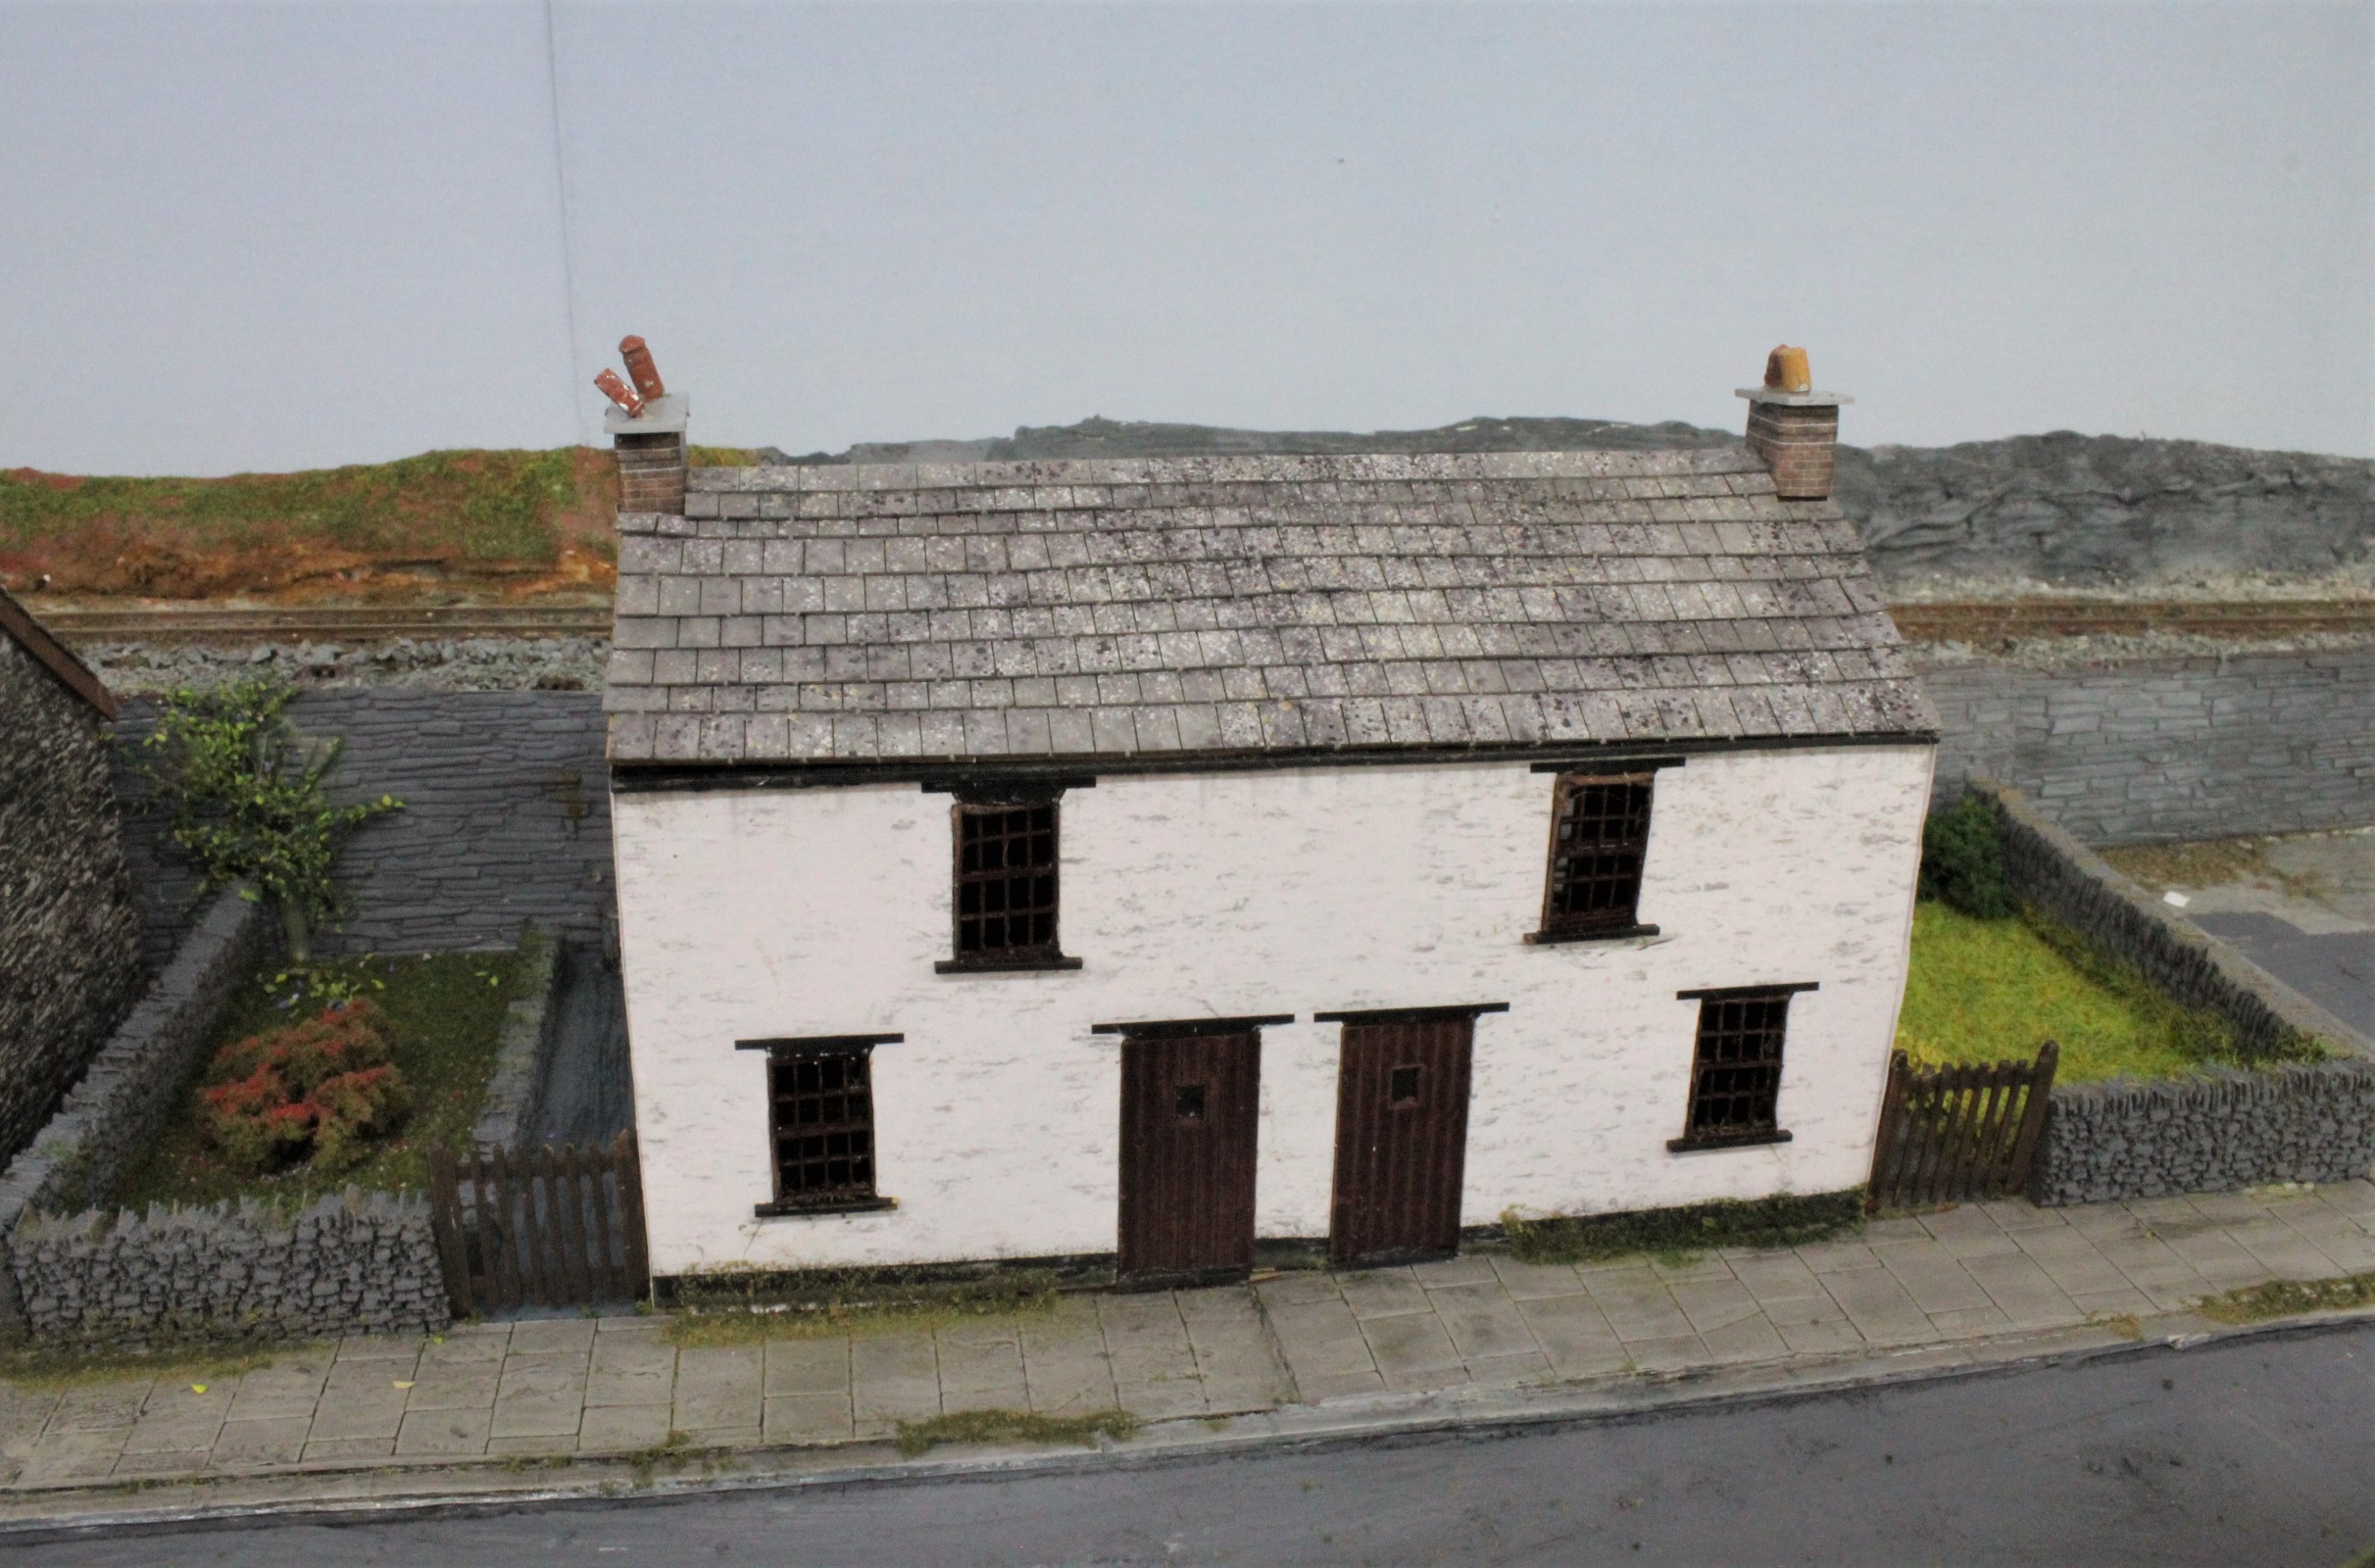
Totally Derelict
Living in Spain means that the postal service and charges have become more difficult since Brexit so I am always on the lookout for suitable European models that I can use on the layout. So, recently I came across this Noch model of a farmhouse building that seemed to fit the bill.

I rounded off the base moulding so that it would fit the intended site better and started painting using Lifecolors Rubble And Debris paints and the ground was coloured with AKs muddy ground from their war-gaming range.
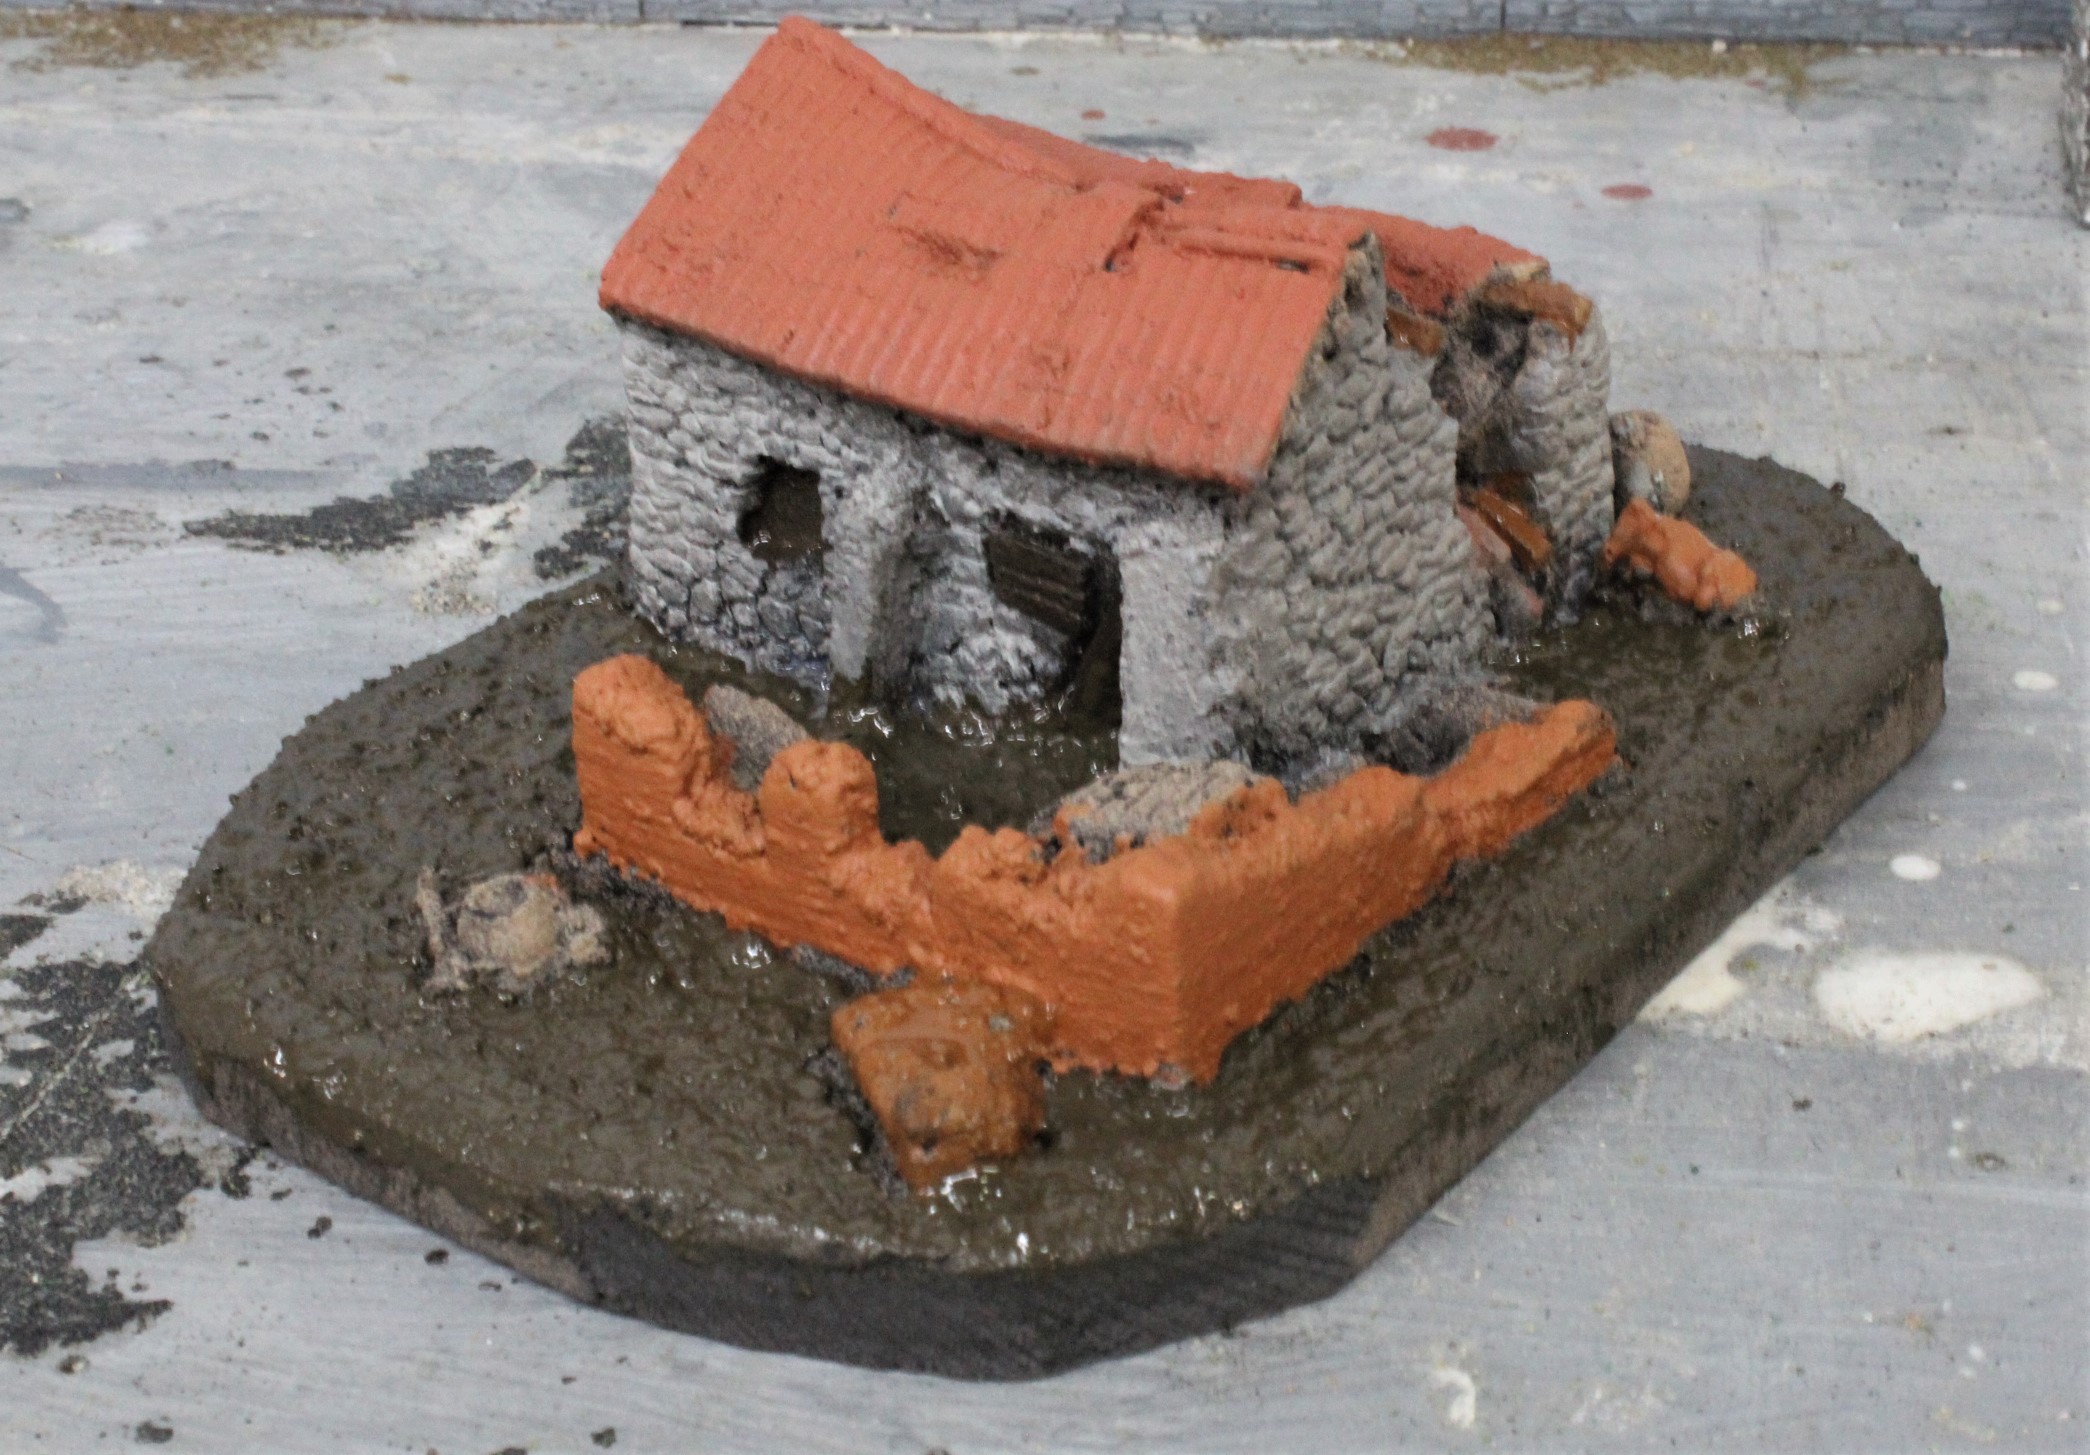
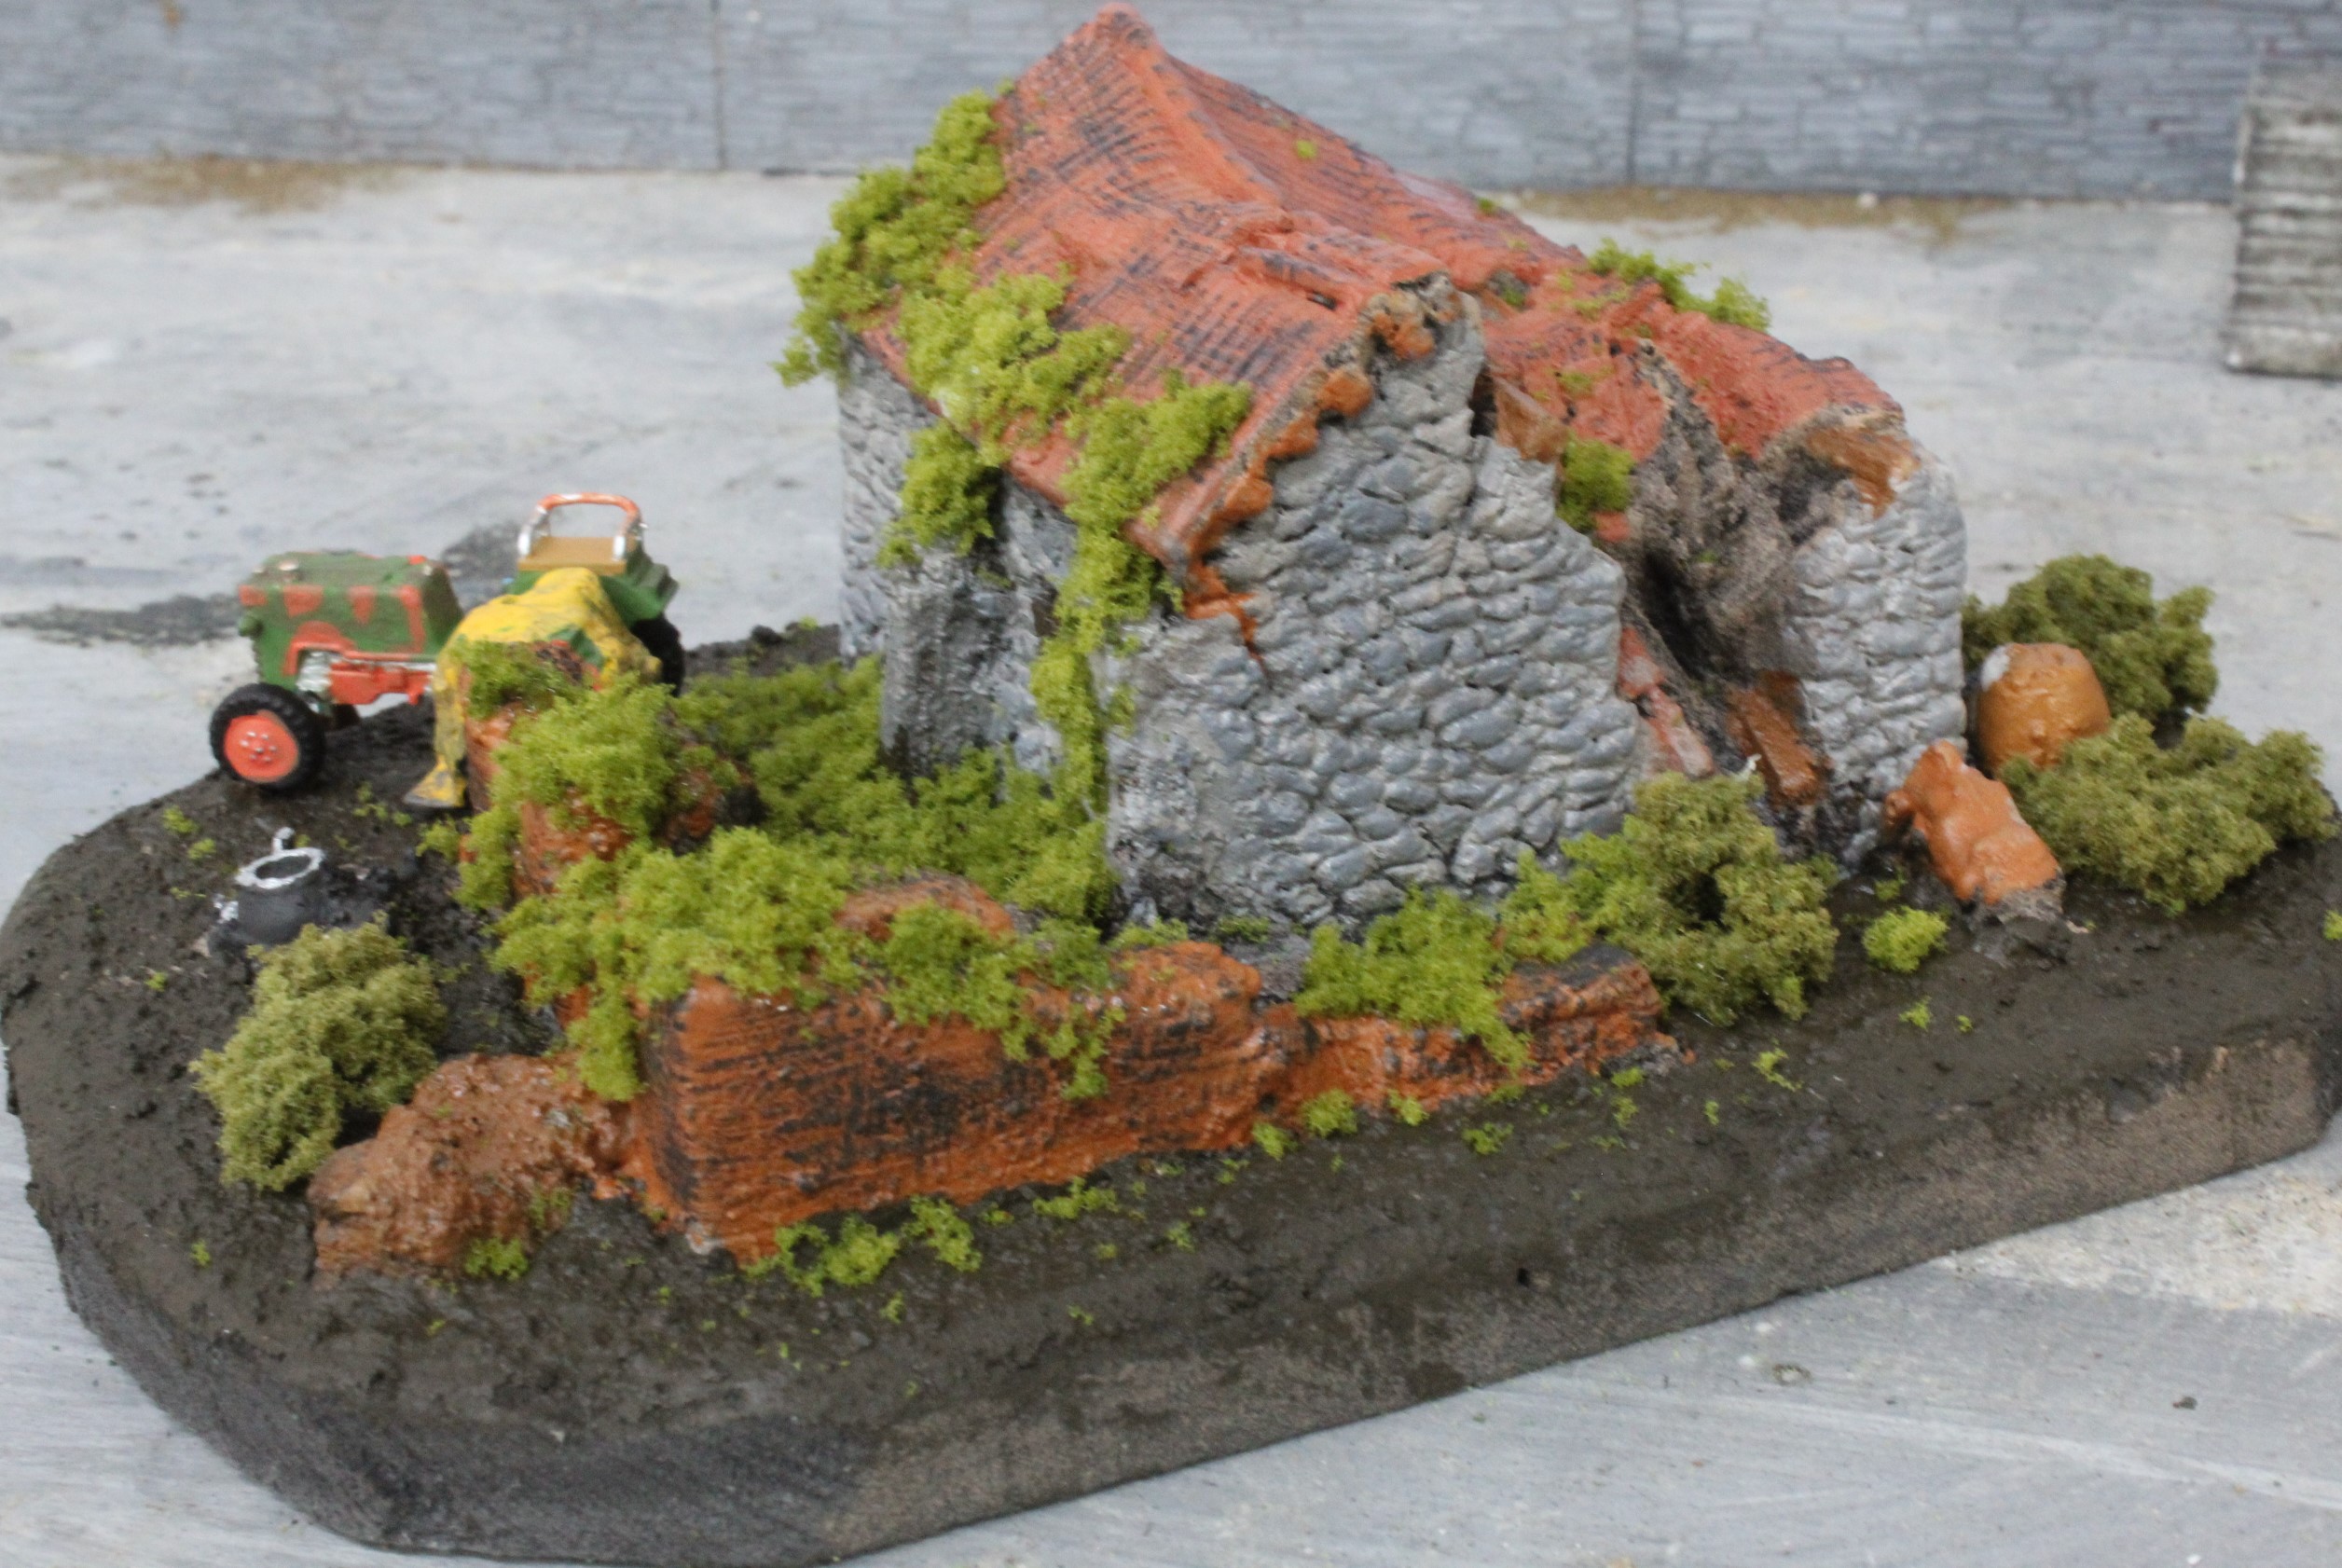
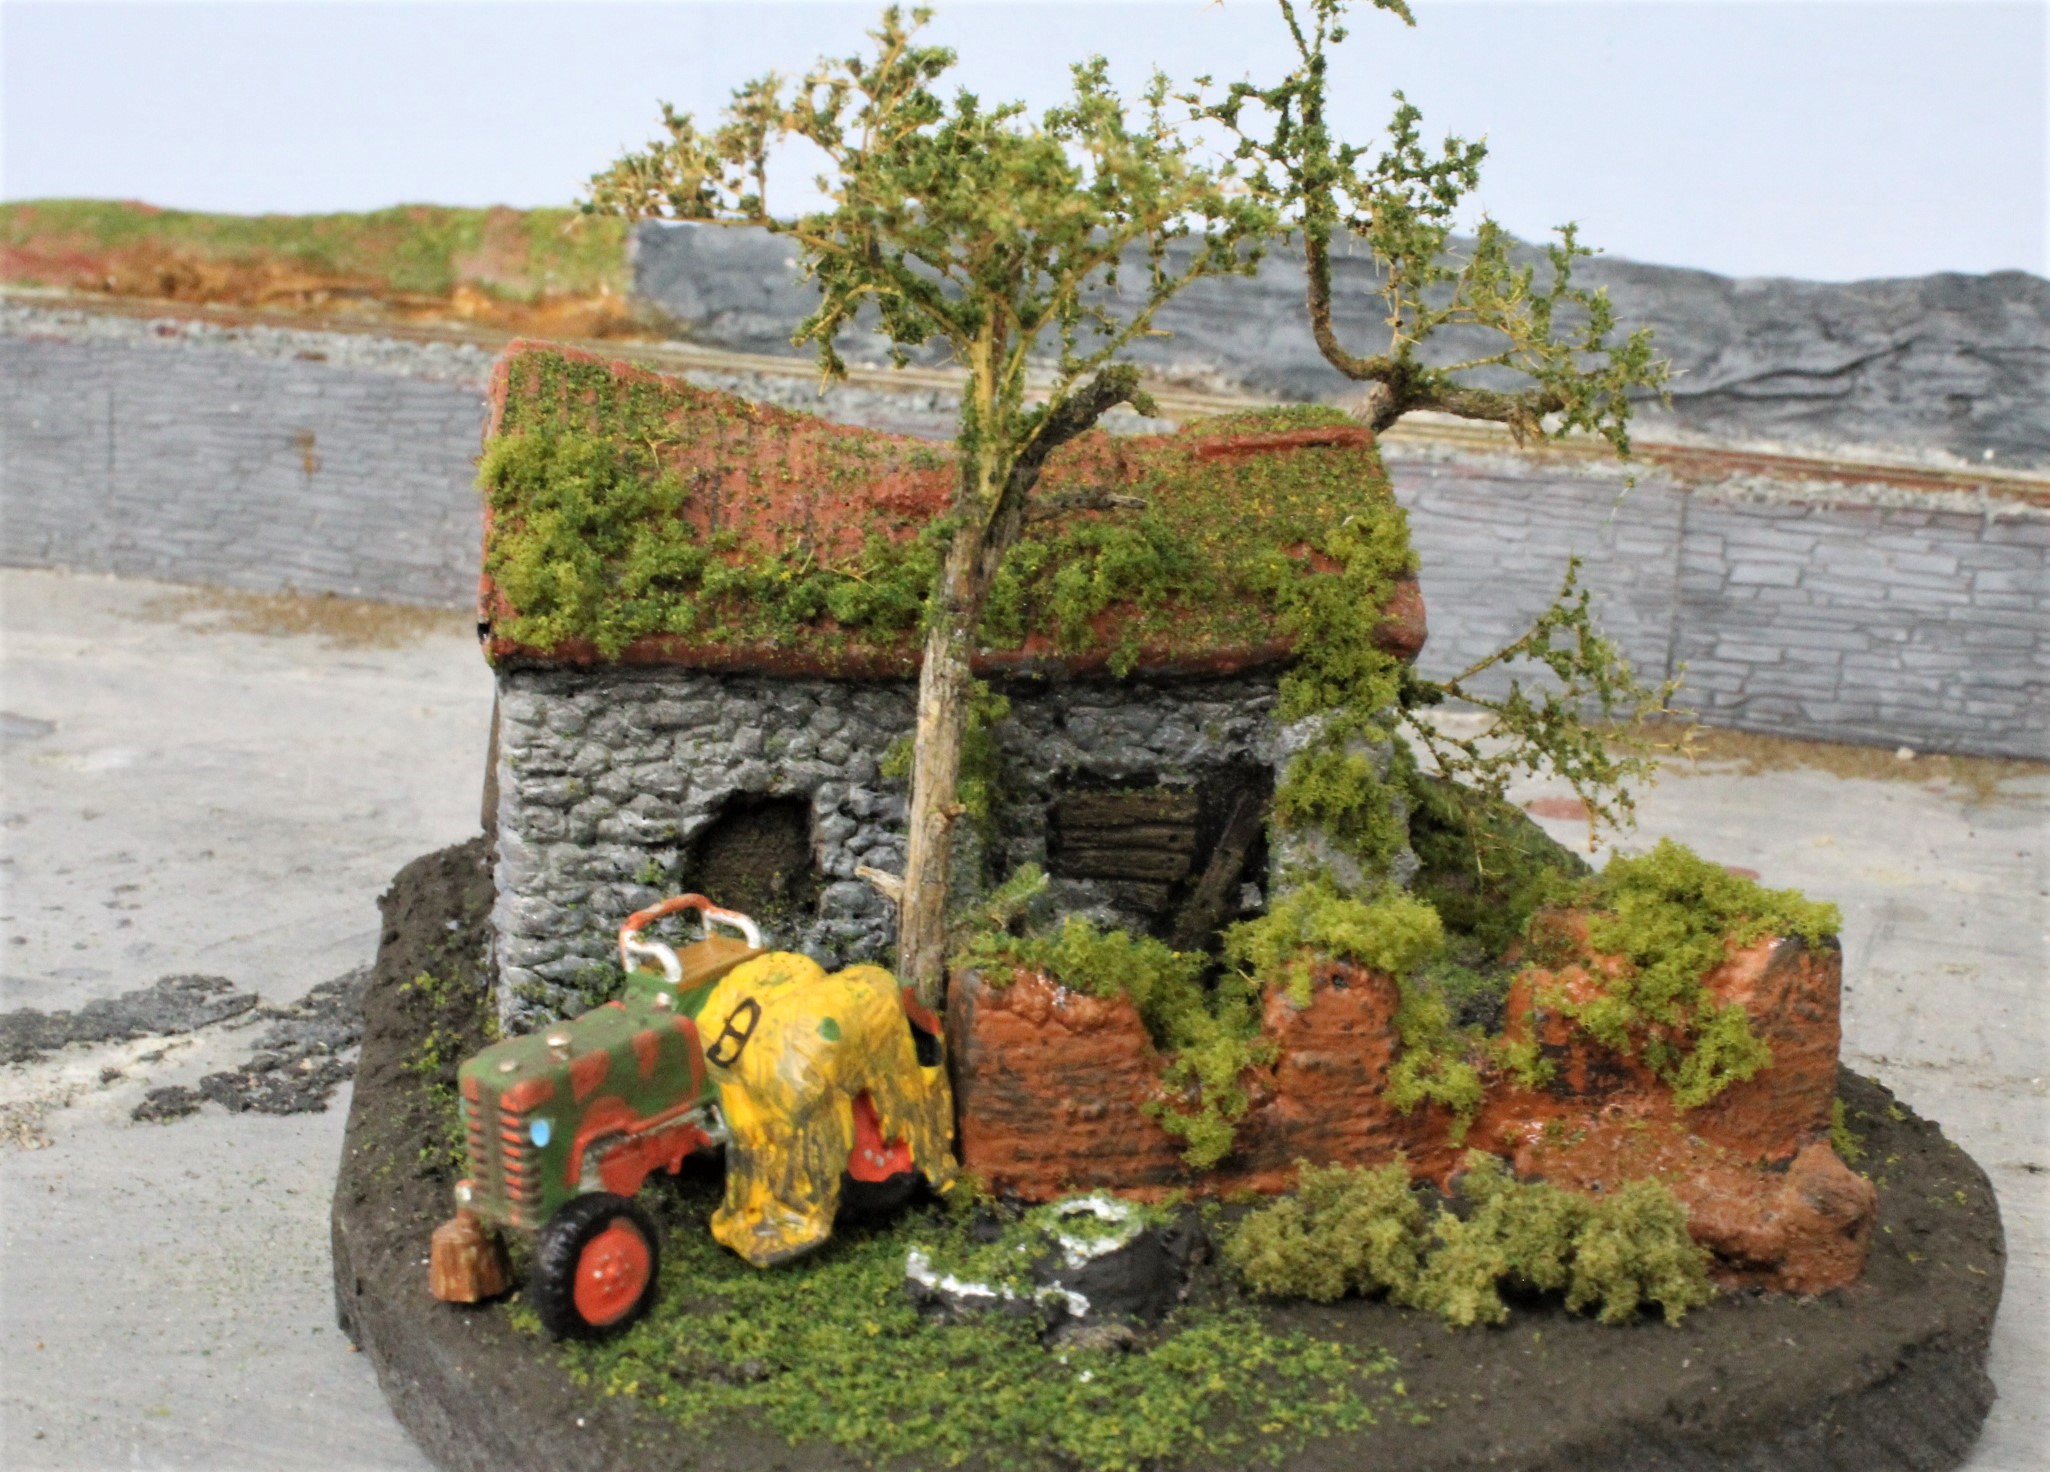
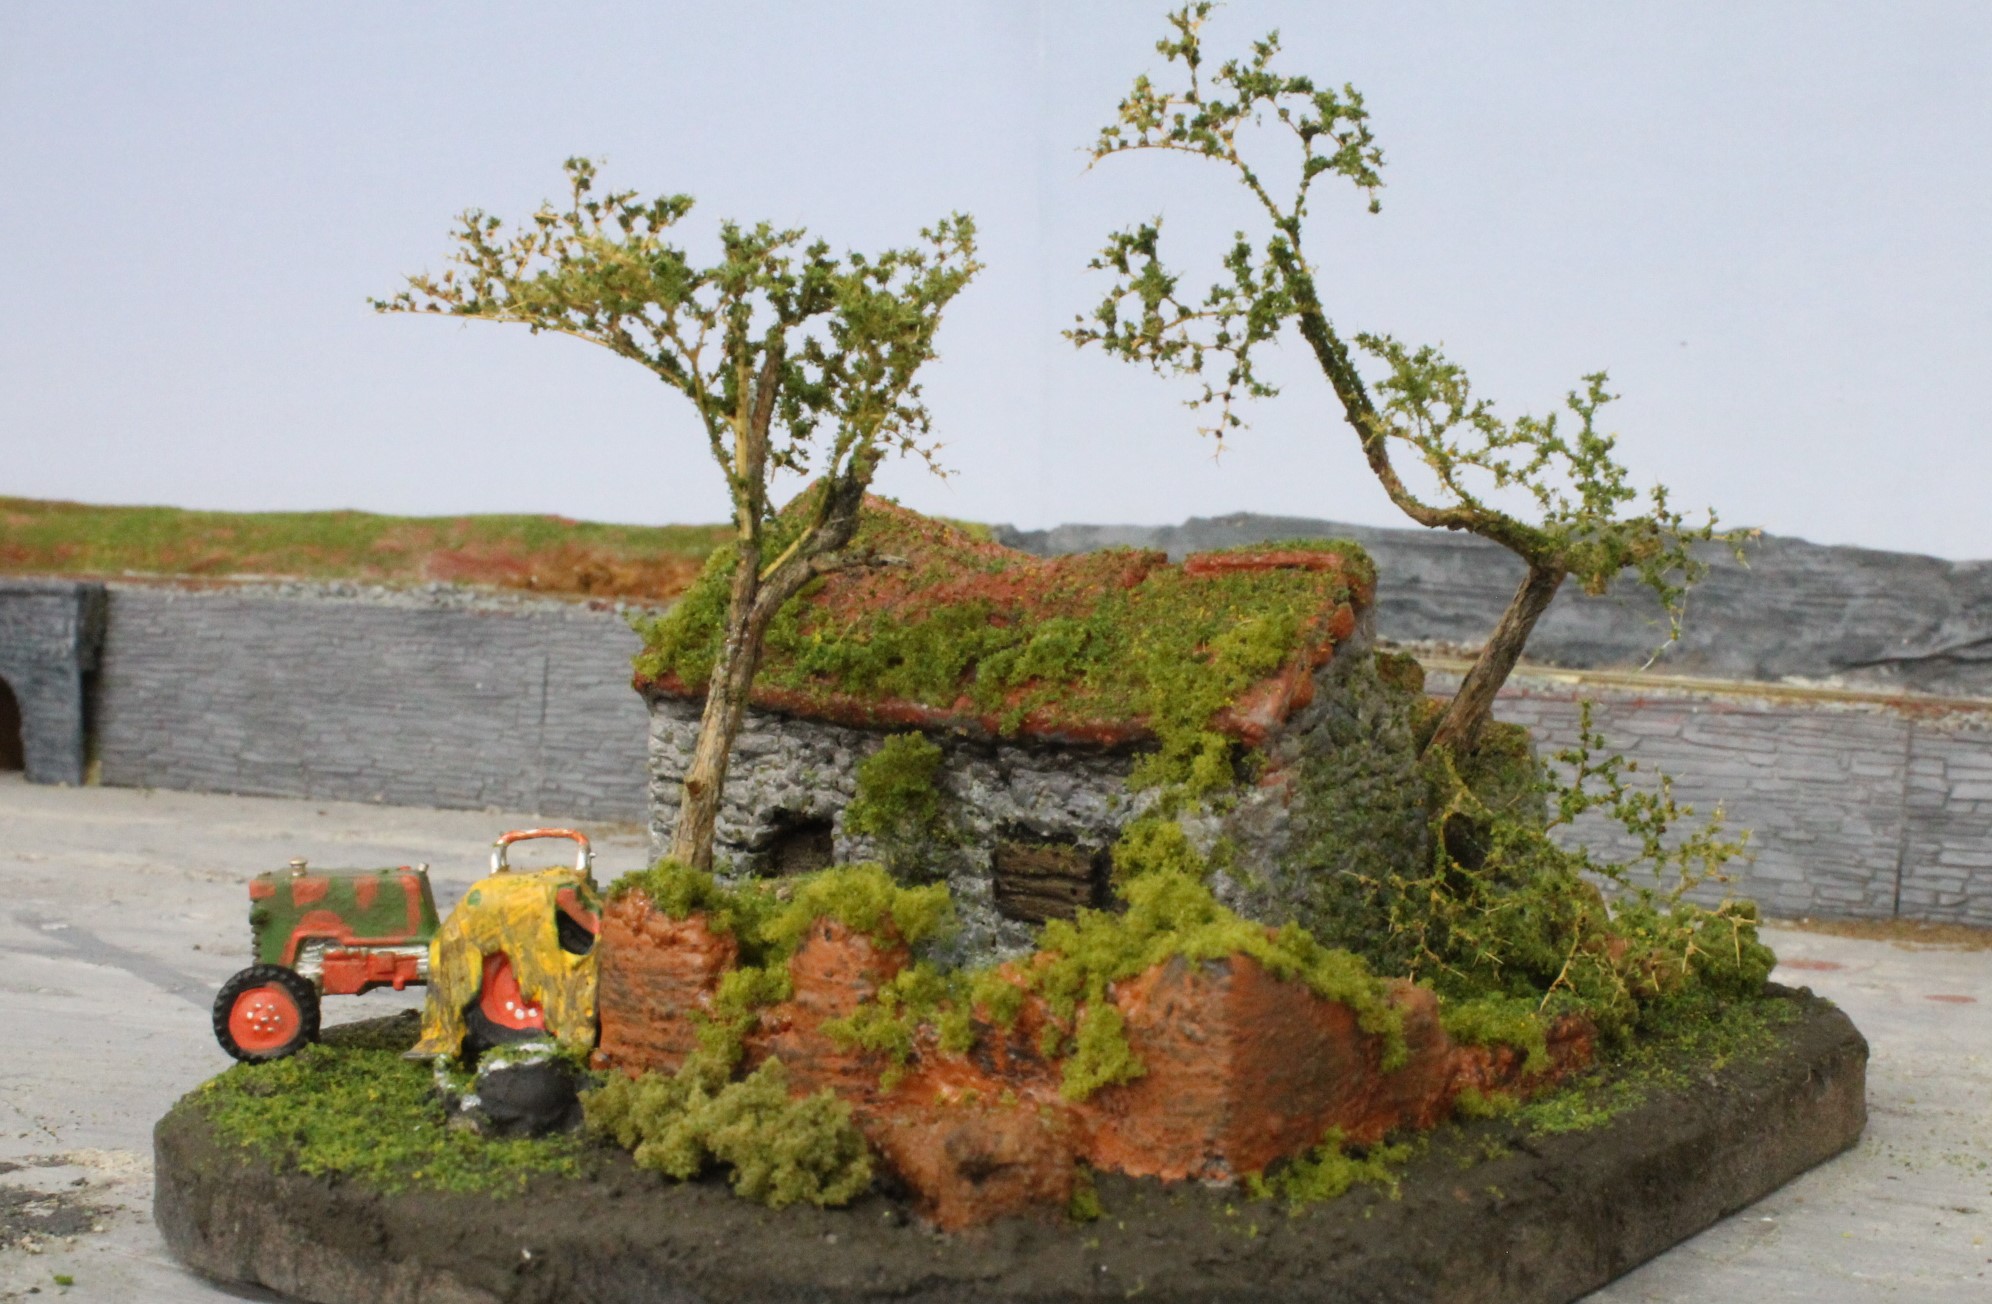
Once painted foliage was added plus a couple of twigs that were left over in my Sagebrush tree box to represent stunted tree growth.

So, the Cottage has now been sited and bedded into the landscape with the help of a tube of some disgusting looking thick brown filler bought from the local DIY shop.
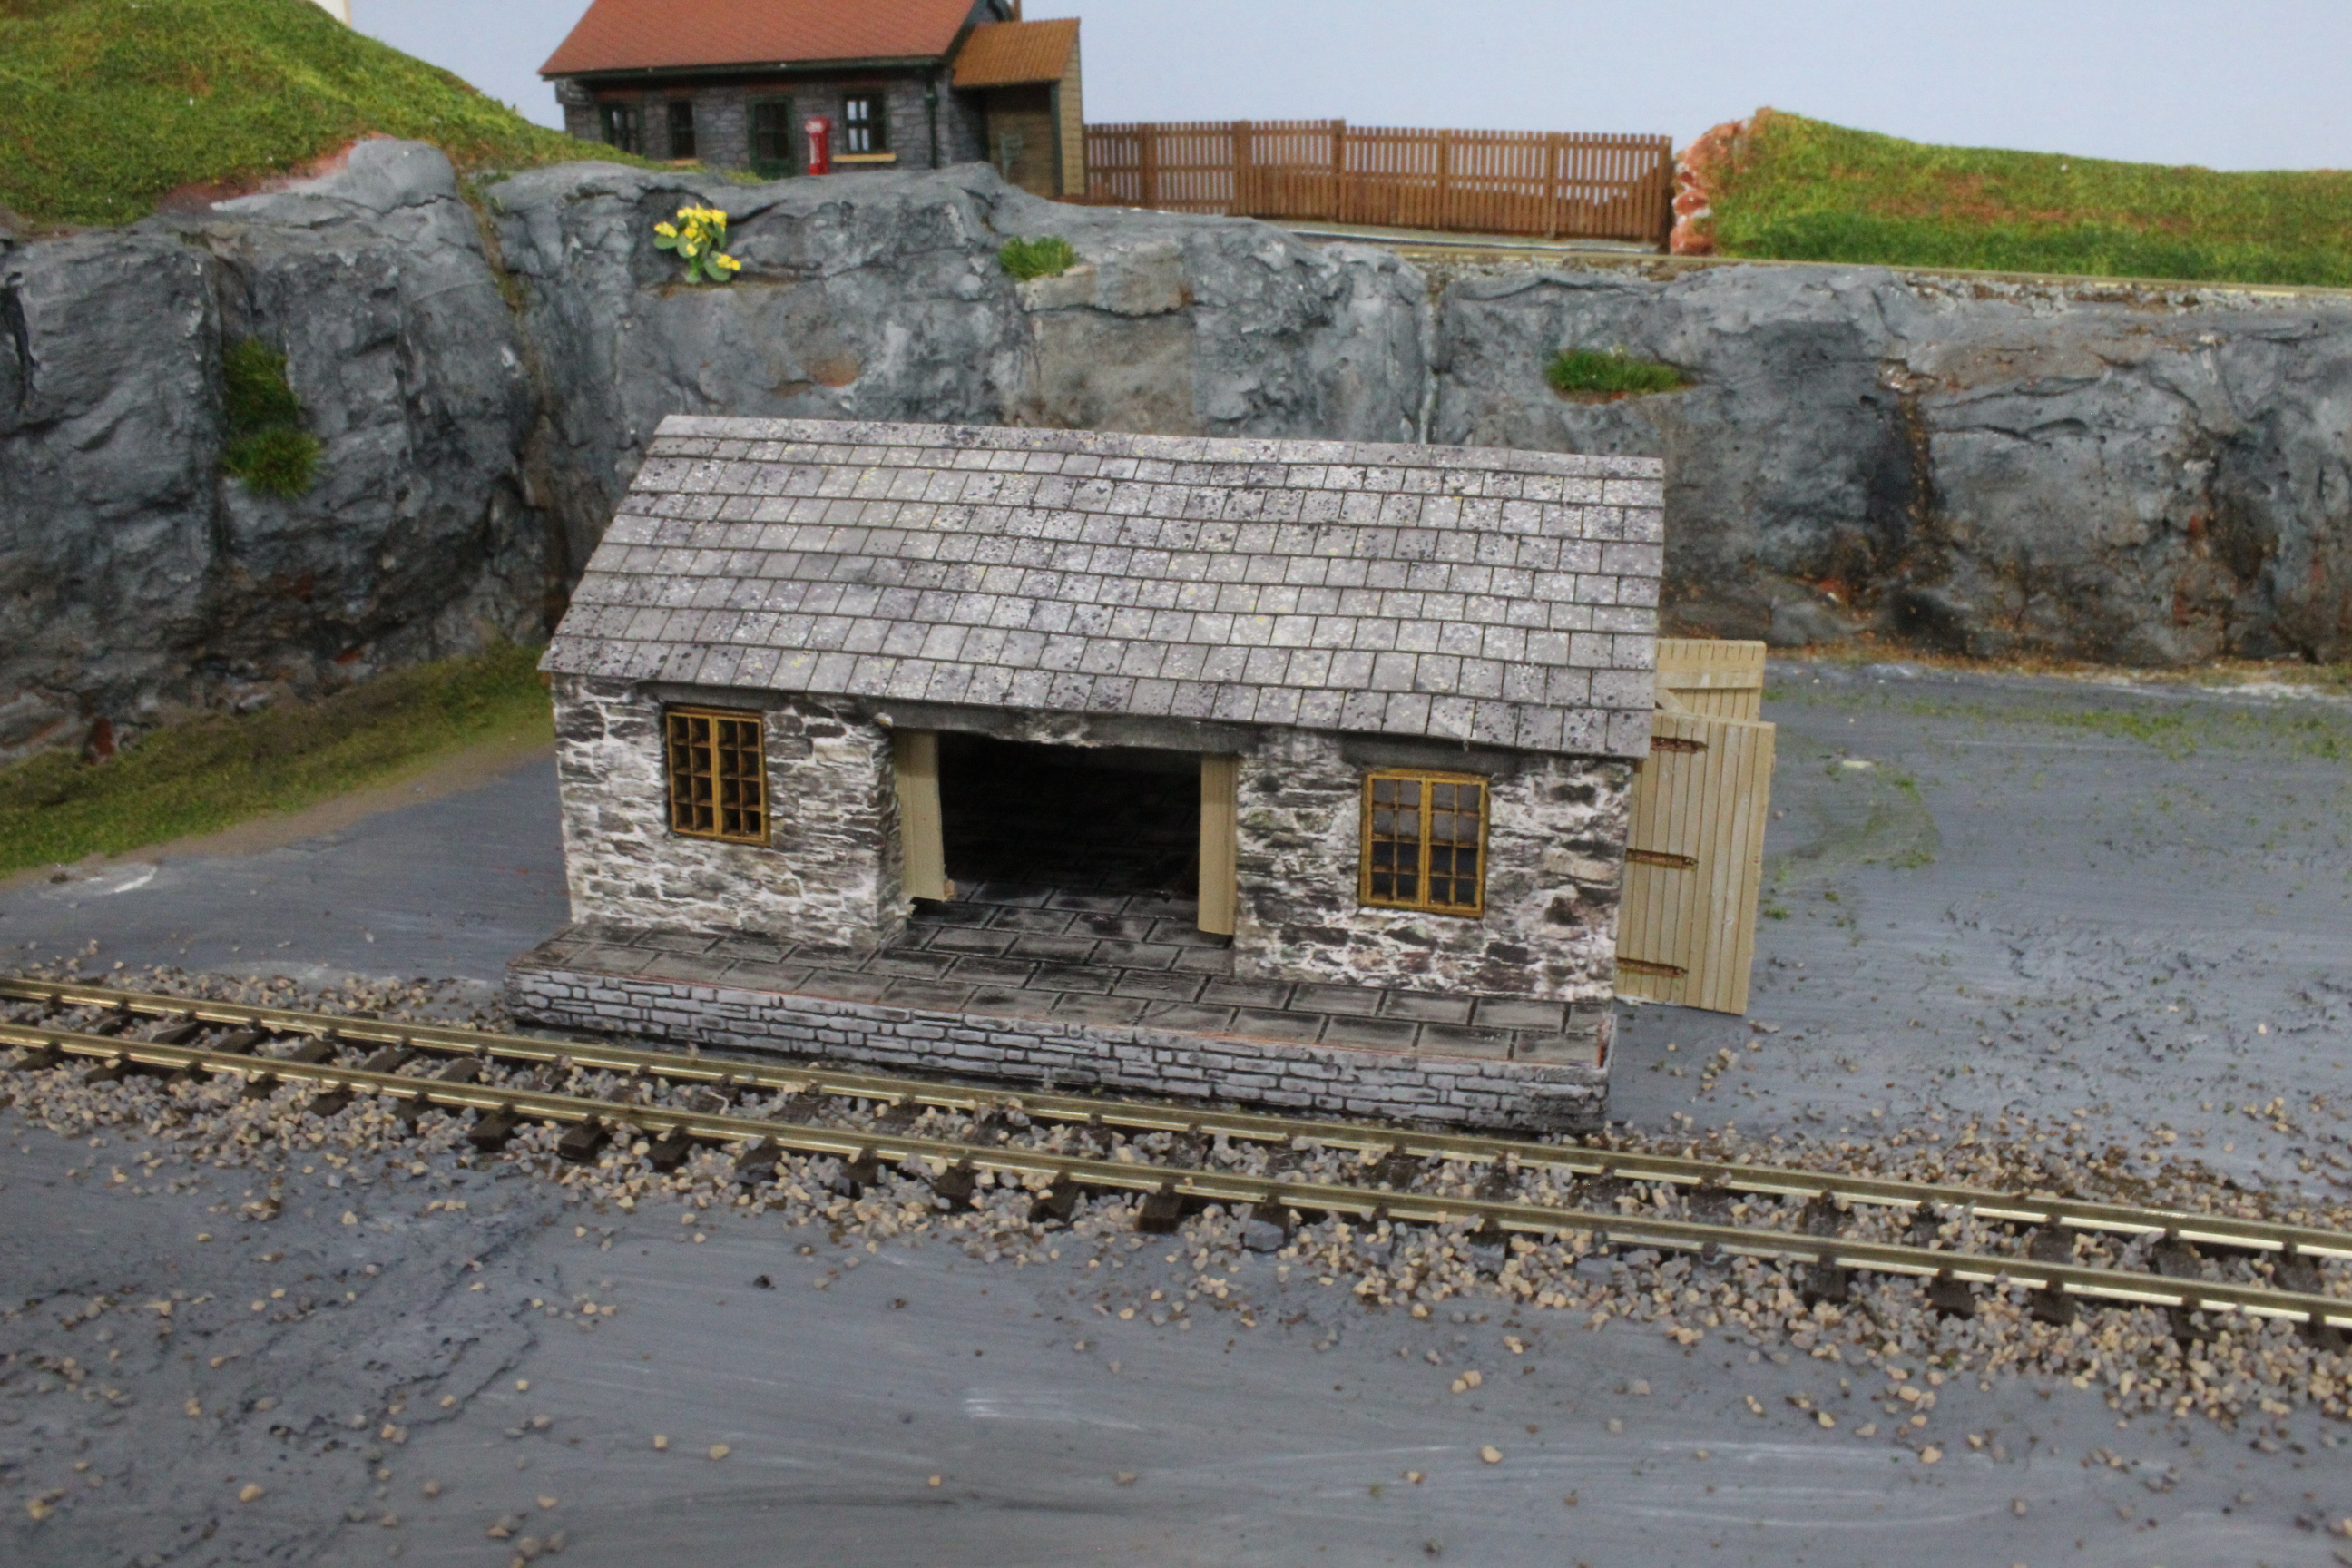
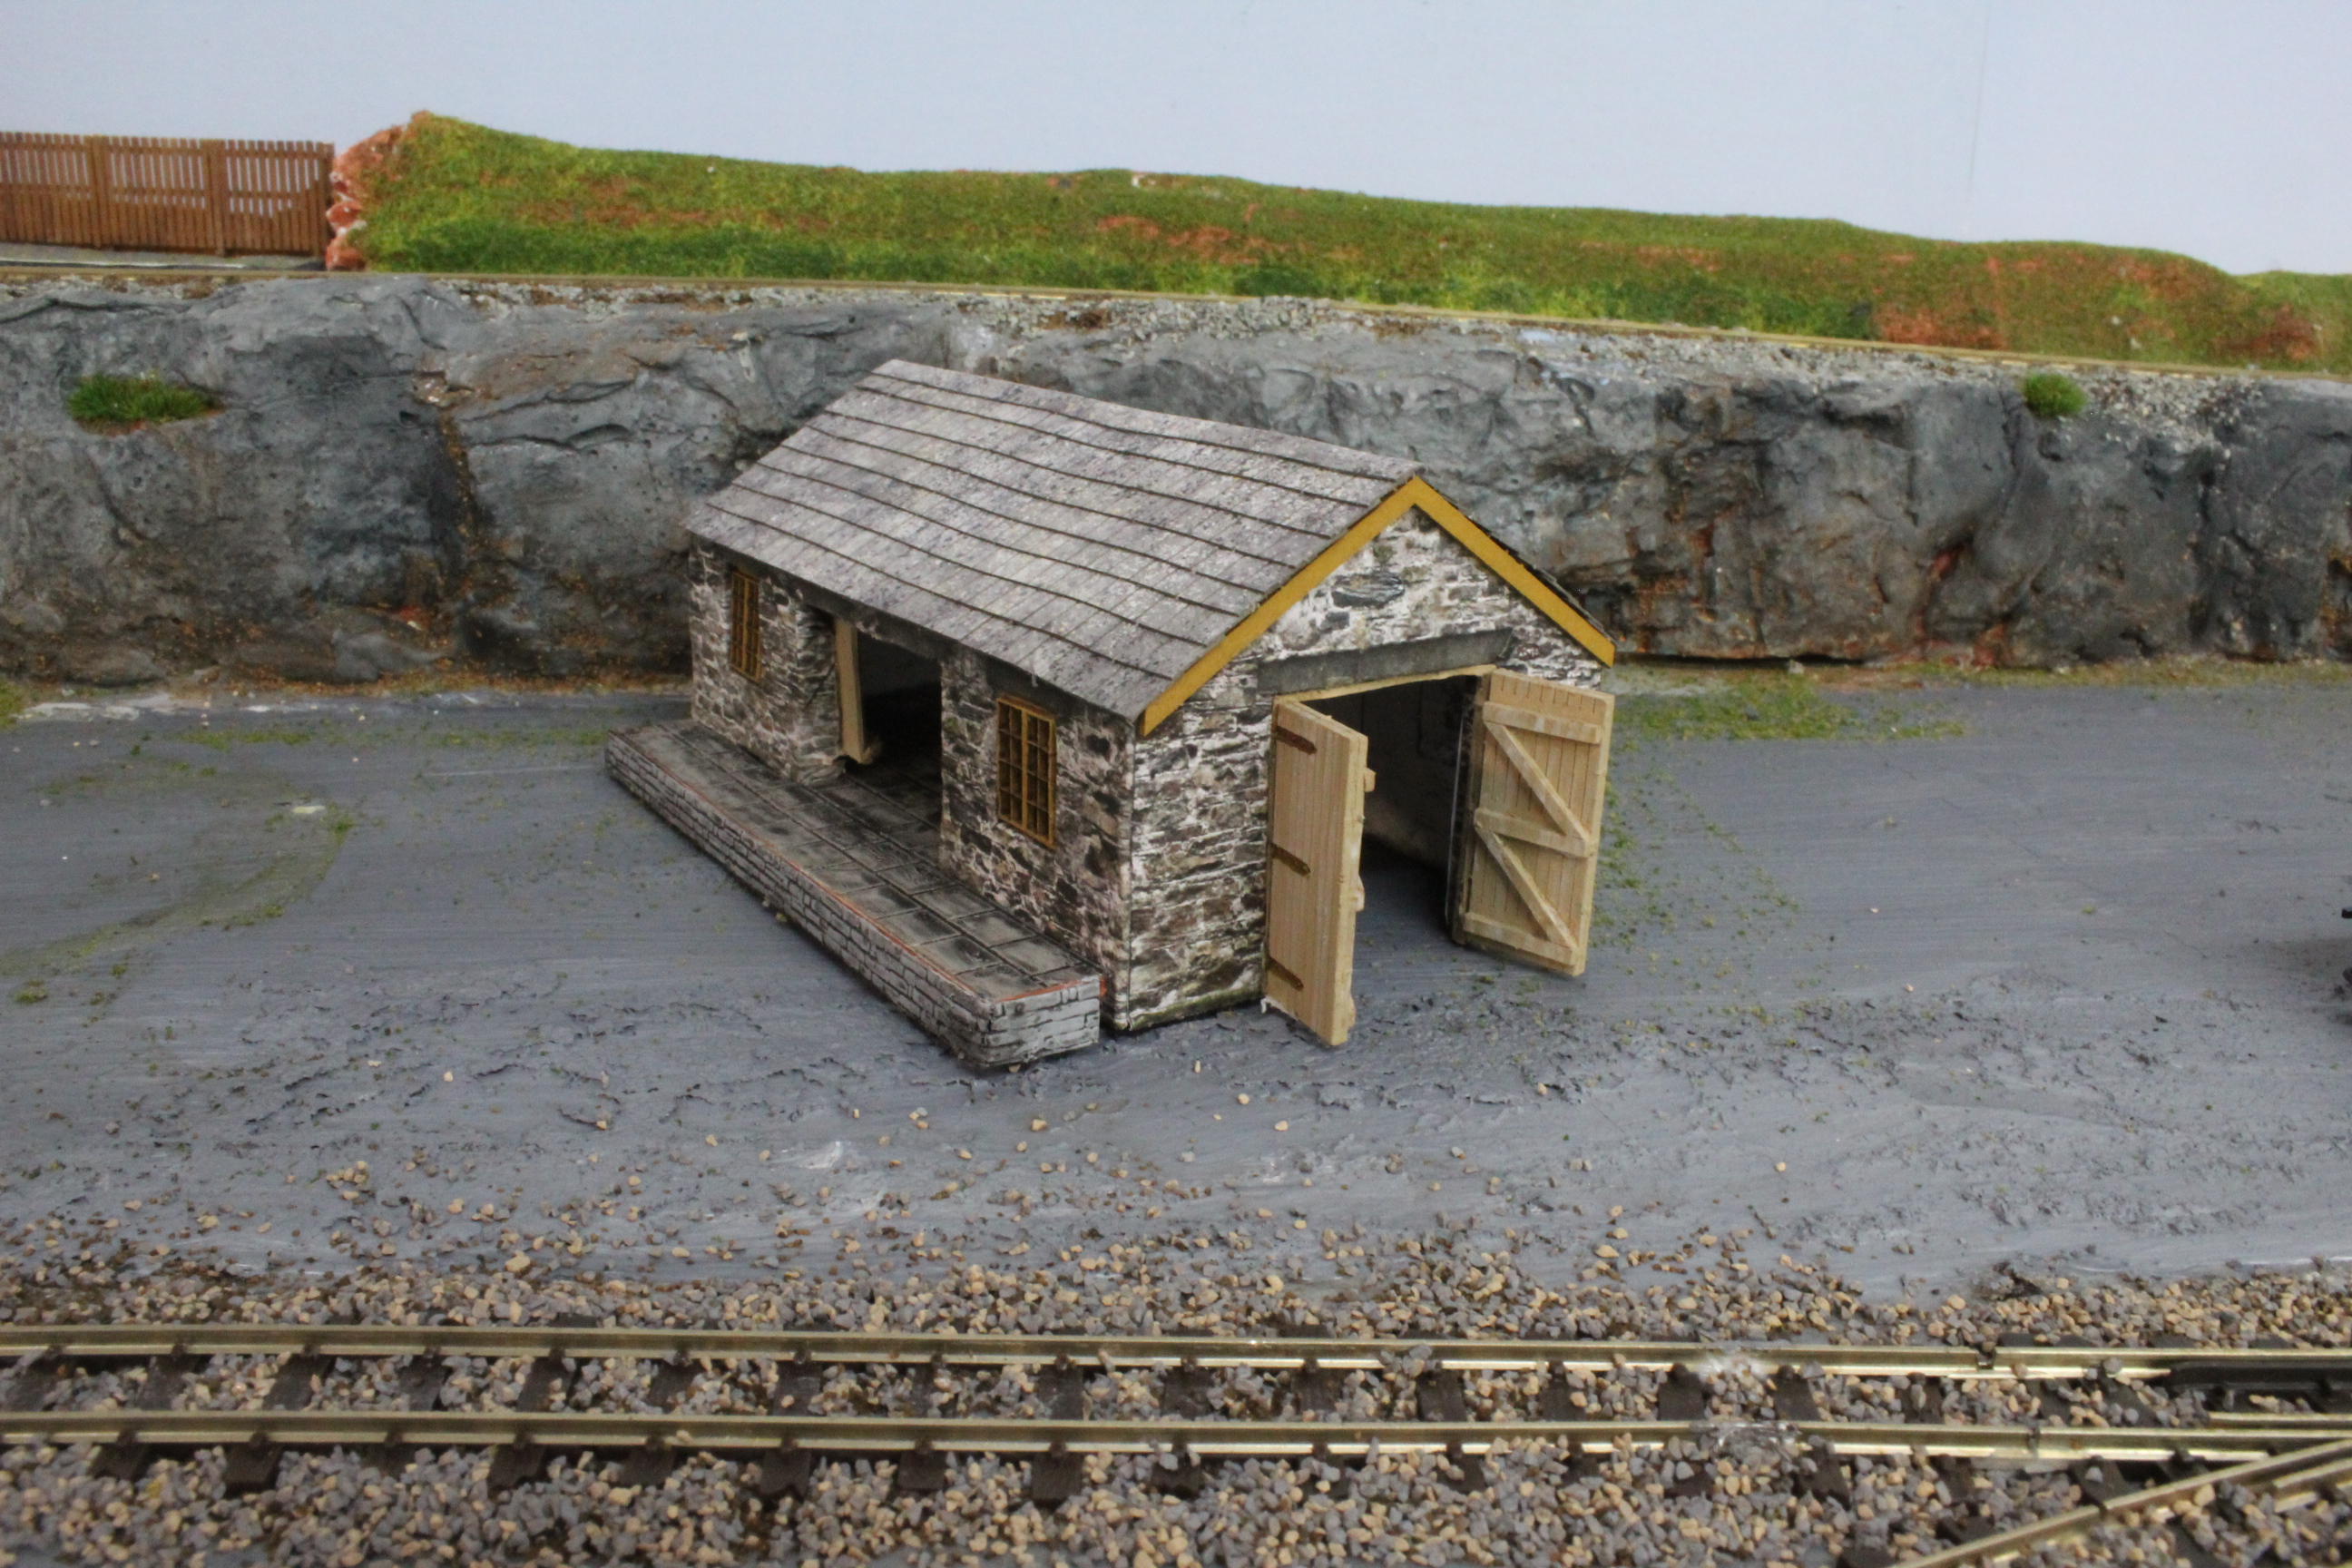
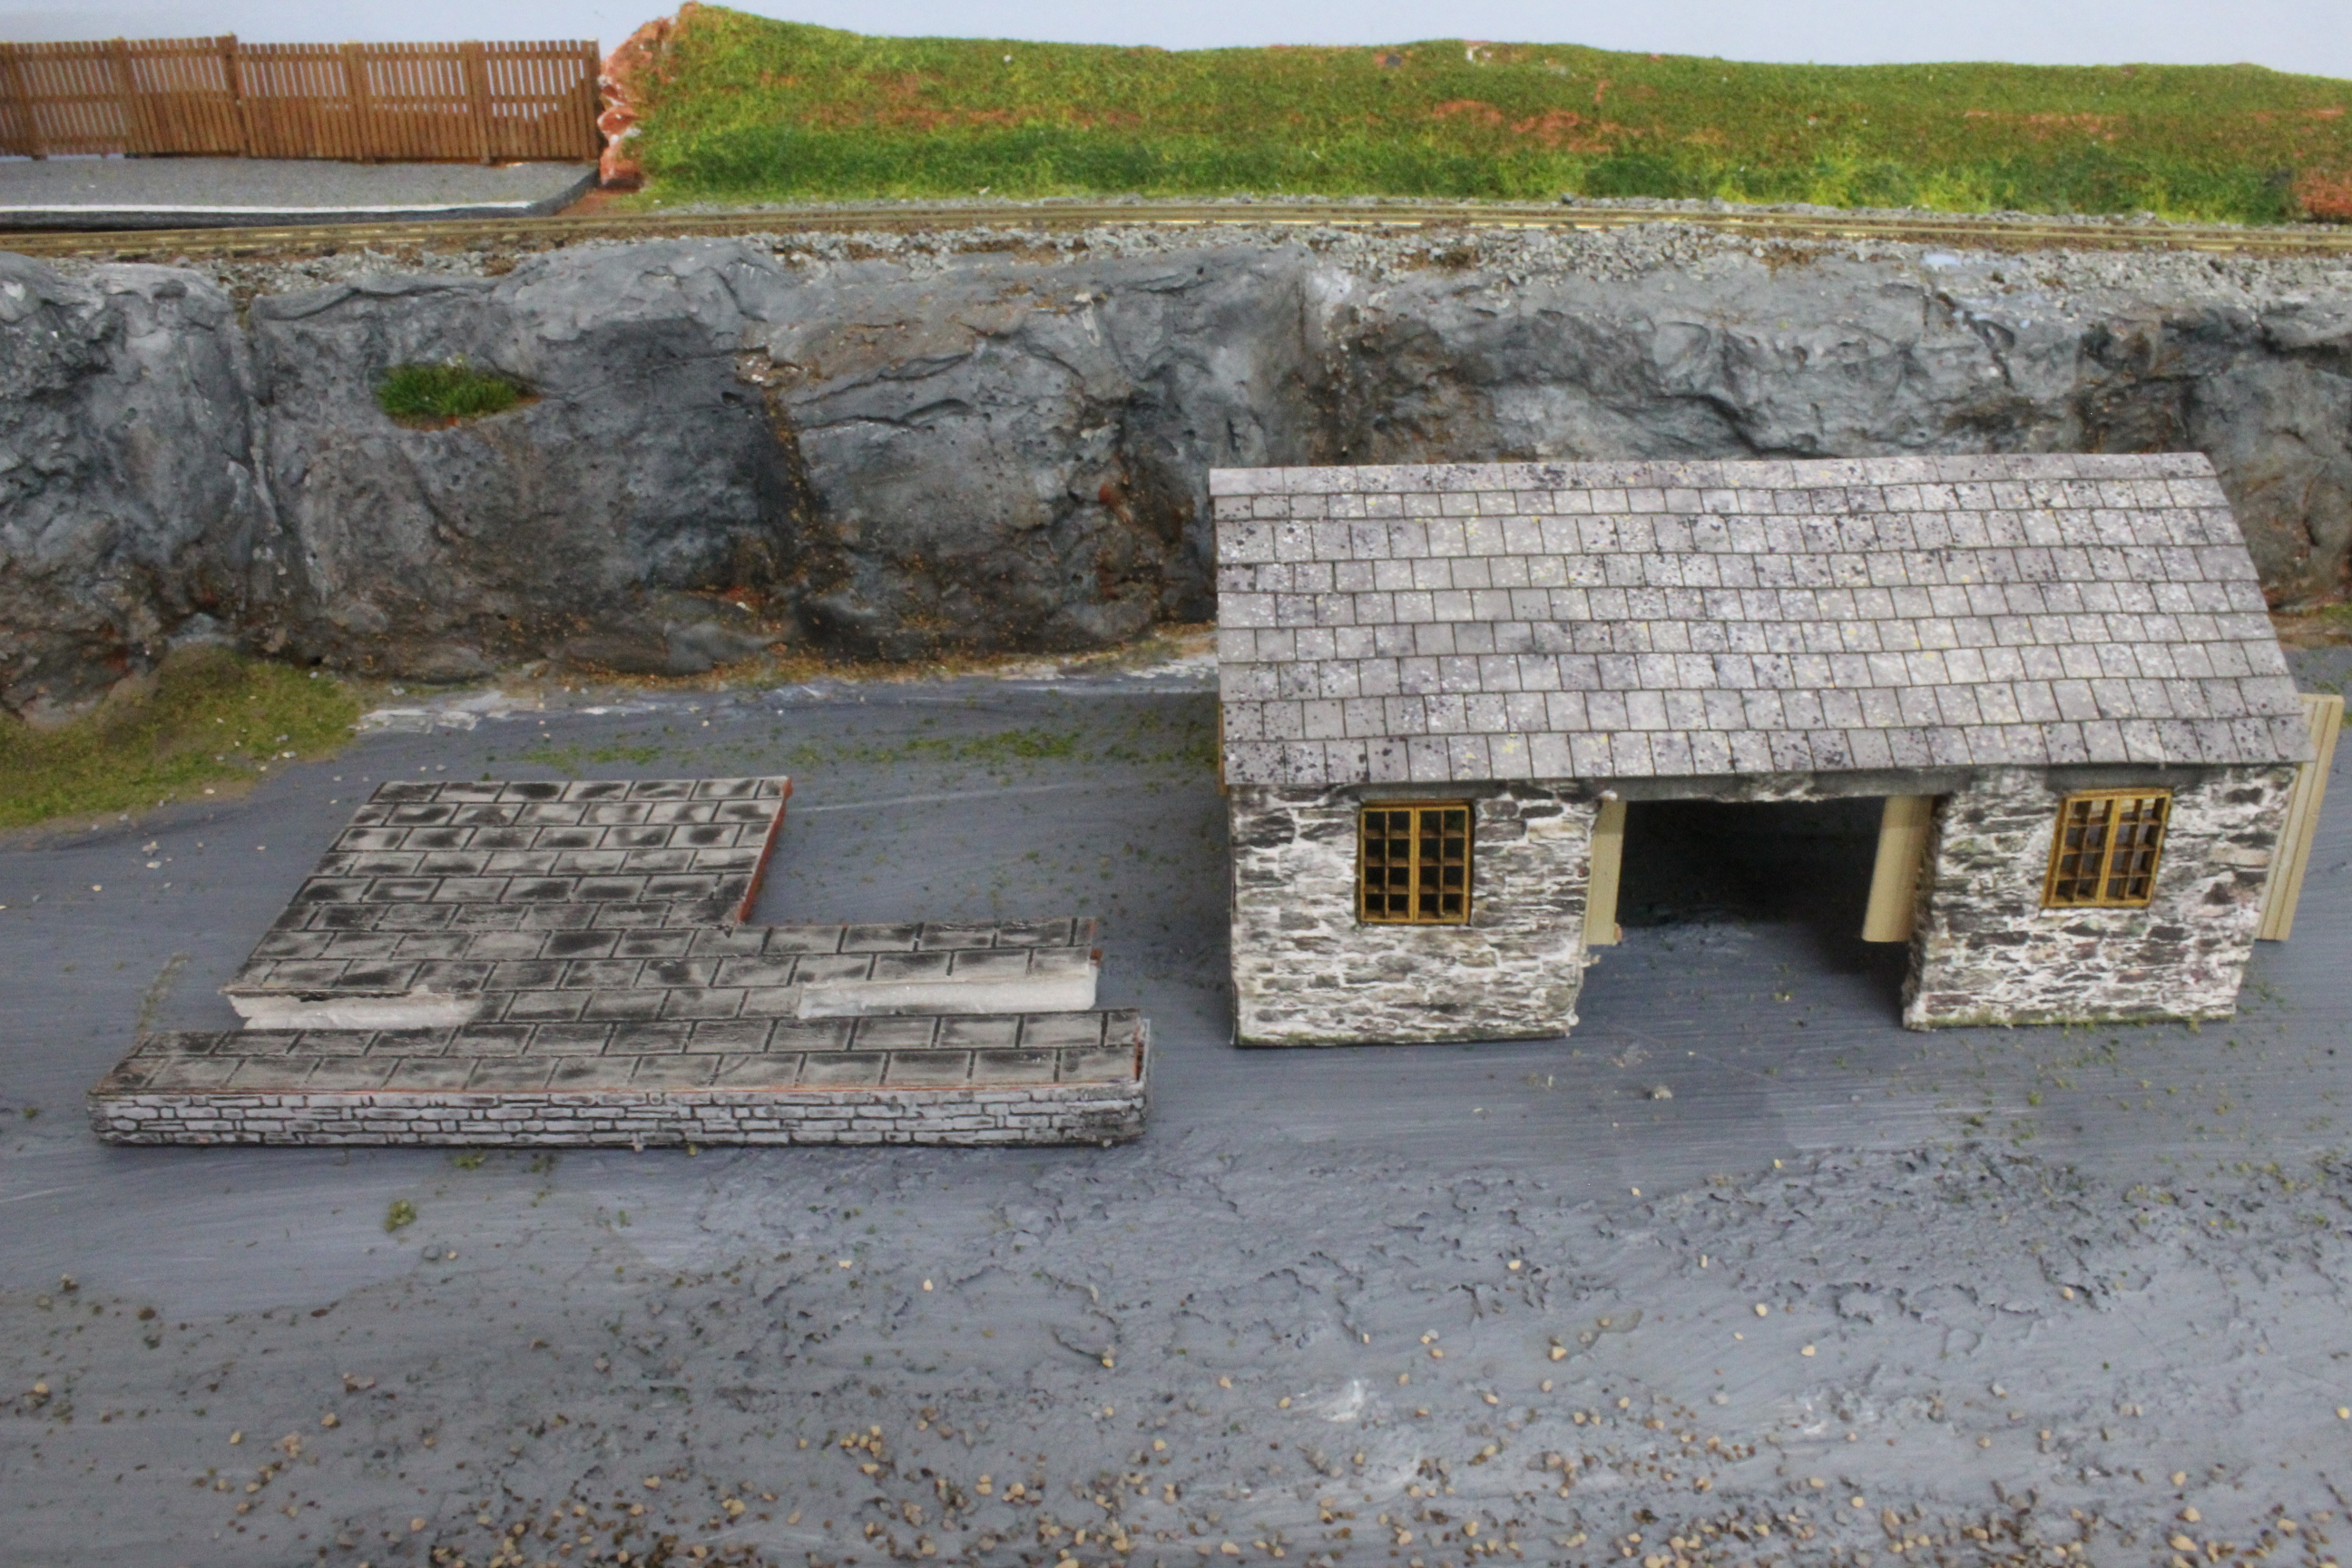
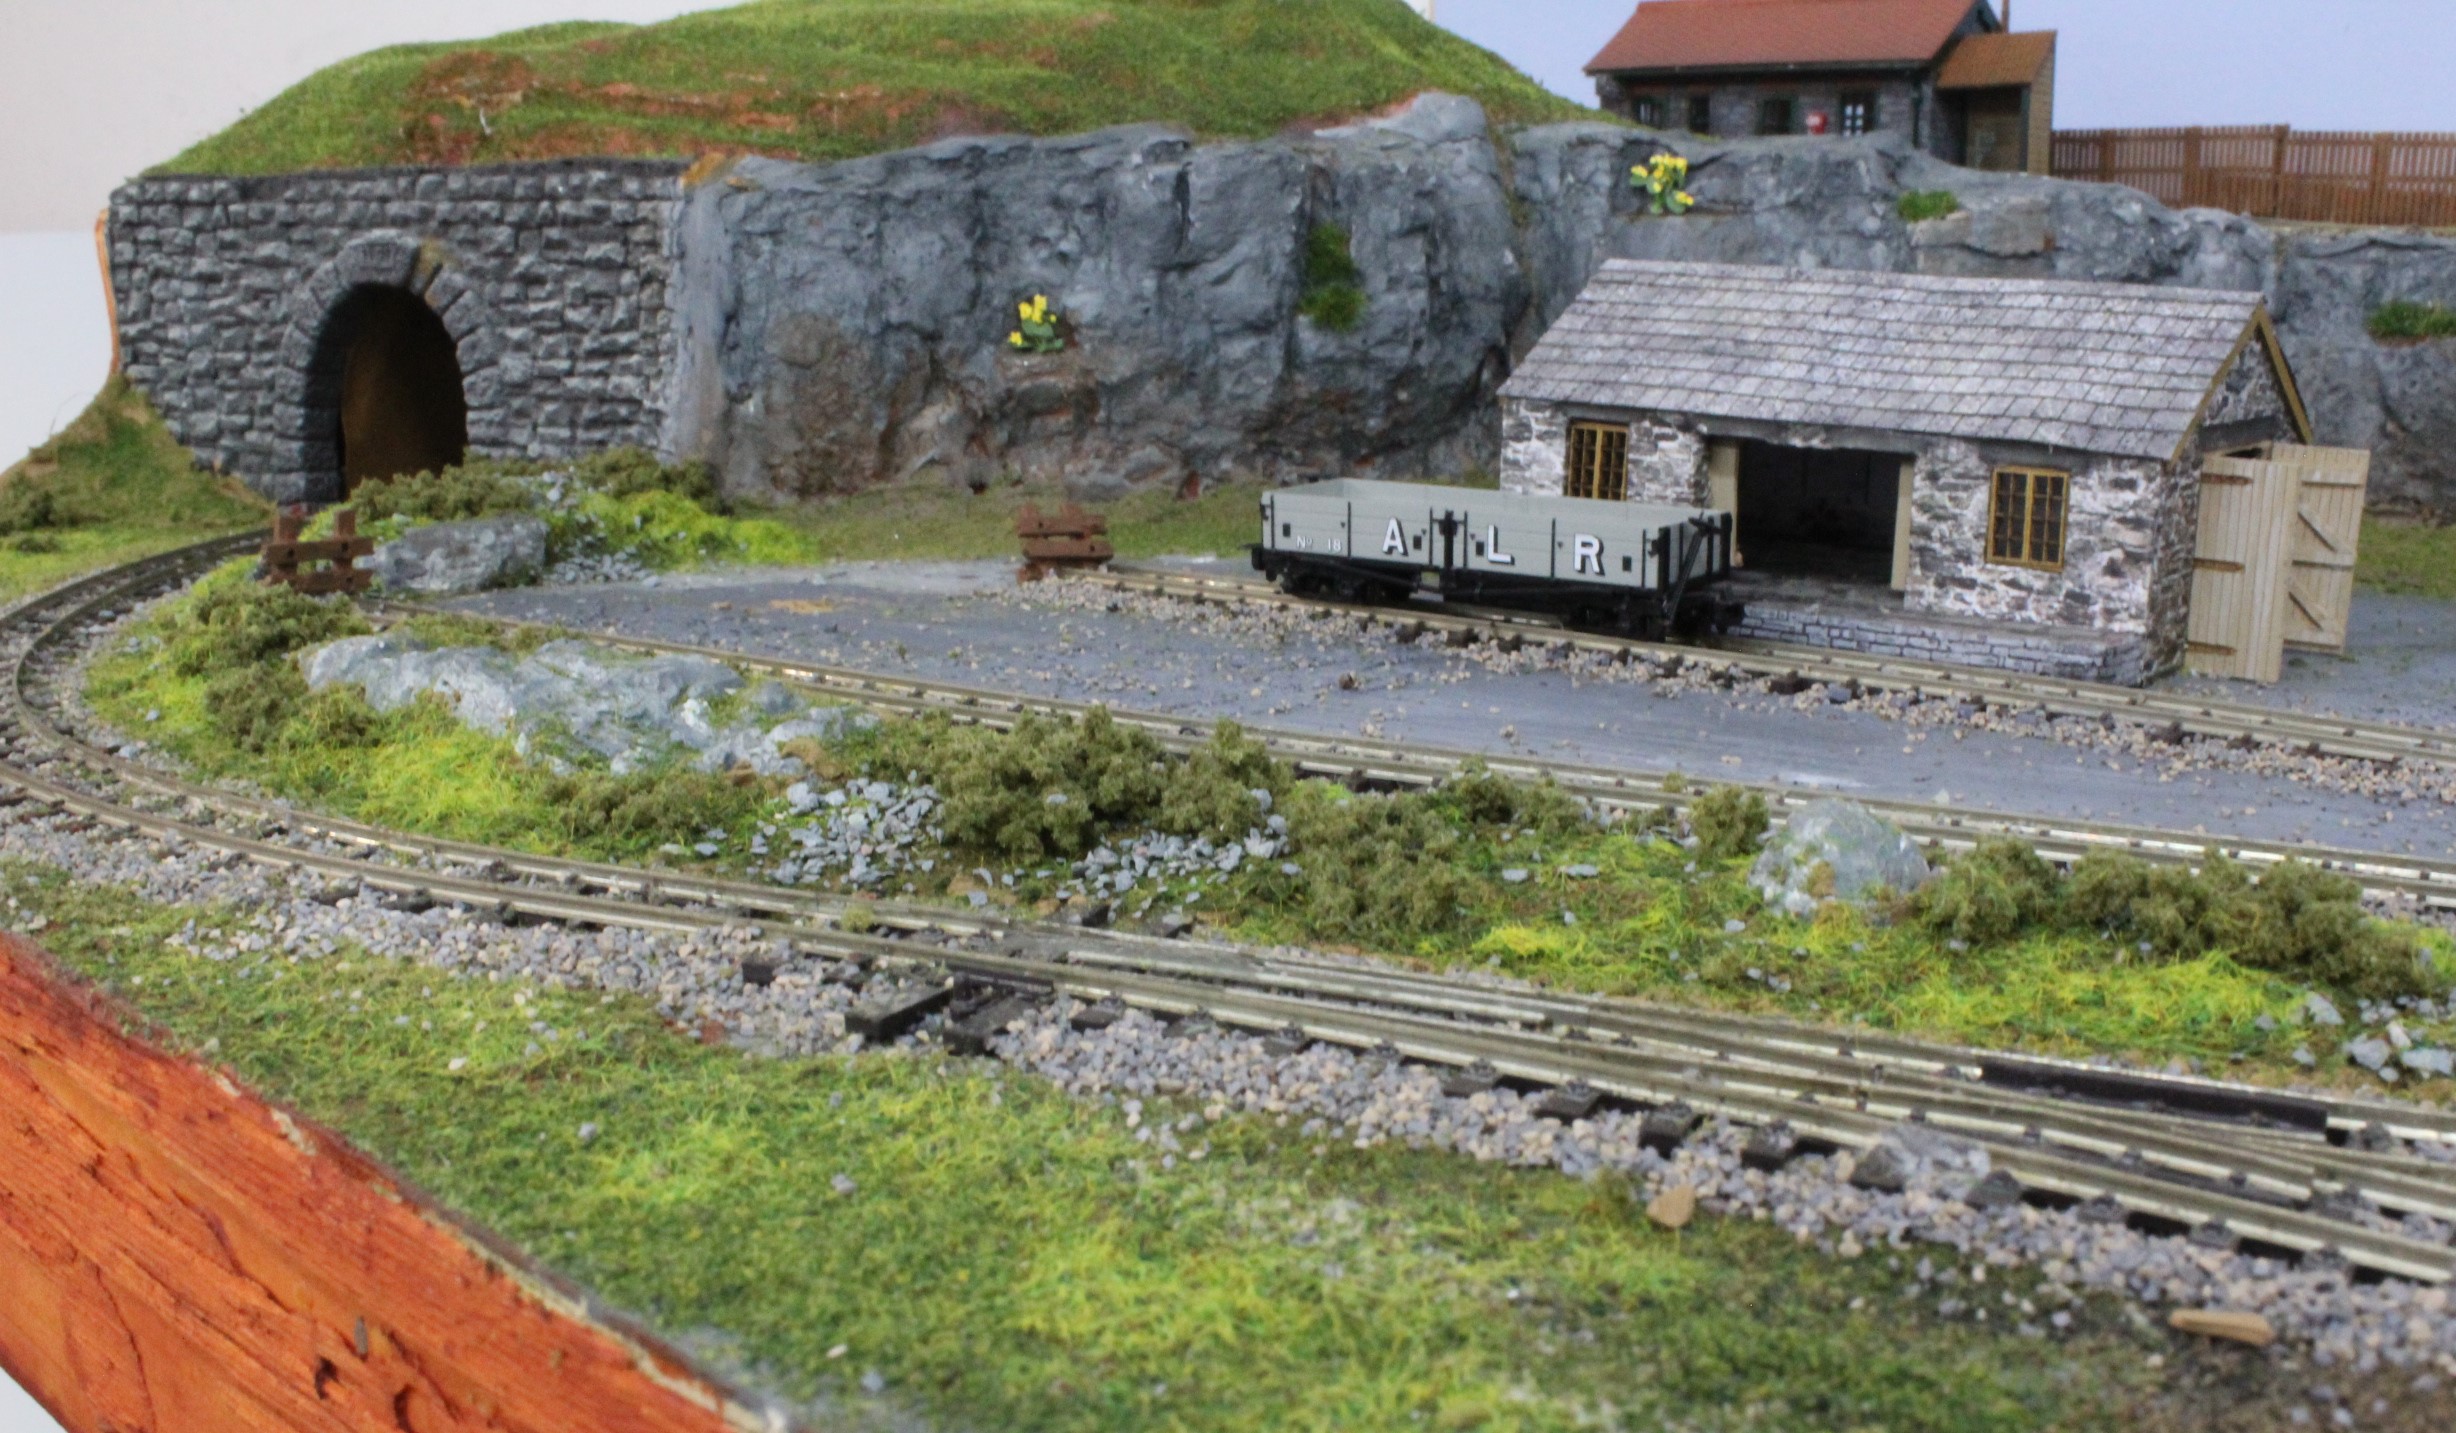
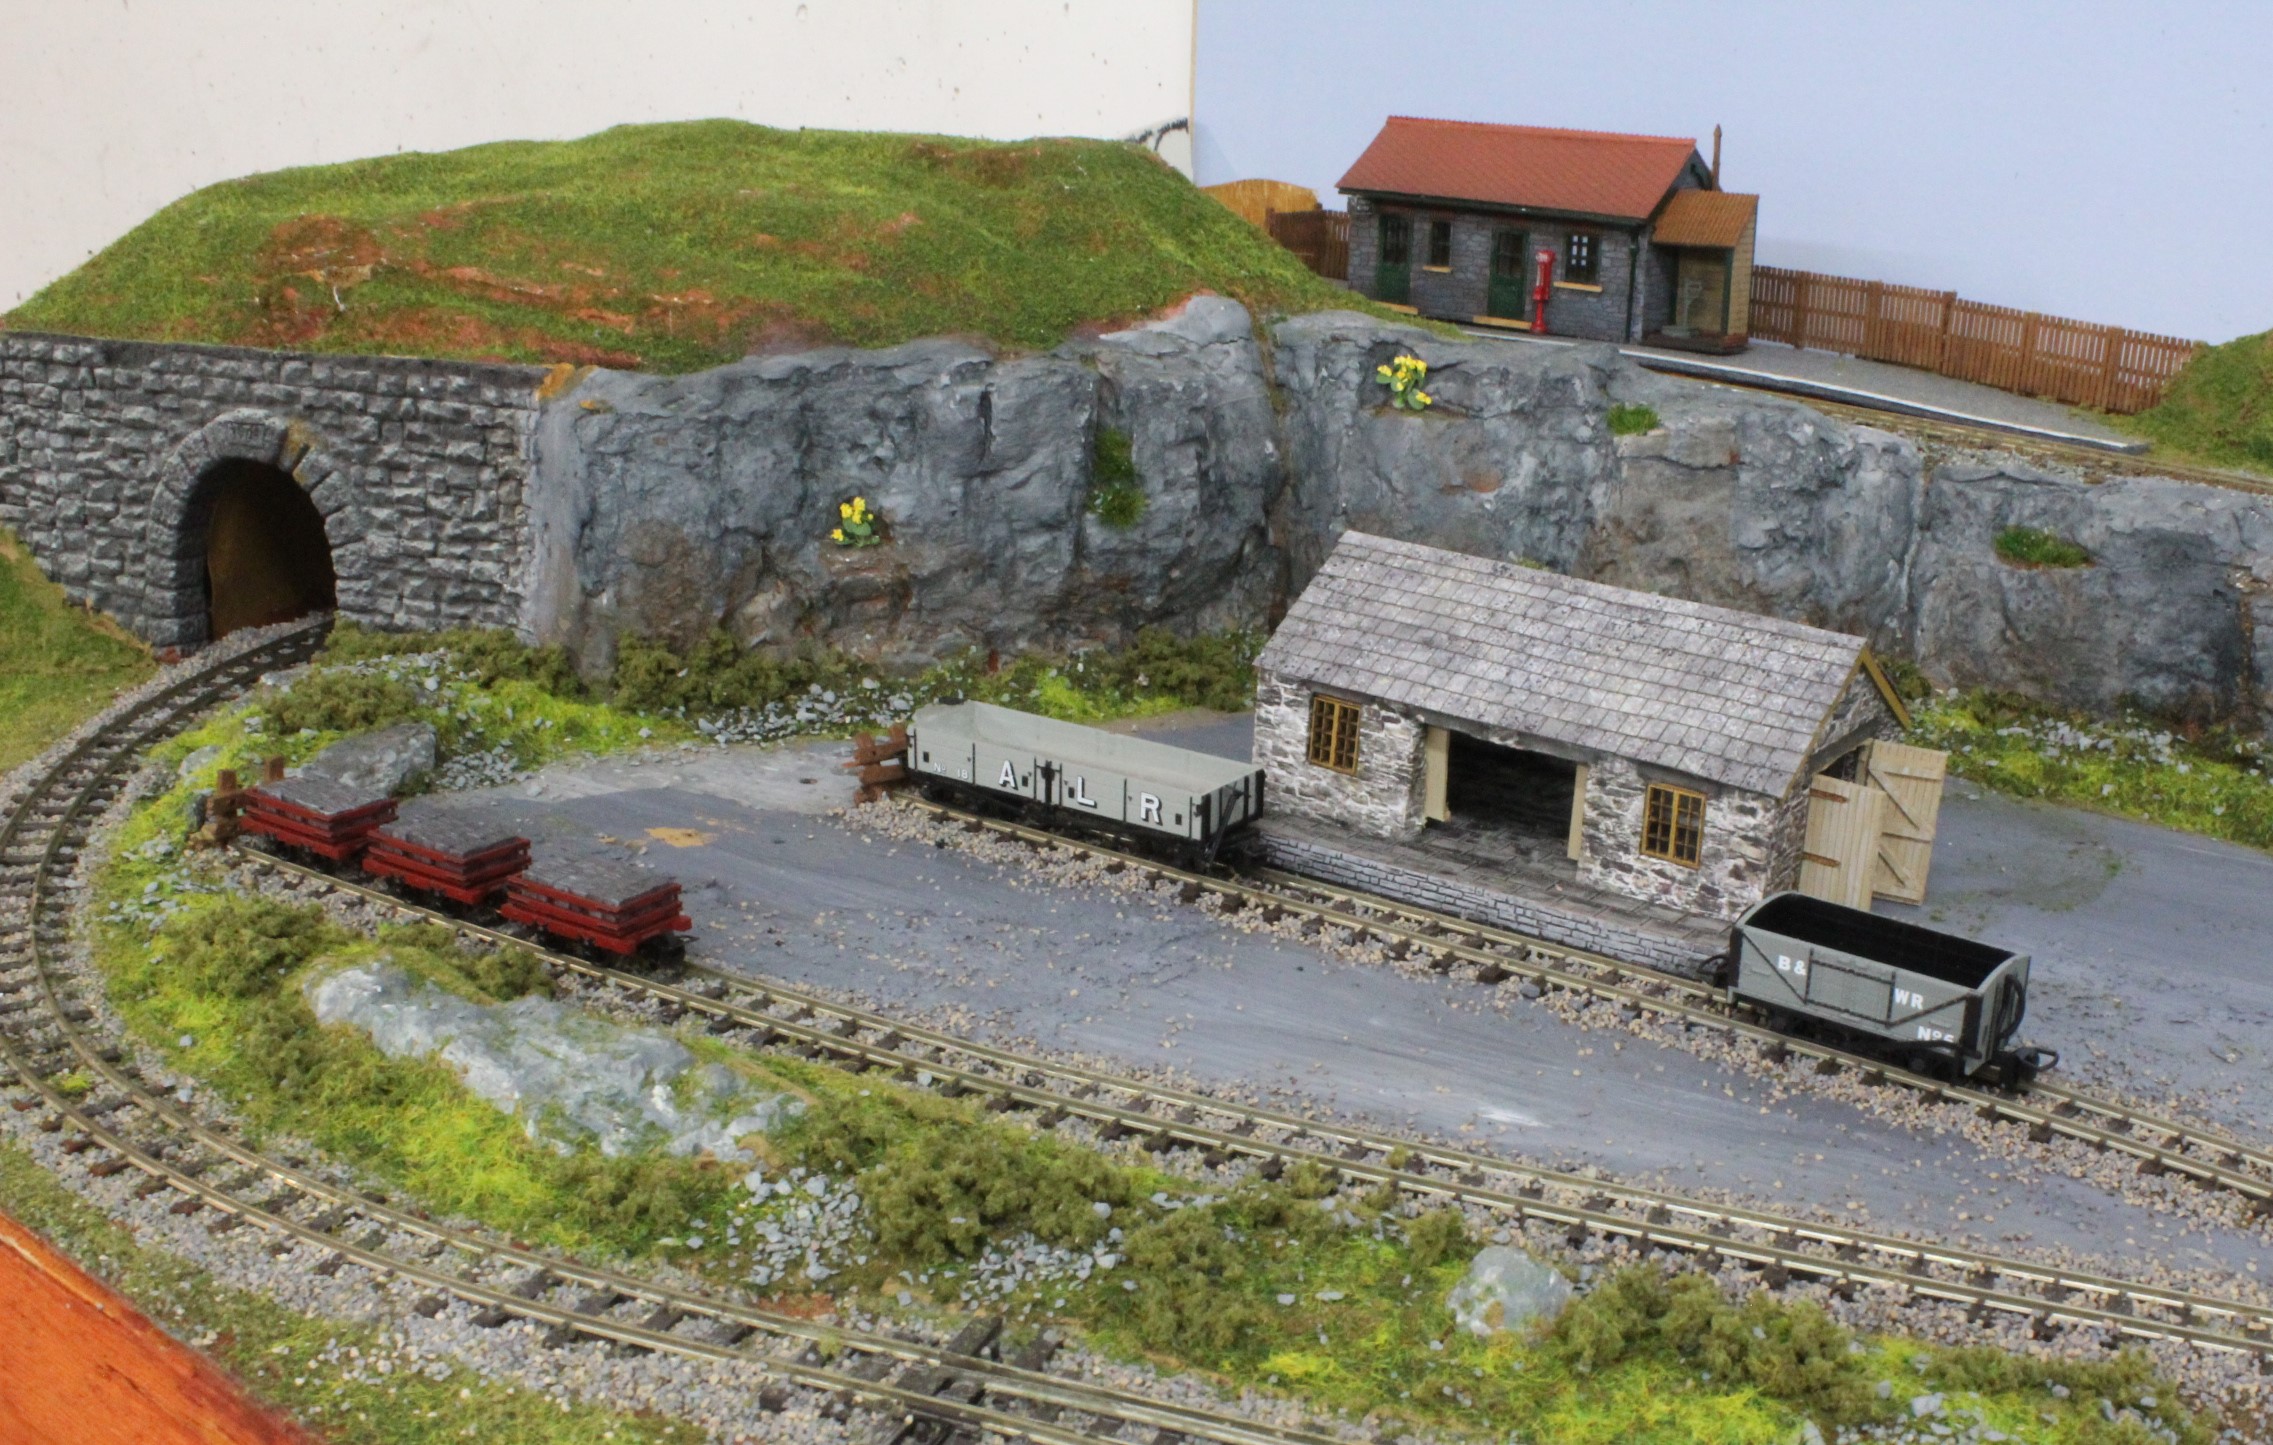
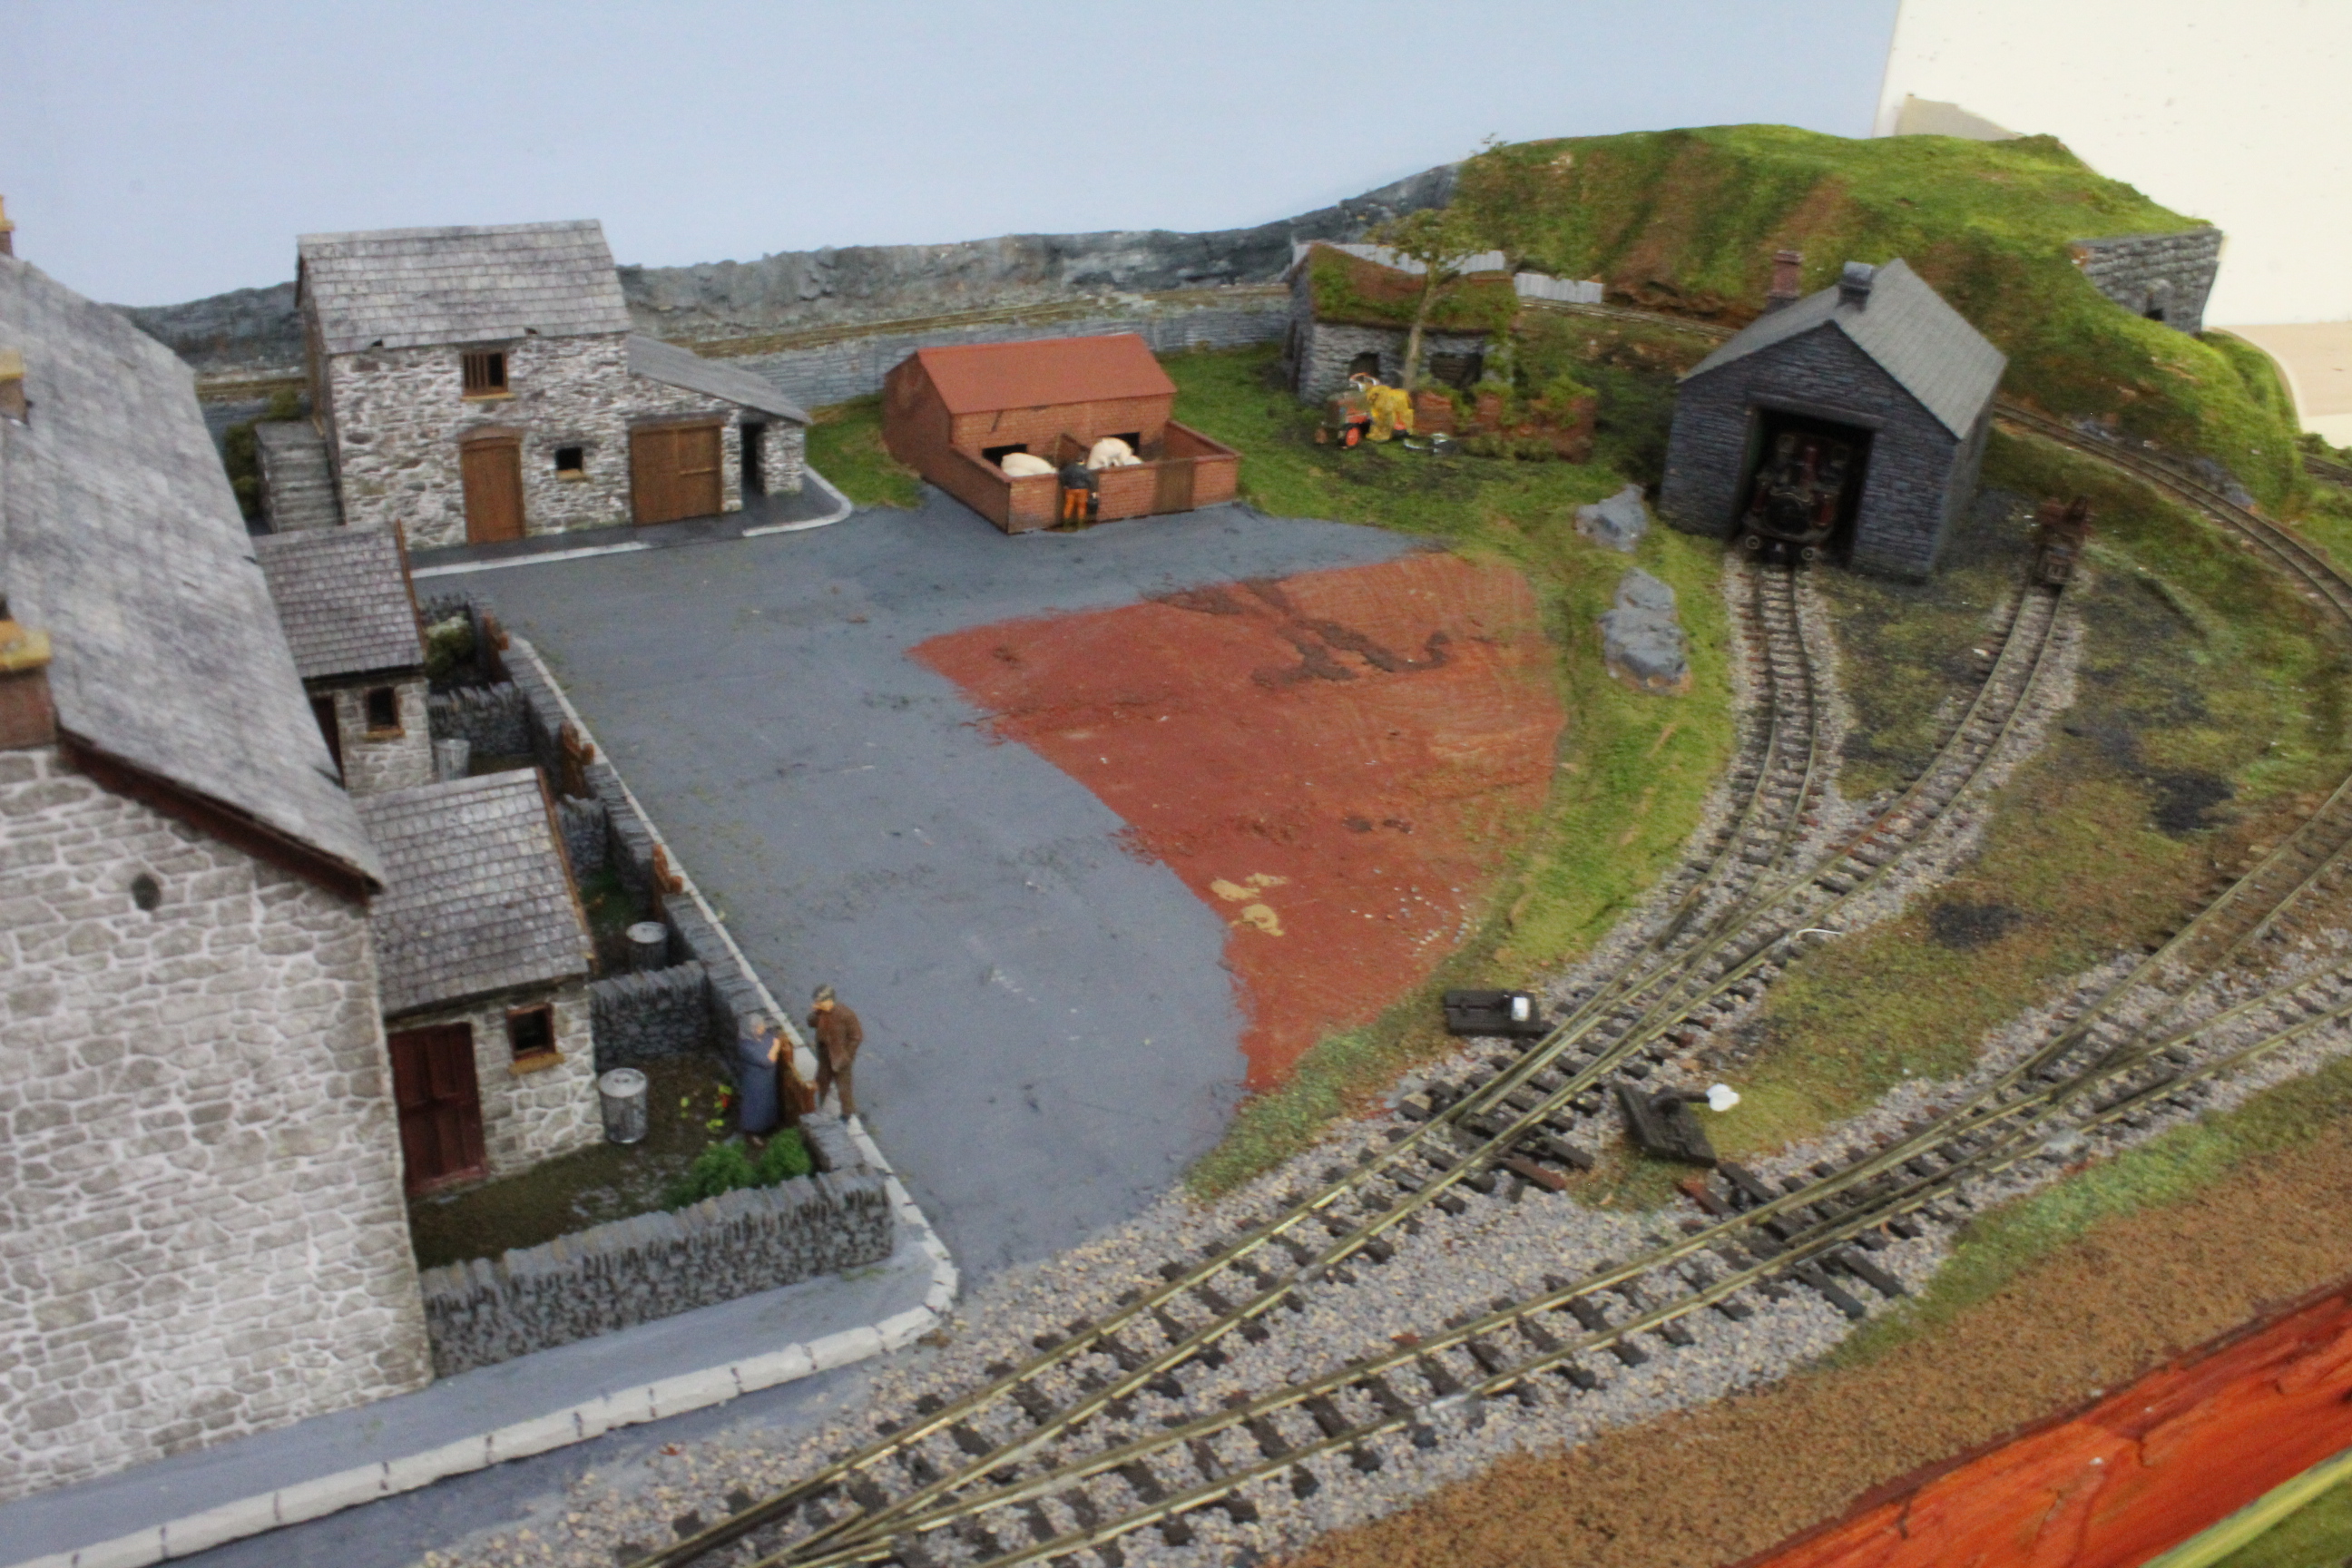
The Goods Shed
The goods shed was made from a lasercut workshop kit modified and detailed and with the addition of a loading platform.
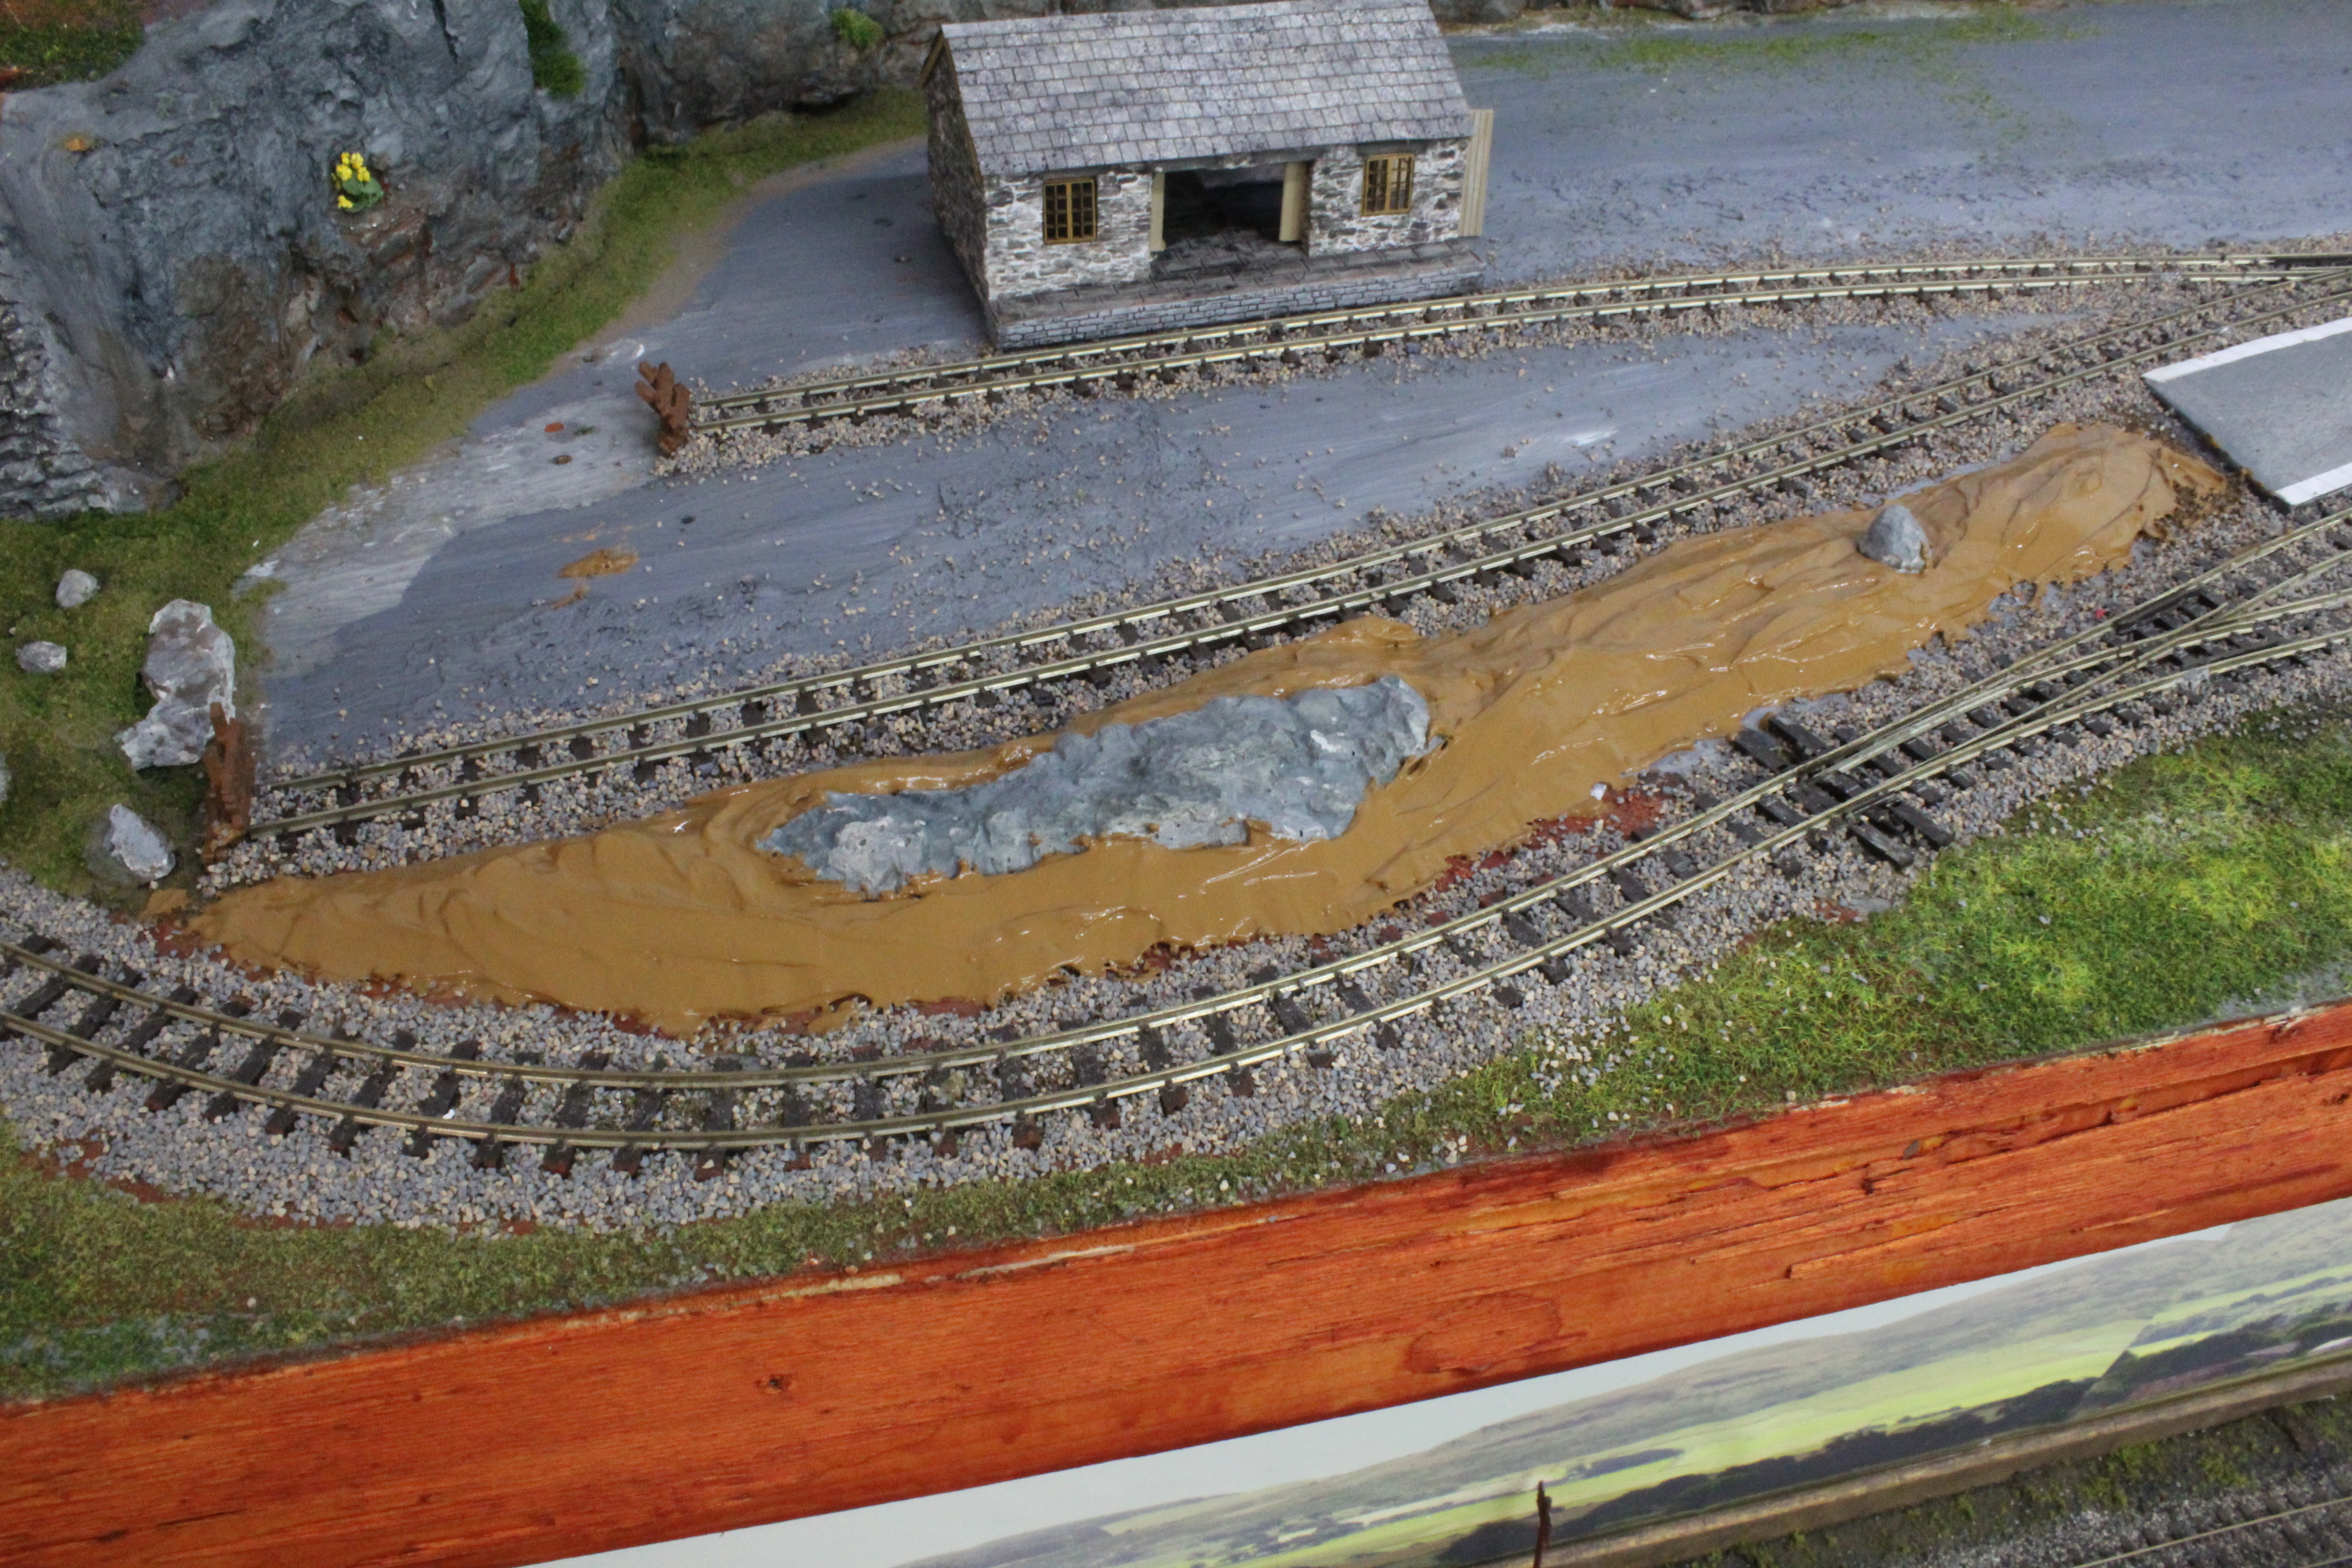
Low Contour Scenery
Normally I would make scenery from foam blocks or plaster bandages over preformed contours but in this case I only wanted to vary the ground so that it was not perfectly flat.
So this time a different approach was needed so I used tubes of filler from the local D.I.Y. shop, shaped and moulded to the desired outline and then whilst still moist sprinkle on a base covering grass mixtures. Once dry static grass and foliage will be added.
It looks disgusting at first but once complete the overall effect is very good.
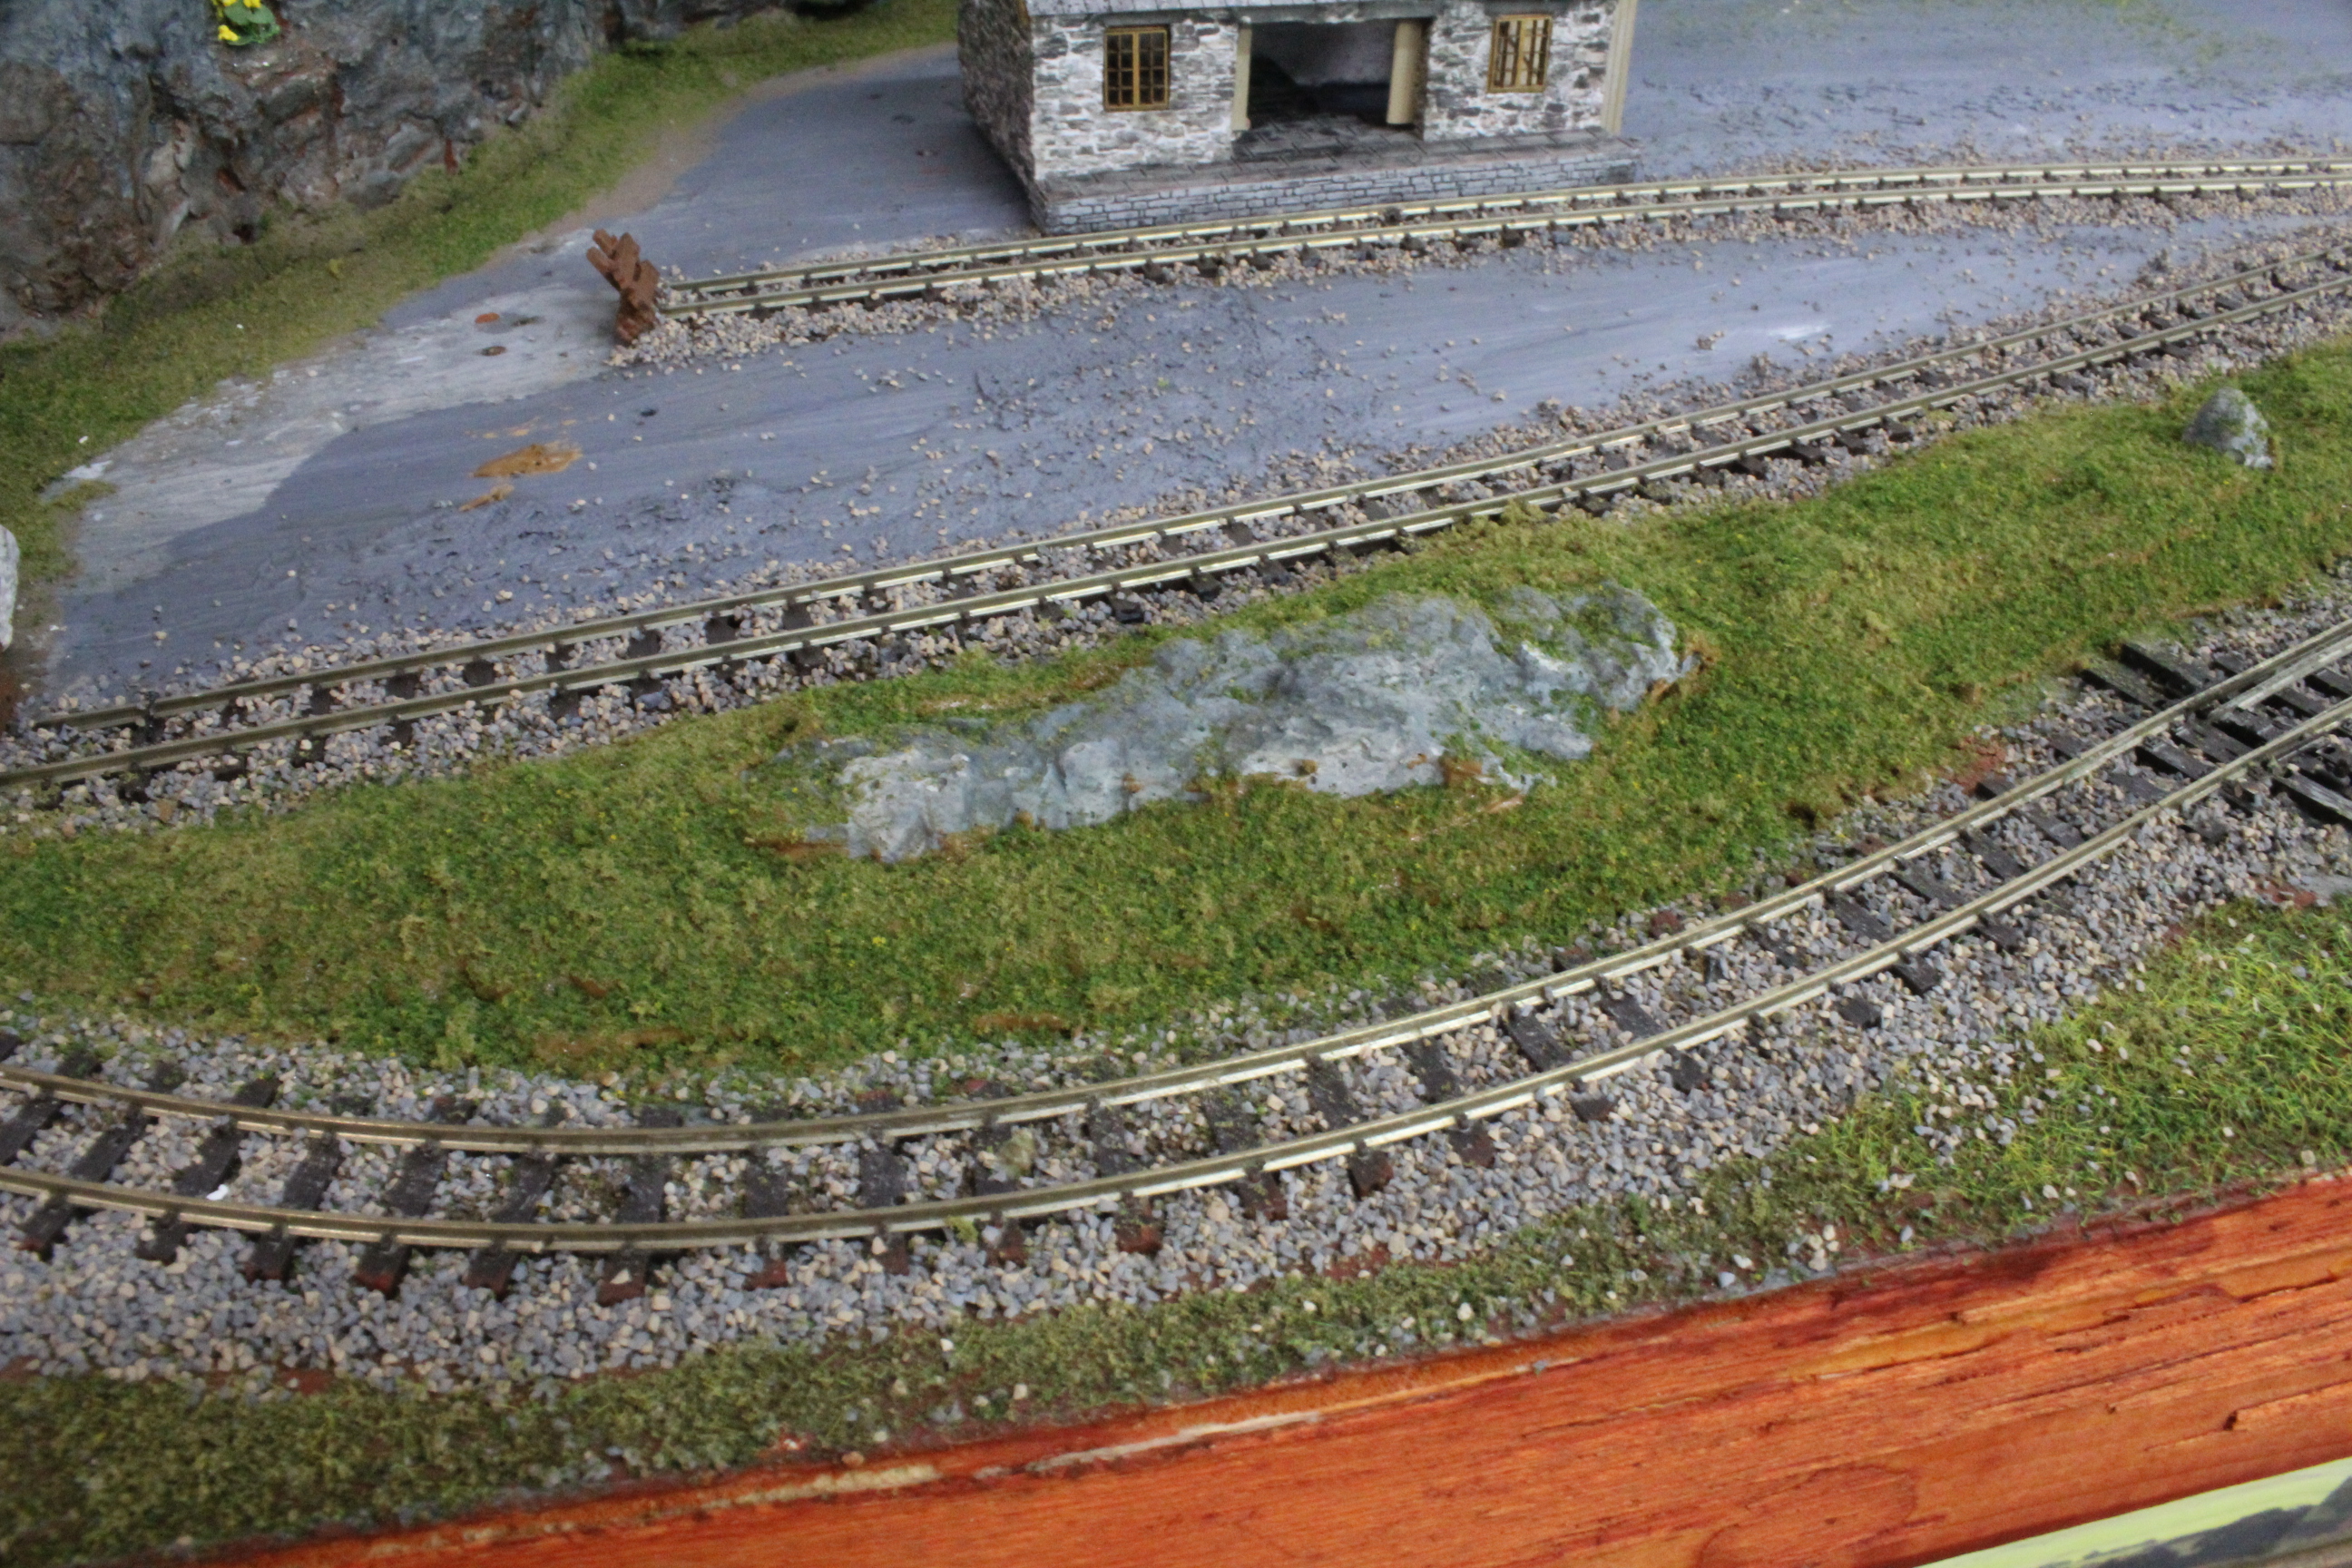
Filling in The Cracks
The type of filler I used when applied in large amounts as in this scenery does shrink as it dries and cracks appear after a few days. So I waited until it had stopped drying and then applied the second coating of scenery products. I didn’t use a static grass applicator this time because I wanted to create a sparse rock-strewn surface so the items used were grass flock, granite rubble and small bush foliage.
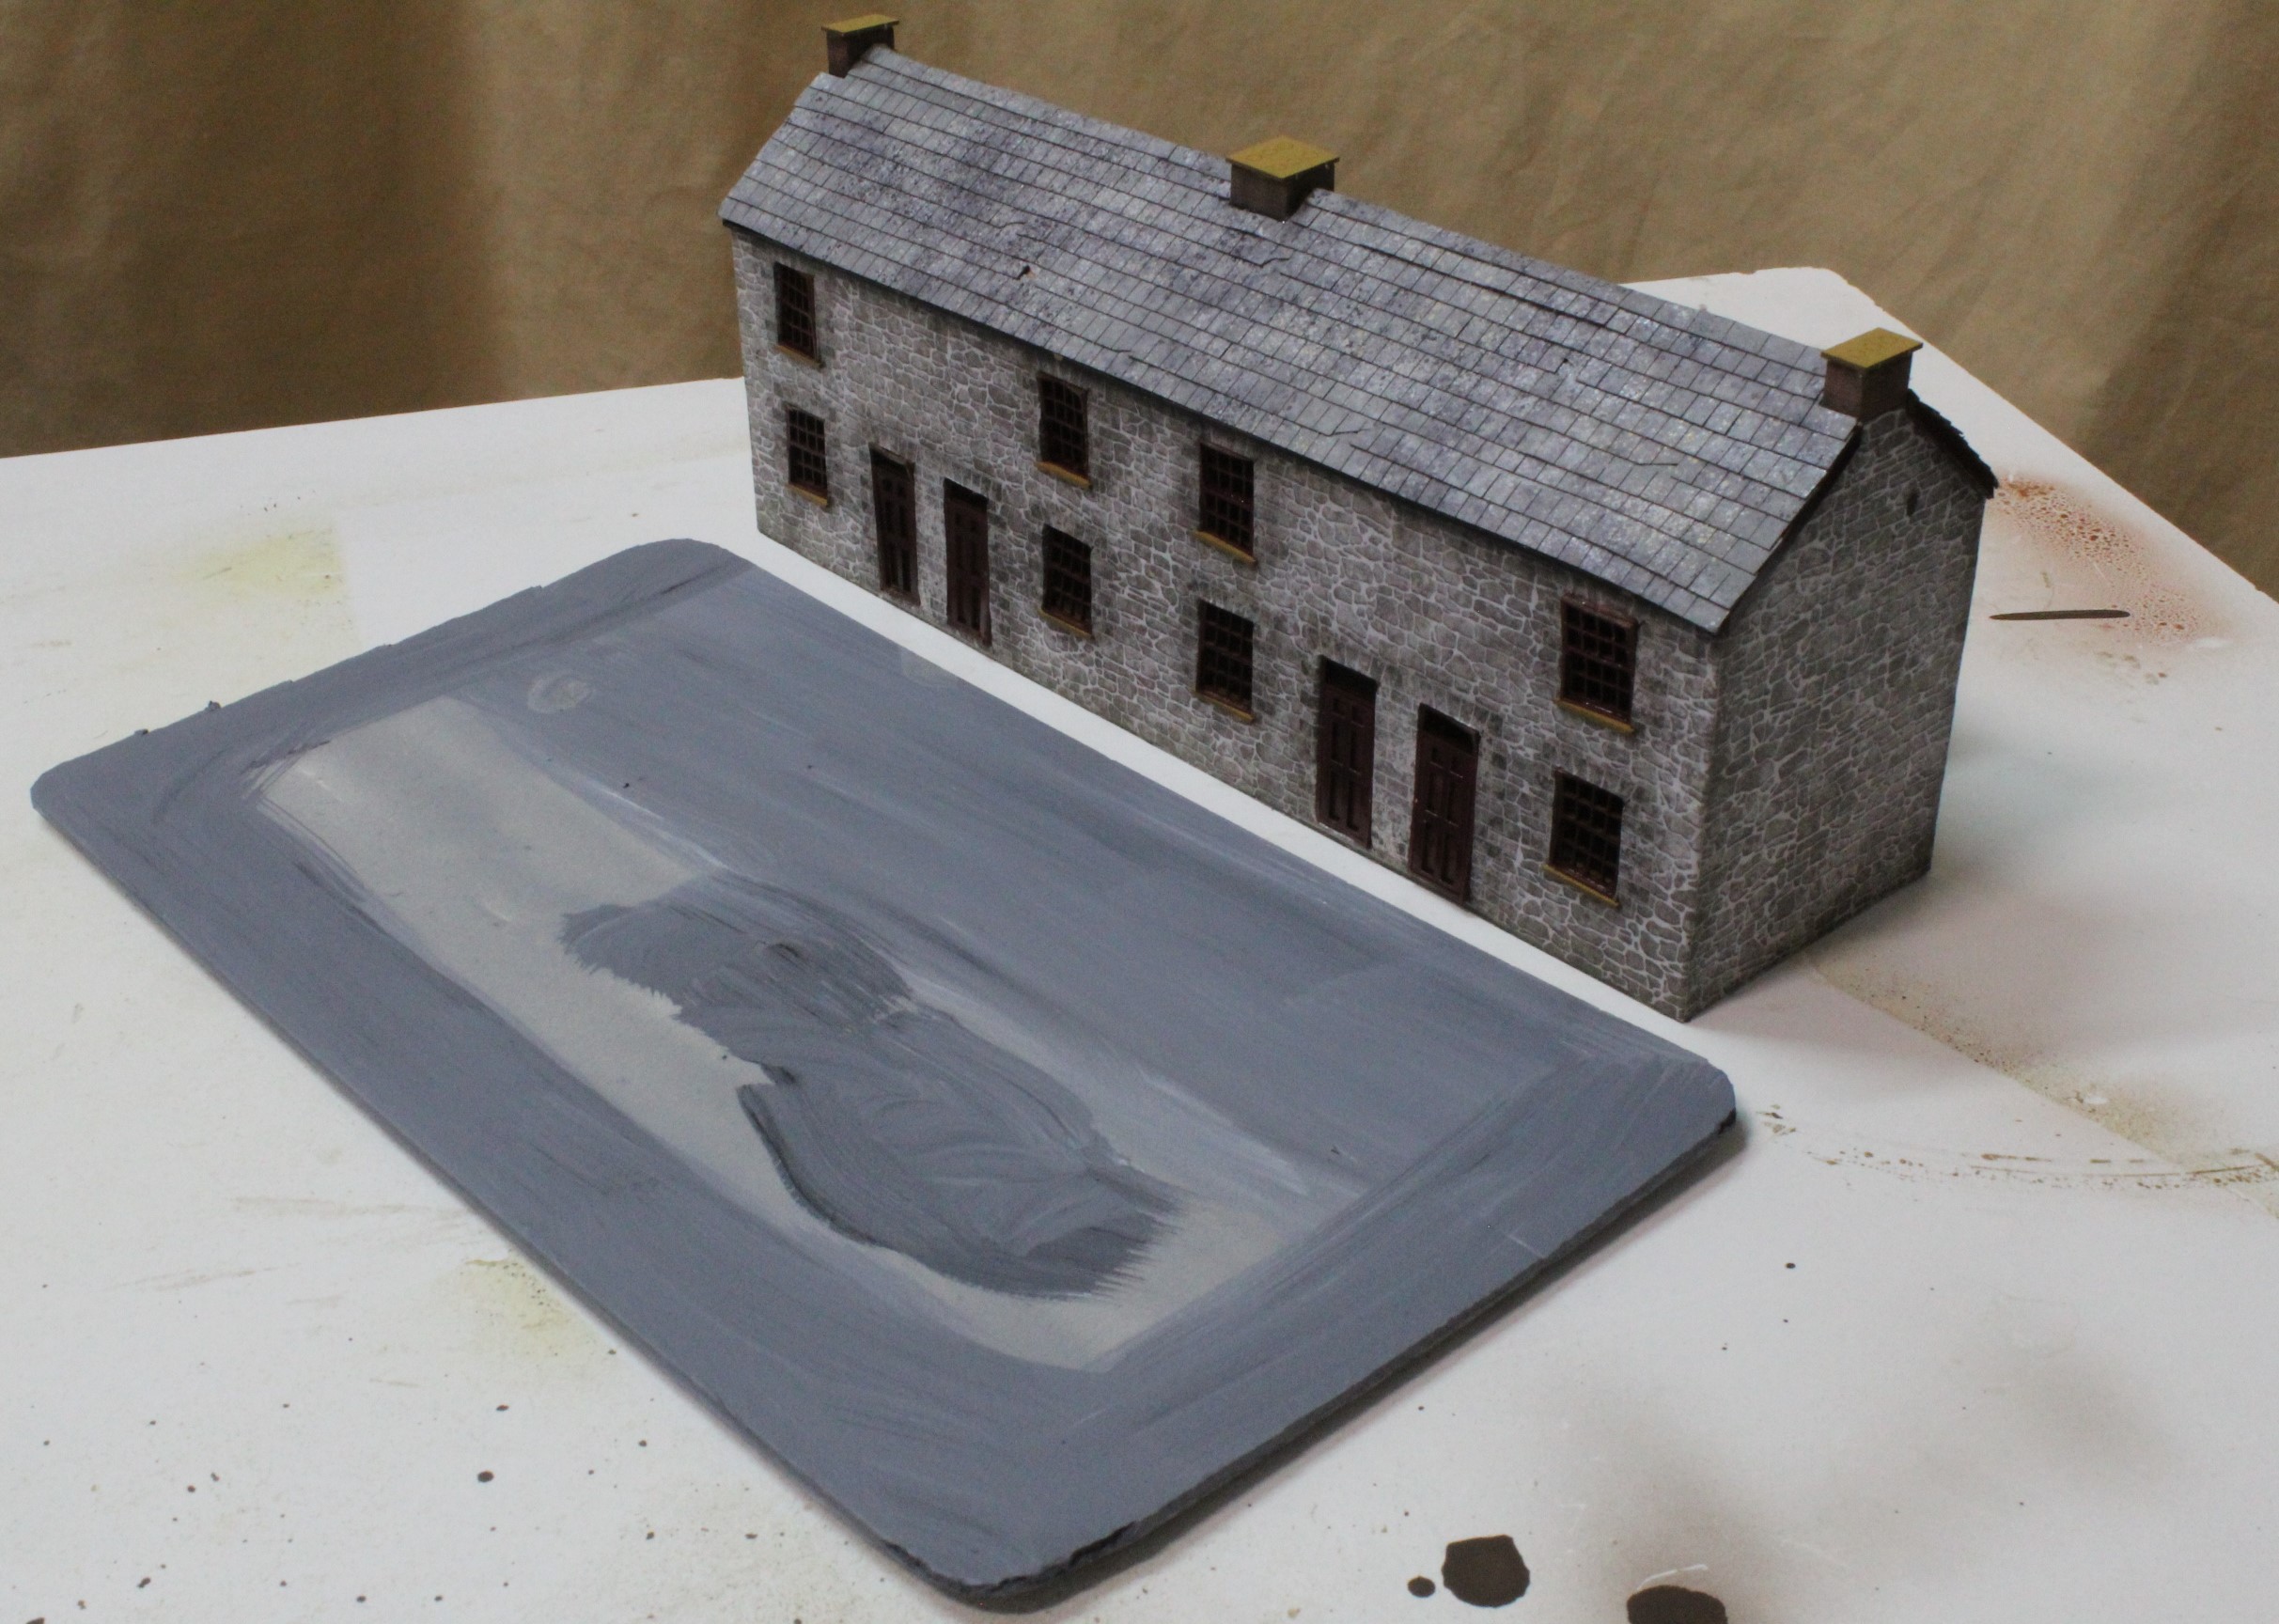
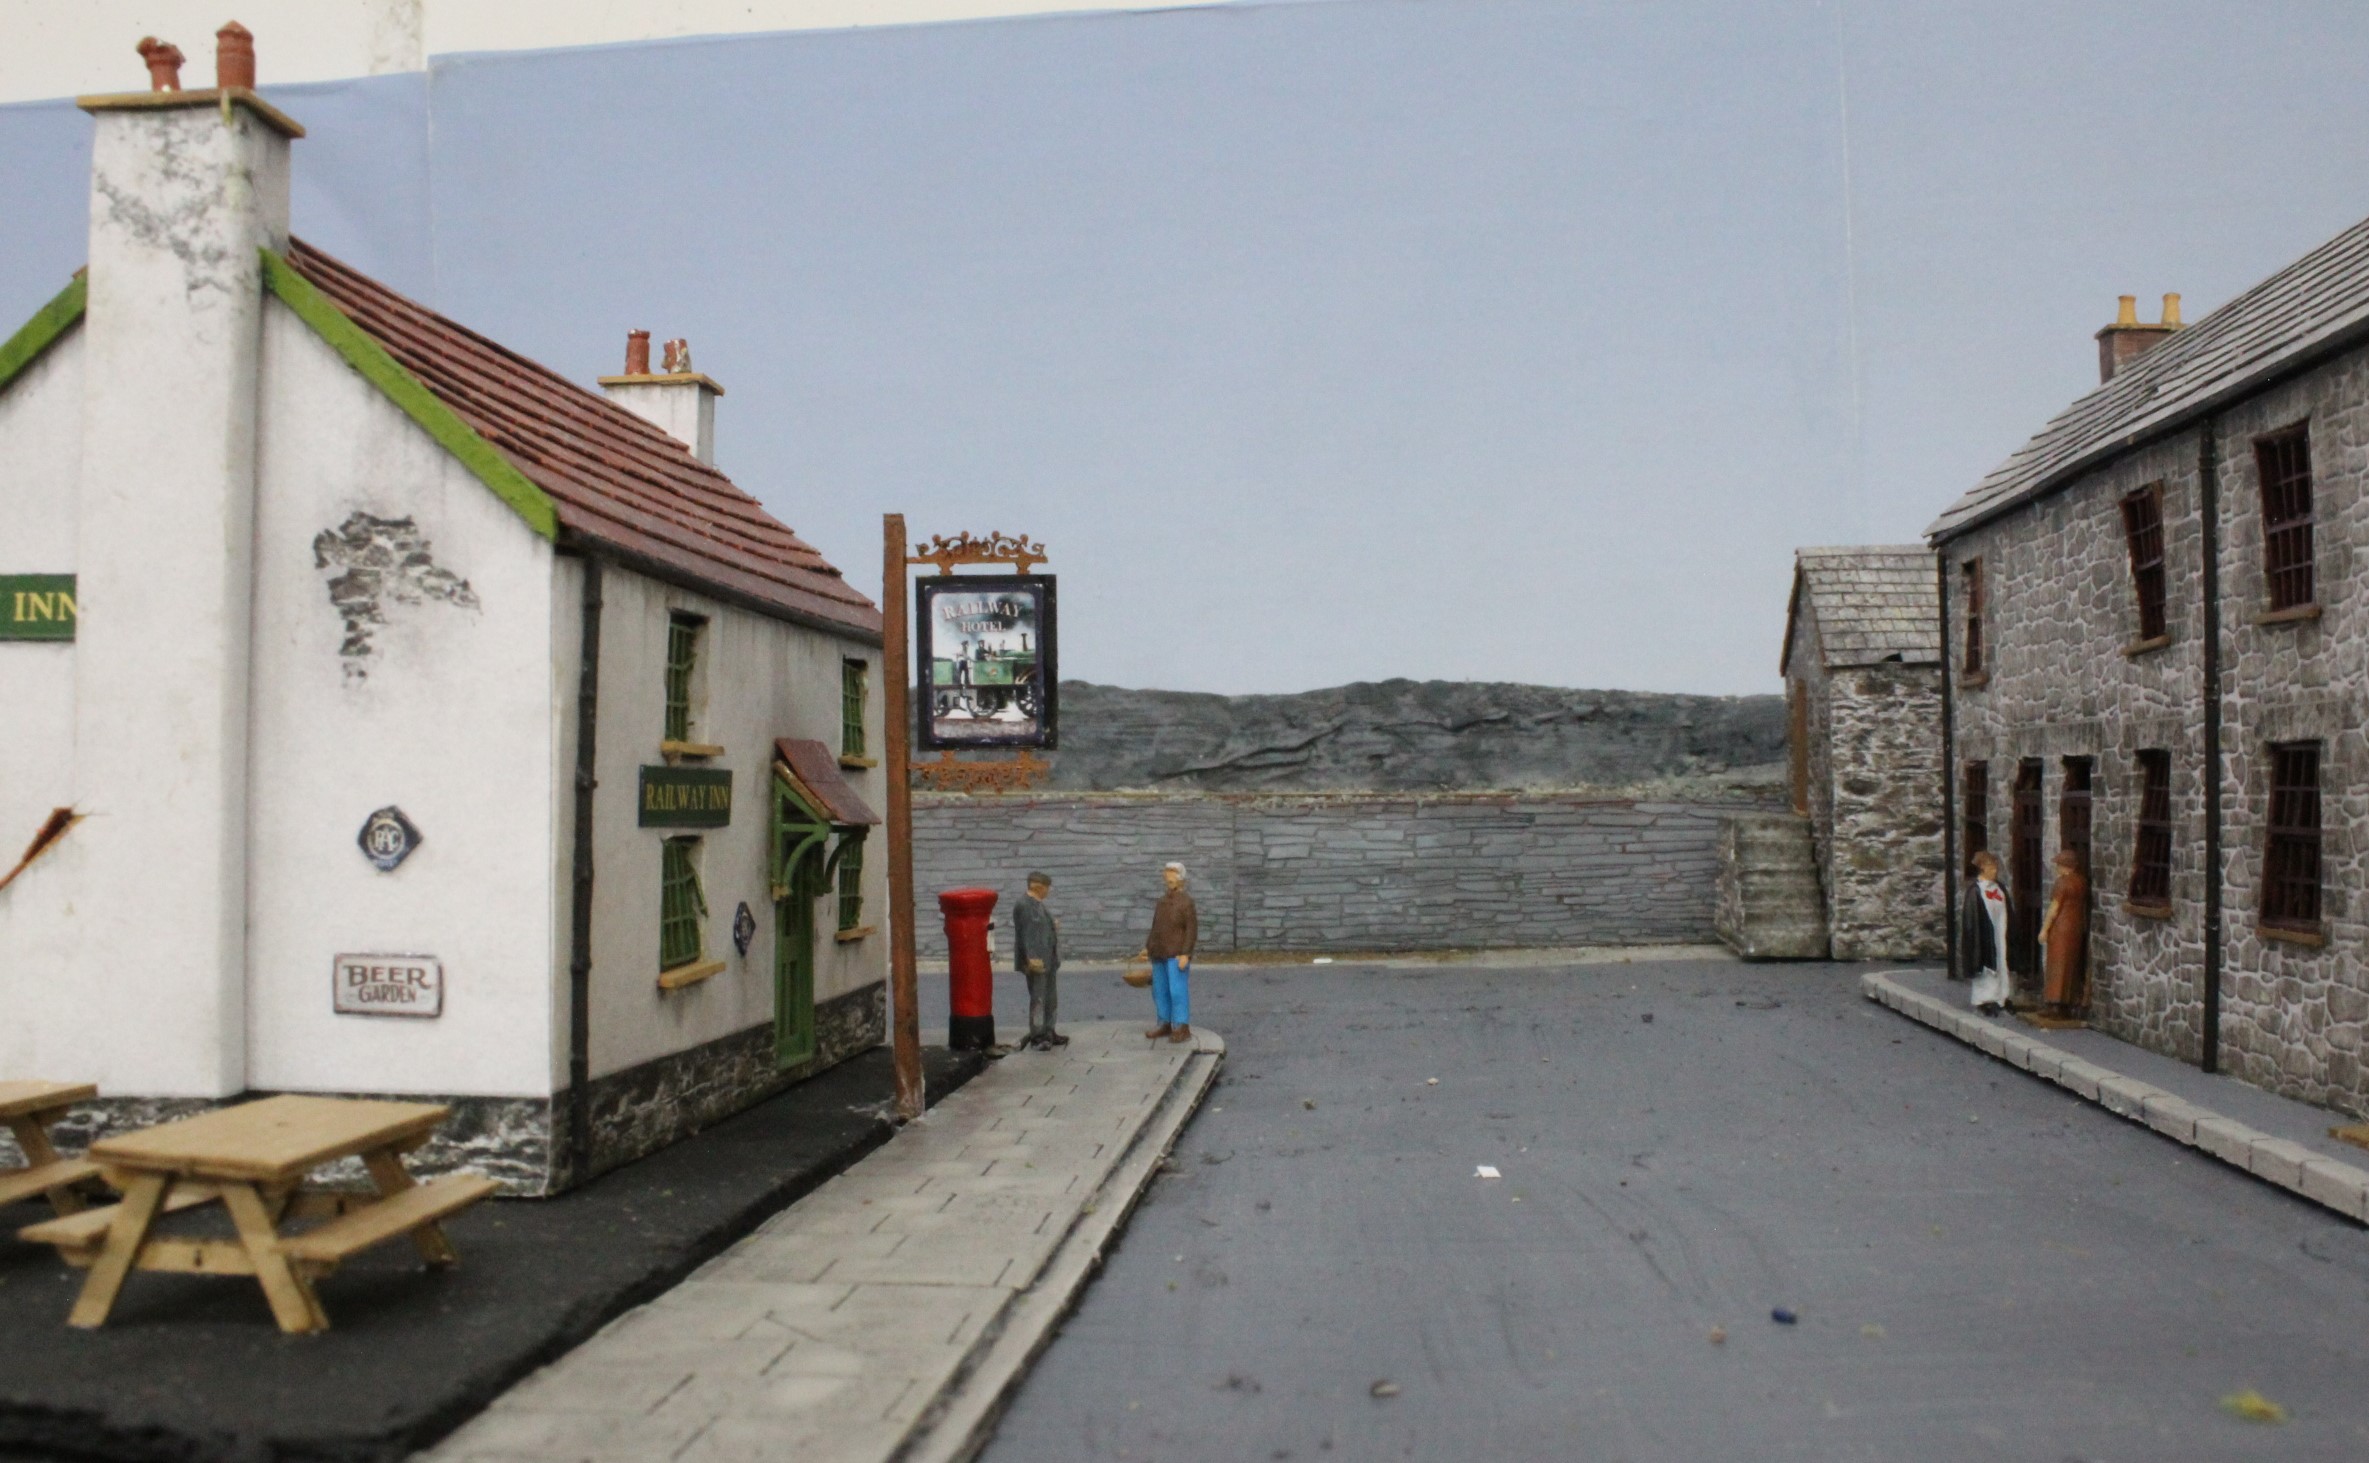
Main Street
The biggest building in the main street is the row of cottages made from a laser cut kit. I prefer all buildings to be modular at the moment so that it is easier to remove them for detailing so a base was made from foam sheet to fit it on then I added the back yards.
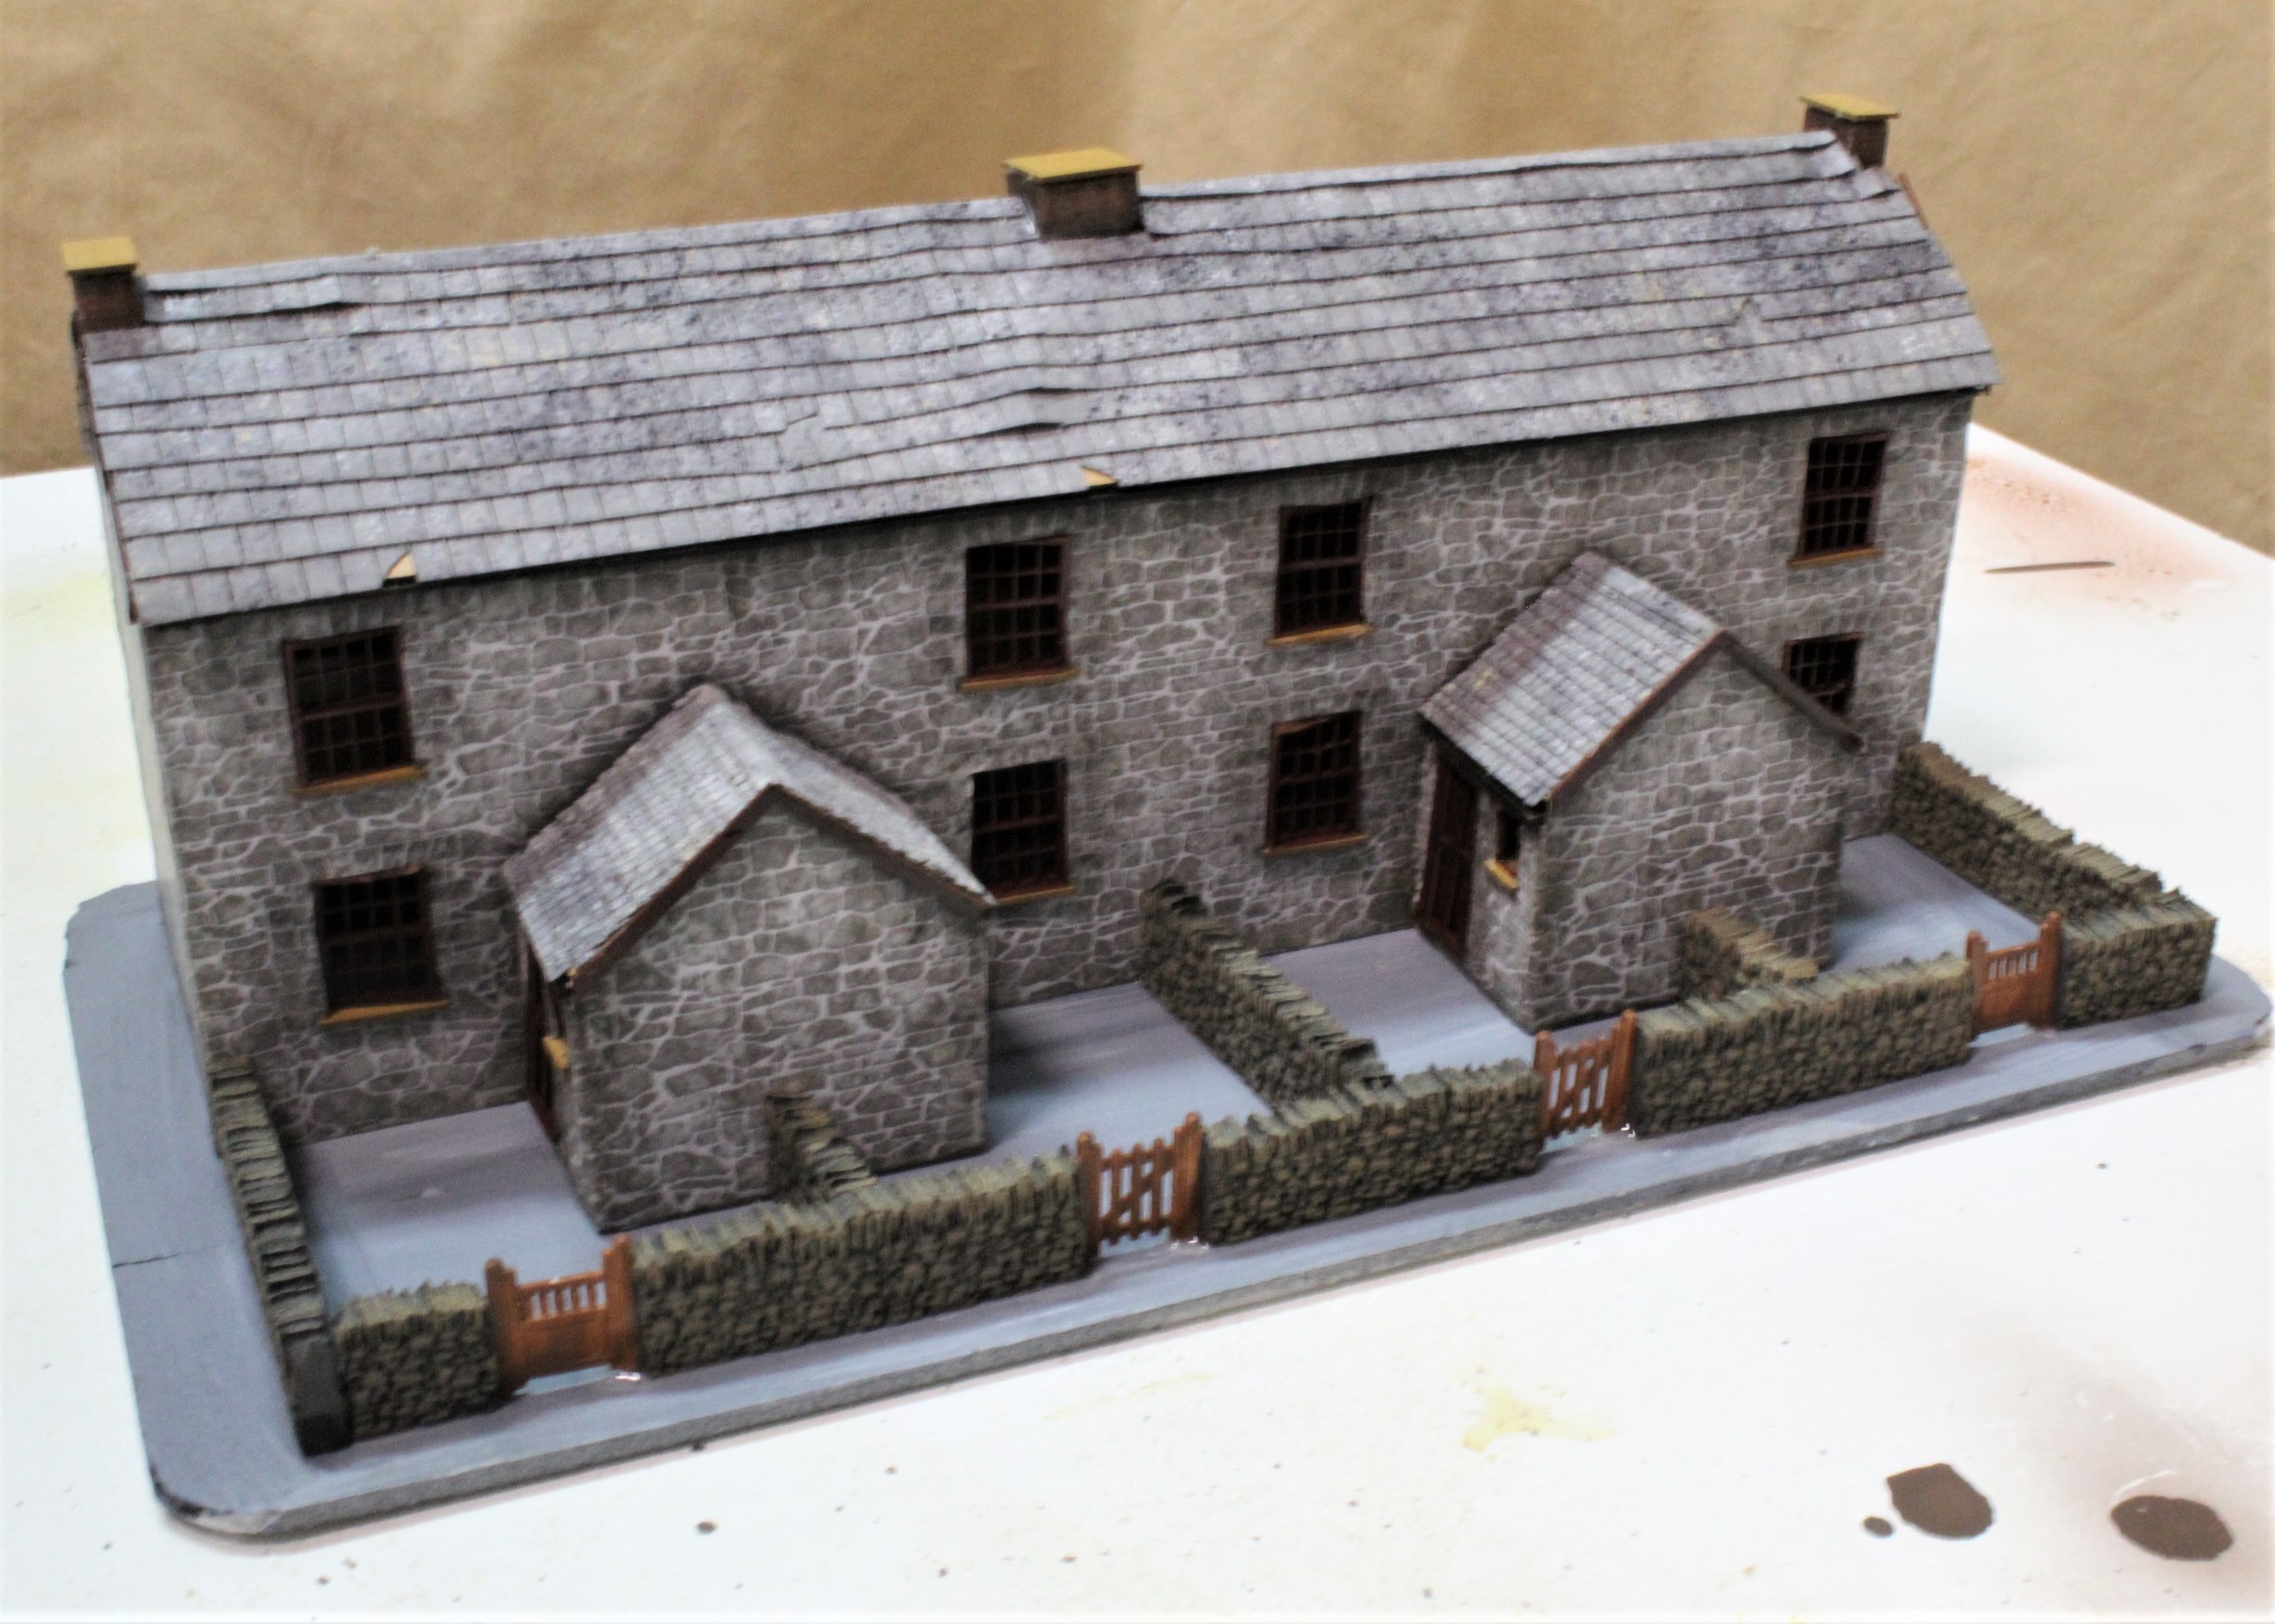
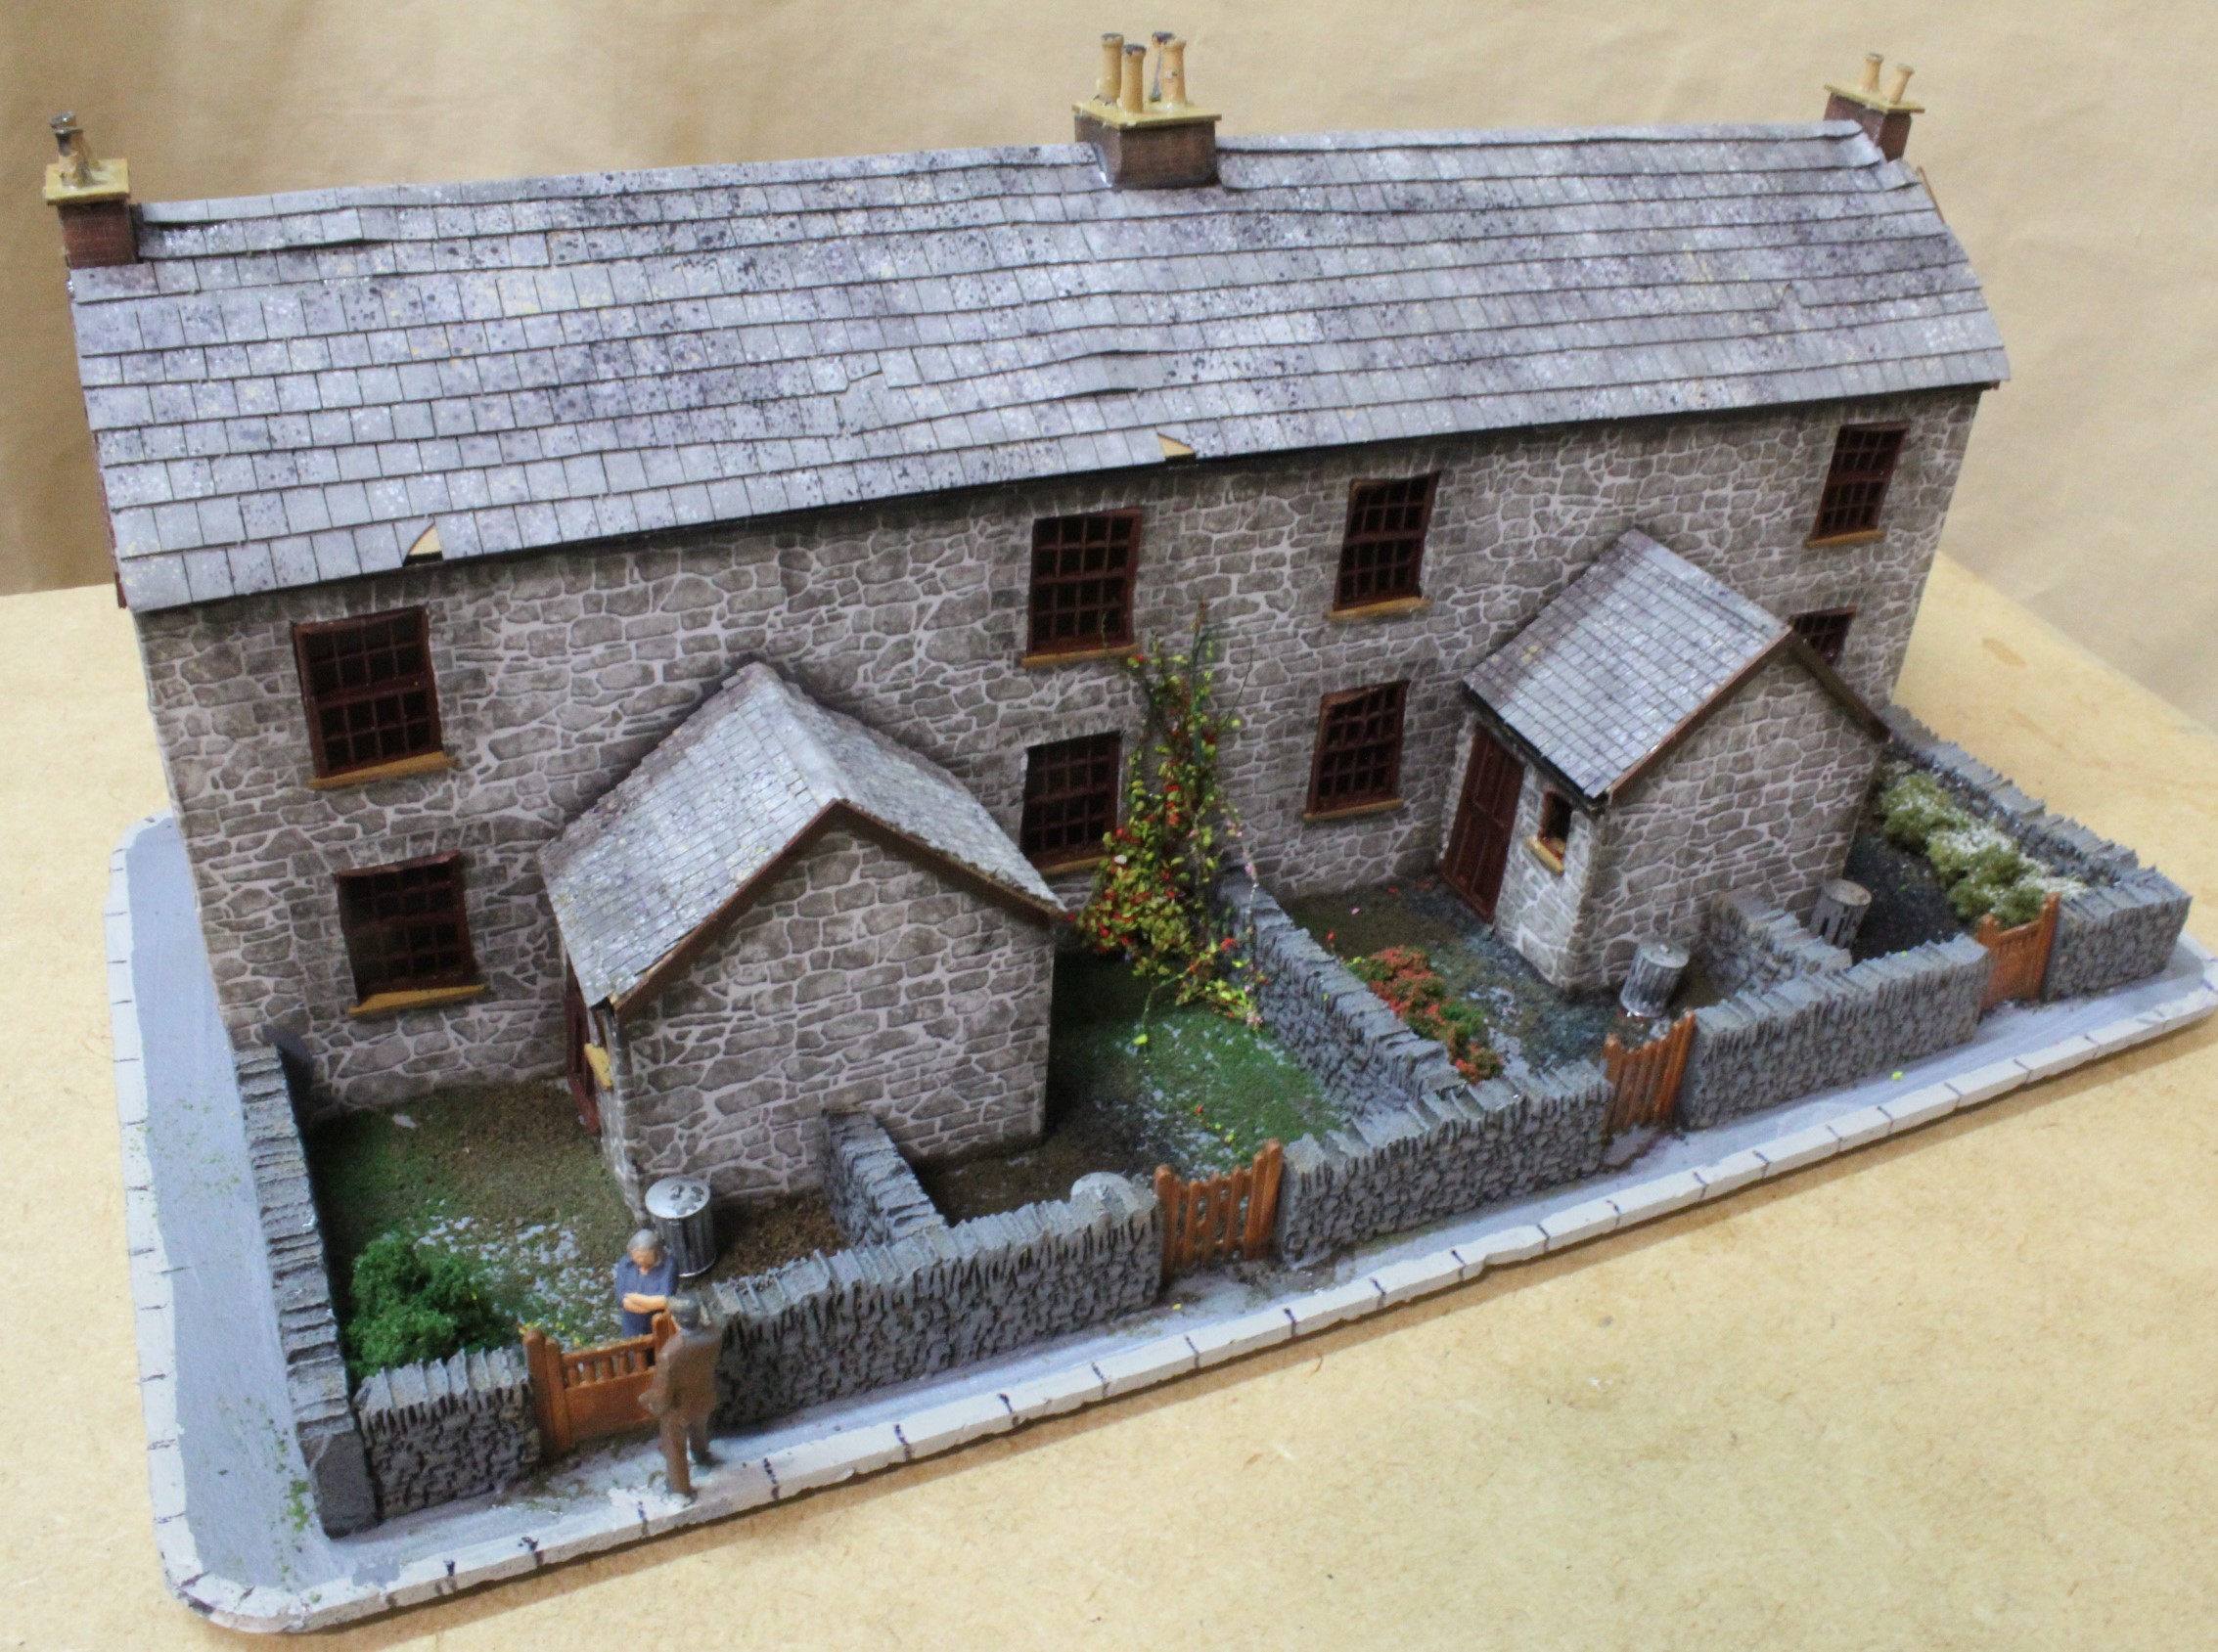
Then for the time being it was finished off with dustbins and some vegetation but with more small items to be added later.
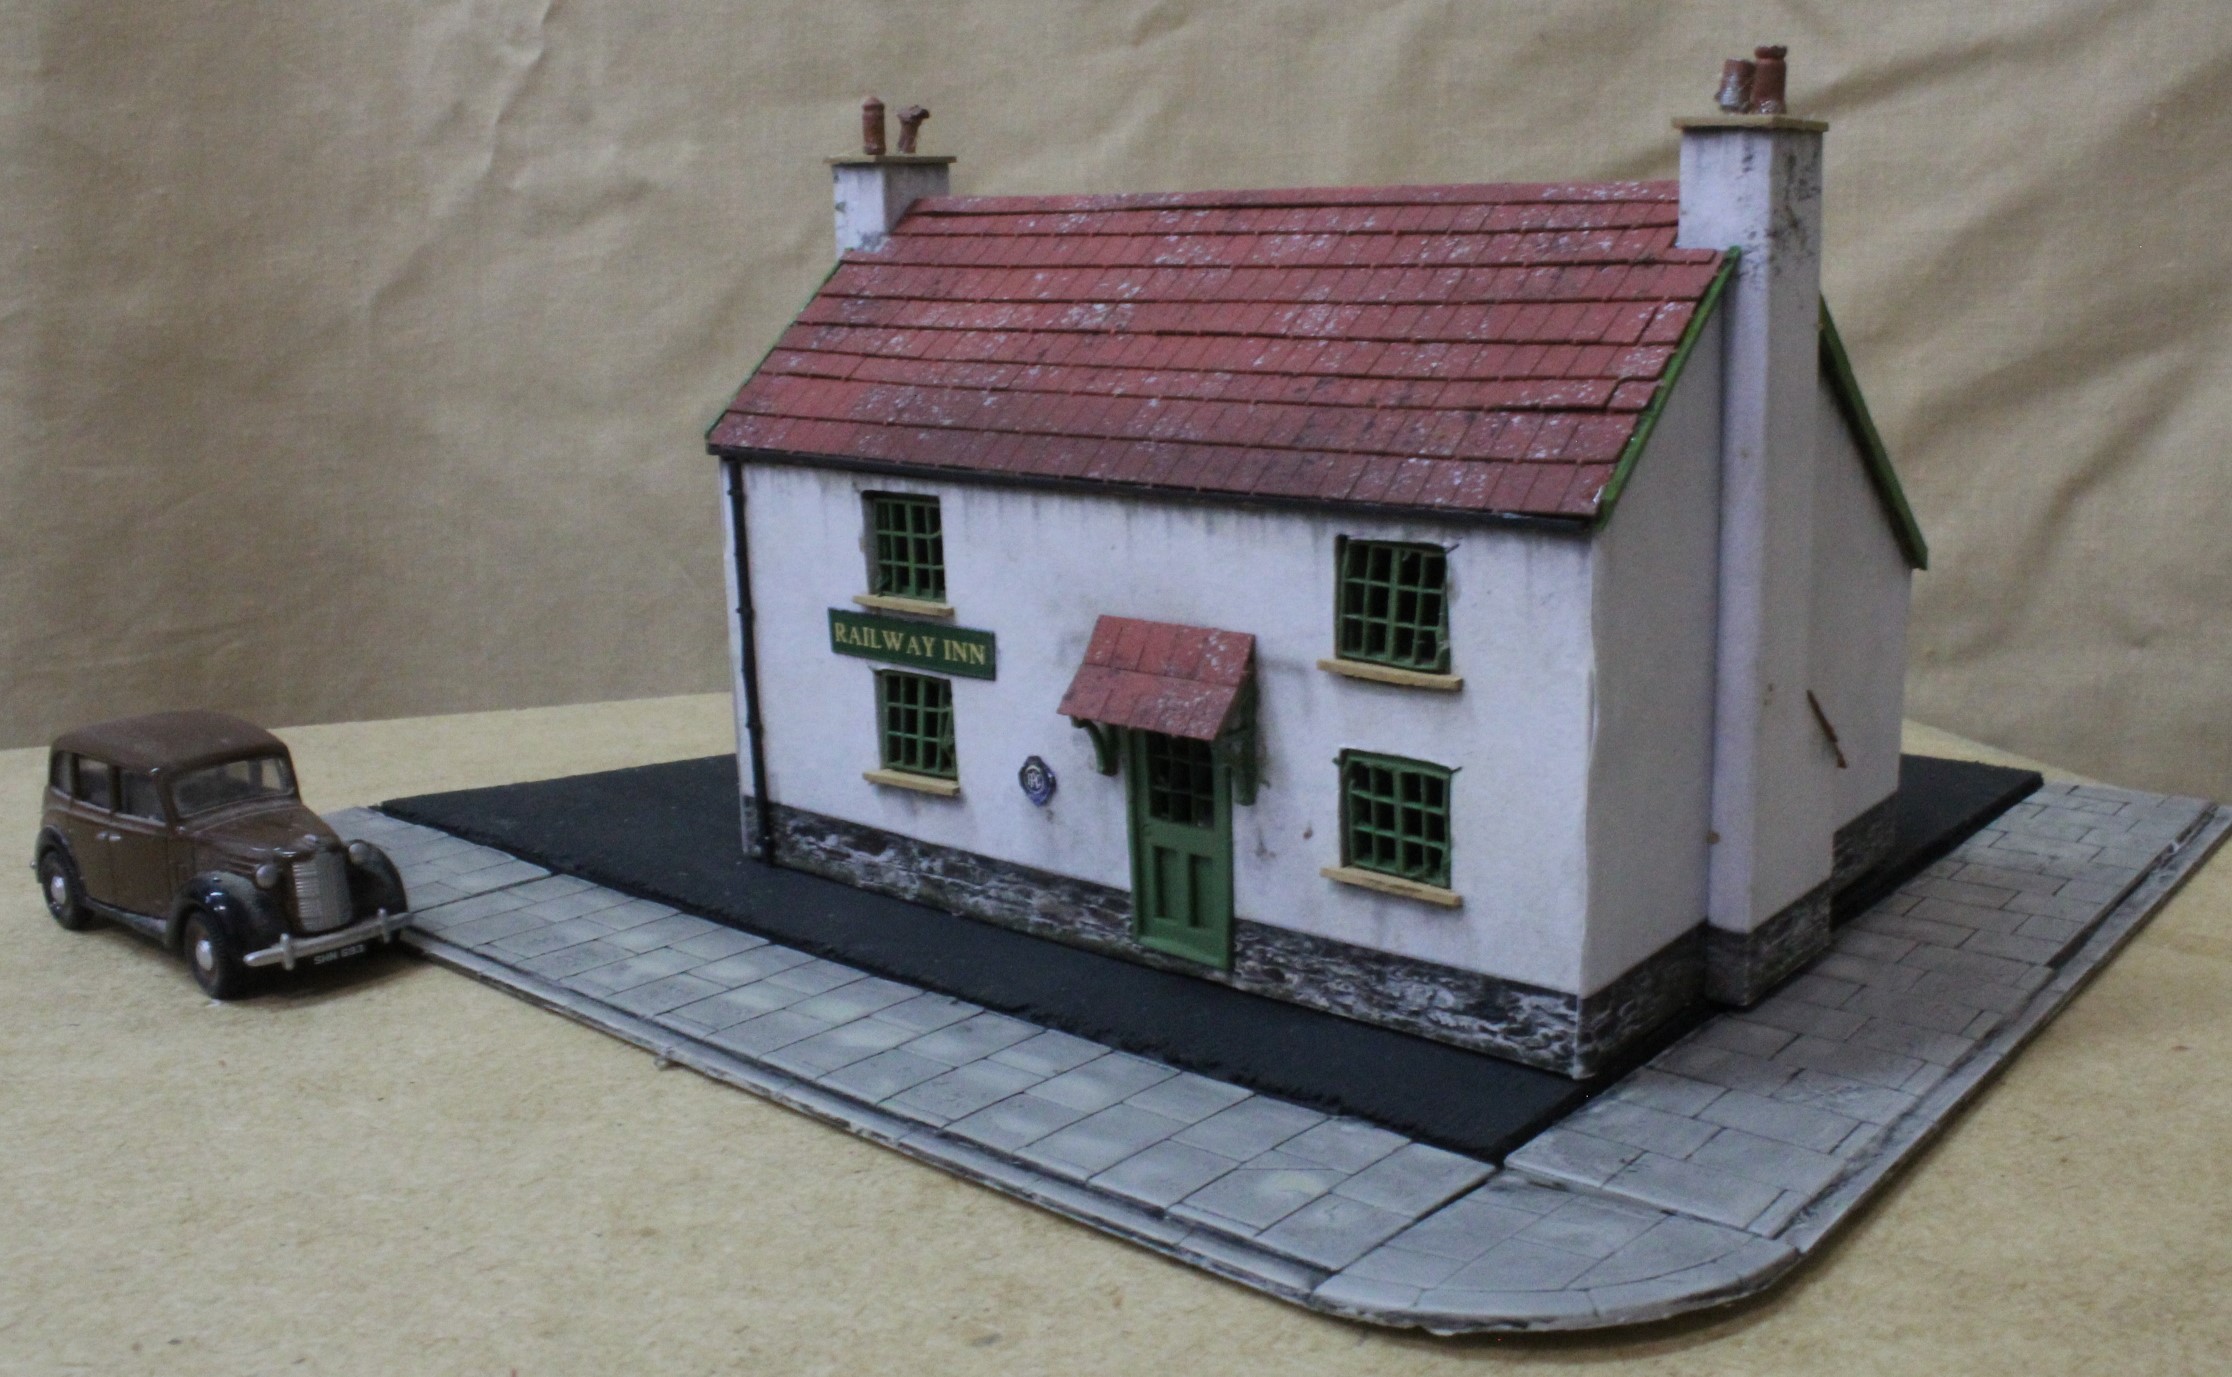
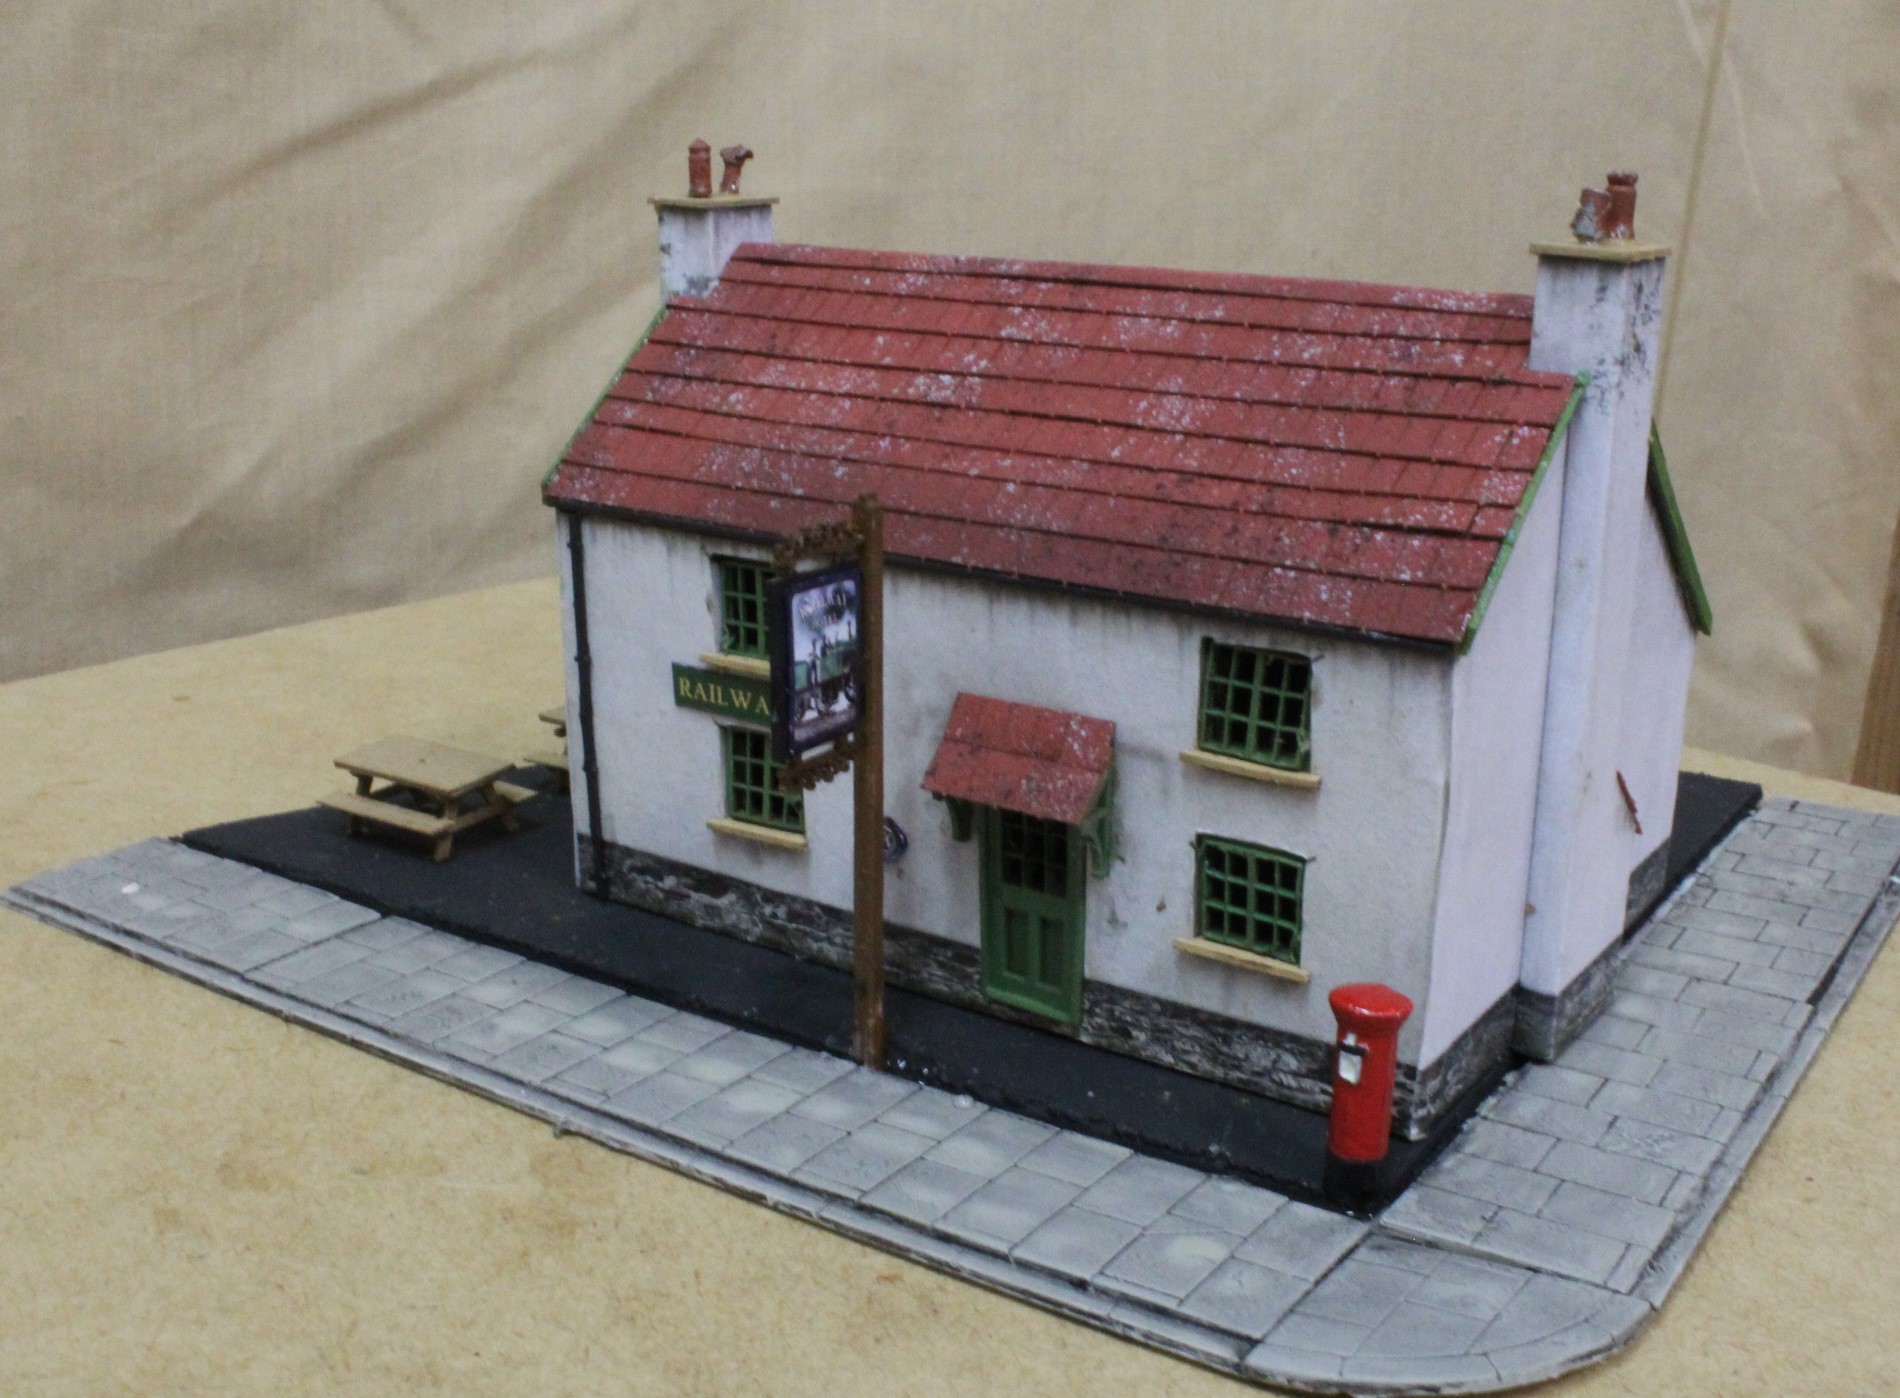
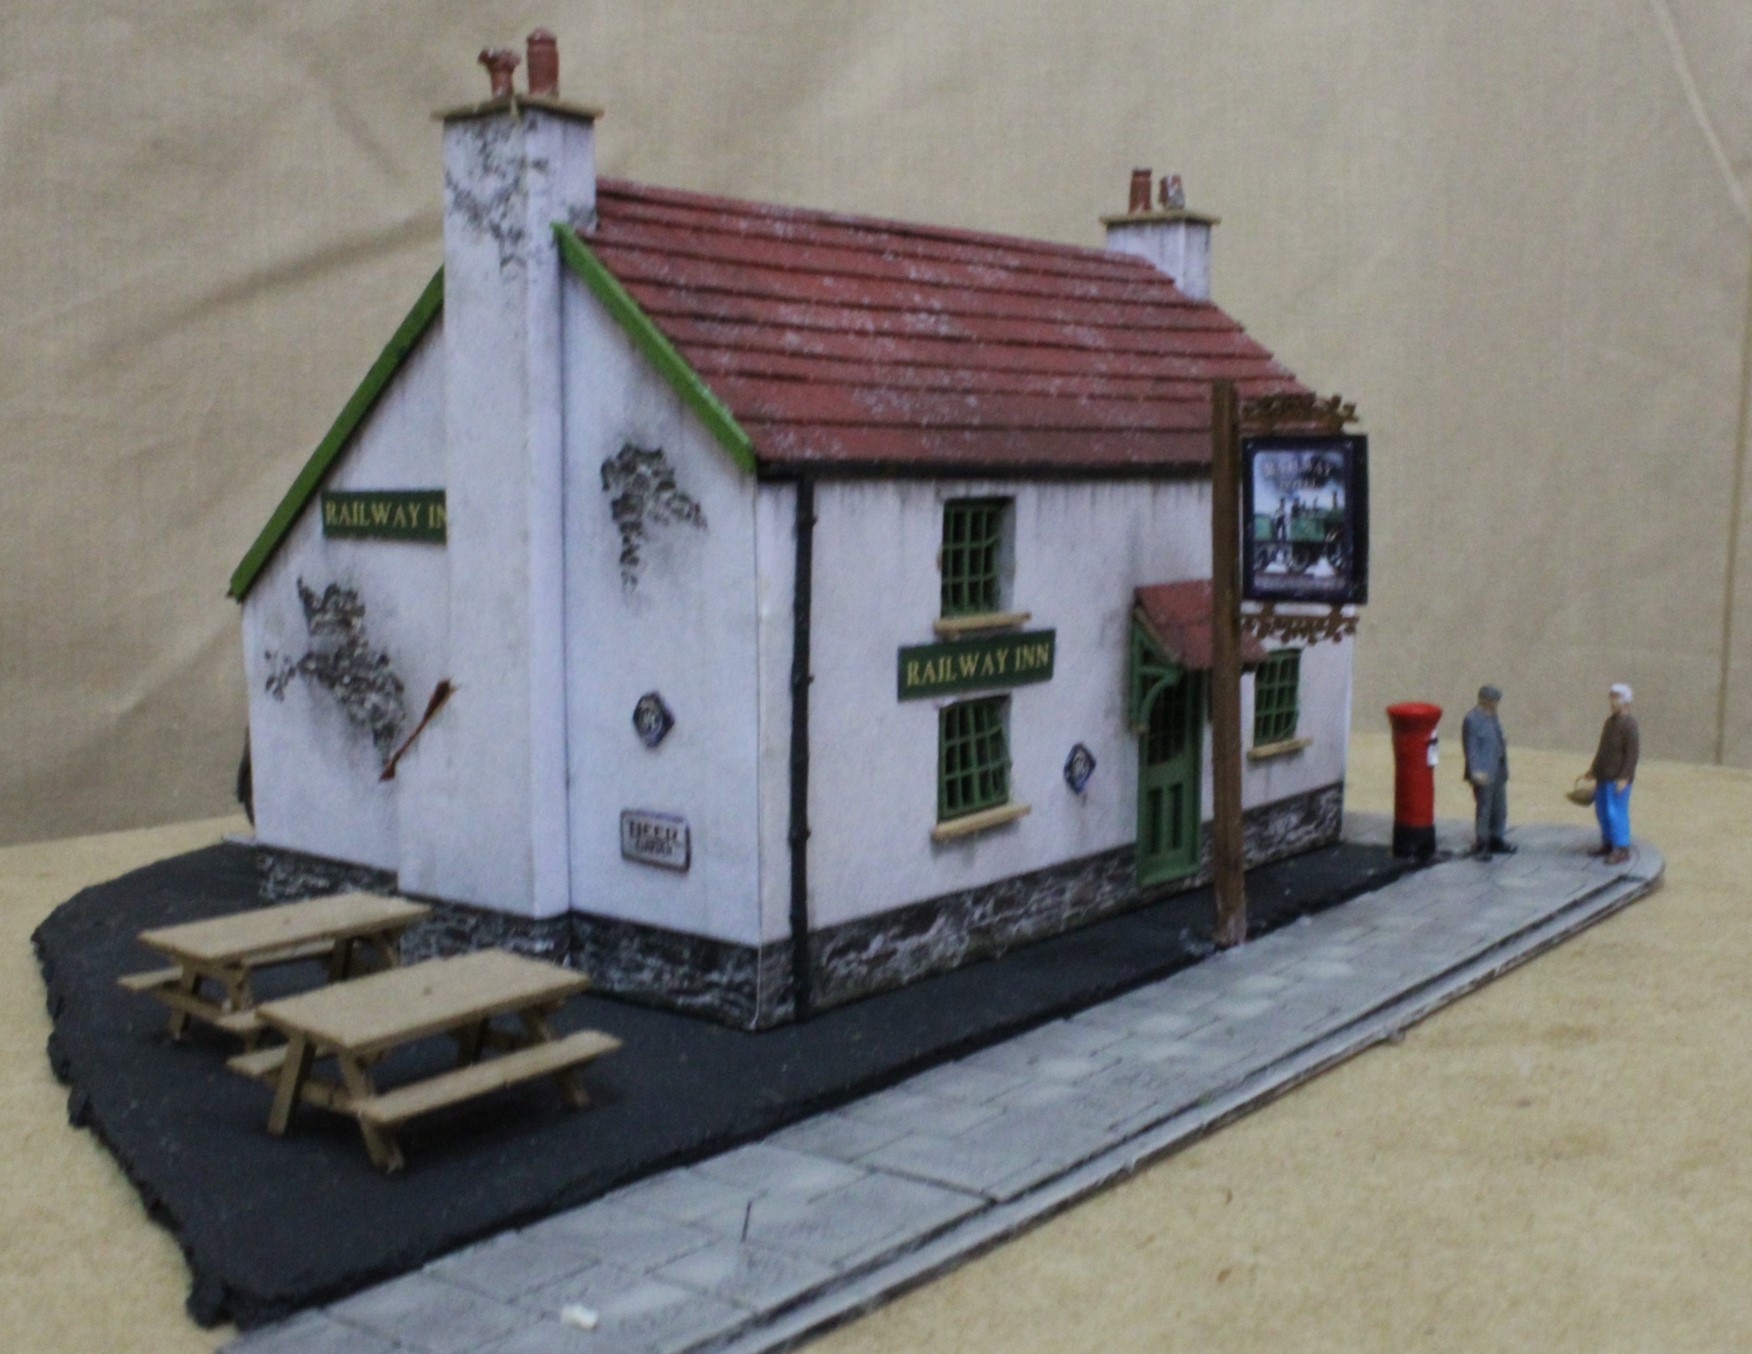
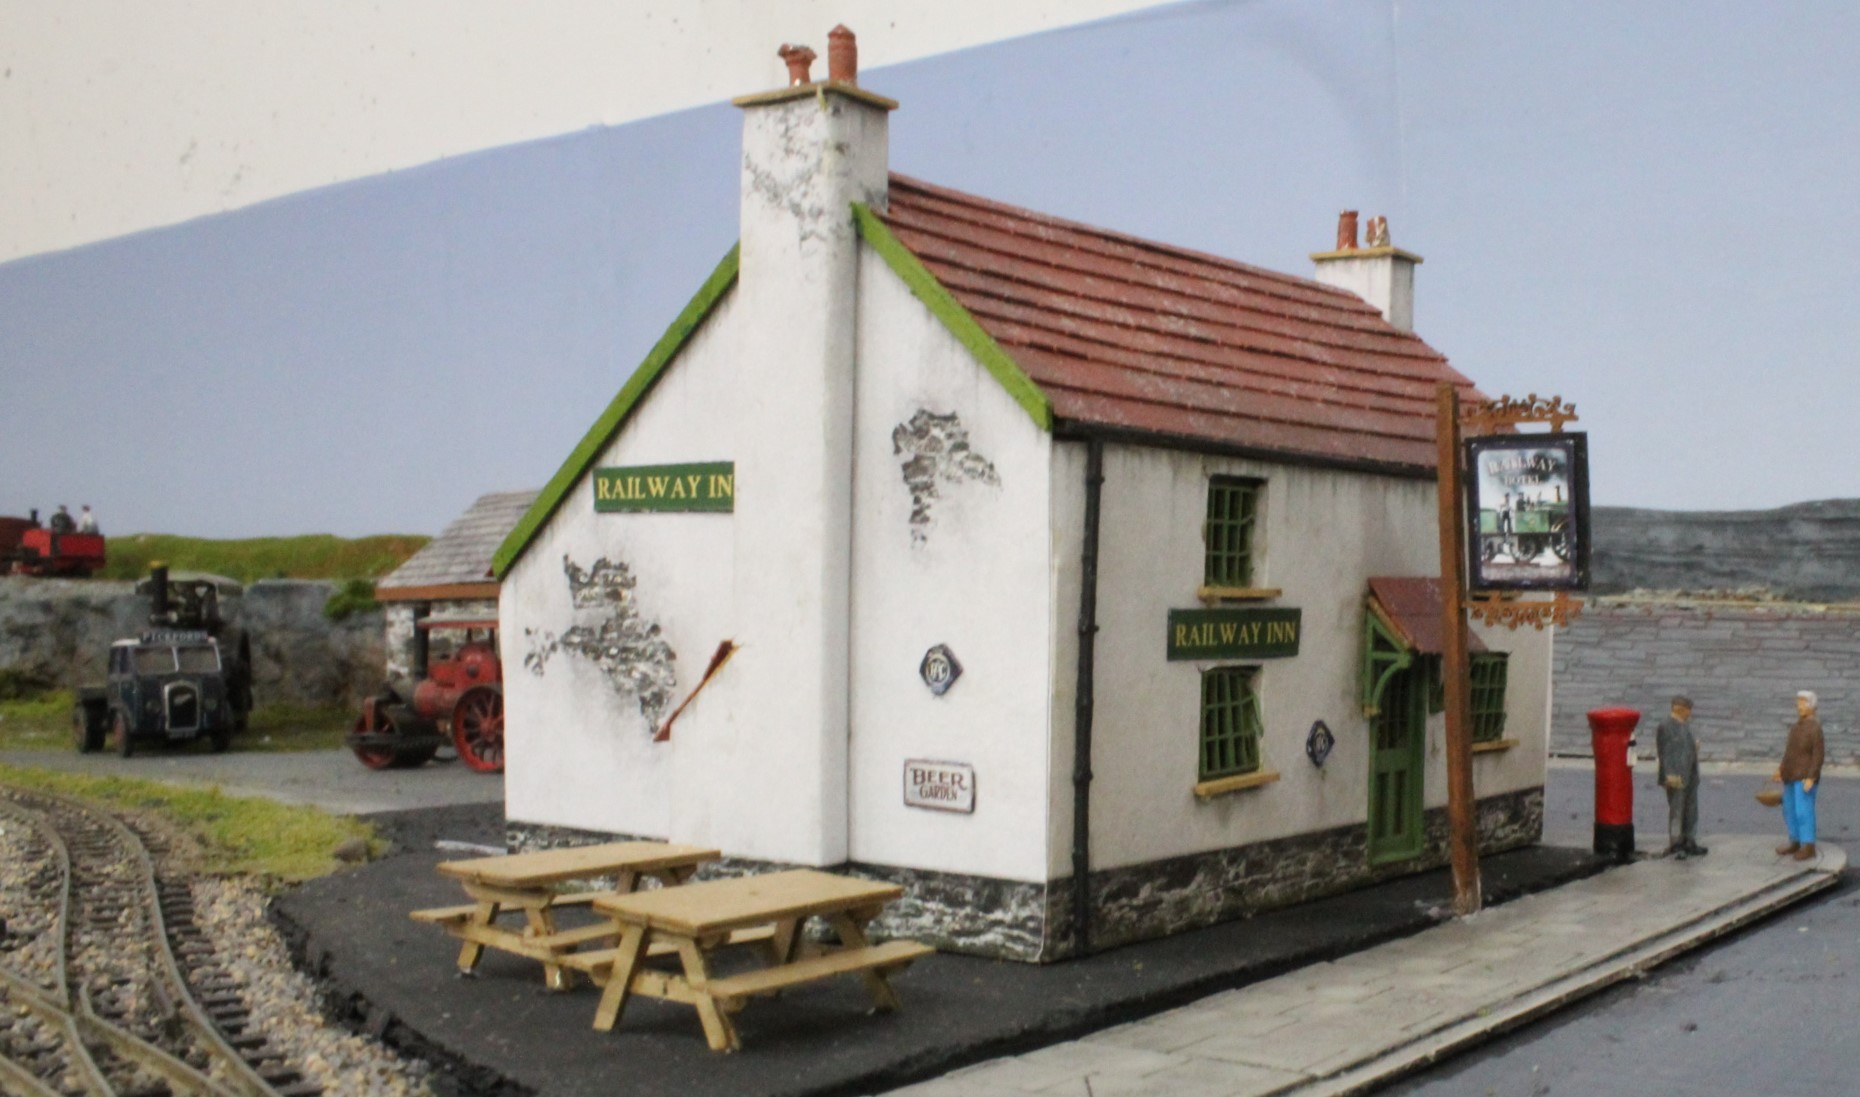
The Railway Inn
This was made from a lasercut cottage with signage and then extra details added before securing the module to the main board. It just needs a few revellers adding now to complete the scene.
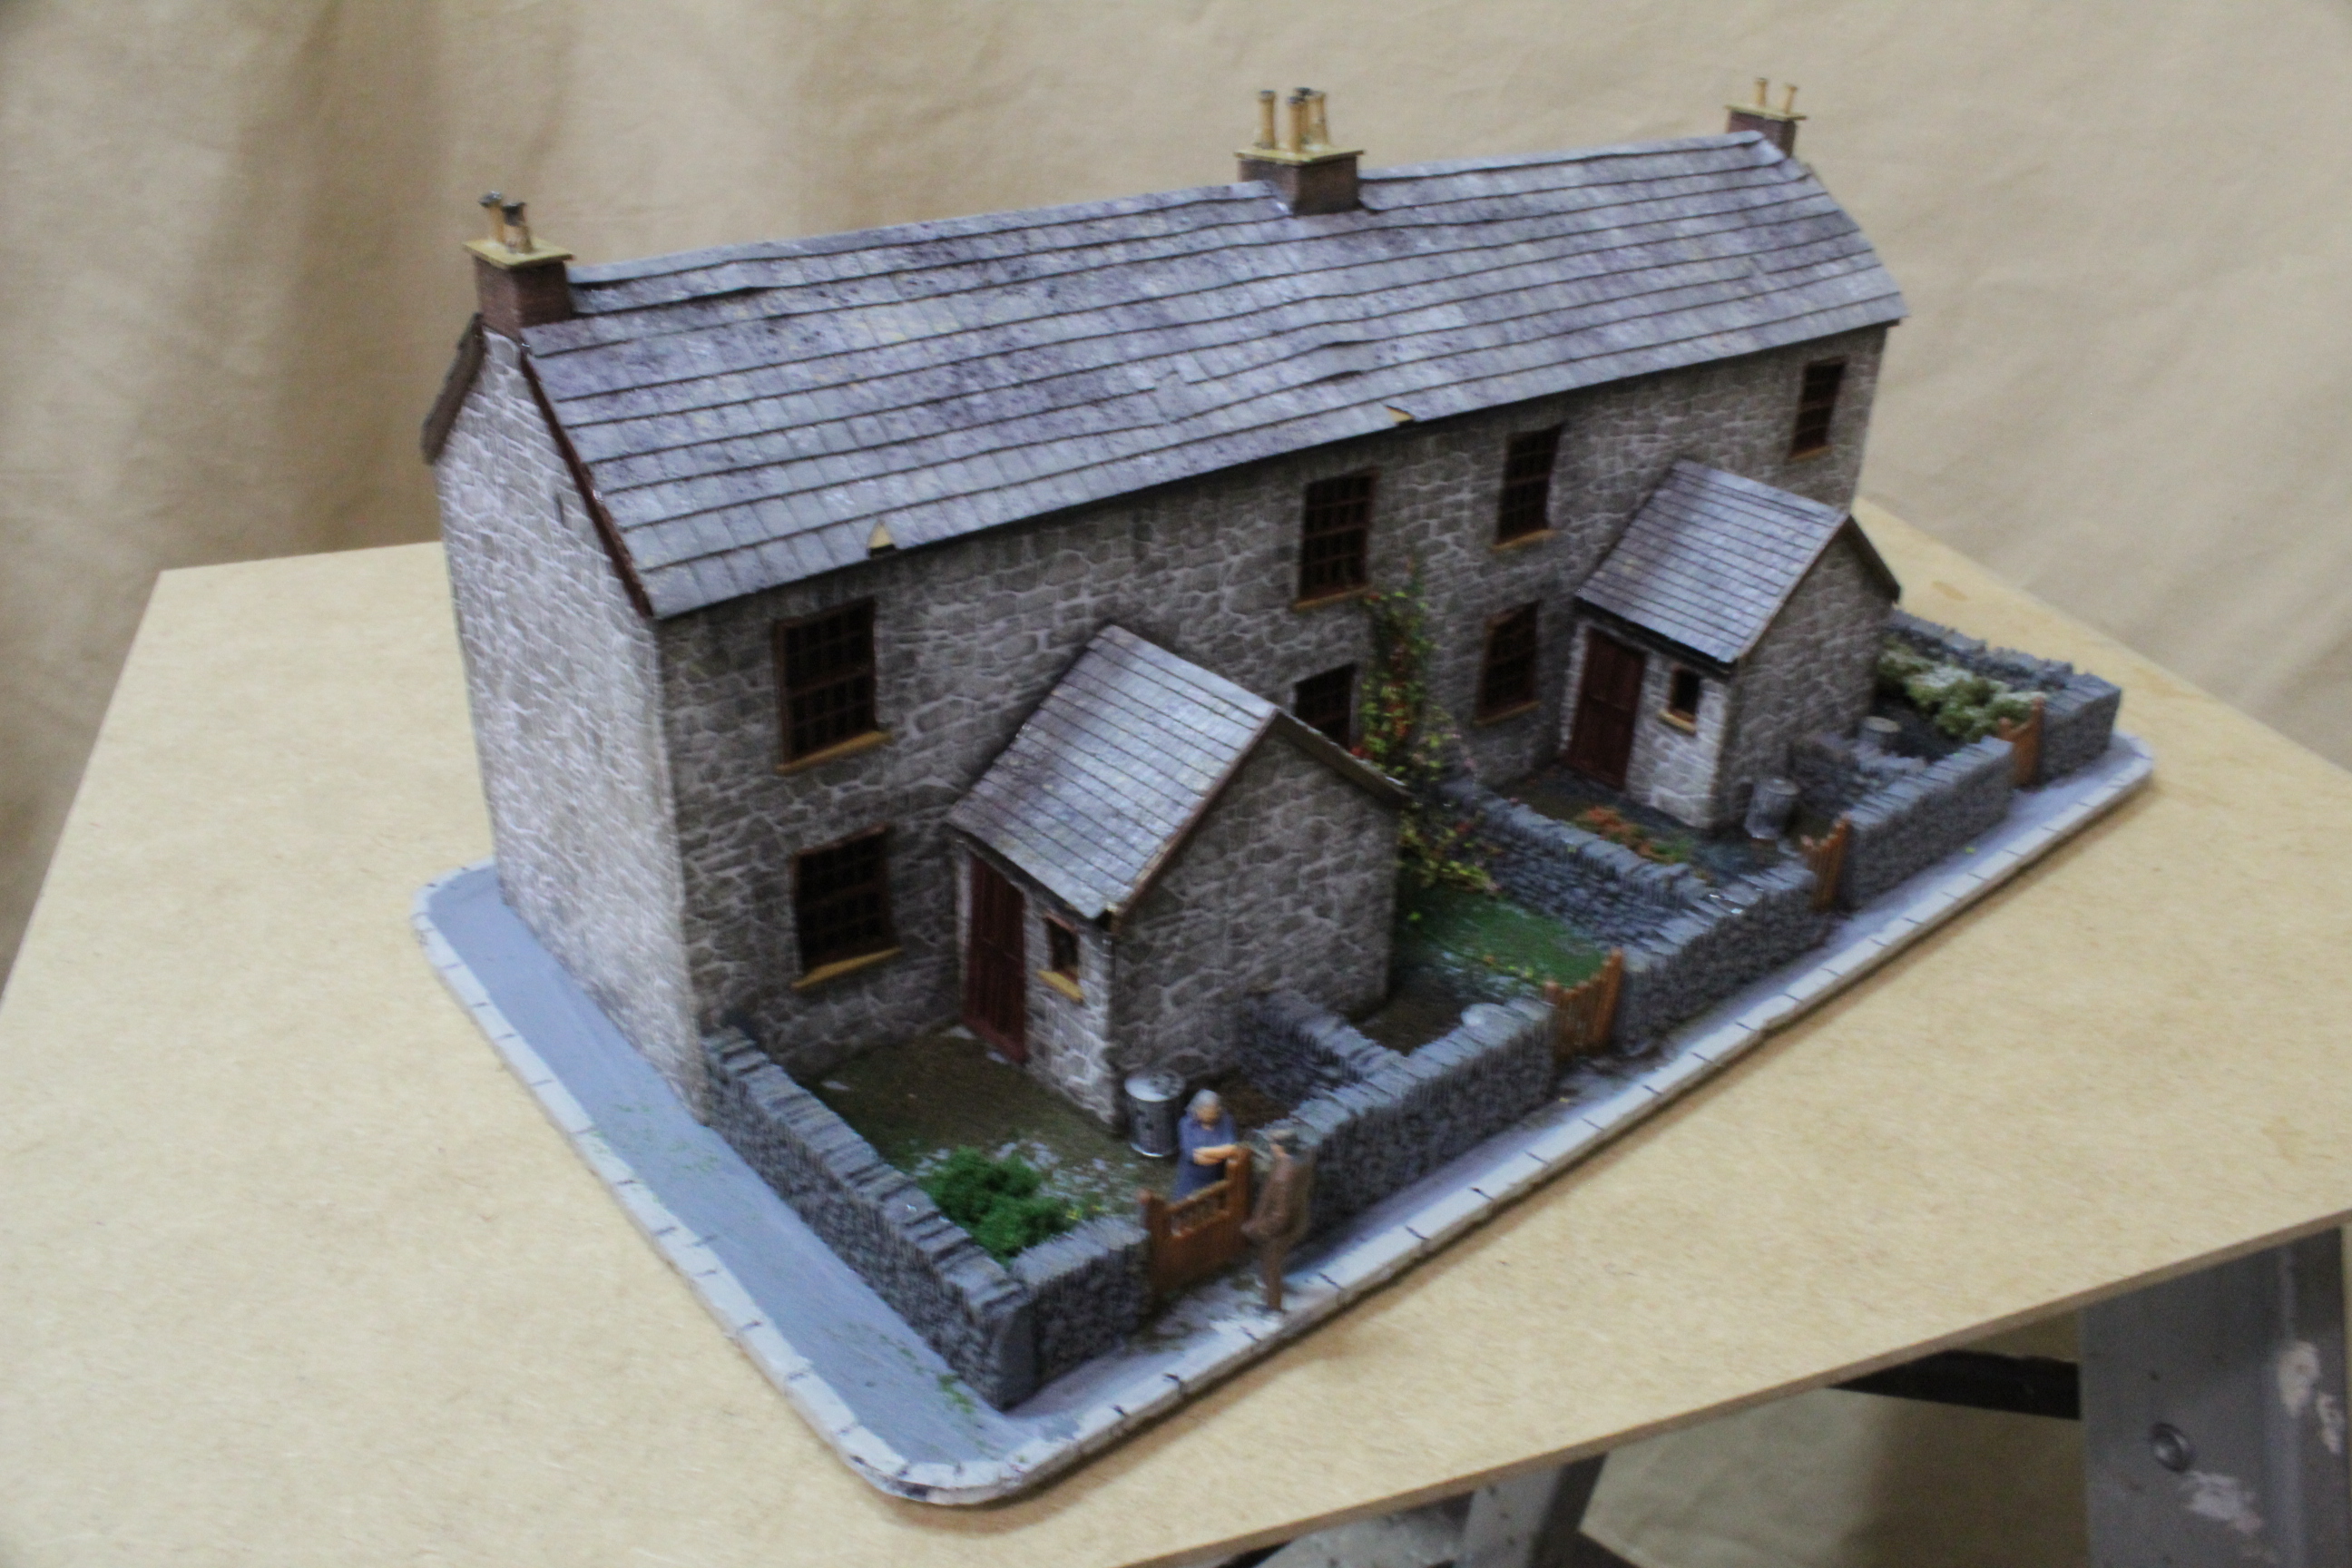
The Cottages
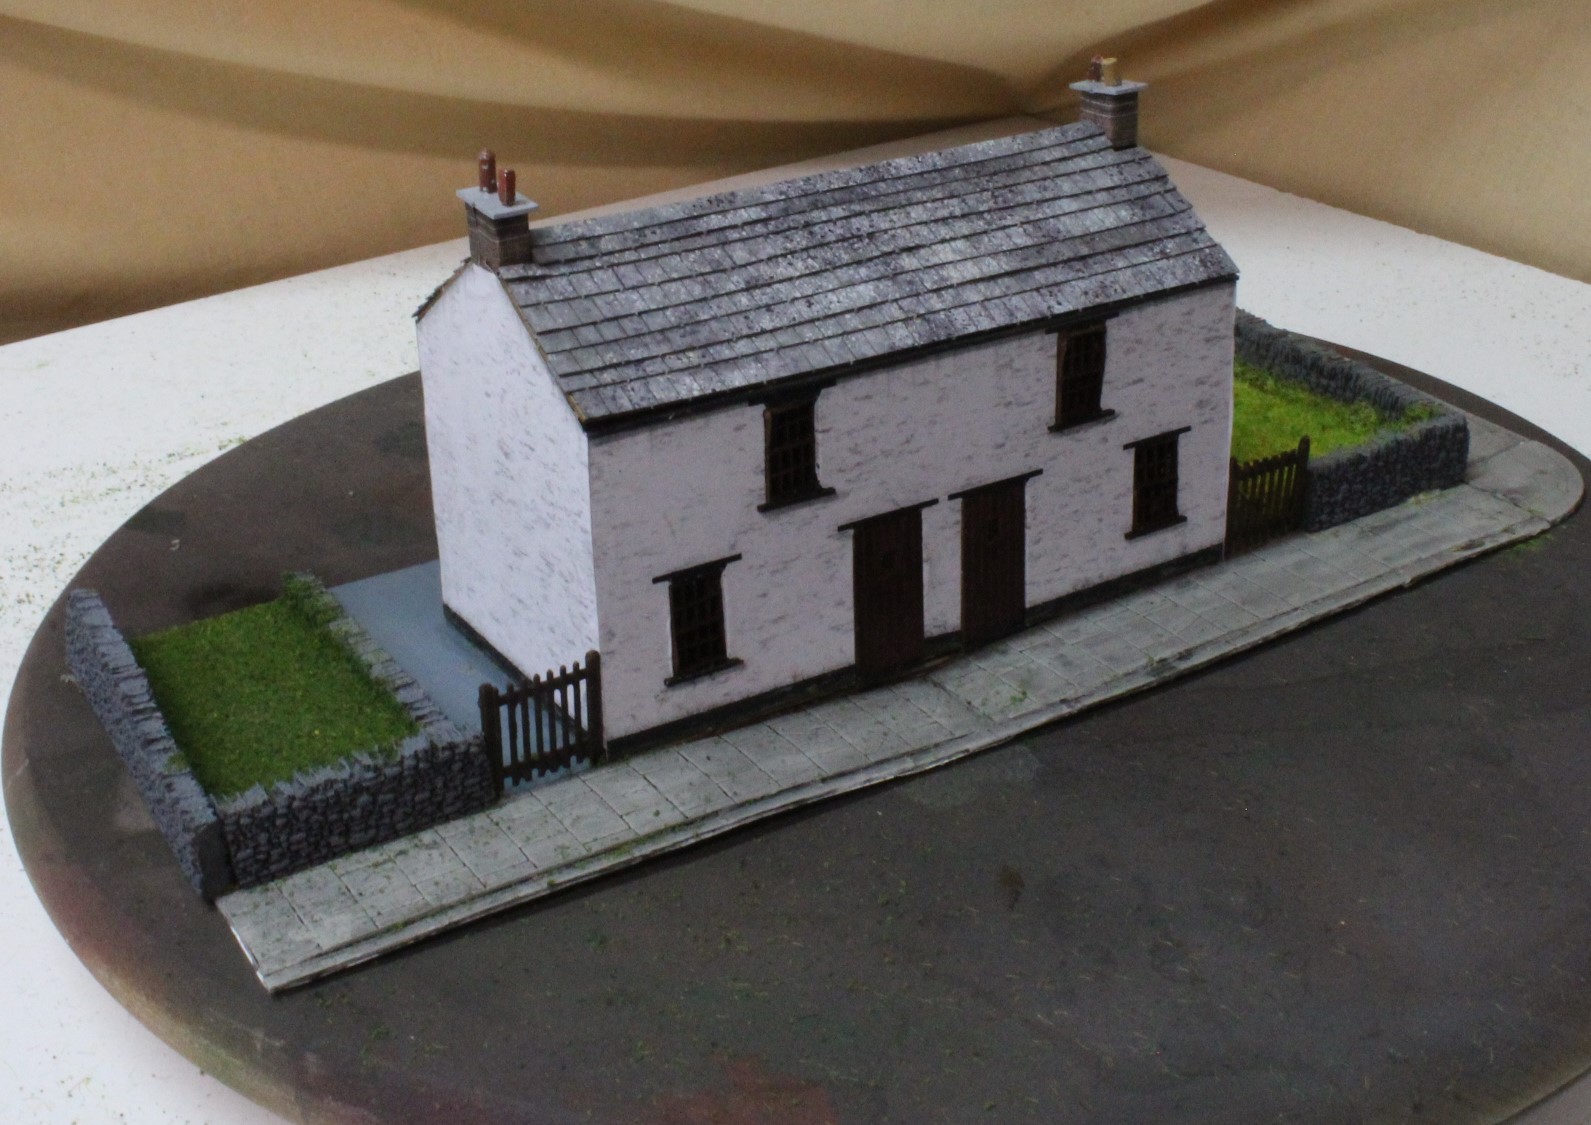
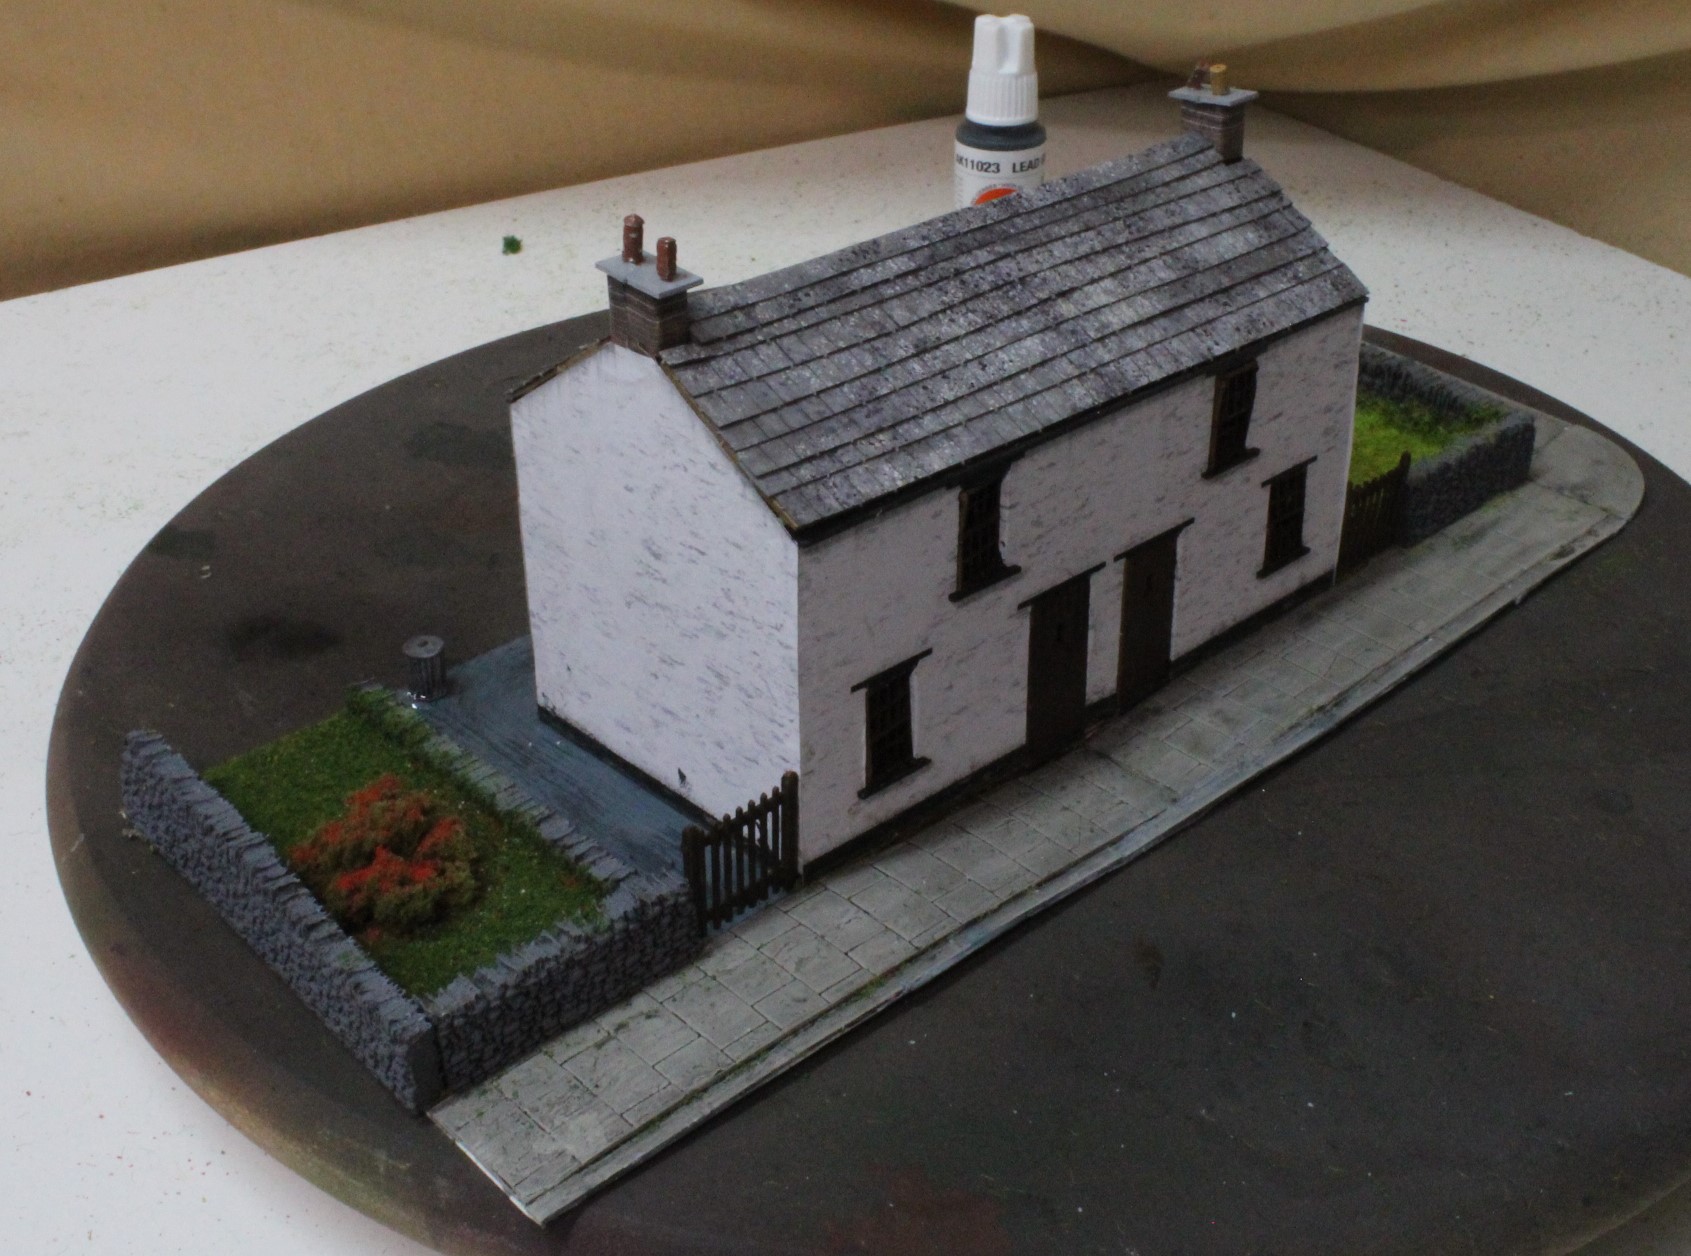

The cottages were built in the same way. a lasercut kit placed on a prepared base and then extra features added, lawns, flowers, dustbins etc. All the walls, pavements and pathways were textured and weathered before fitting the cottage.
Glyn
I recently completed this resin kit of a Glyn Valley Steam Tram it’s from Brooks Models and is a really nicely detailed kit with lots of extras including a crew in the accessories pack.

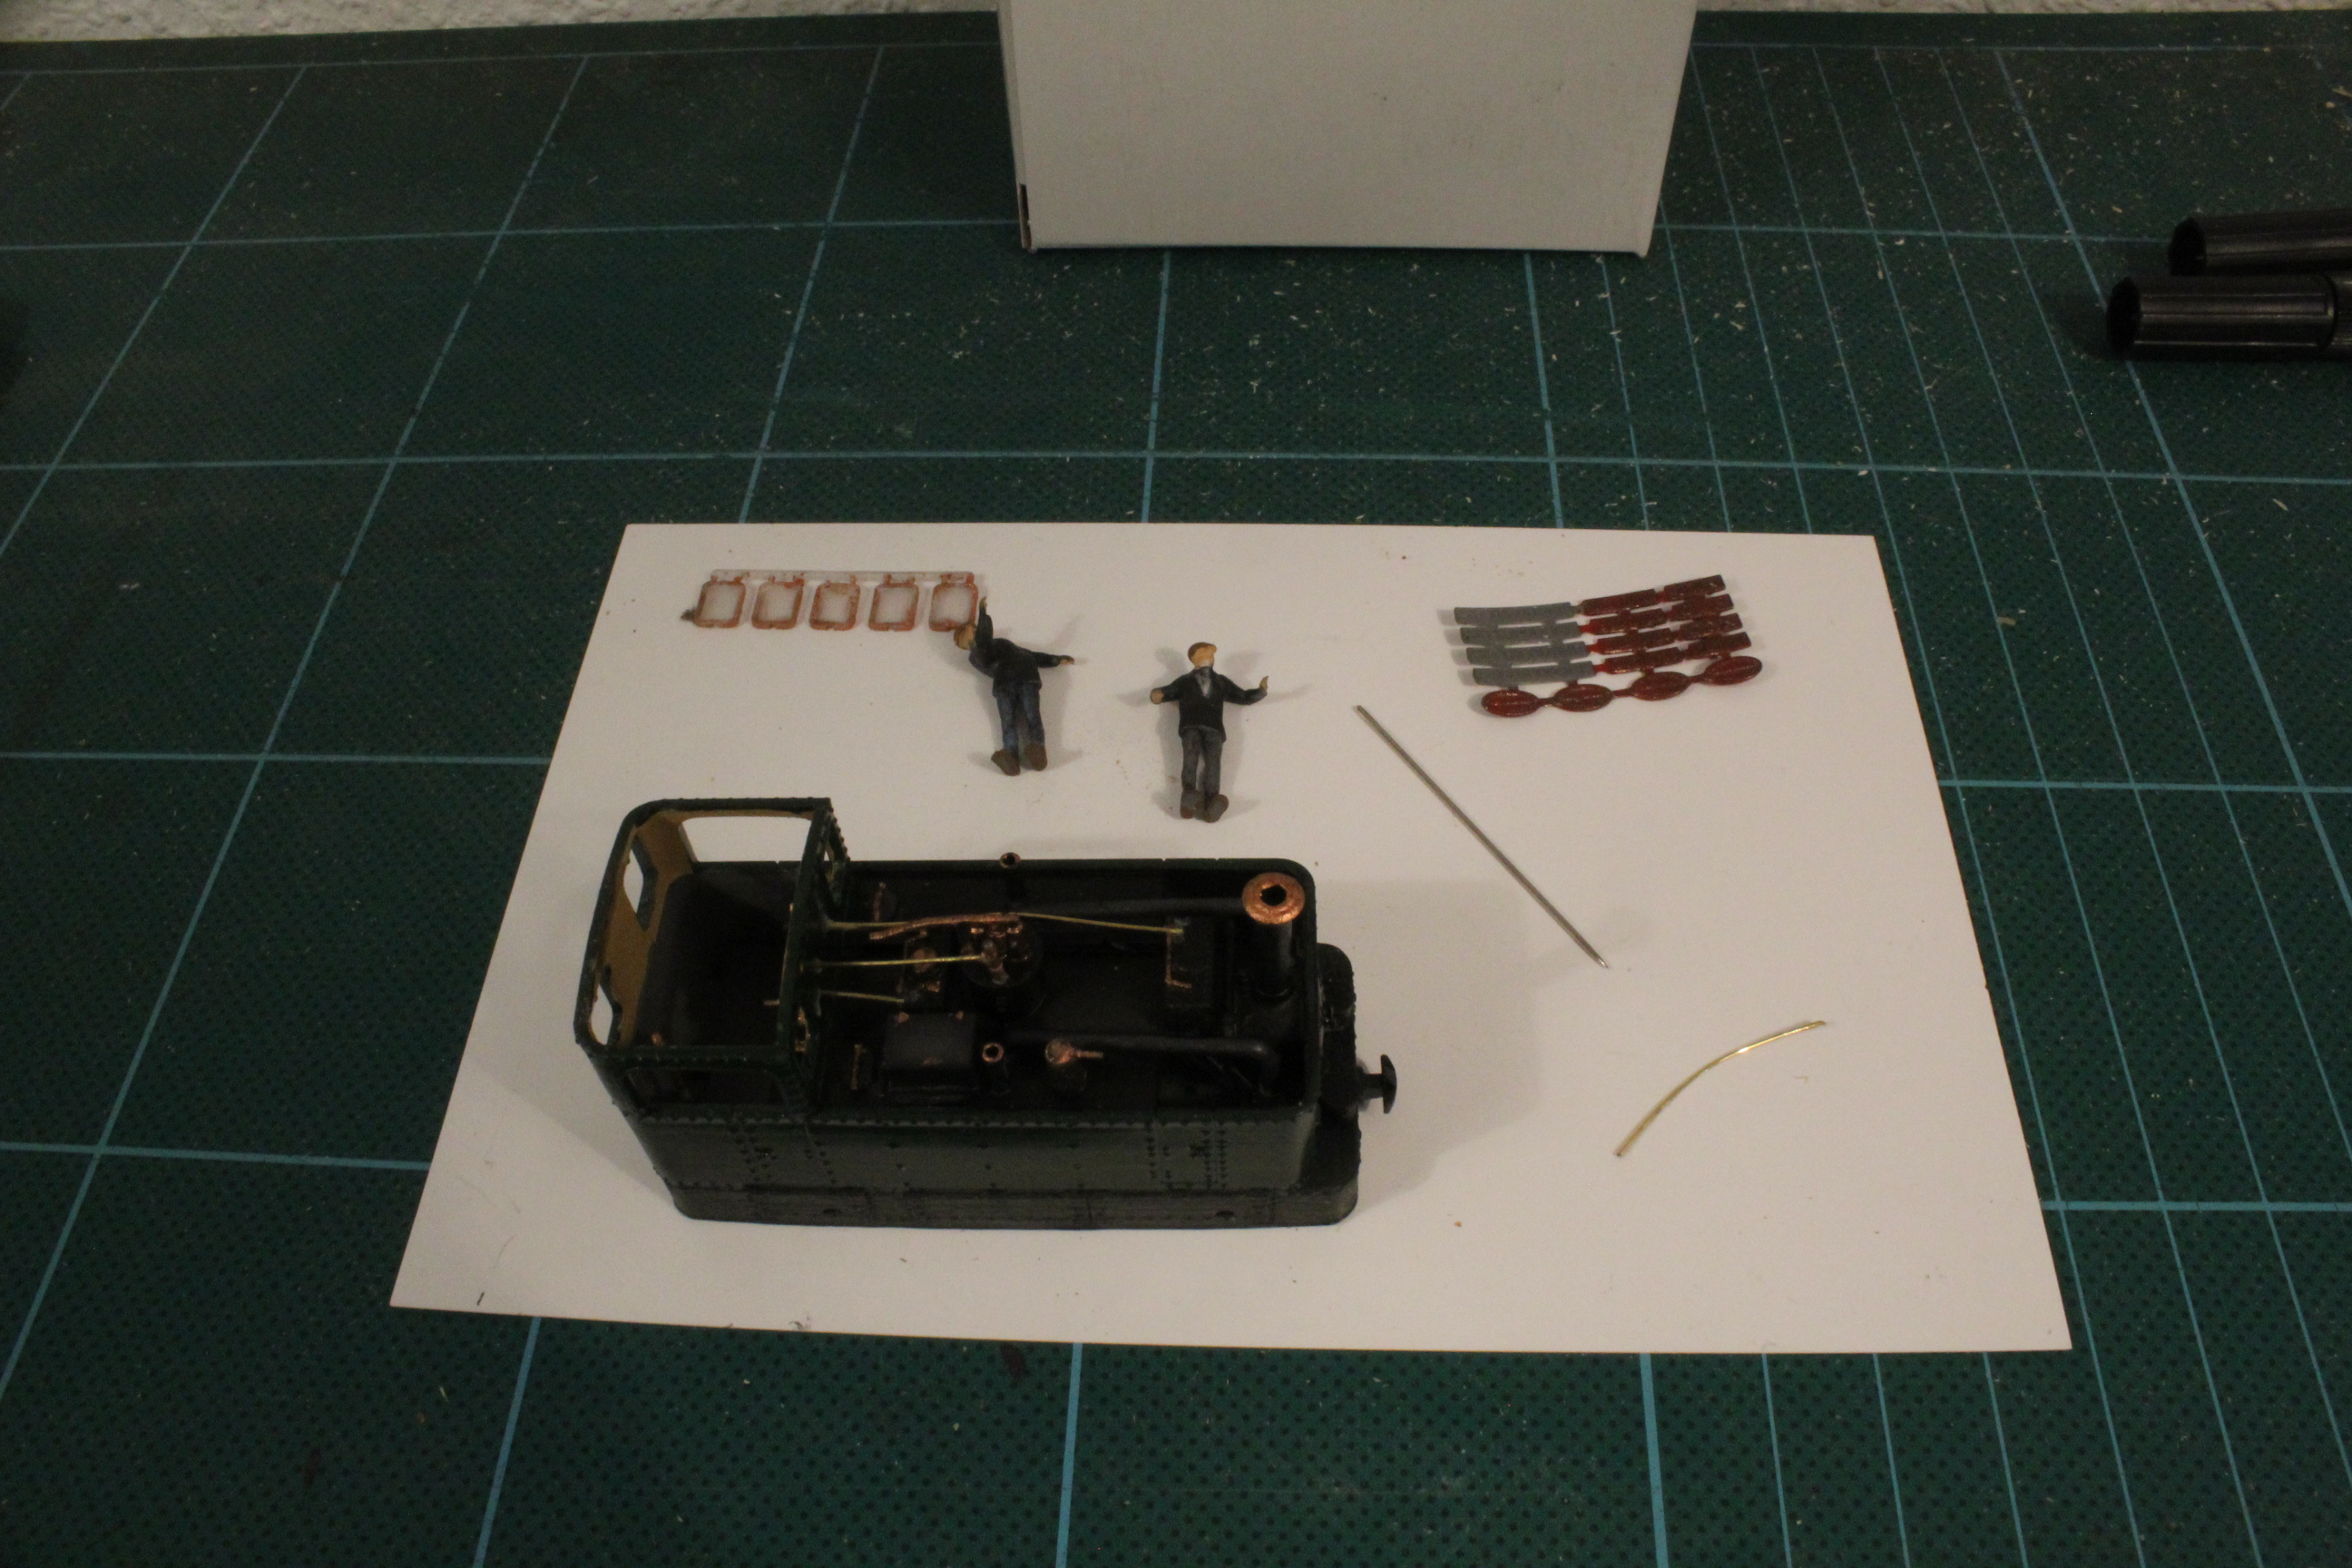
The kit and Kato chassis are both reasonably priced so I ended up with a new loco in the fleet for around 47 pounds
Here is a short video showing the Loco Build and test running.
The Allotment
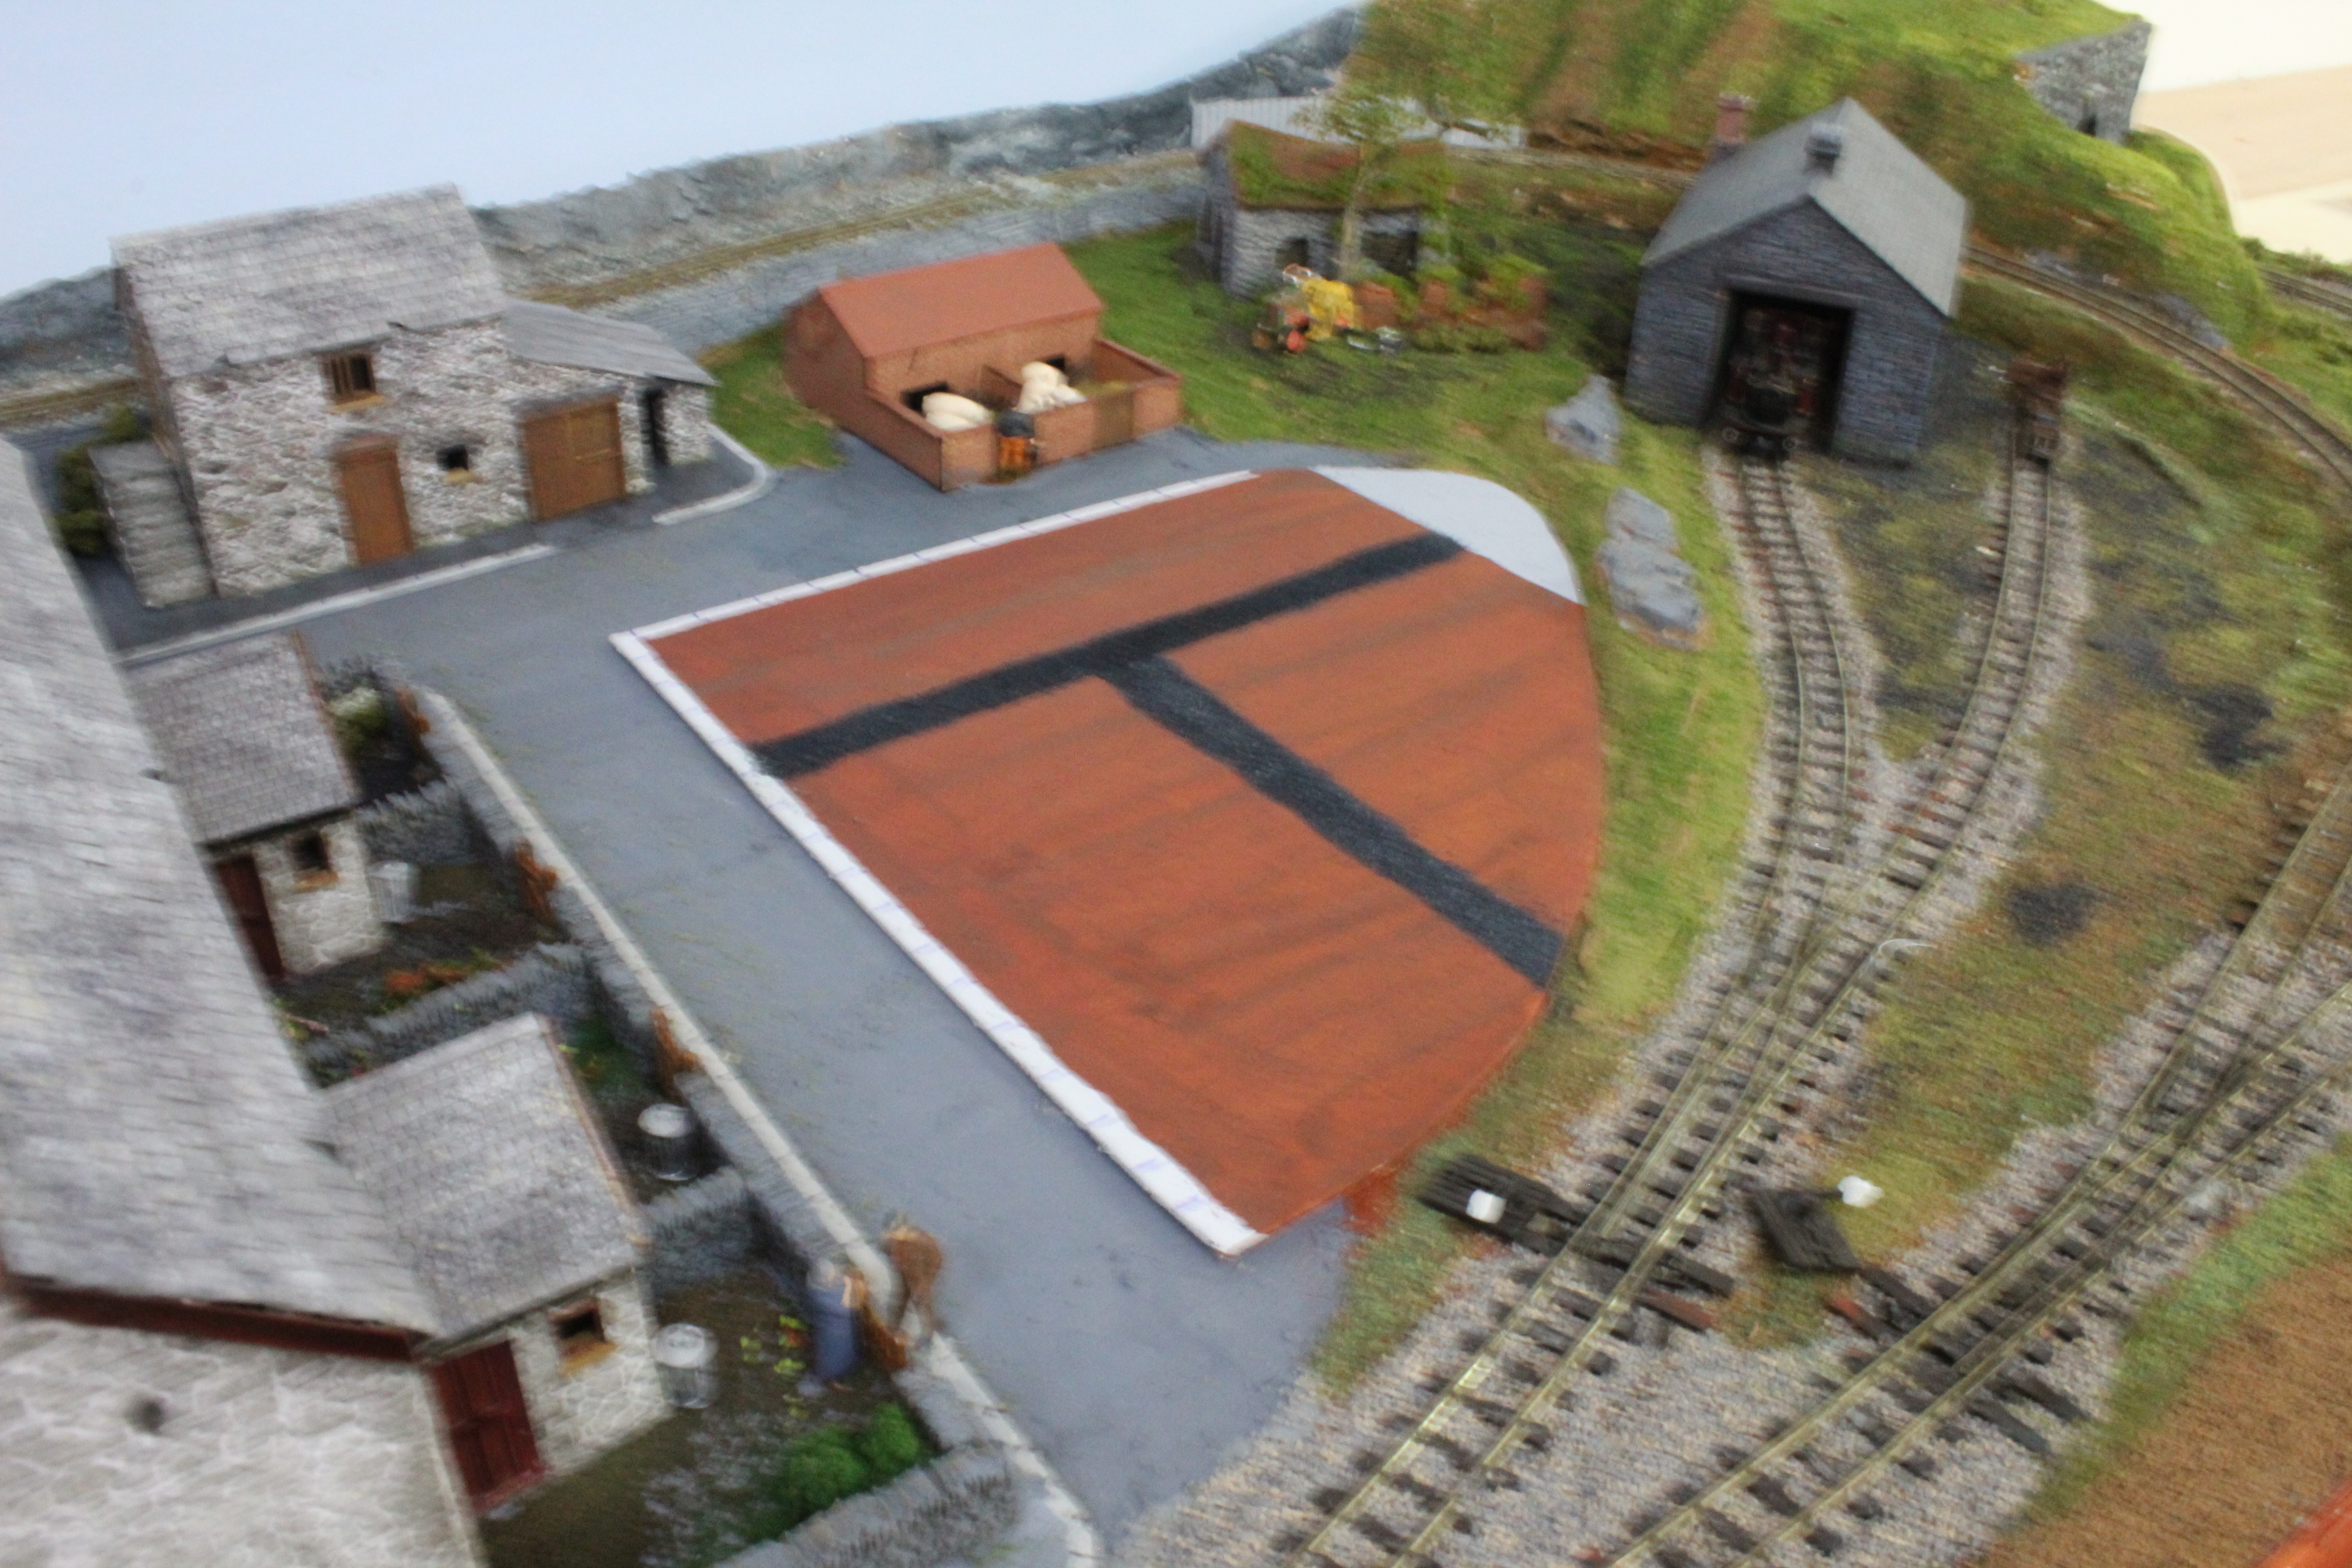
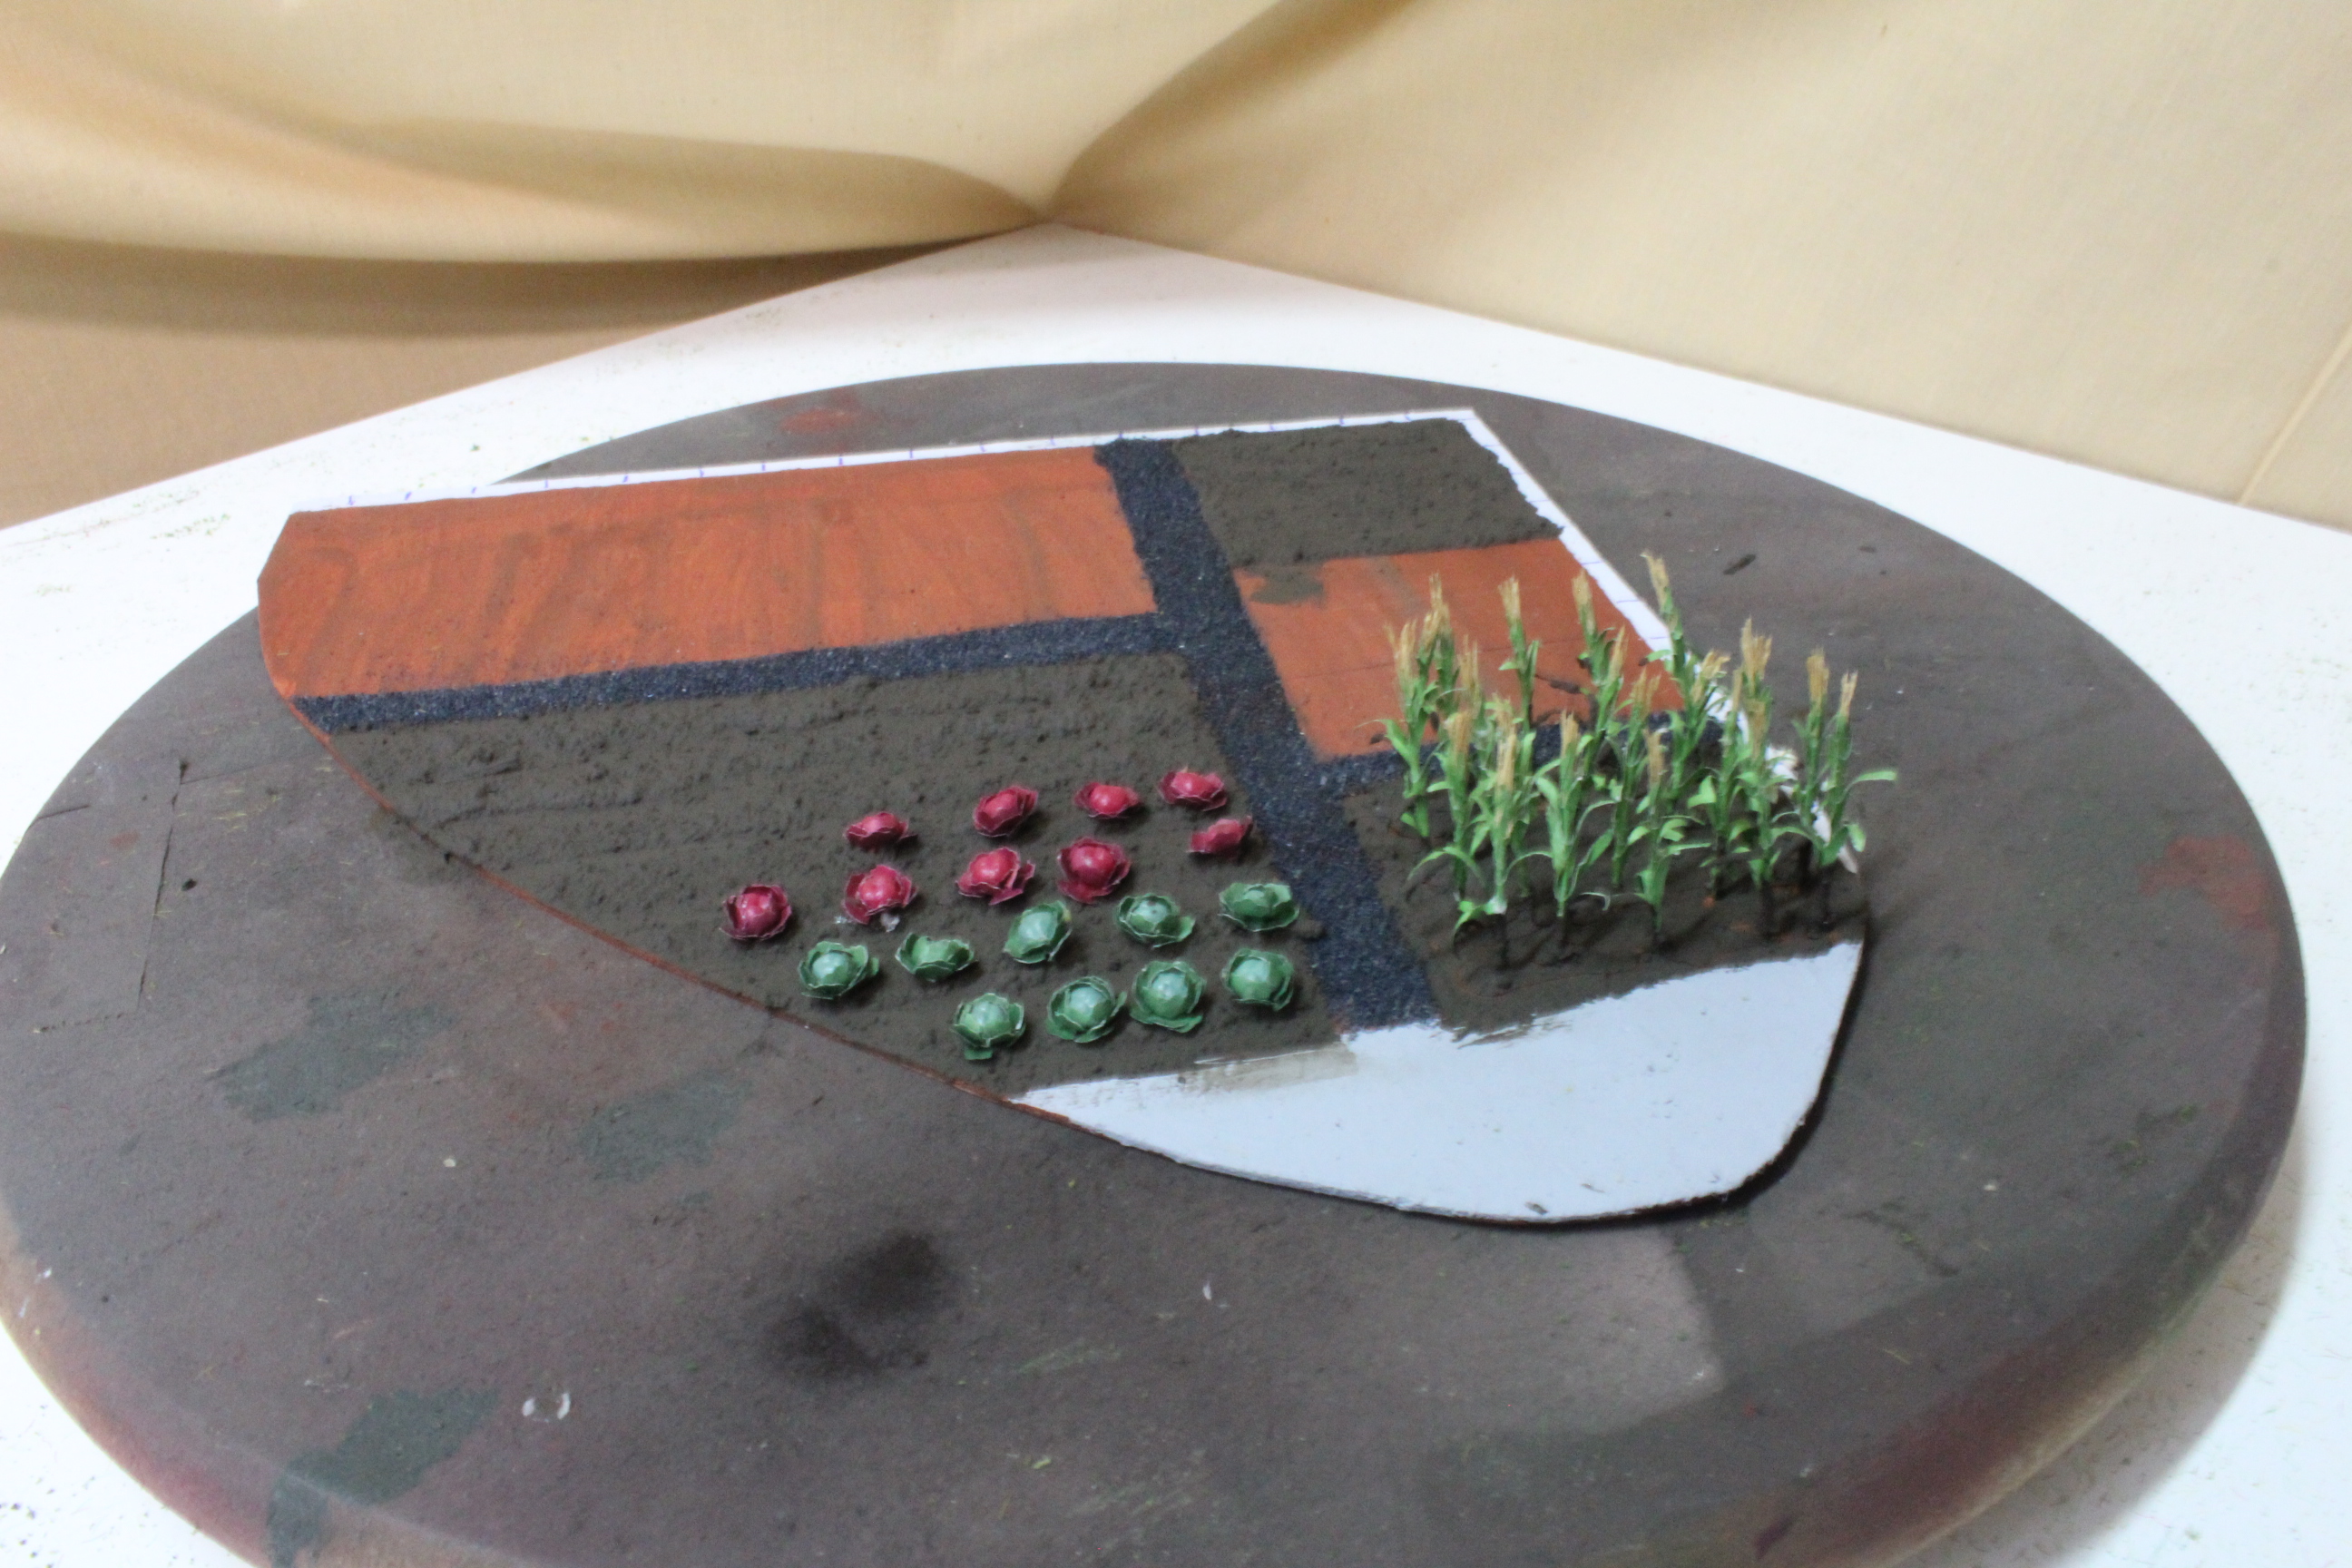
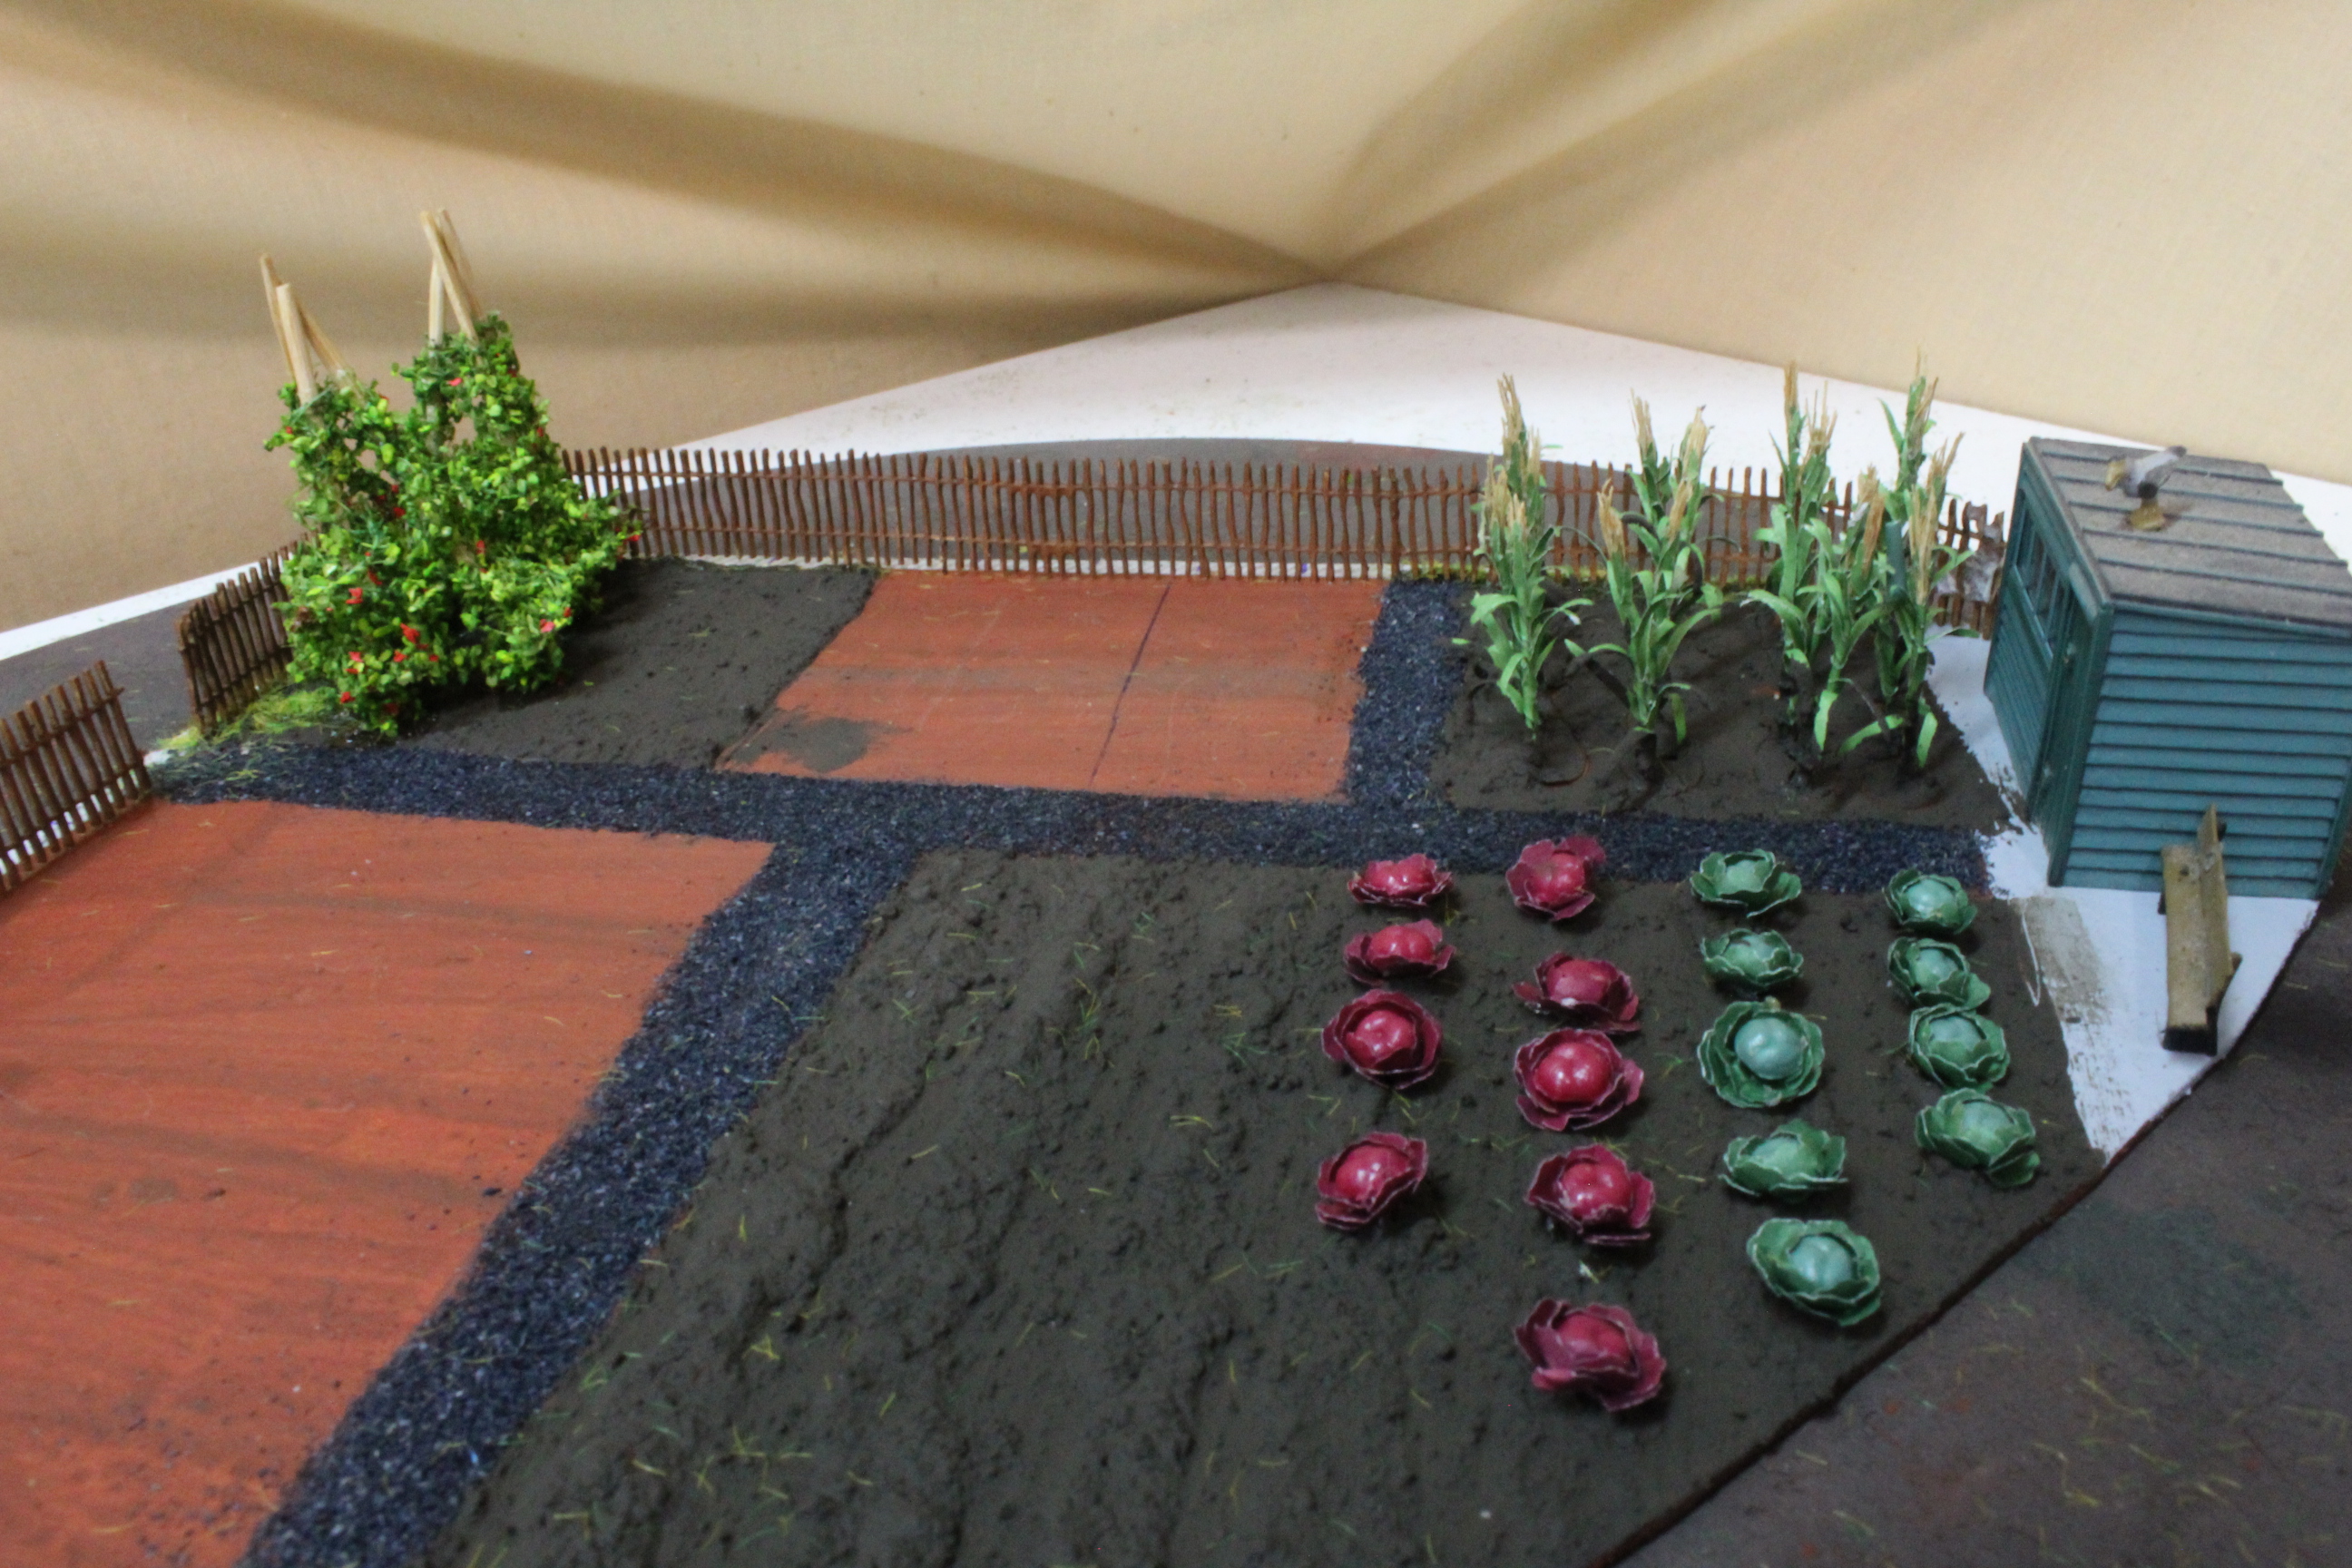
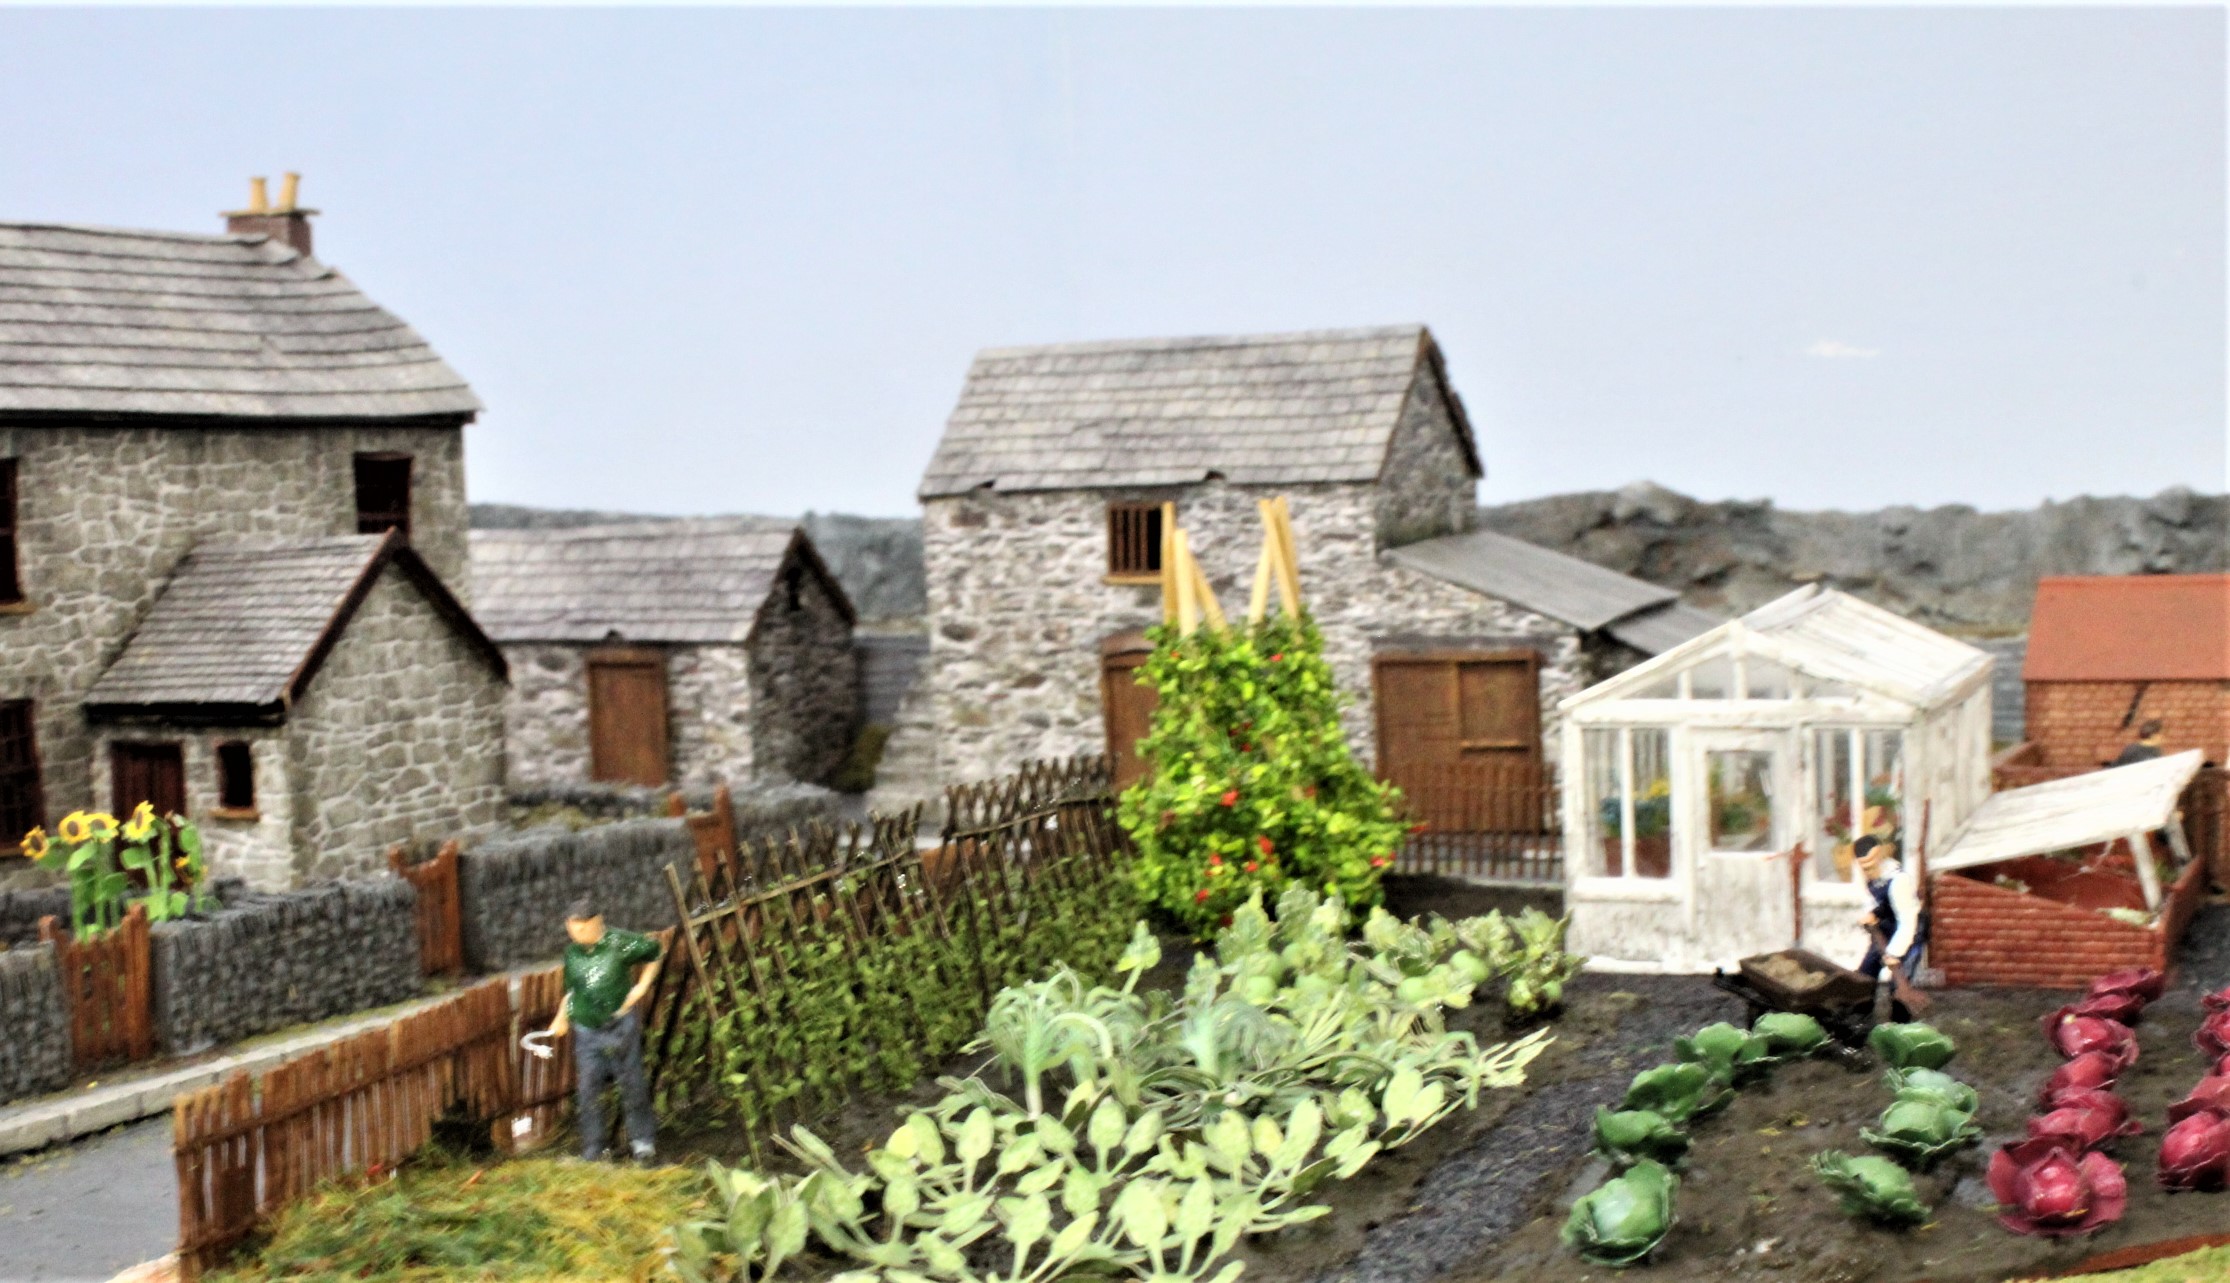
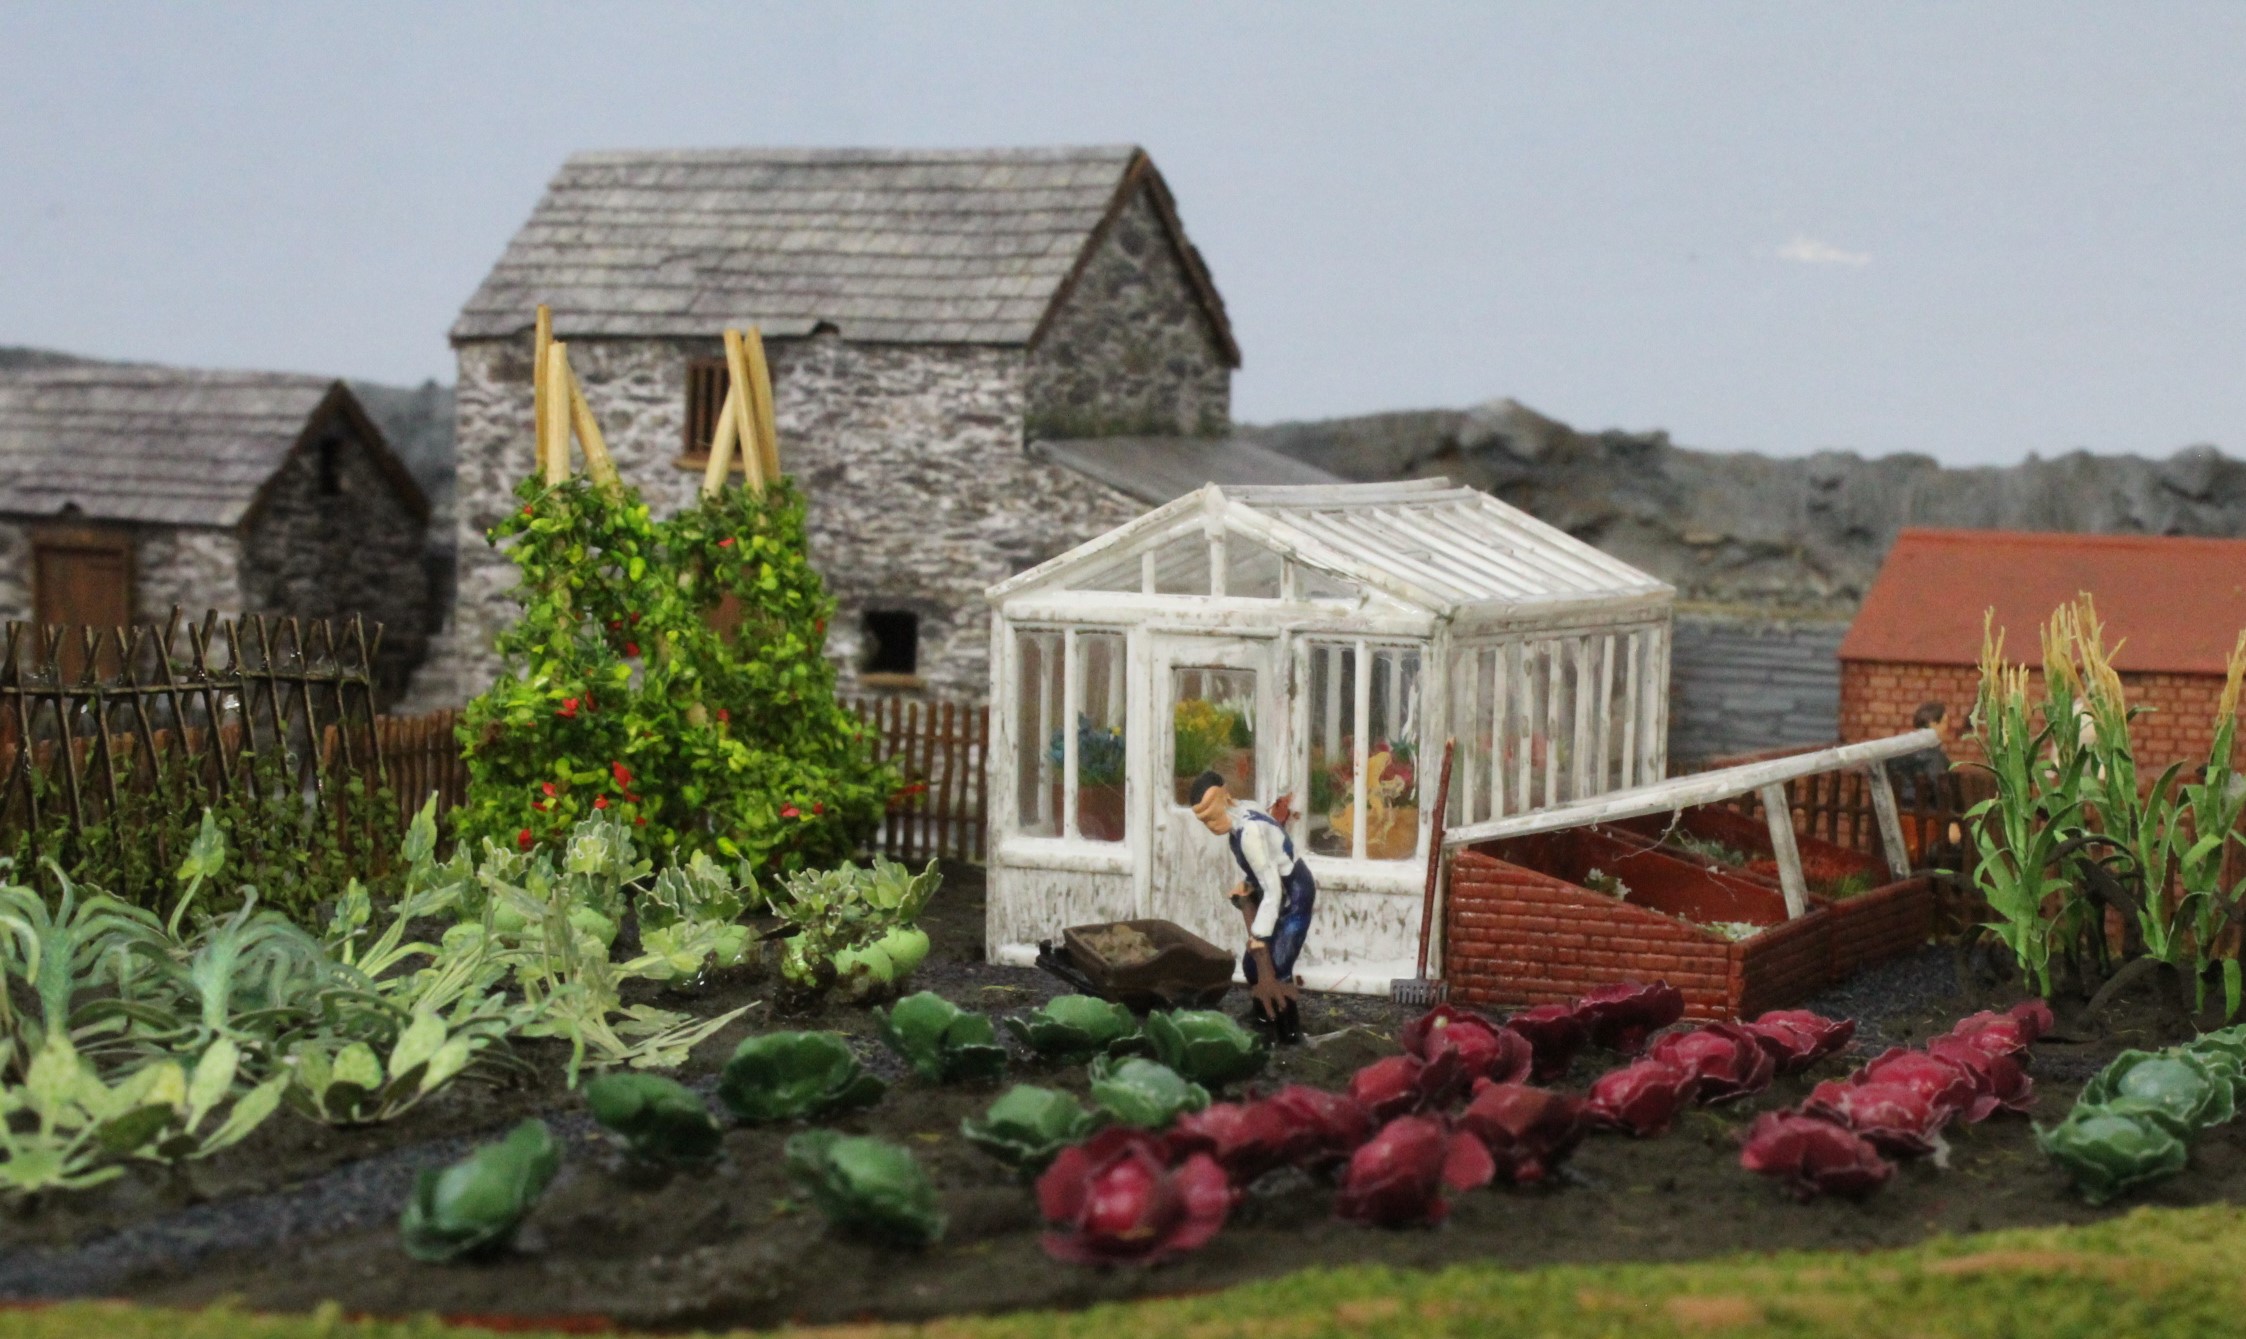
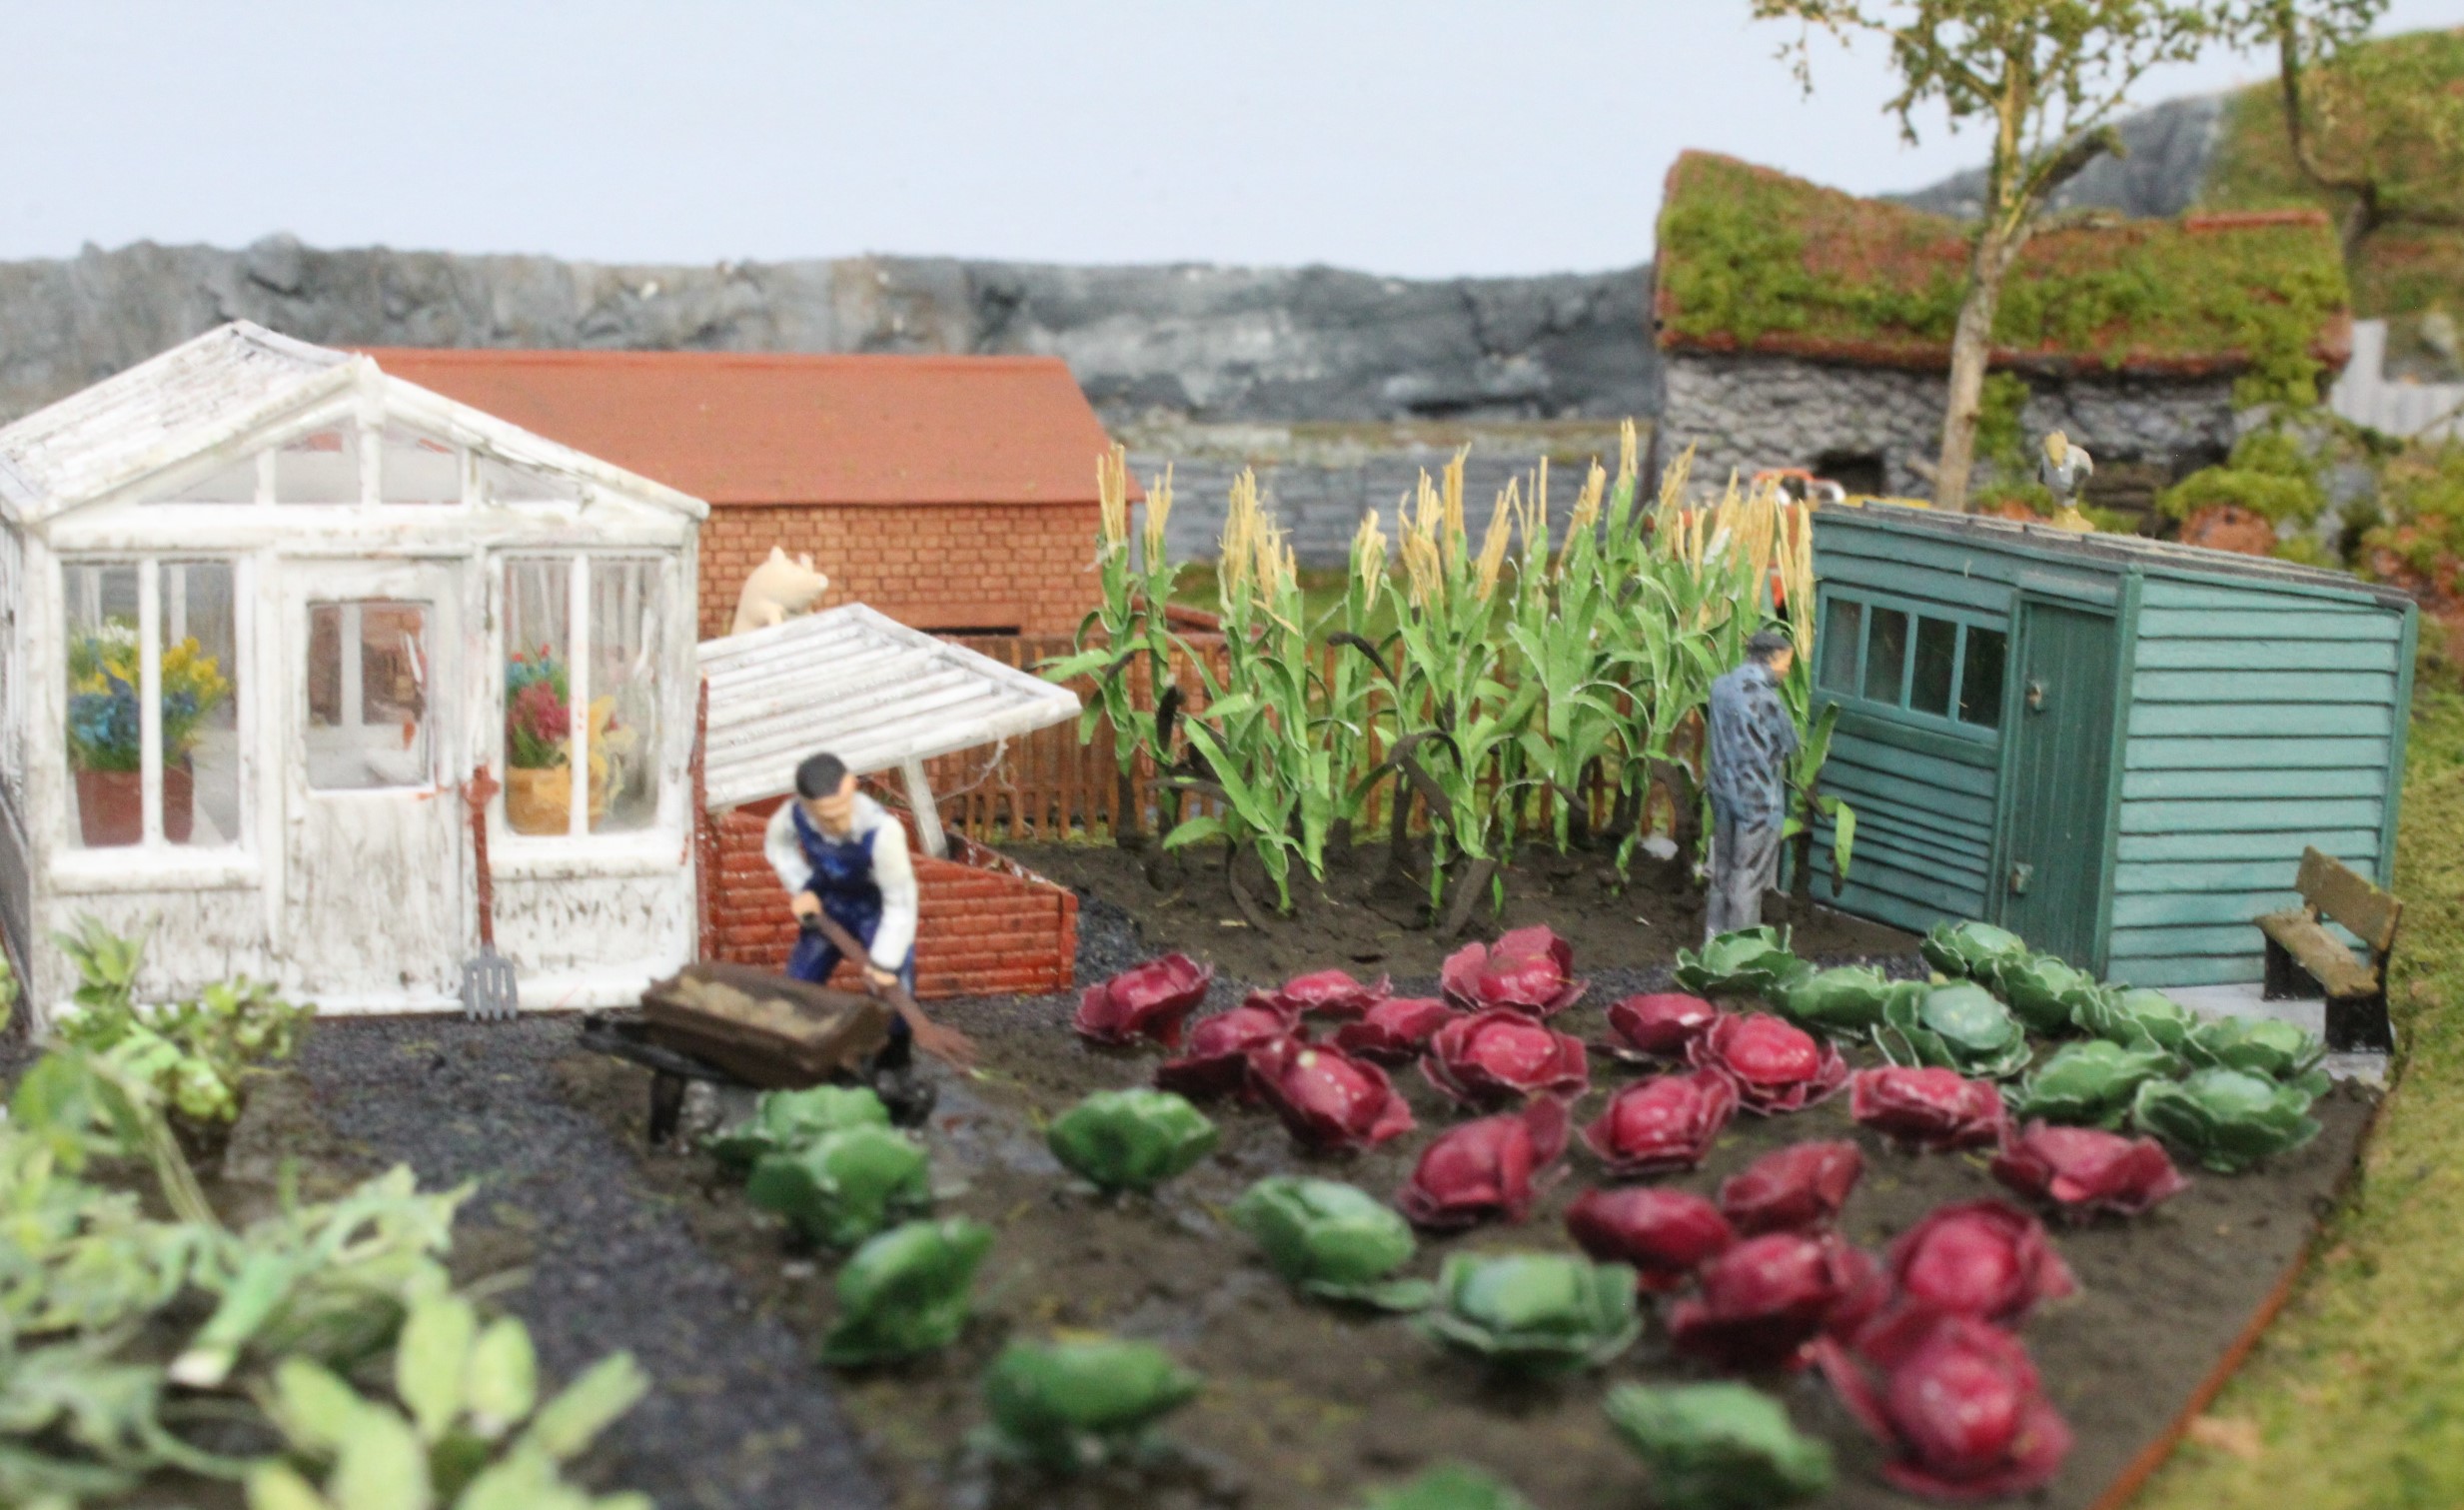
At one end of the layout there was an odd- shaped area to fill so I thought it might be a good place to build an allotment.
A start was made by cutting out a suitable shape and then marking out cinder paths and vegetable beds, each bed was then filled with an appropriate selection crops mainly from the Tasma range plus some Noch Laser Cut products.
A Greenhouse, filled with potted plants and Cold Frames complete with seedlings were built.
And, finally a pigeon loft was placed in a spare corner where we see Owen trying to coax down his best racing bird so that he can clock in its arrival time.
Allotment Video
So here is a video showing in a bit more detail how the allotment was constructed.
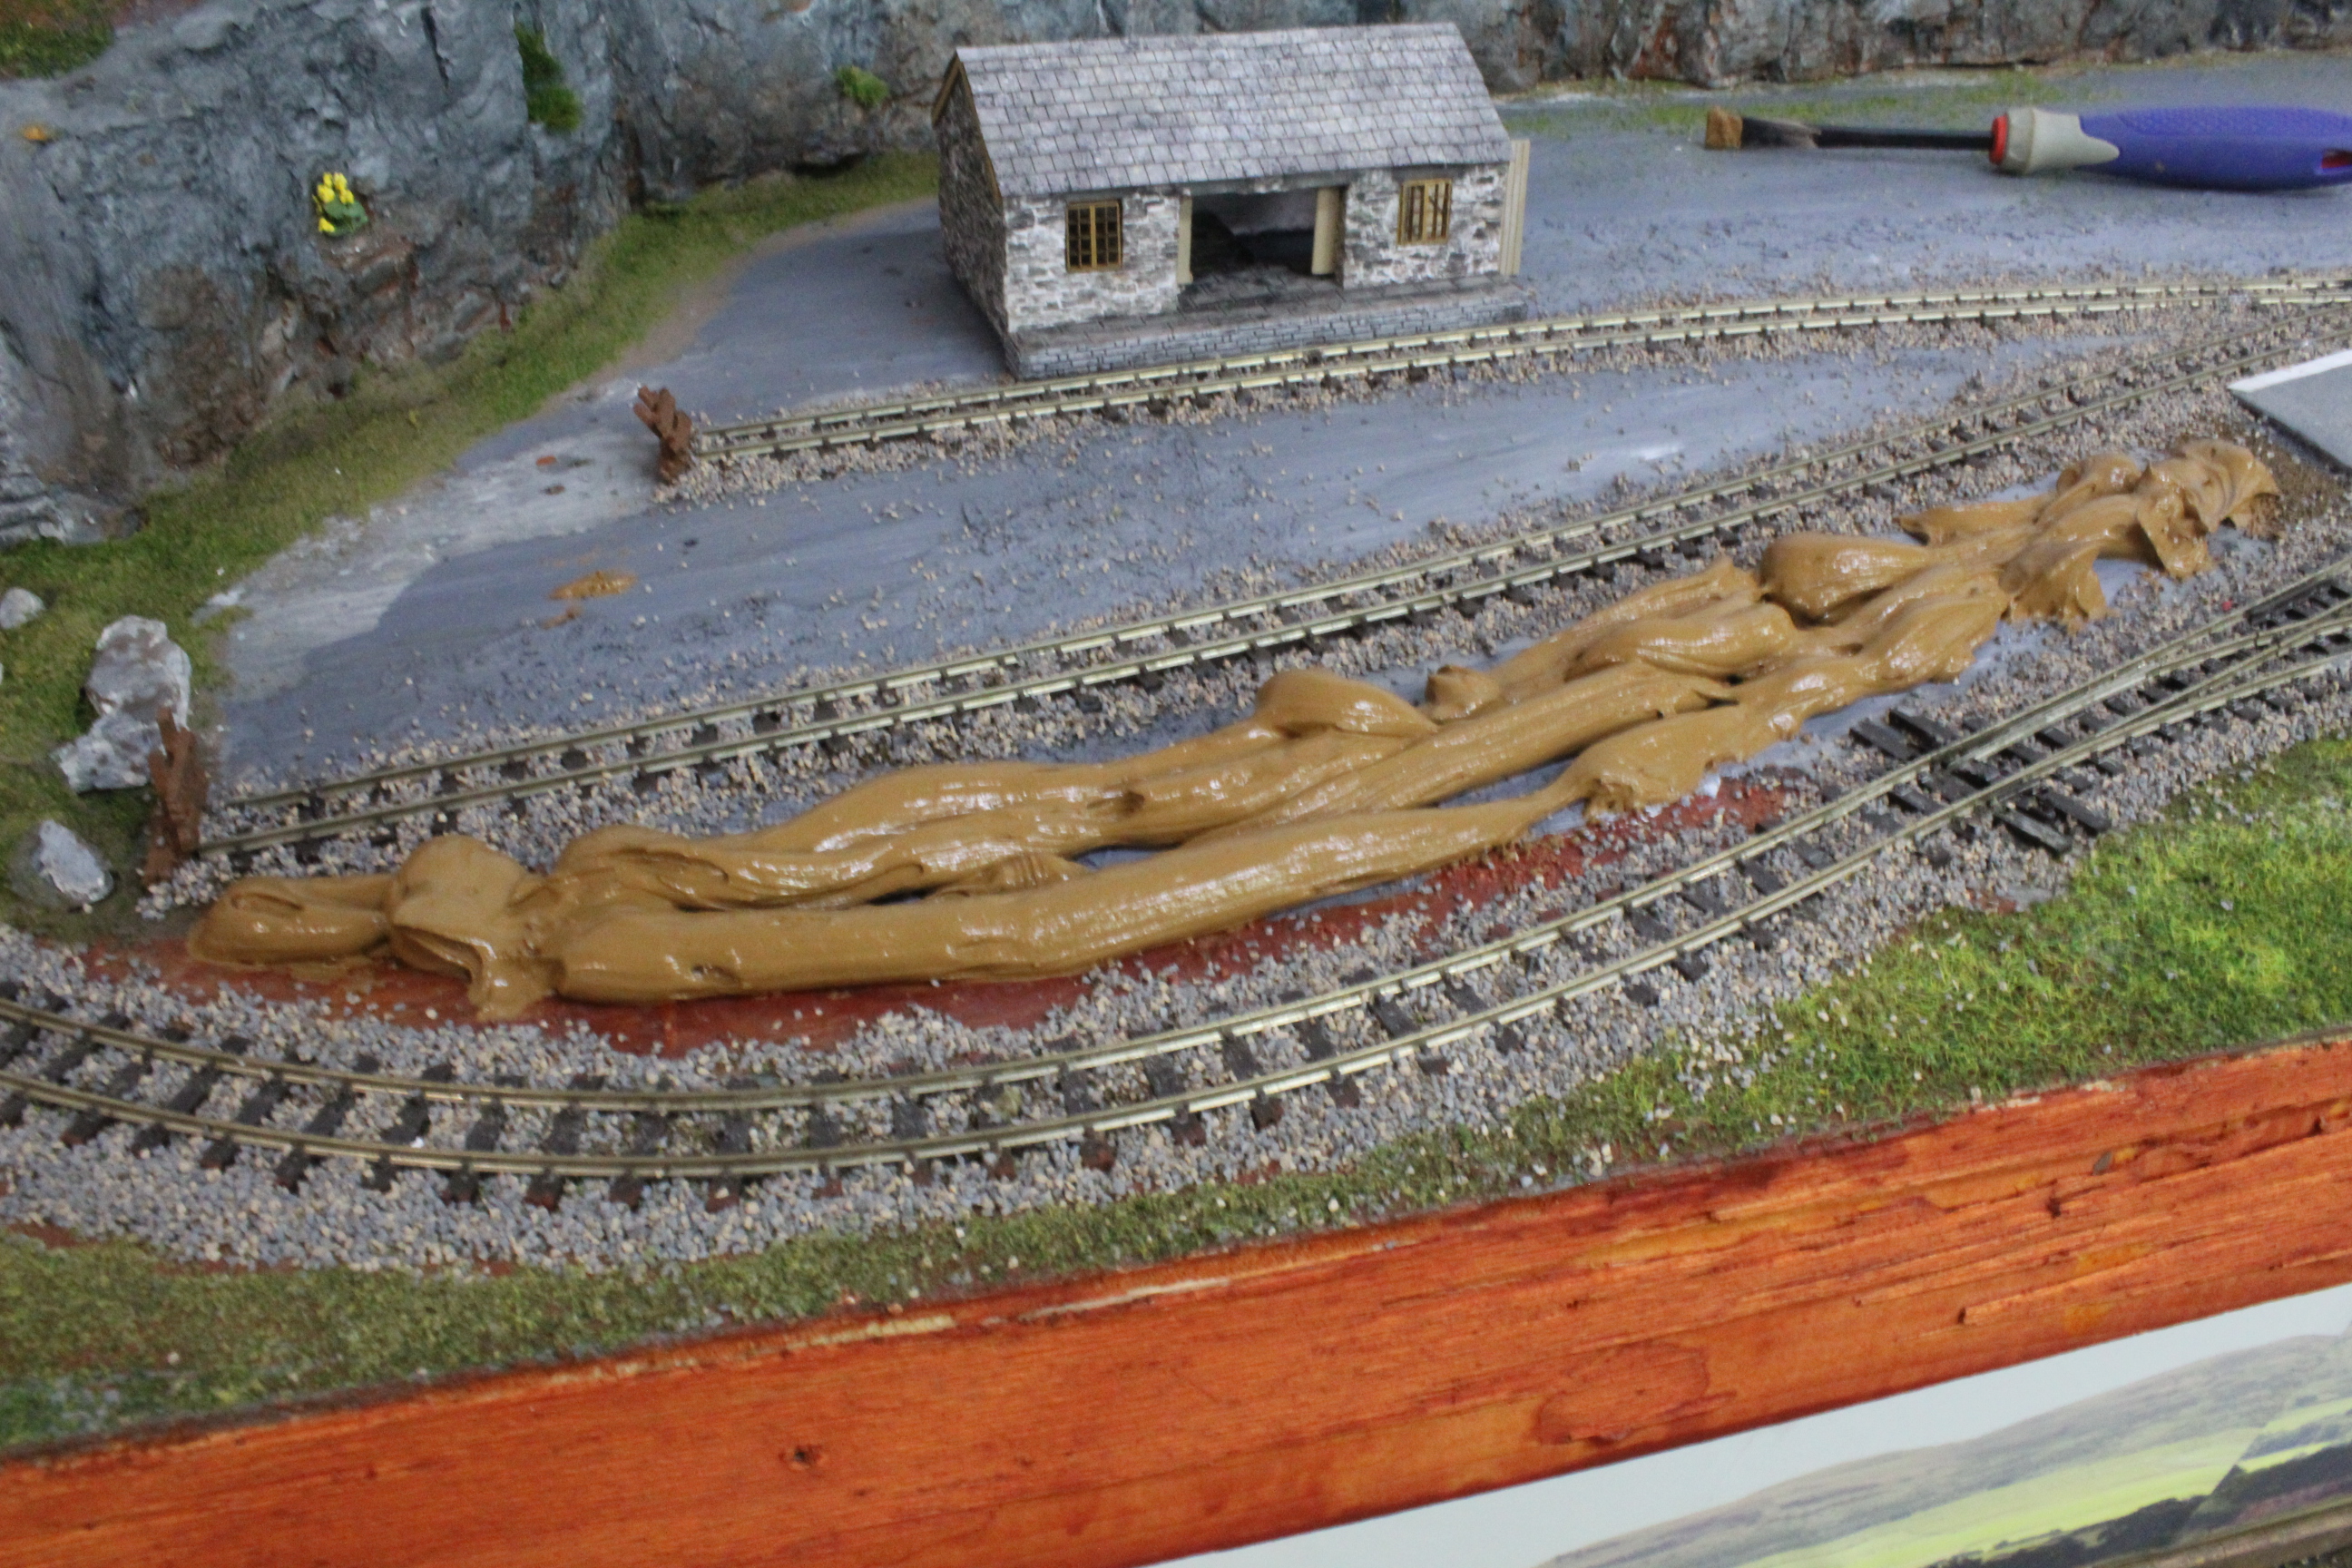
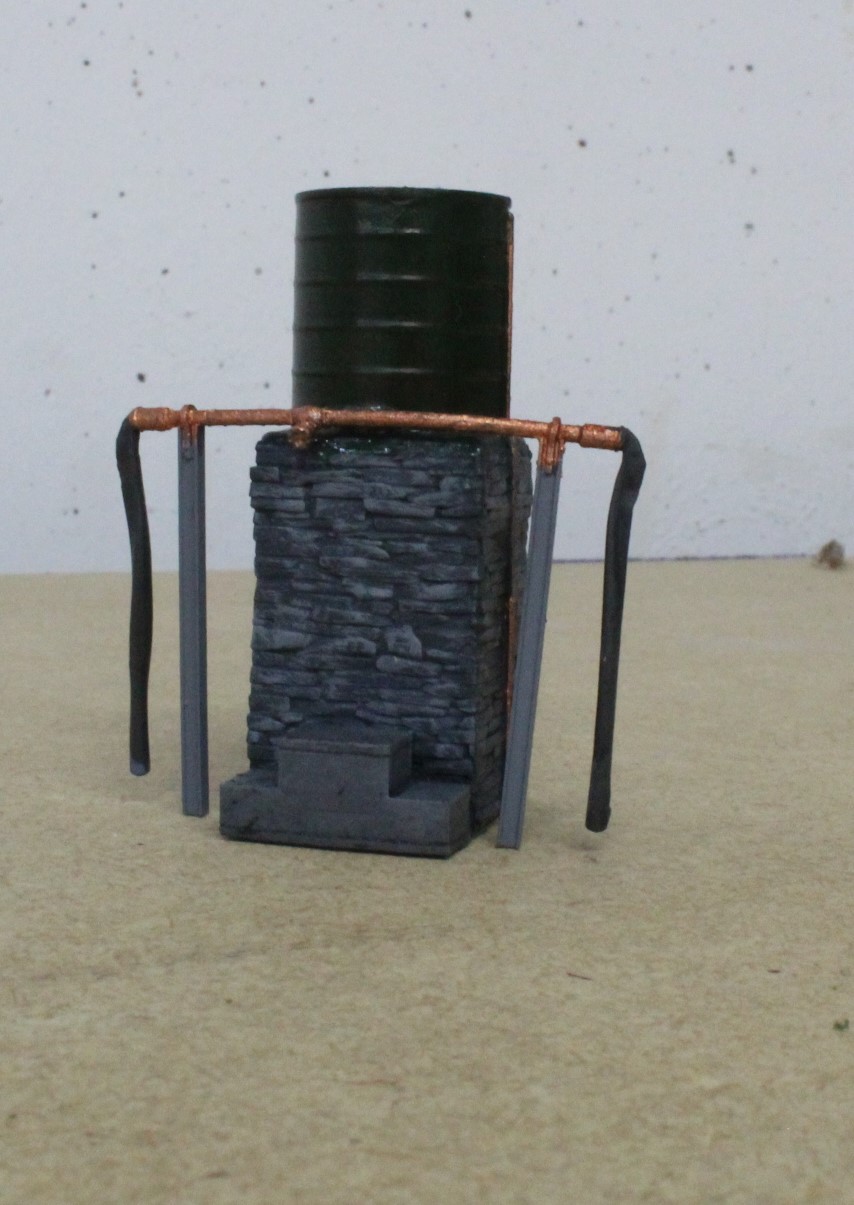
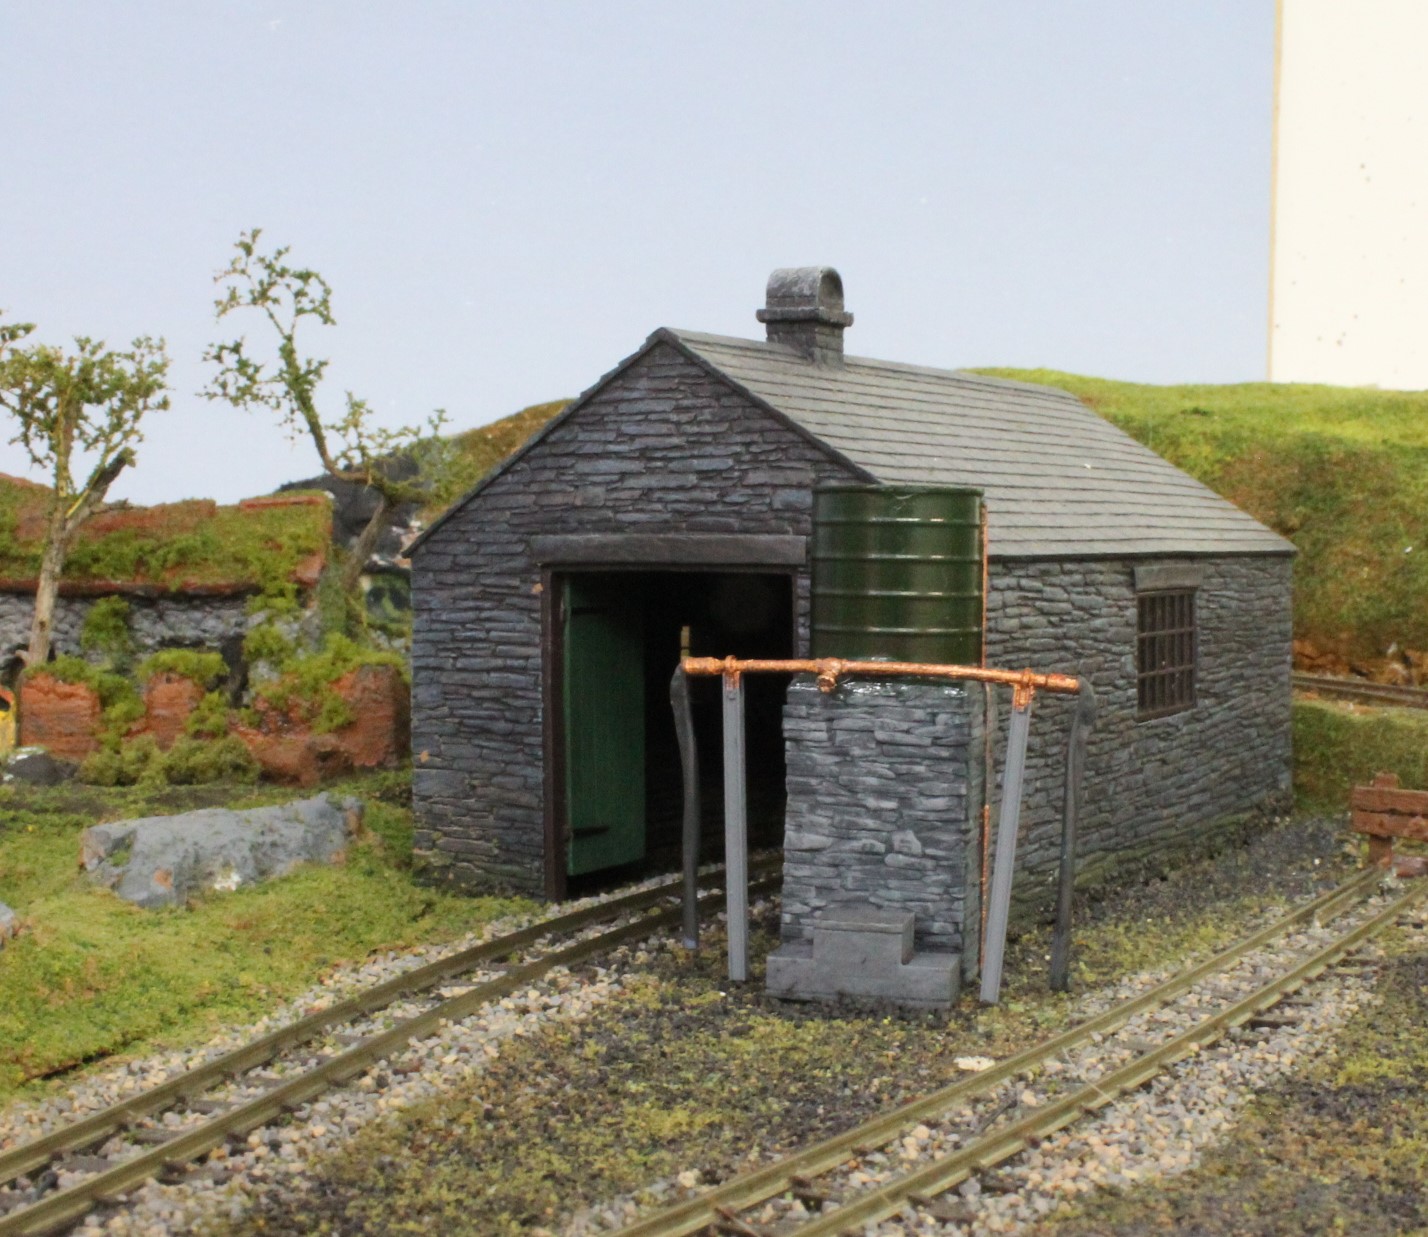
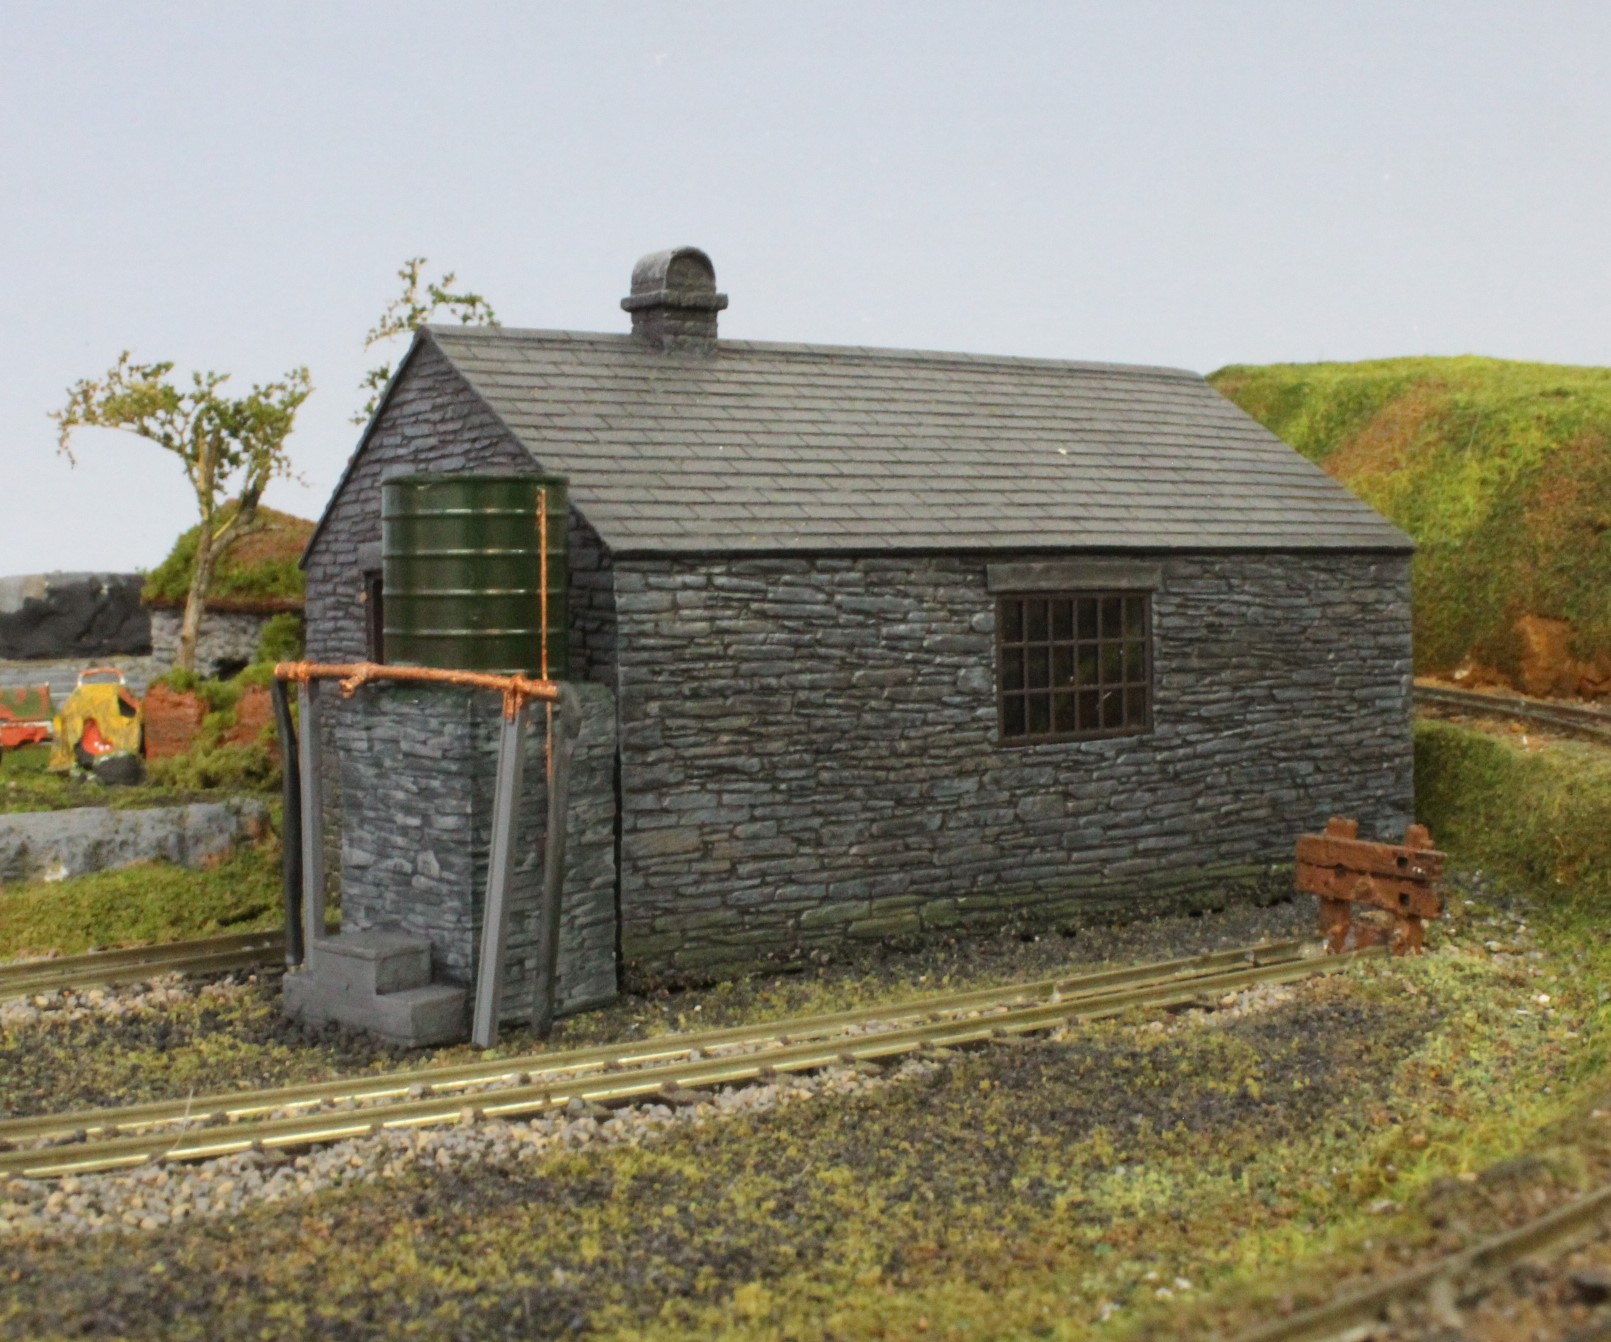
Slate Buildings
I liked the look of the MS Models narrow gauge slate buildings so I thought I would buy a selection to try.

It was important for me to make them look similar to the Bachmann Scenecraft range so I experimented with colours from my AK palette and eventually settled on a base coat of Lead Grey with a dry brushing of English Grey on top.

Once that was settled I could add the finishing details depending on their condition and use on the layout.
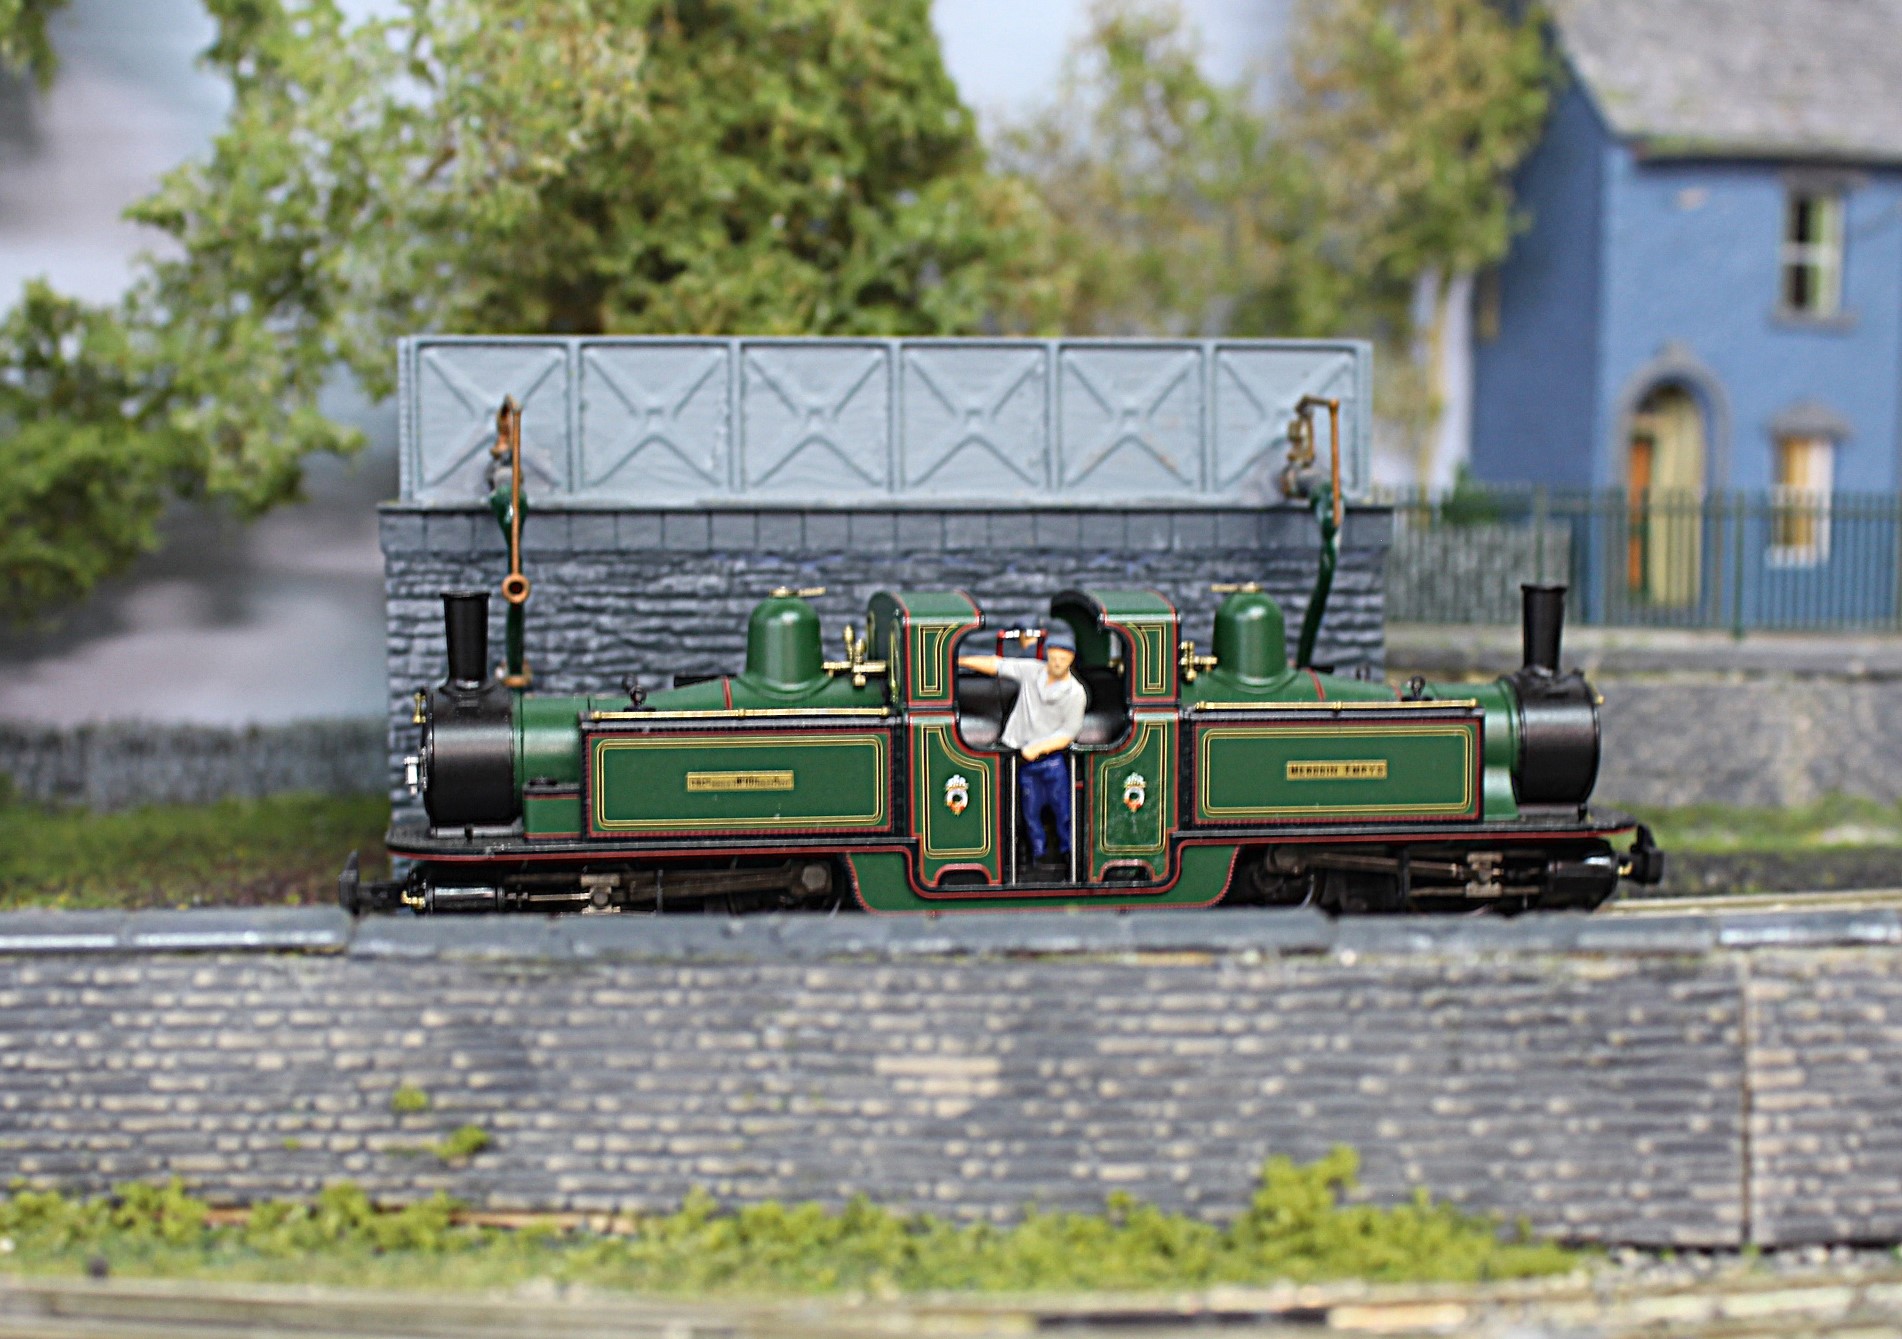
So the first building to be completed was the Pendre double outlet Water Tower.
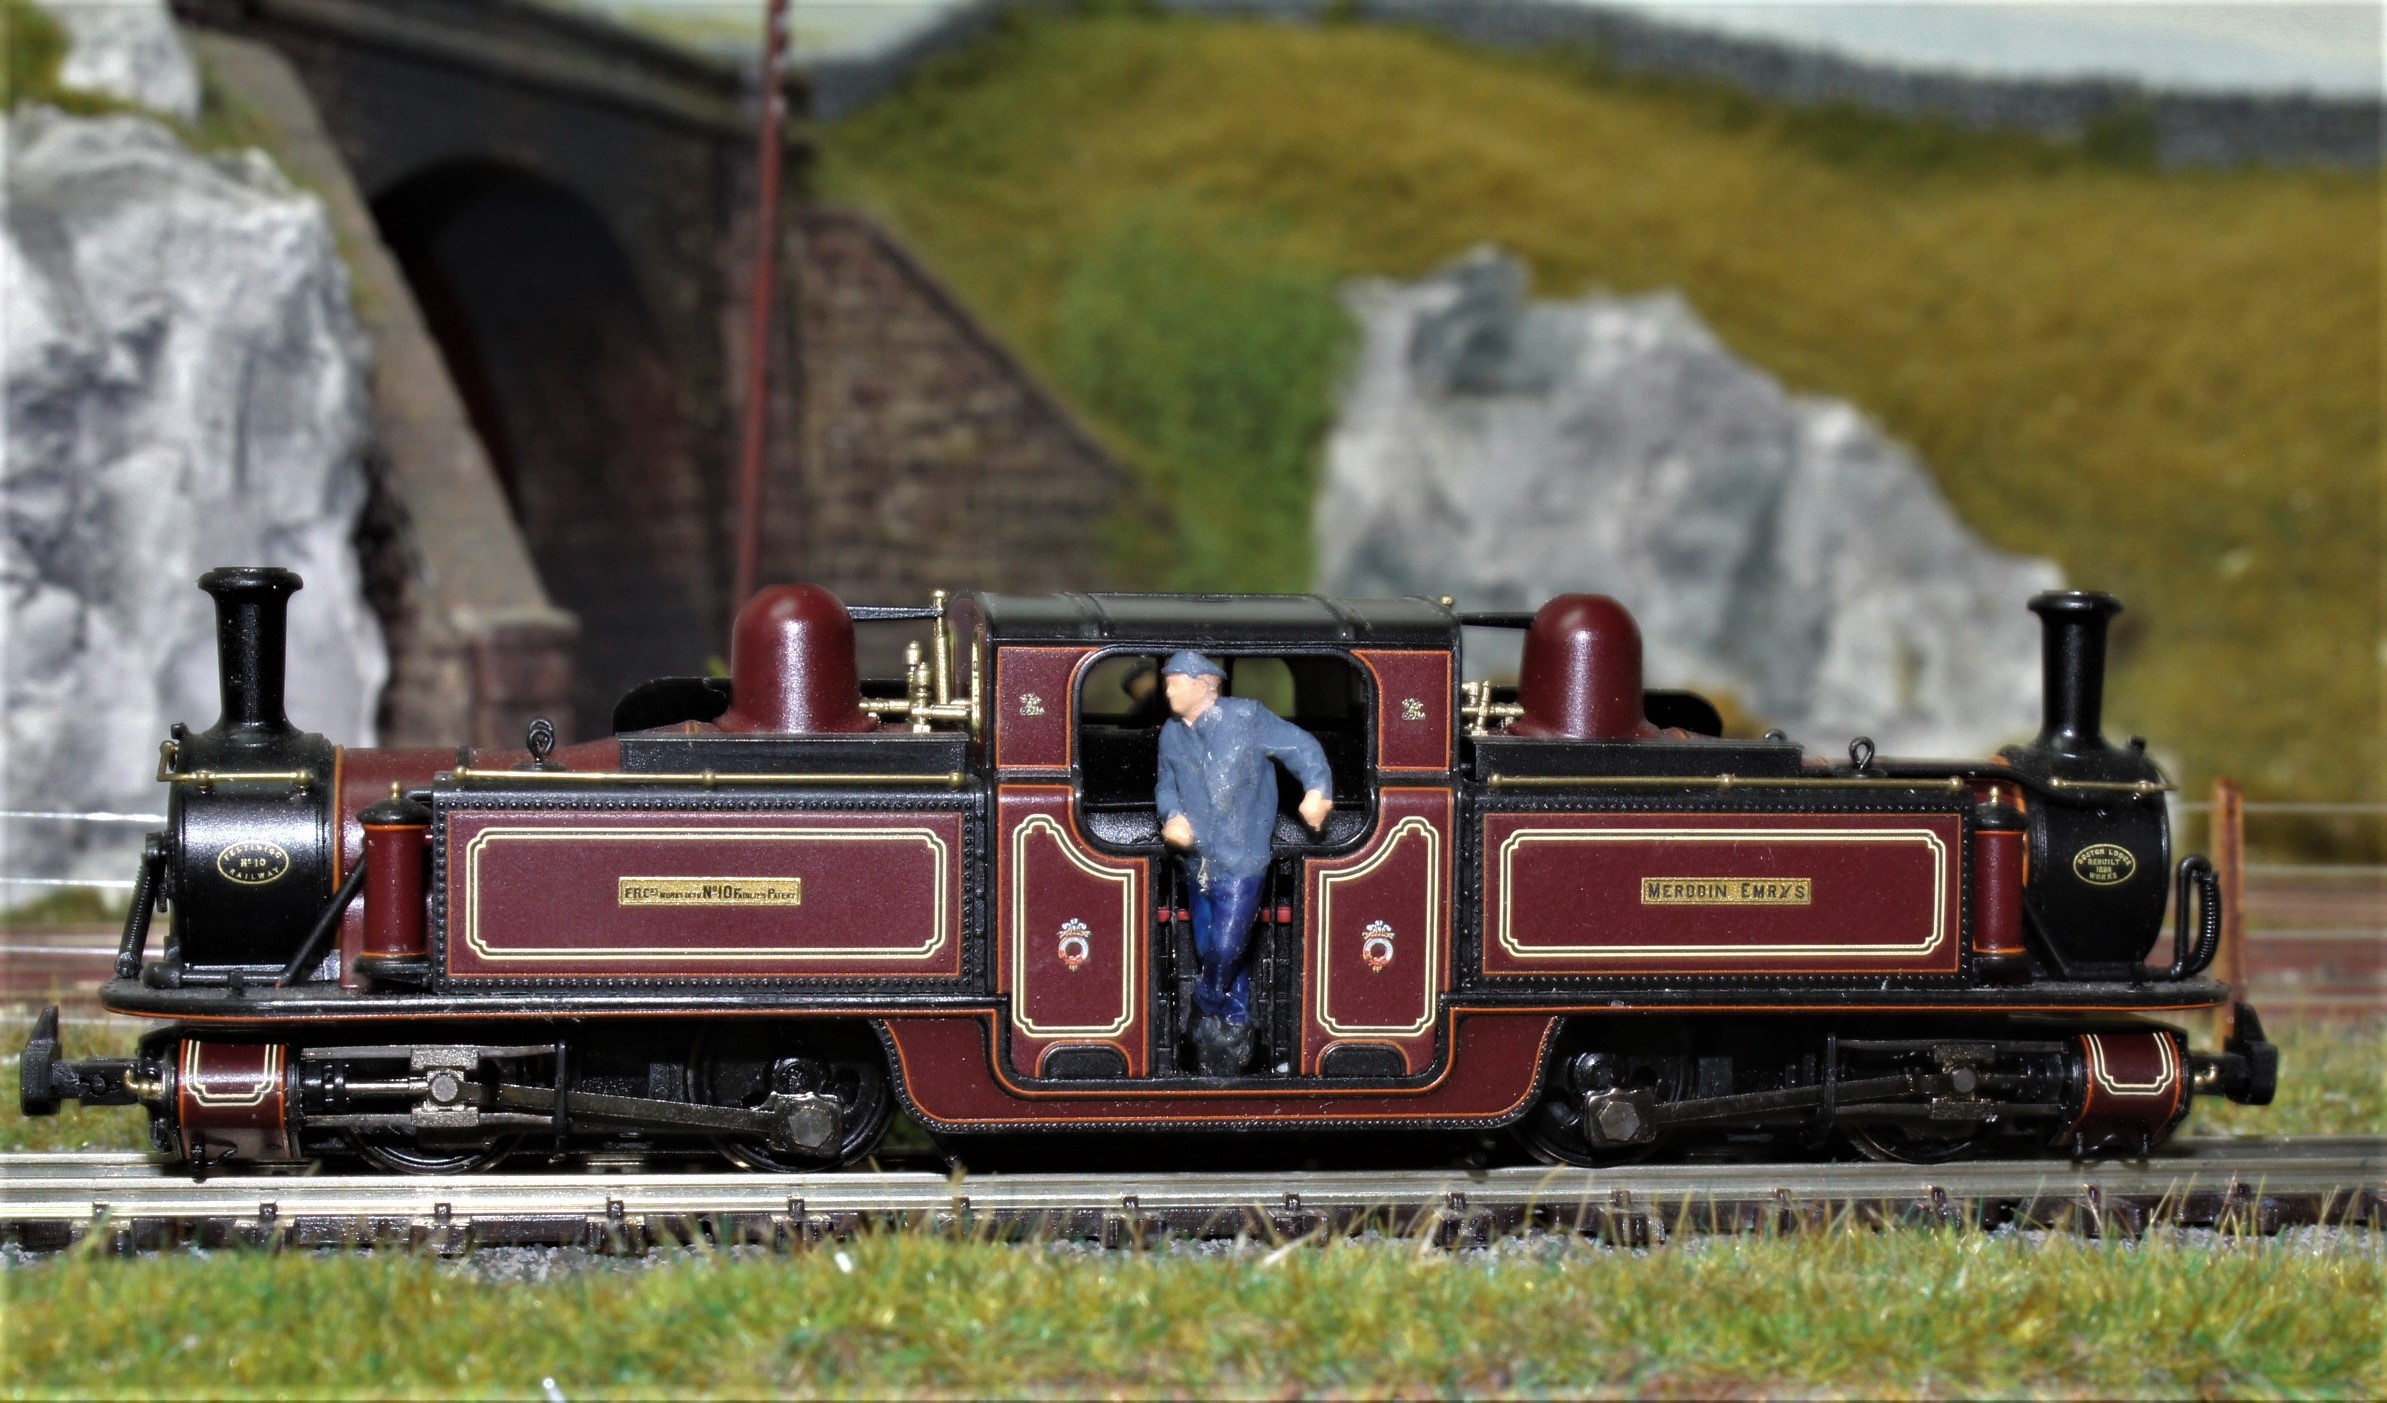
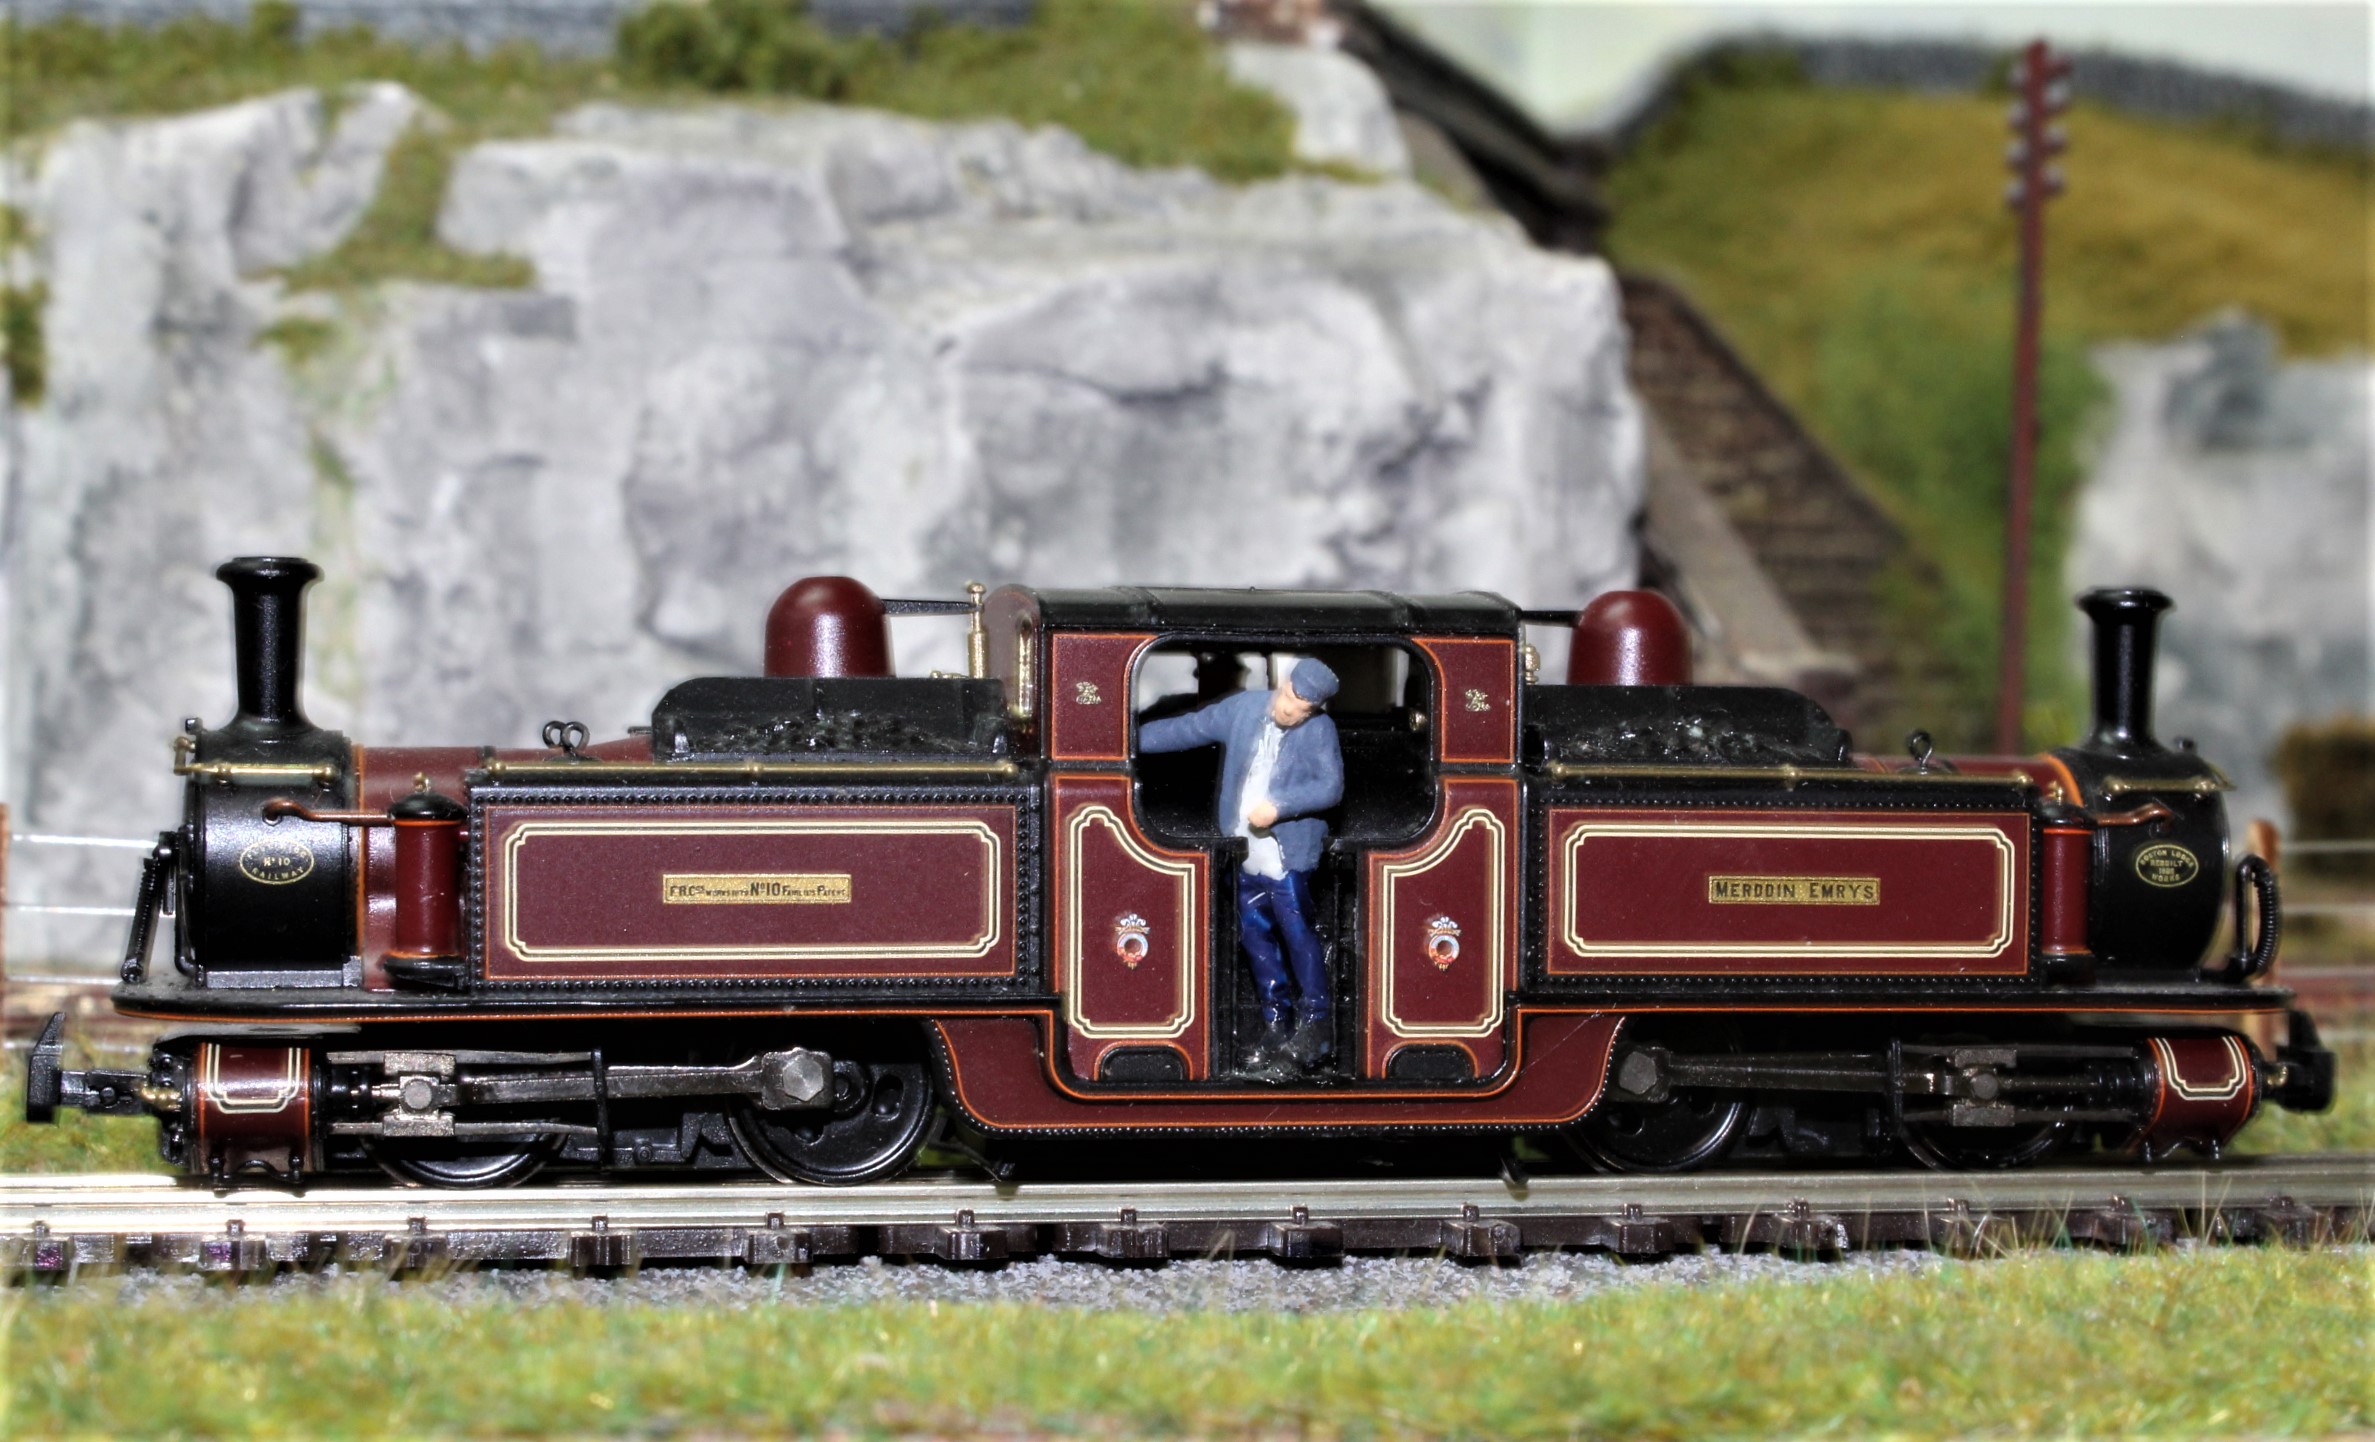
A New Arrival

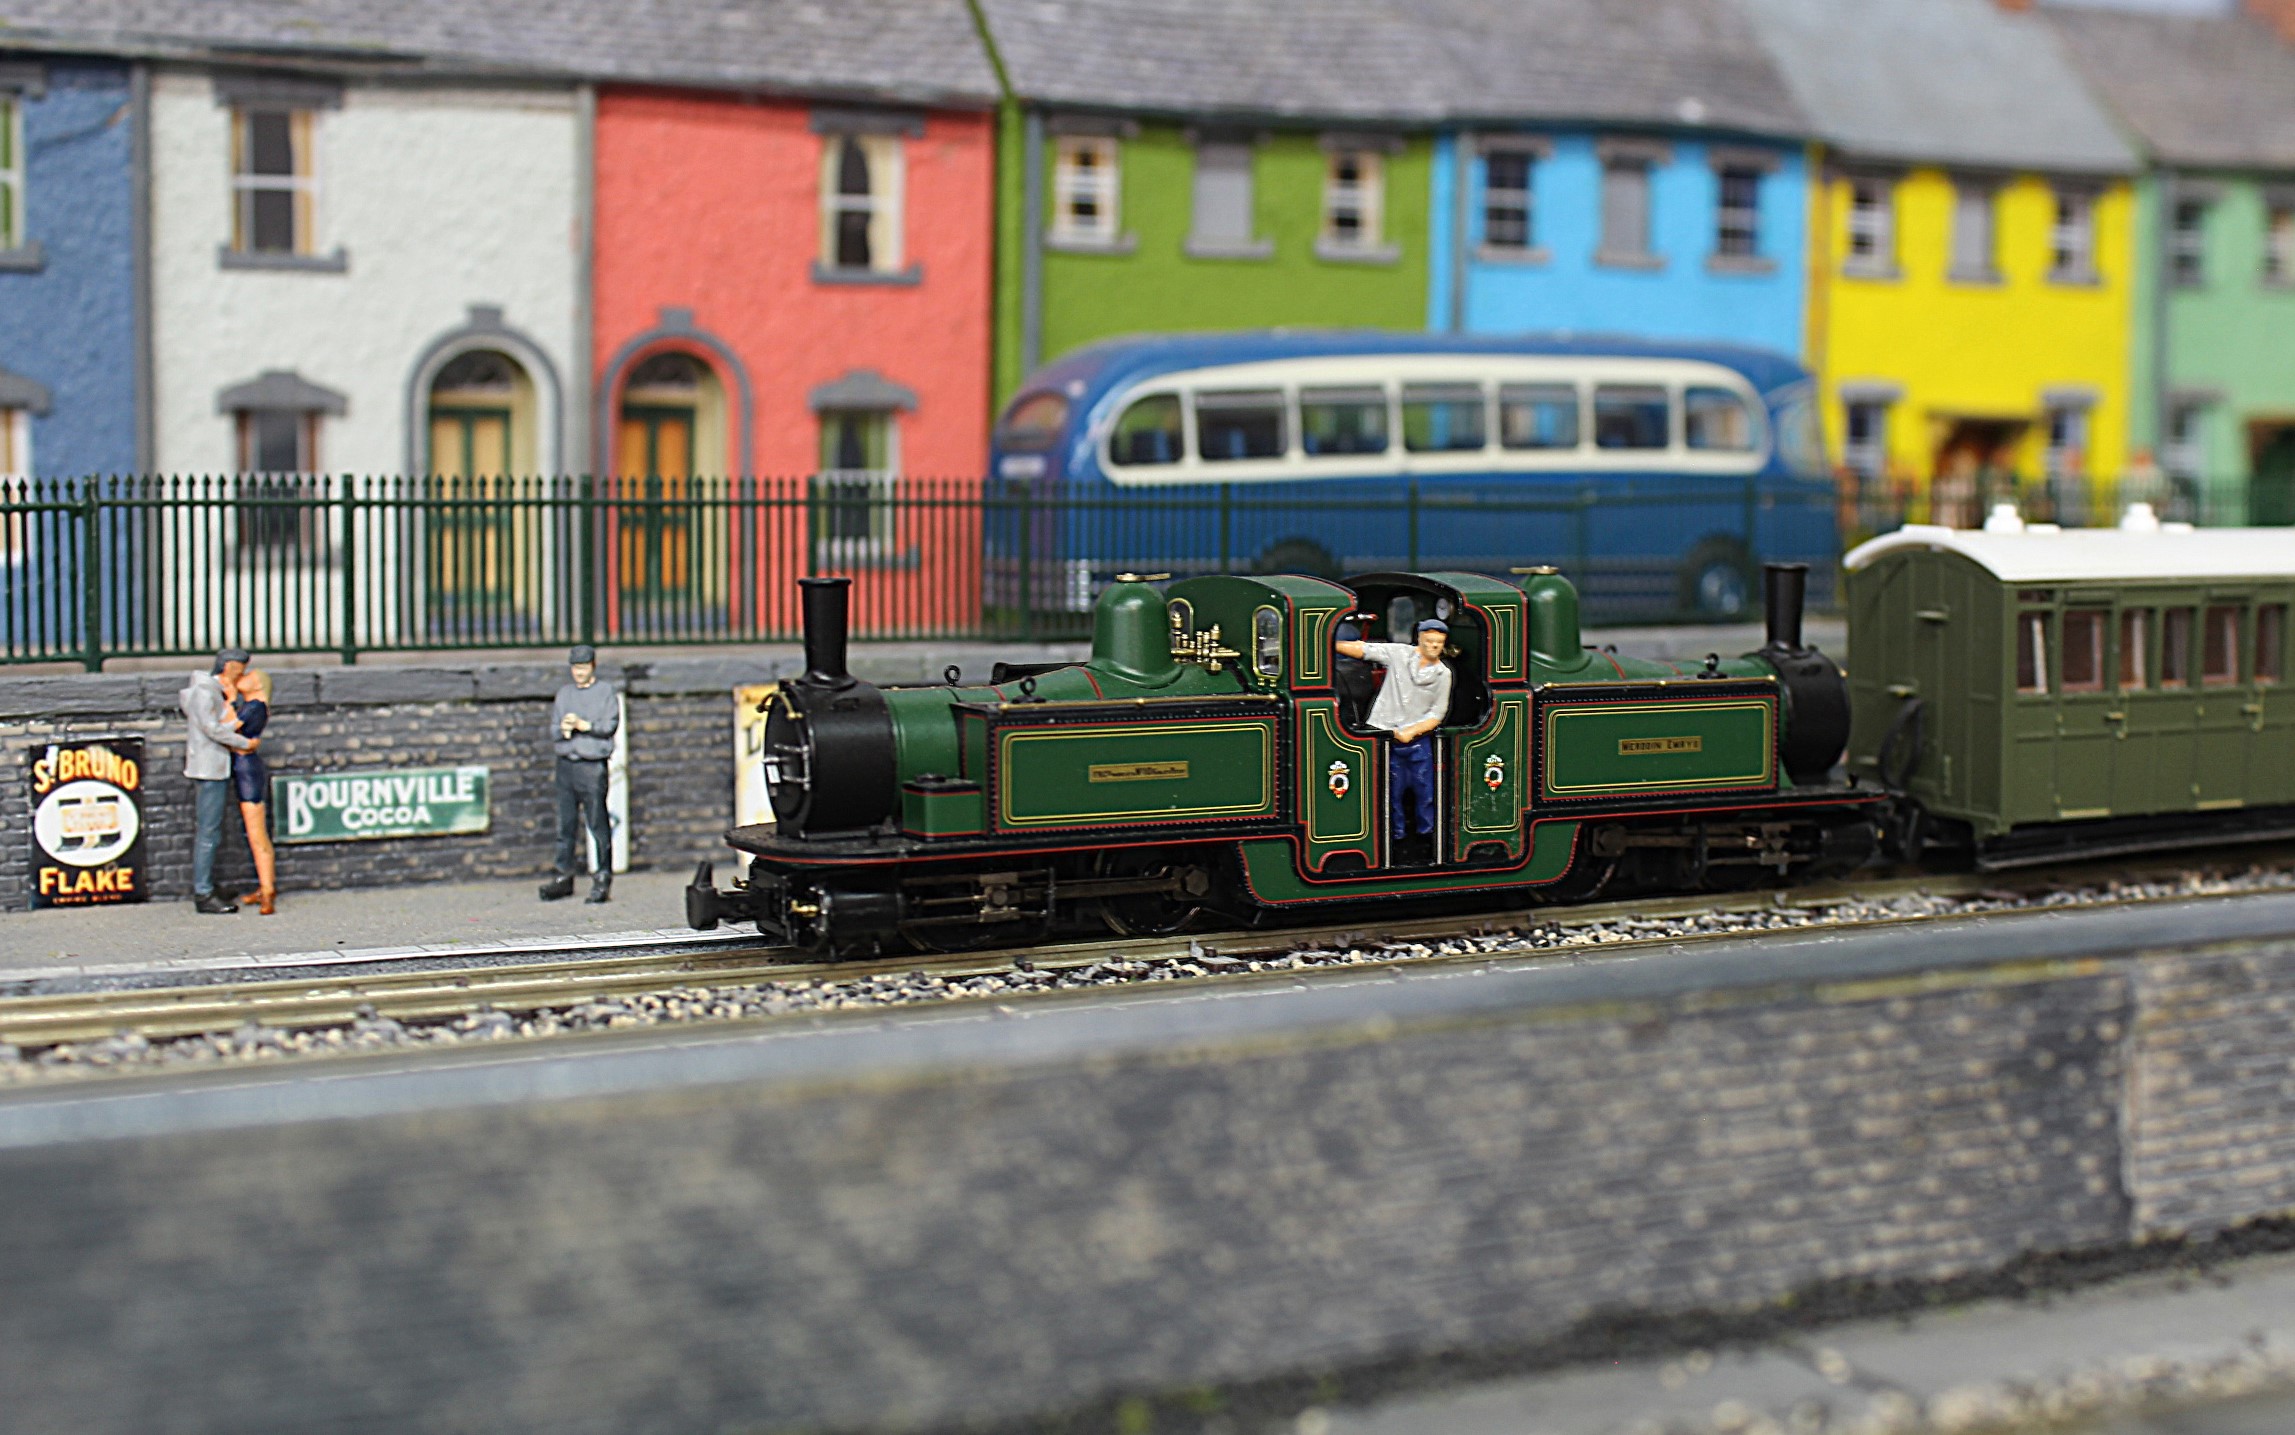
My latest loco to go into service is Bachmanns double fairlie Merddin Emrys
I would normally weather 00 gauge locomotives but these little narrow gauge locos are so finely detailed that it’s better to leave them alone and they are normally kept spotless on heritage lines anyway, so the only improvement made is to add a crew.