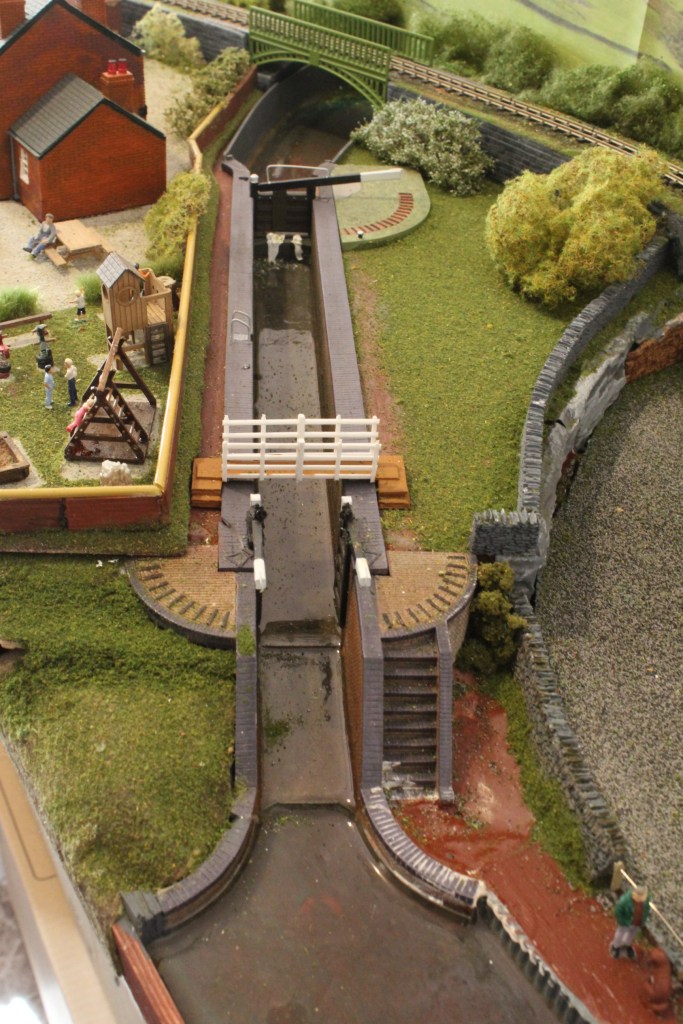
I have built canals on my layouts before and have always wanted to feature a Lock but never had the room so when Bachmann released this model I couldn’t resist getting one. The timing was perfect as I was just starting a new extension board on the Narrow Gauge layout and needed a centerpiece for it. The lock does also feature gates which can be set in the desired position.

Even though it is only a model of a small lock it still takes up quite a bit of room, measuring 44cms in length, so it proved a challenge to fit it in and make it look realistic. There are other excellent models available especially in Laser Cut form but they are even bigger and there simply wasn’t room for them. The second problem was the difference in height and obviously the water levels at each end of the lock, so I decided the easiest way around this was to create a wooden cradle for it to sit in.
When the cradle had been completed it was then possible to fit the Lock in place and start building up the canal bed and banks,using box profile steel where needed.

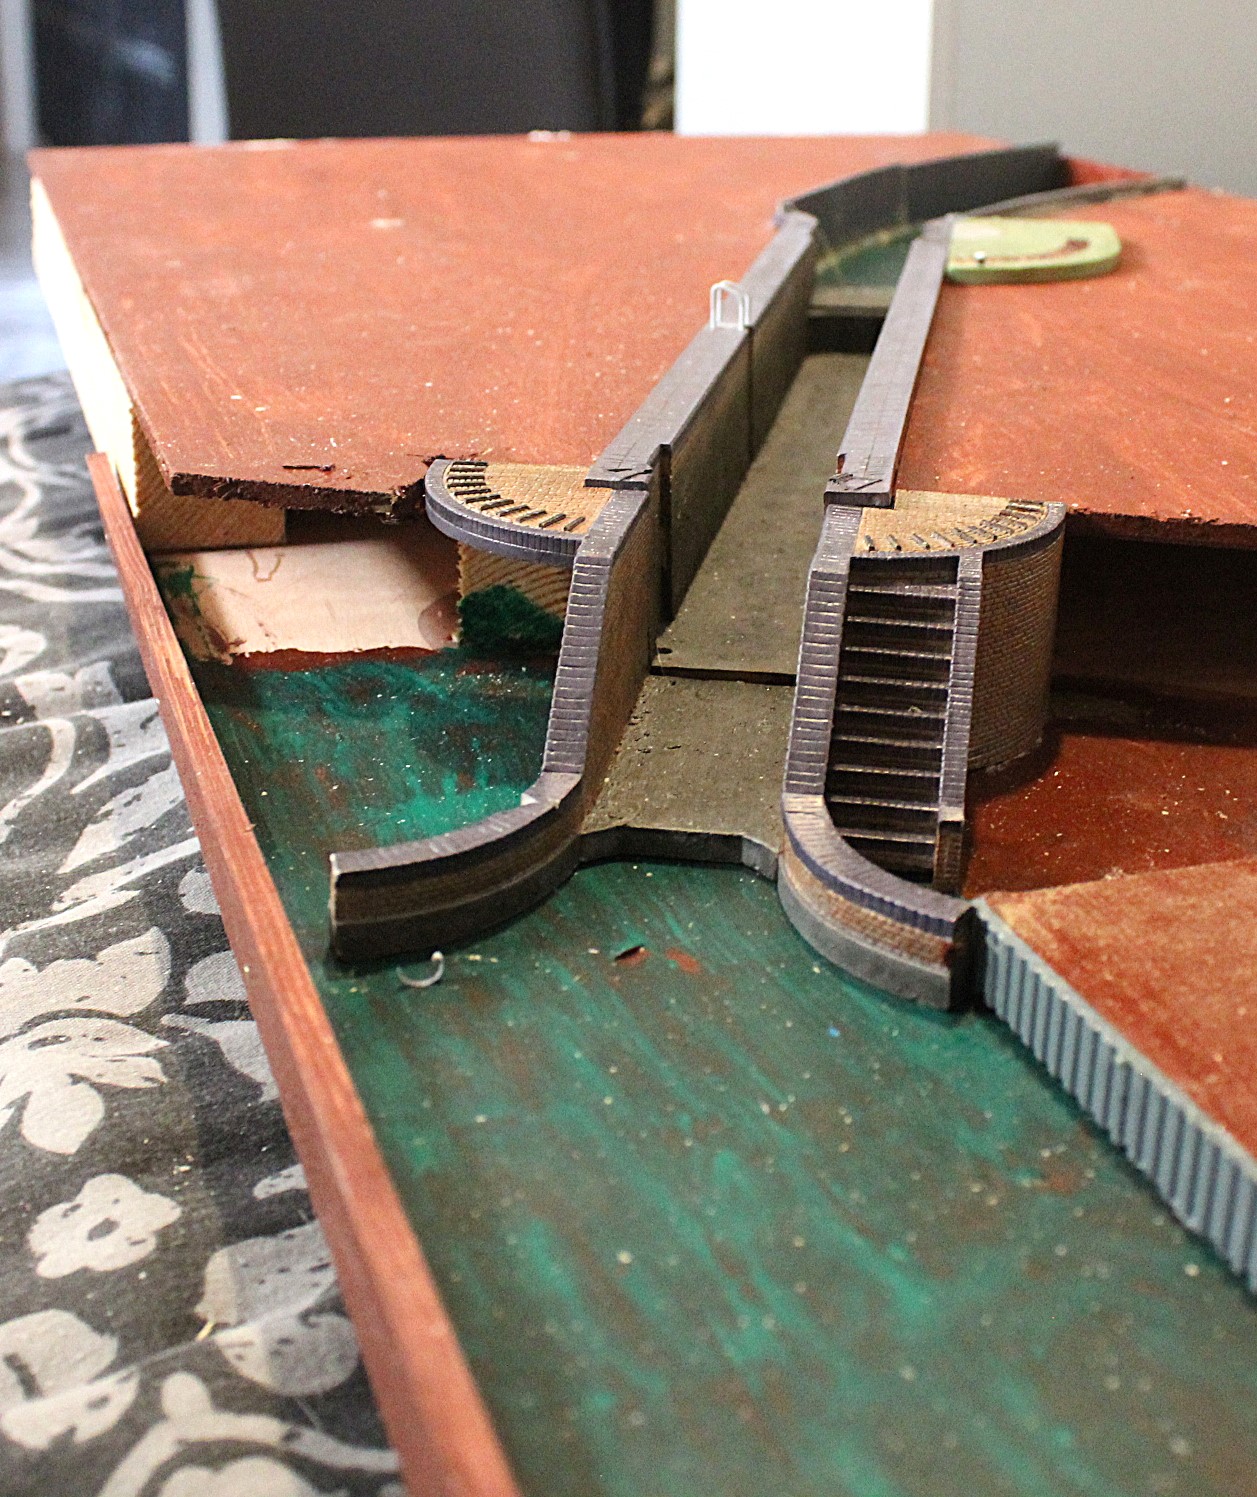
Once complete the canal bed was given a coating of PVA glue which will hopefully form a sealant for the water effects products that will be applied later. The bed was then painted with a mottled mixture of greens and browns.
I intend to build the water level up gradually and if necessary add colouring to the clear water mixture as most canals I remember were a dirty brown shade.
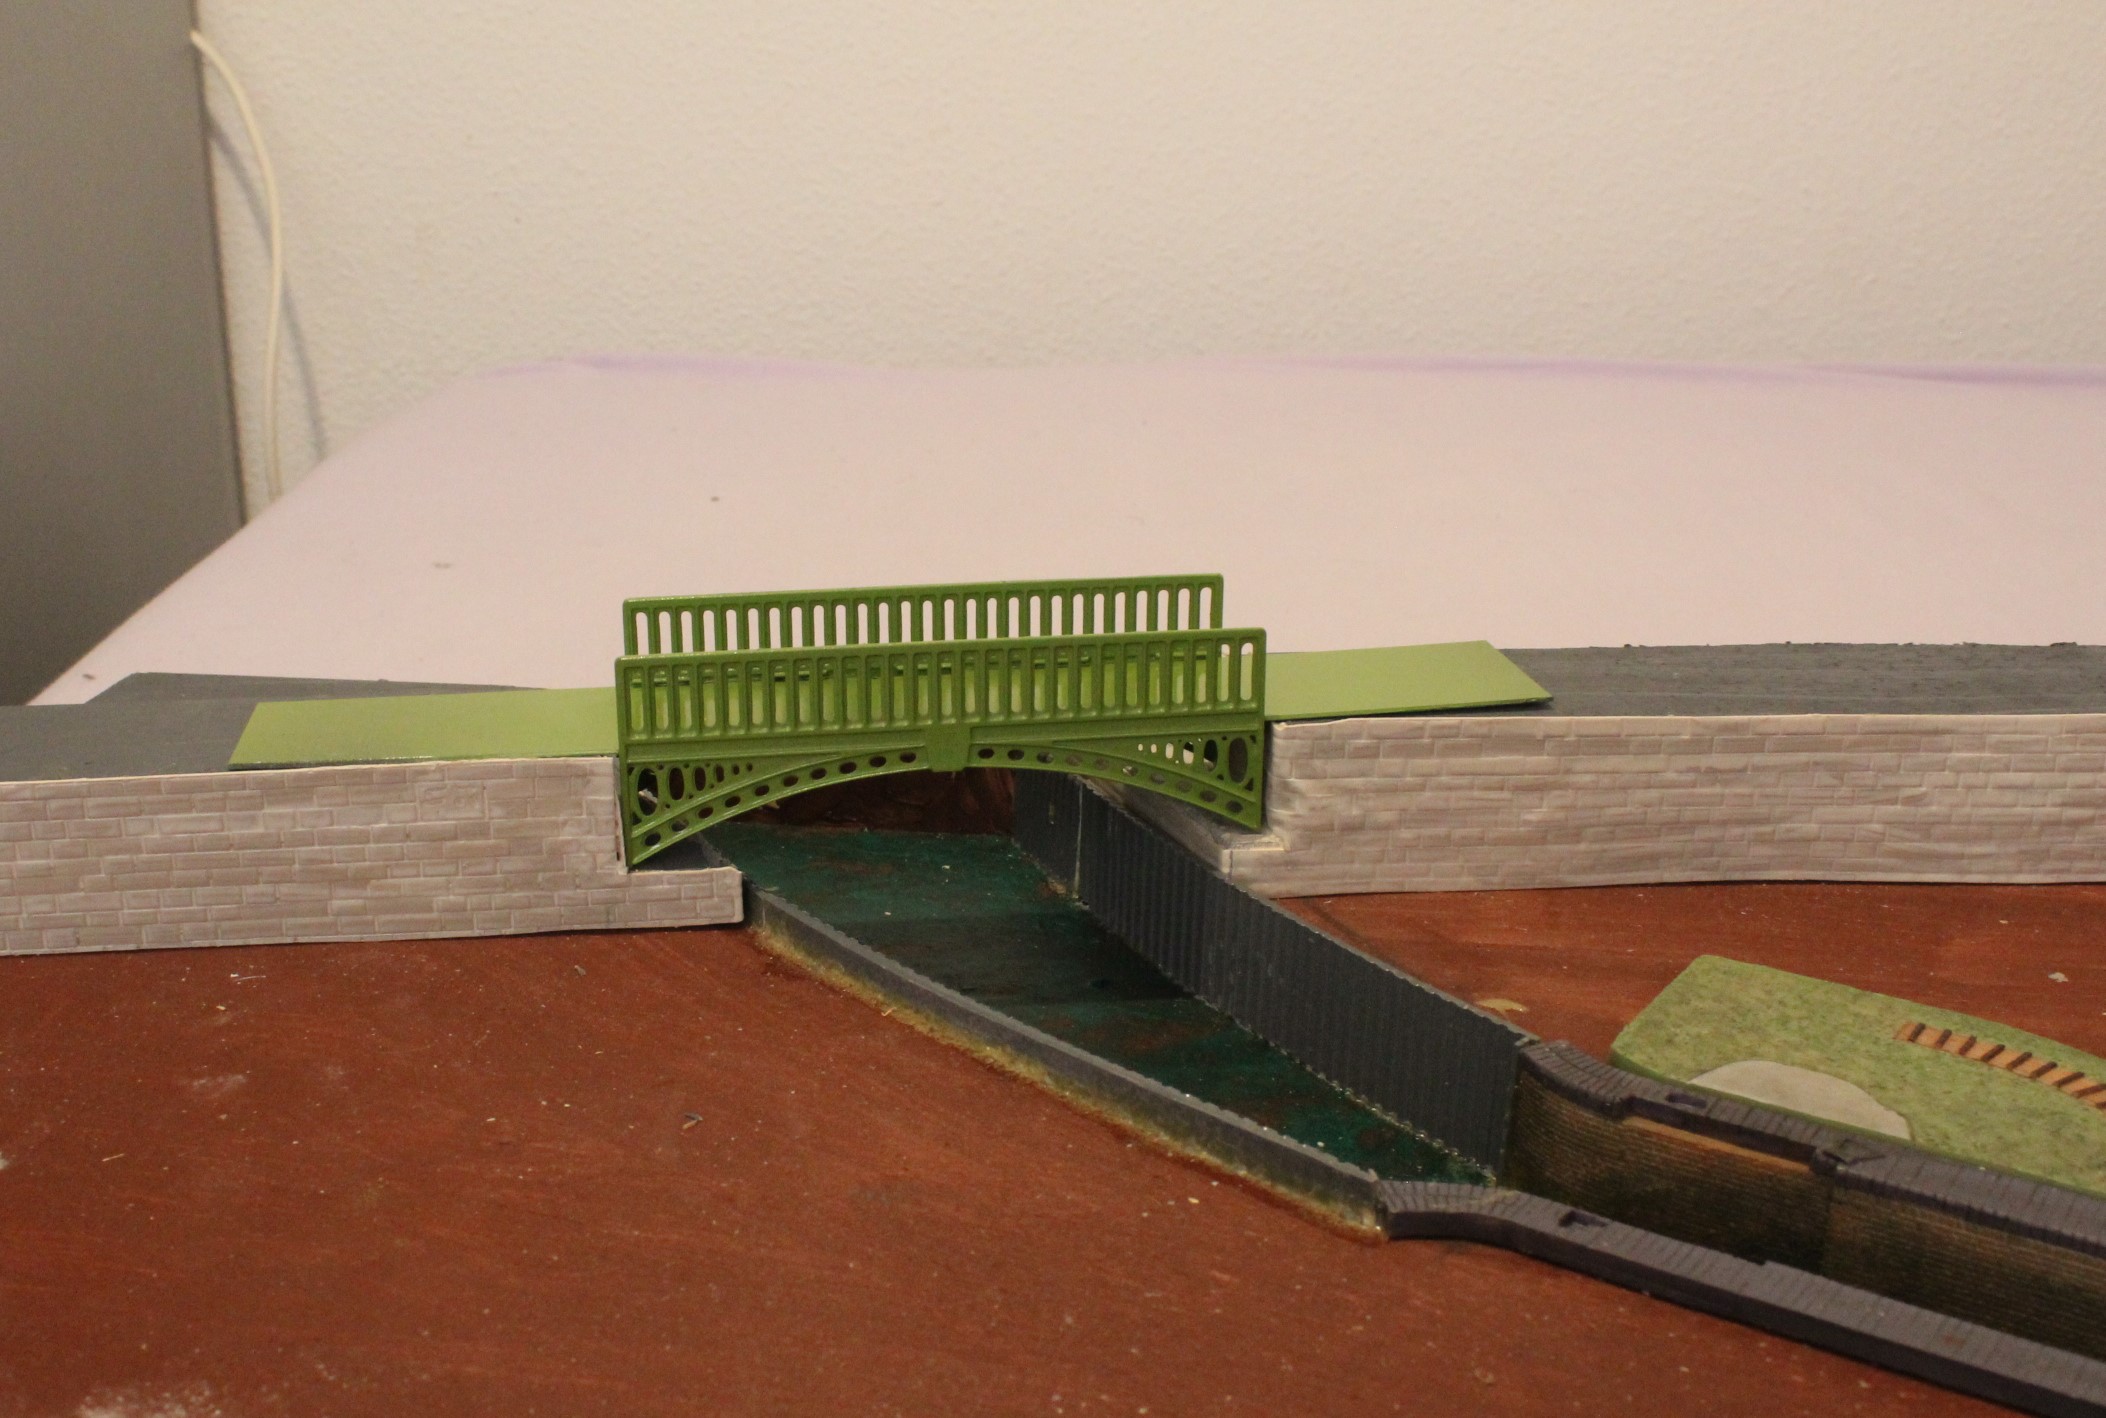
Victorian Bridge
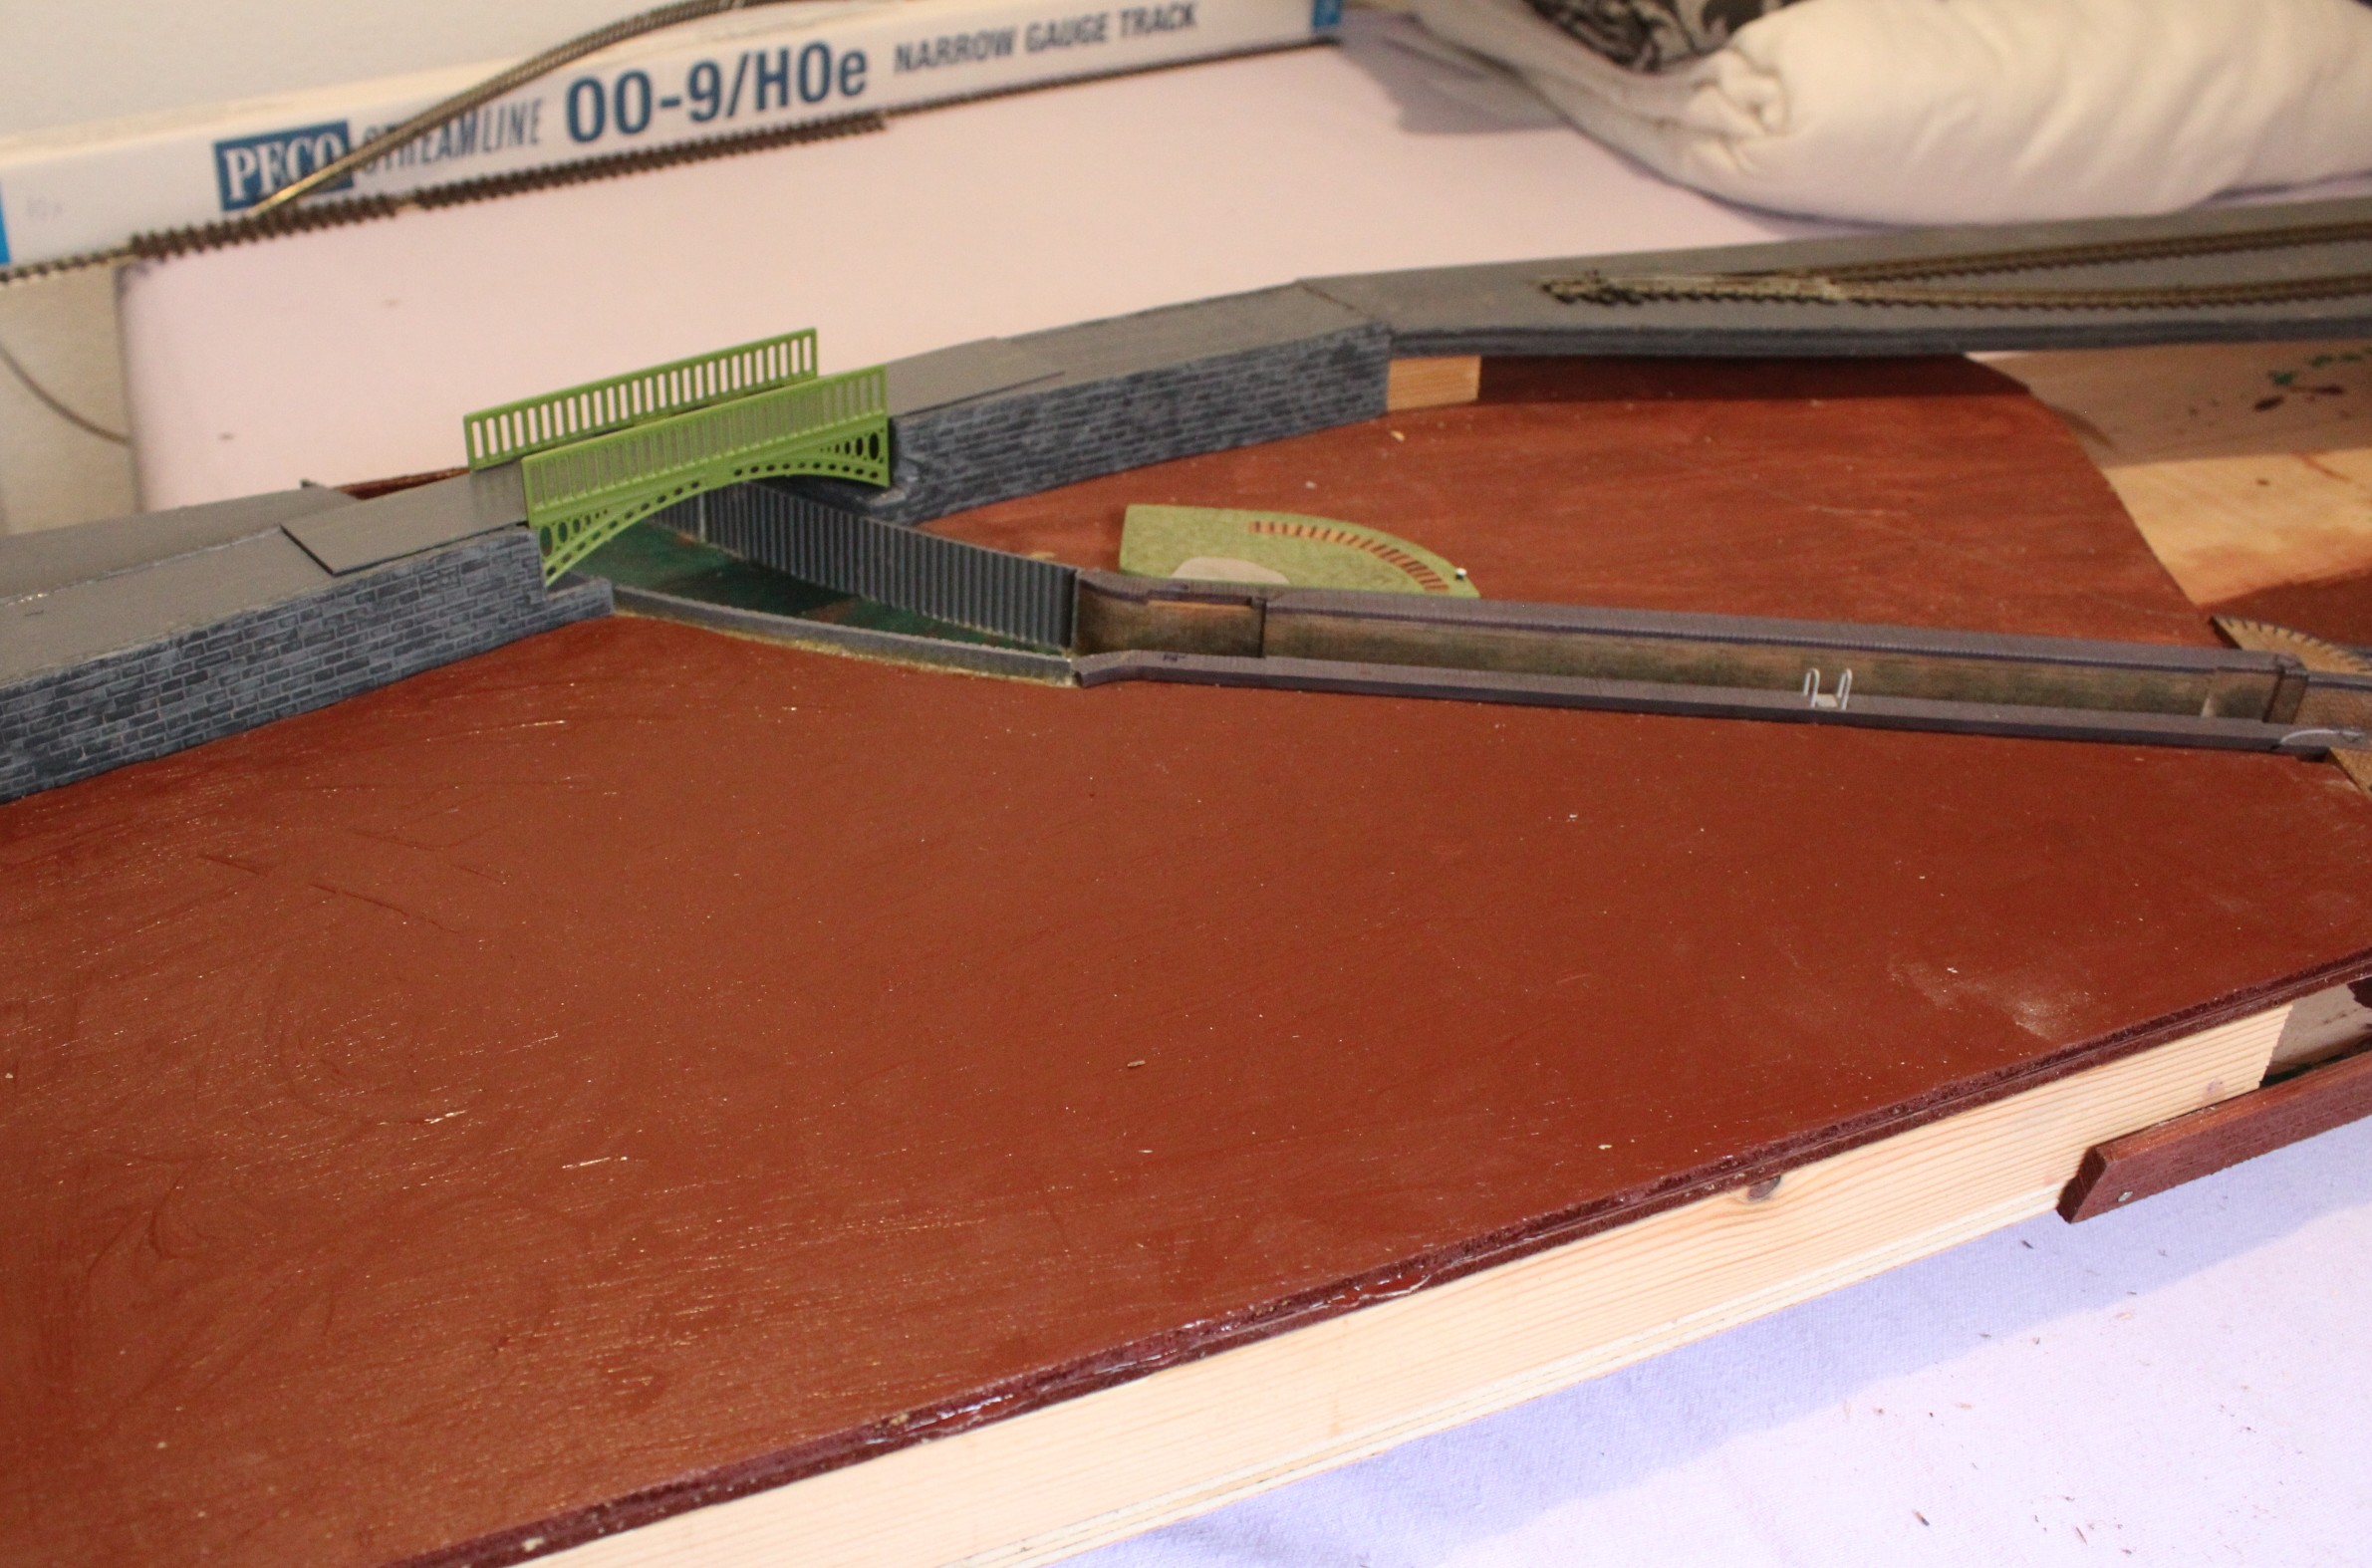
I still haven’t got a definite layout plan for this board but the one essential is that the railway must cross the canal behind the lock
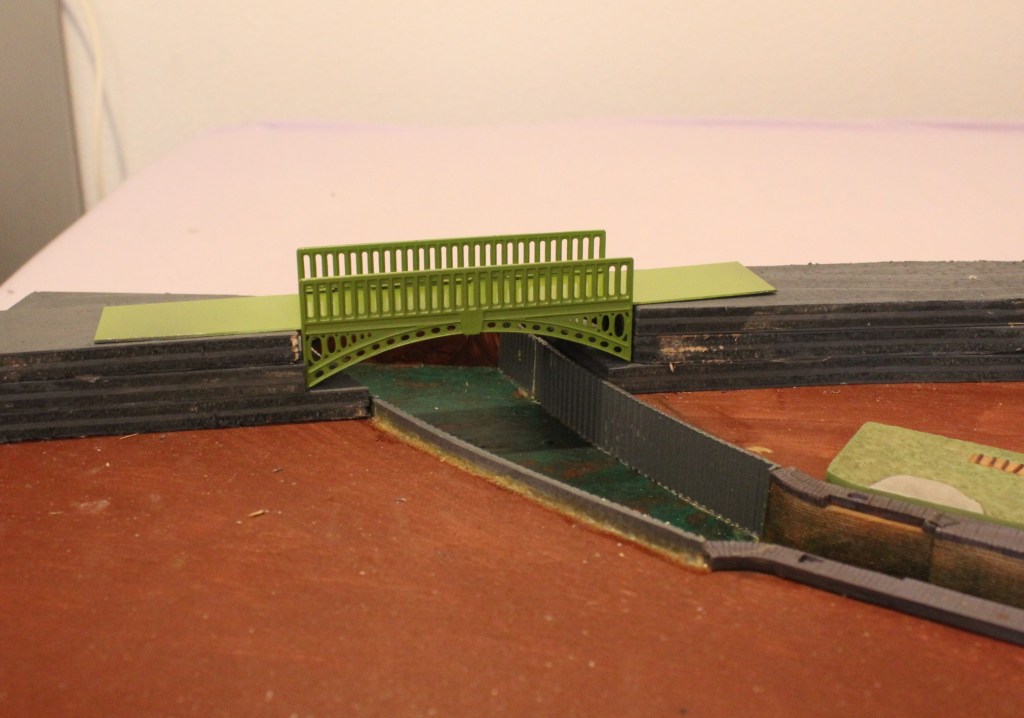
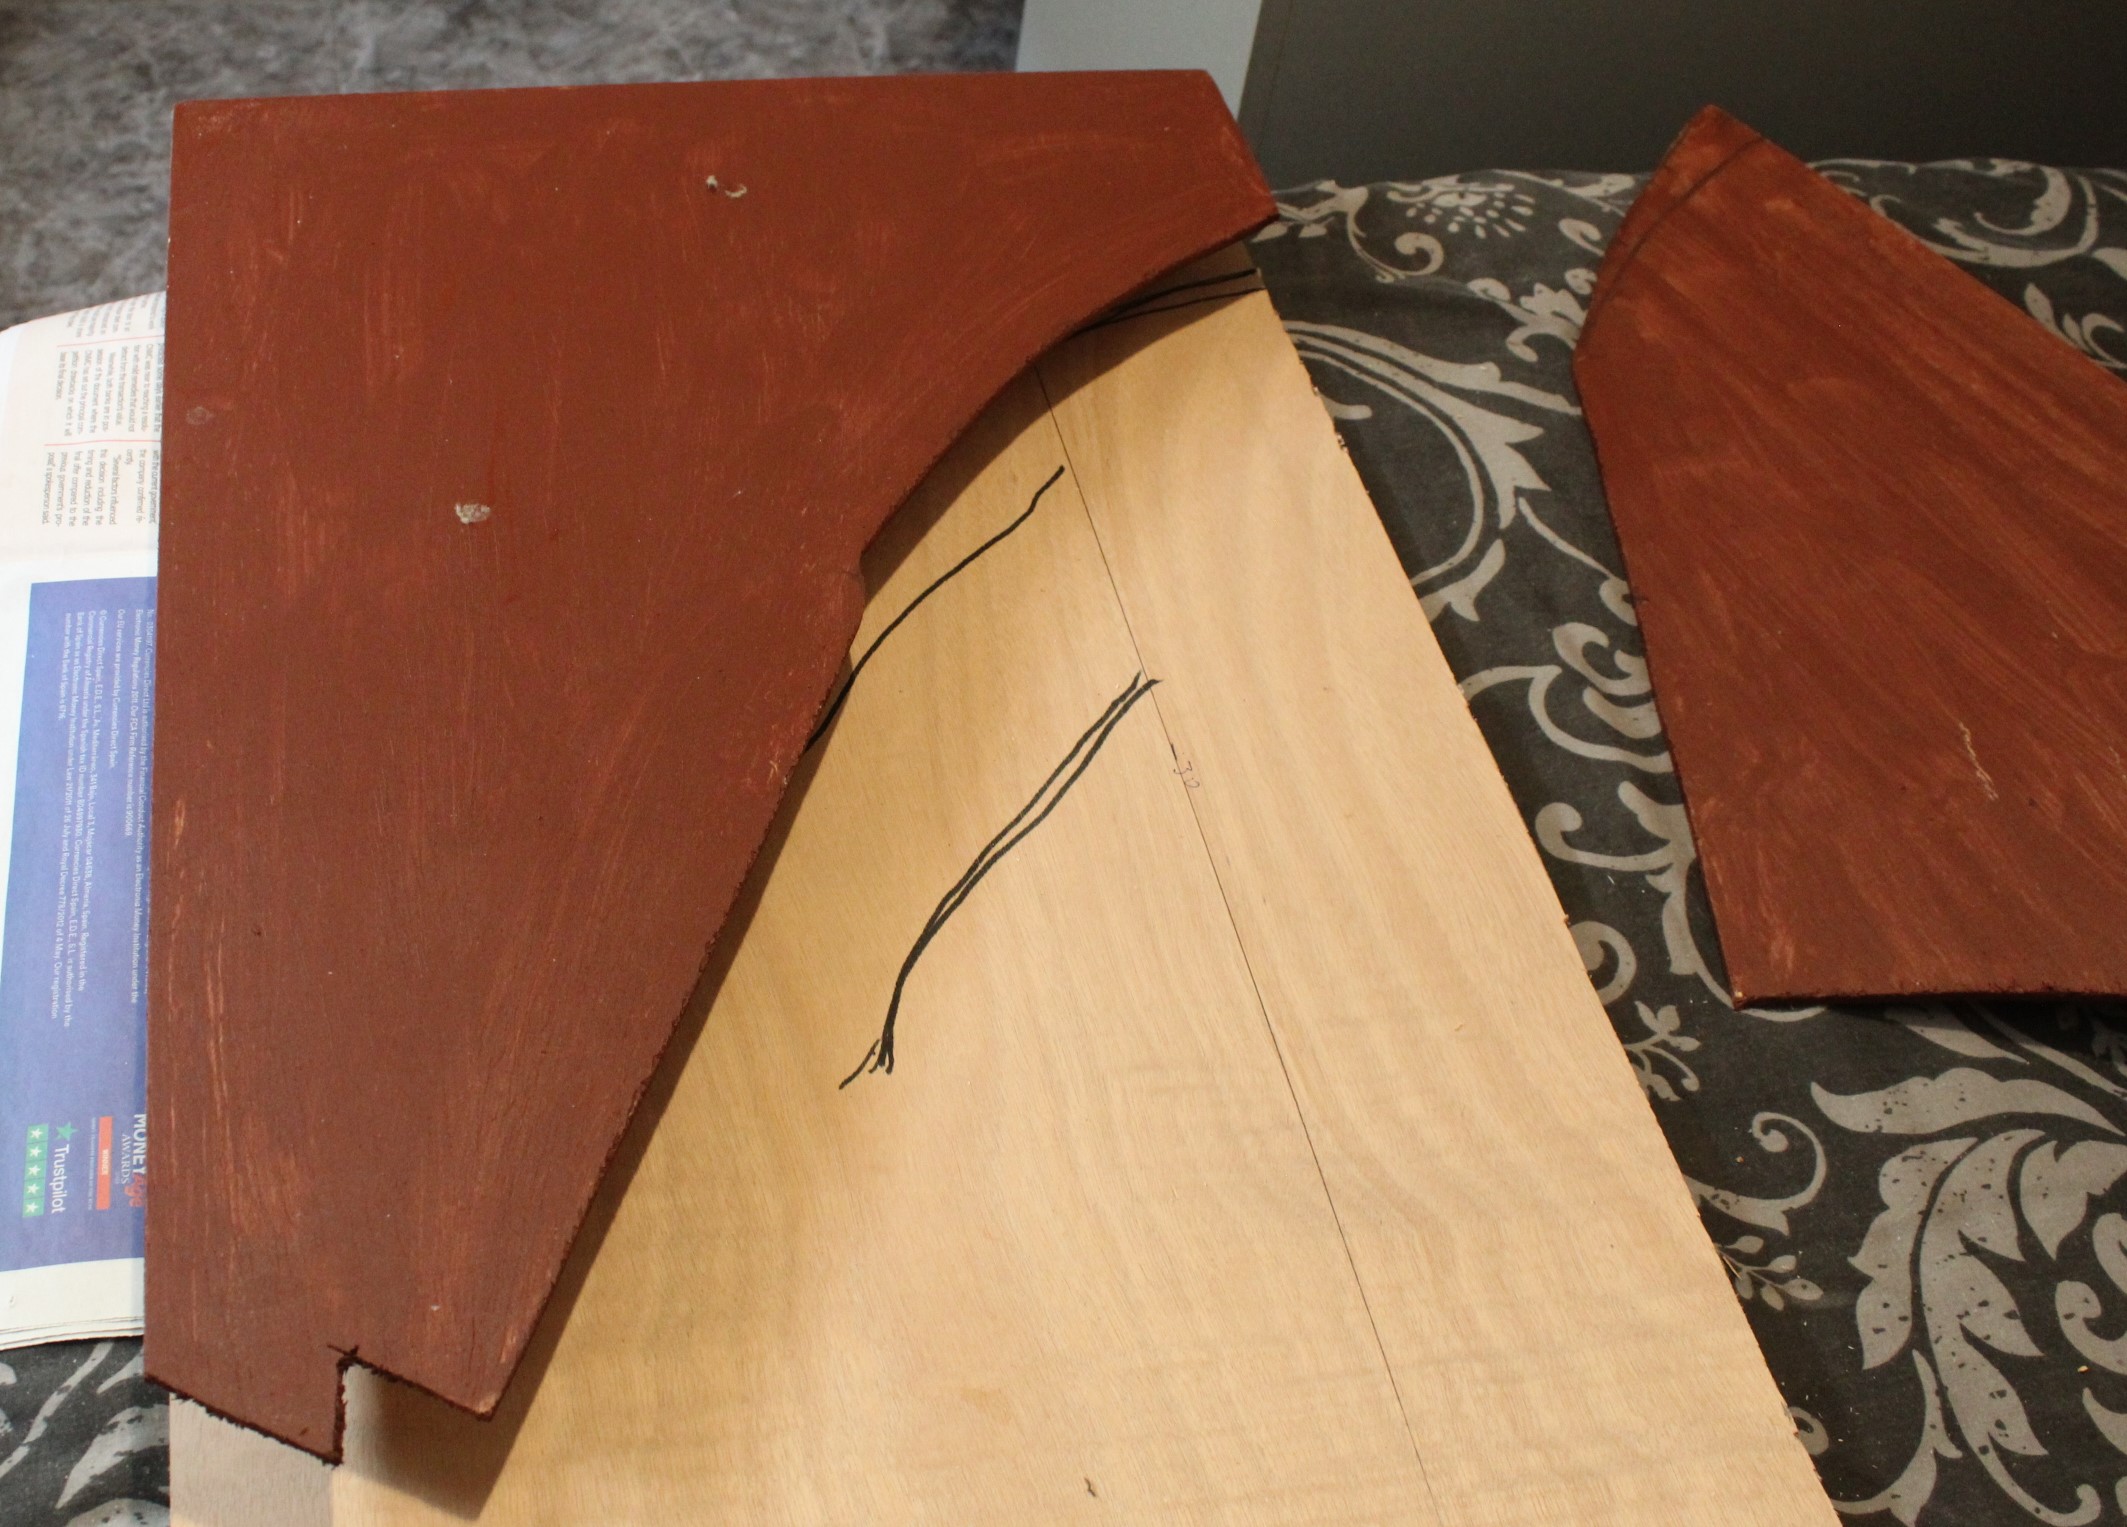
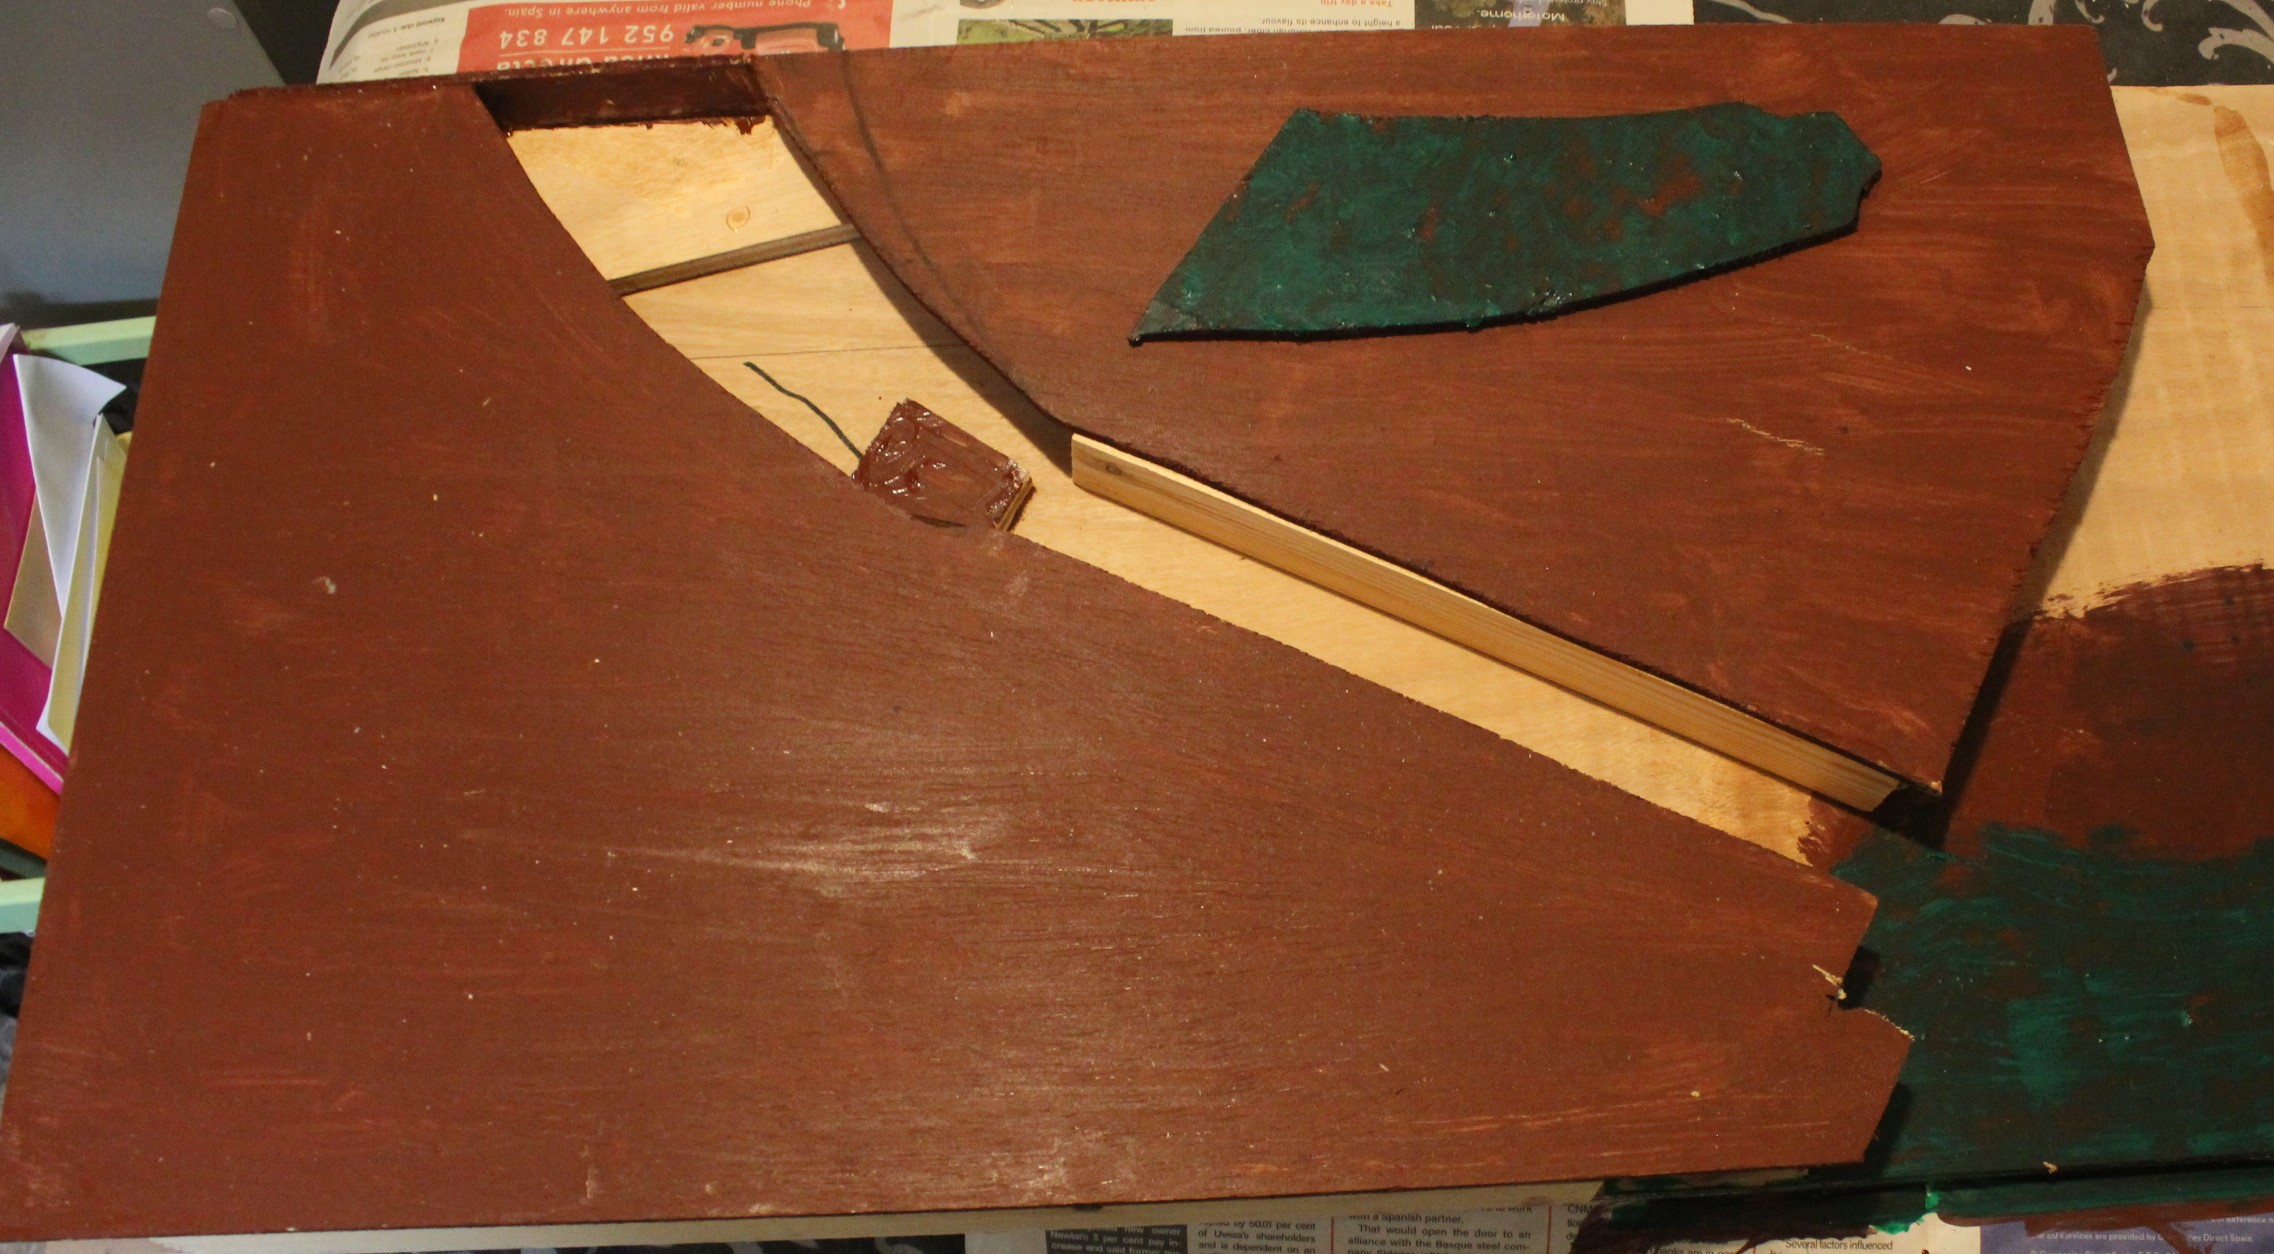
So using that as a start point I built a Wills Victorian bridge kit and the approach piers to it which were then covered in Slaters Plasticard stone sheet painted grey and dry brushed on top with a dark grey.

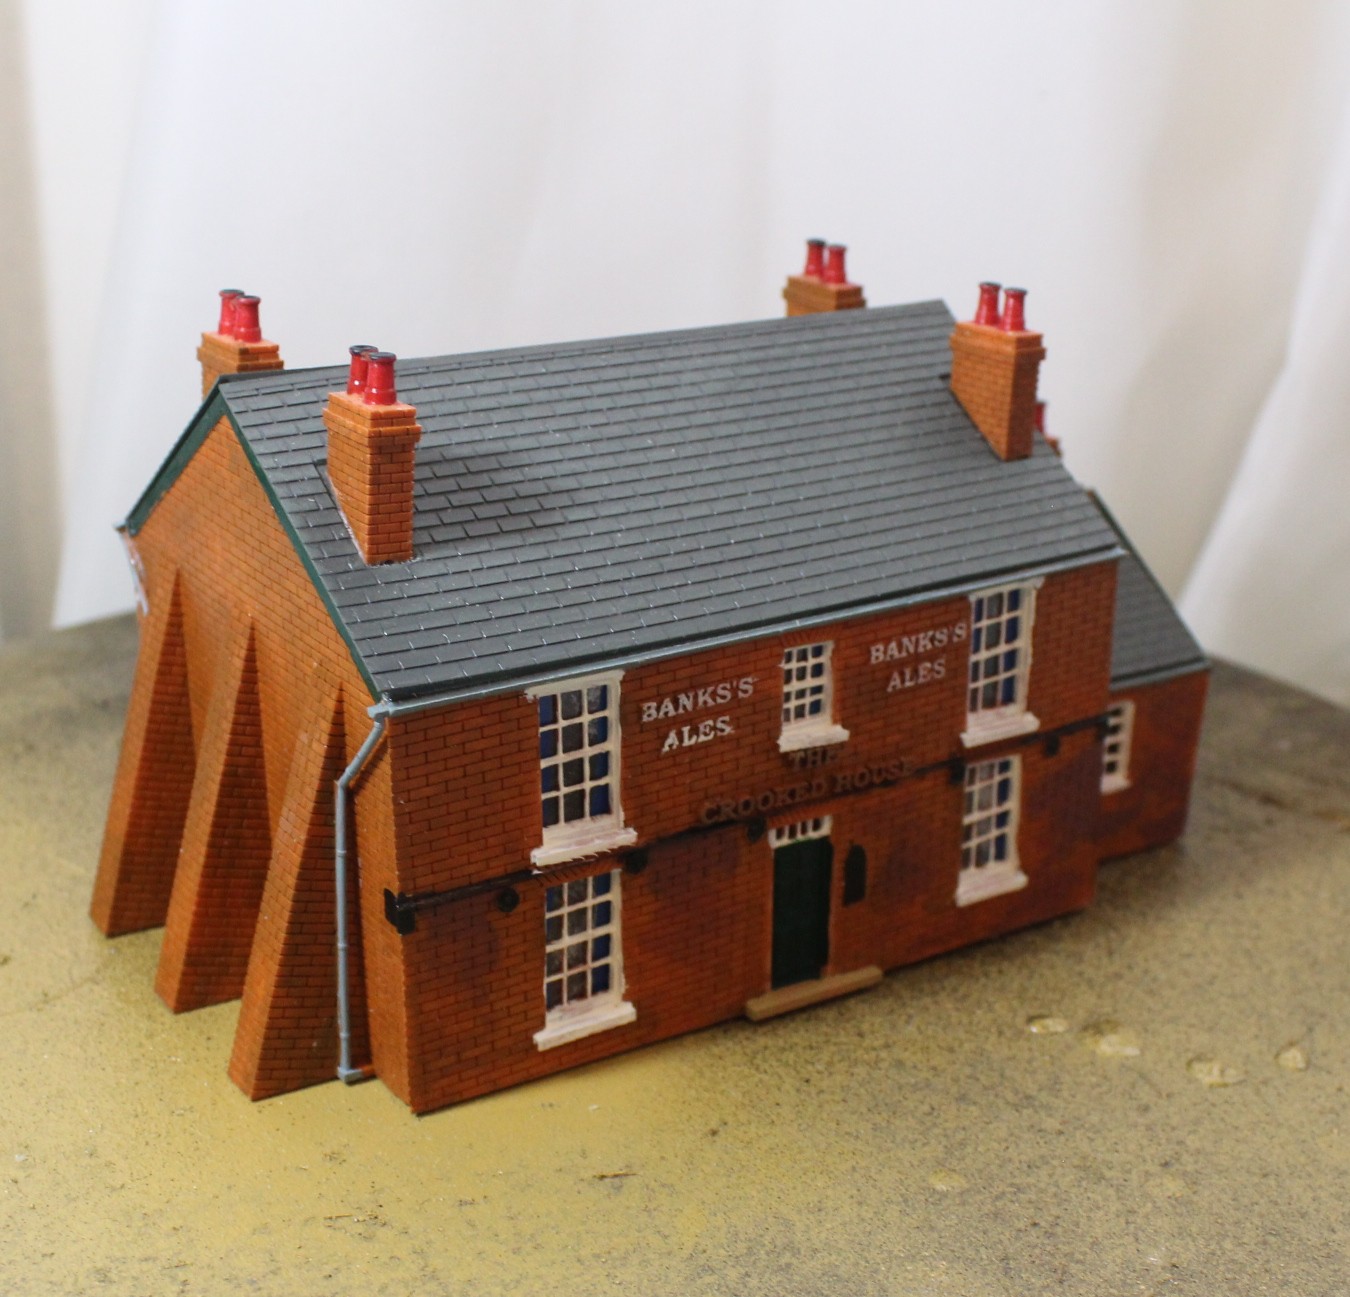
The Crooked House
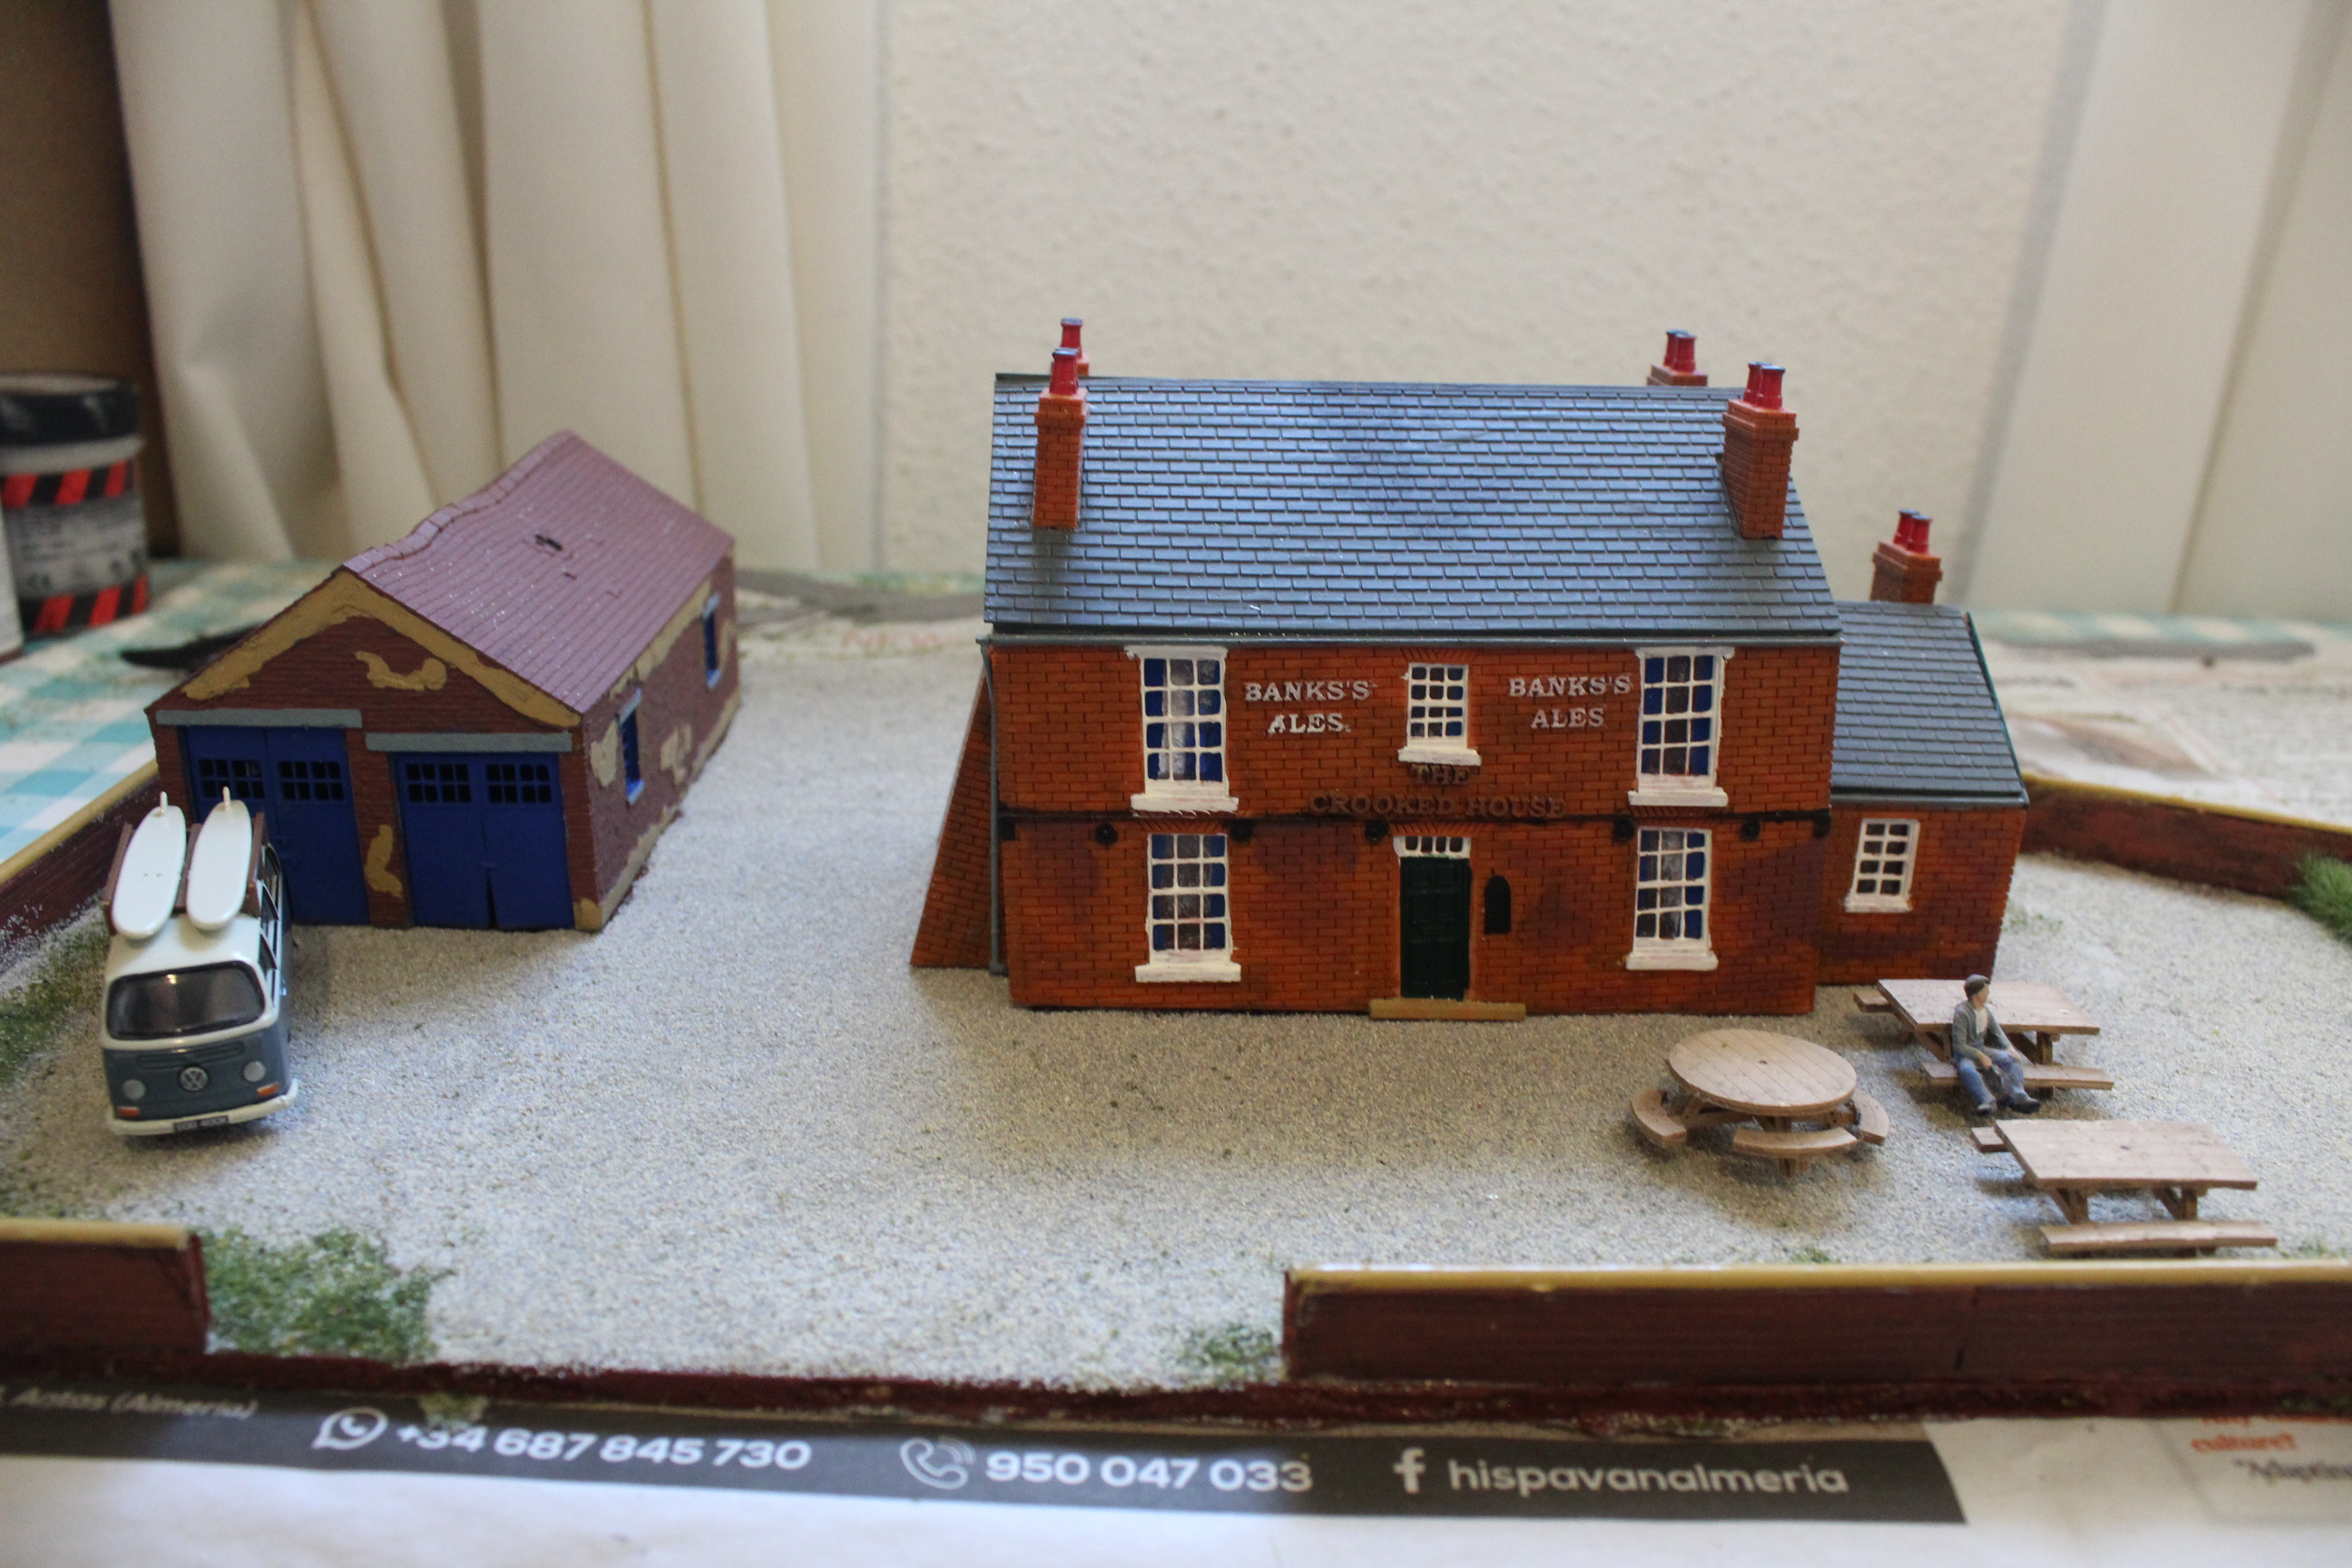
I found this model kit of The Crooked House Pub on the internet a few months ago so when I was in the UK at Easter I ordered one thinking that it would make a nice feature on the layout. There was quite a big space beside the canal lock so I prepared a board to fit there.

To make use of the space I also added in derelict garage and a children’s play area so these were all marked out on the base with gravel and grass added where needed plus concrete bases for the playground.
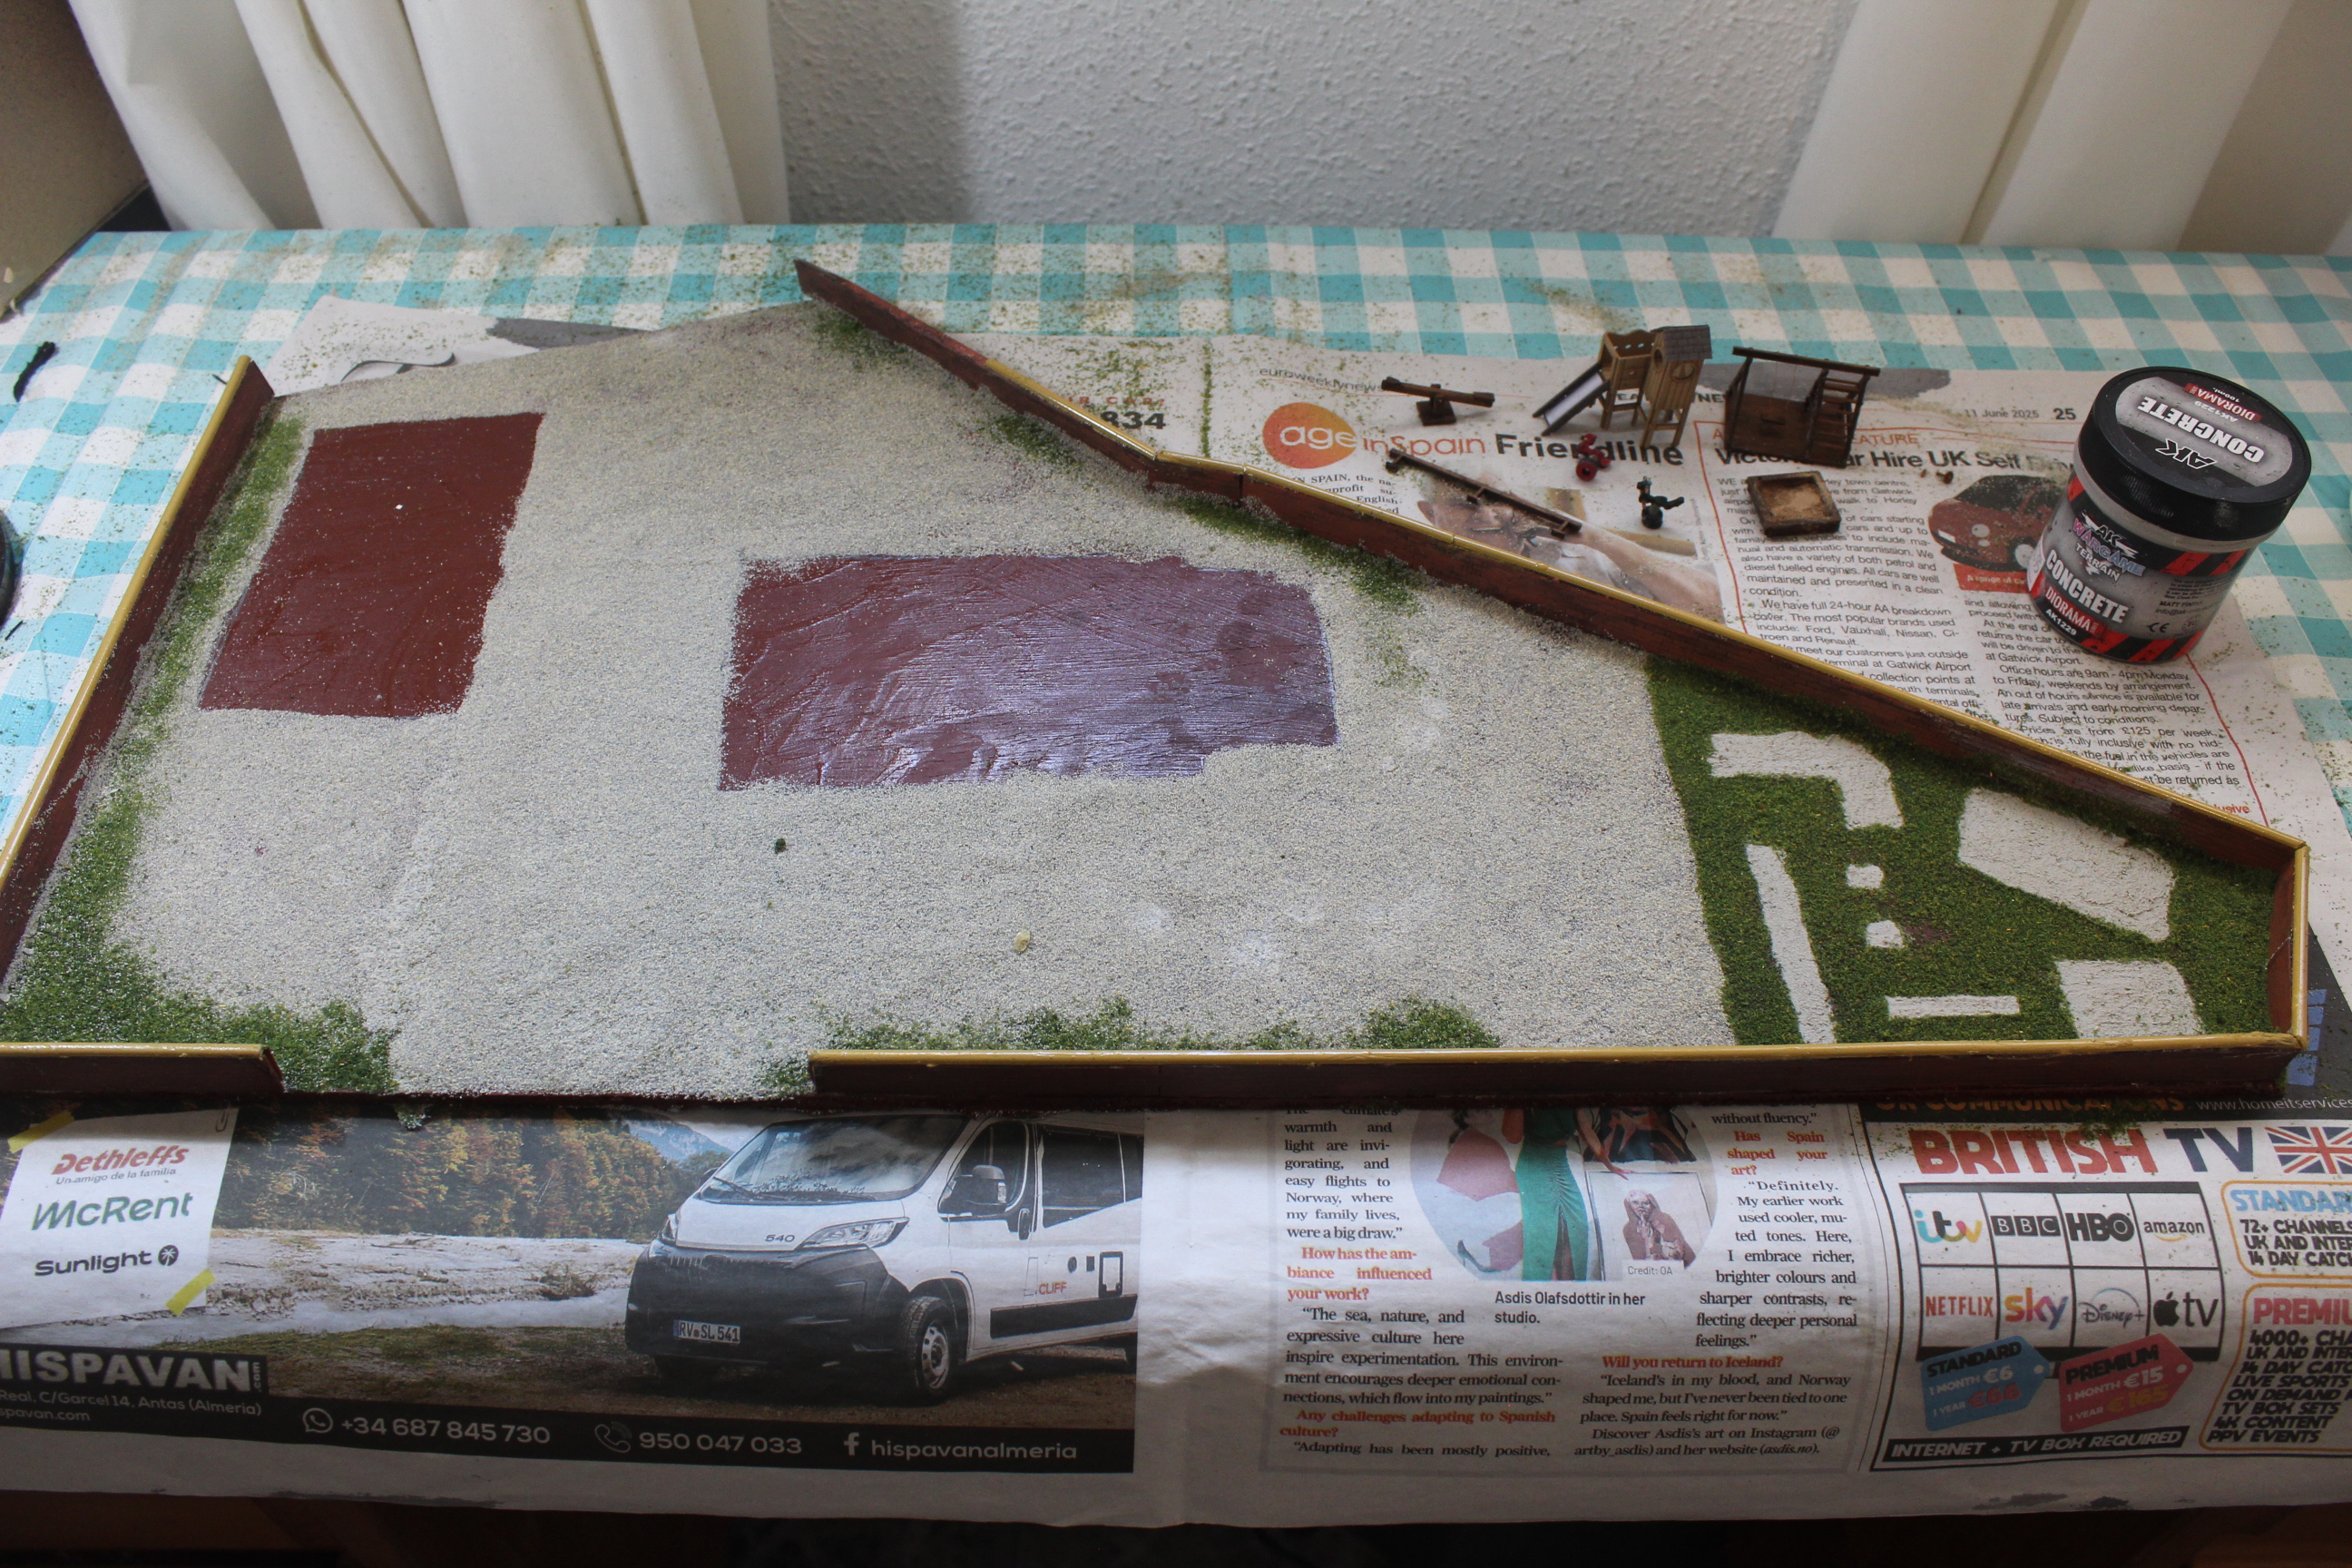
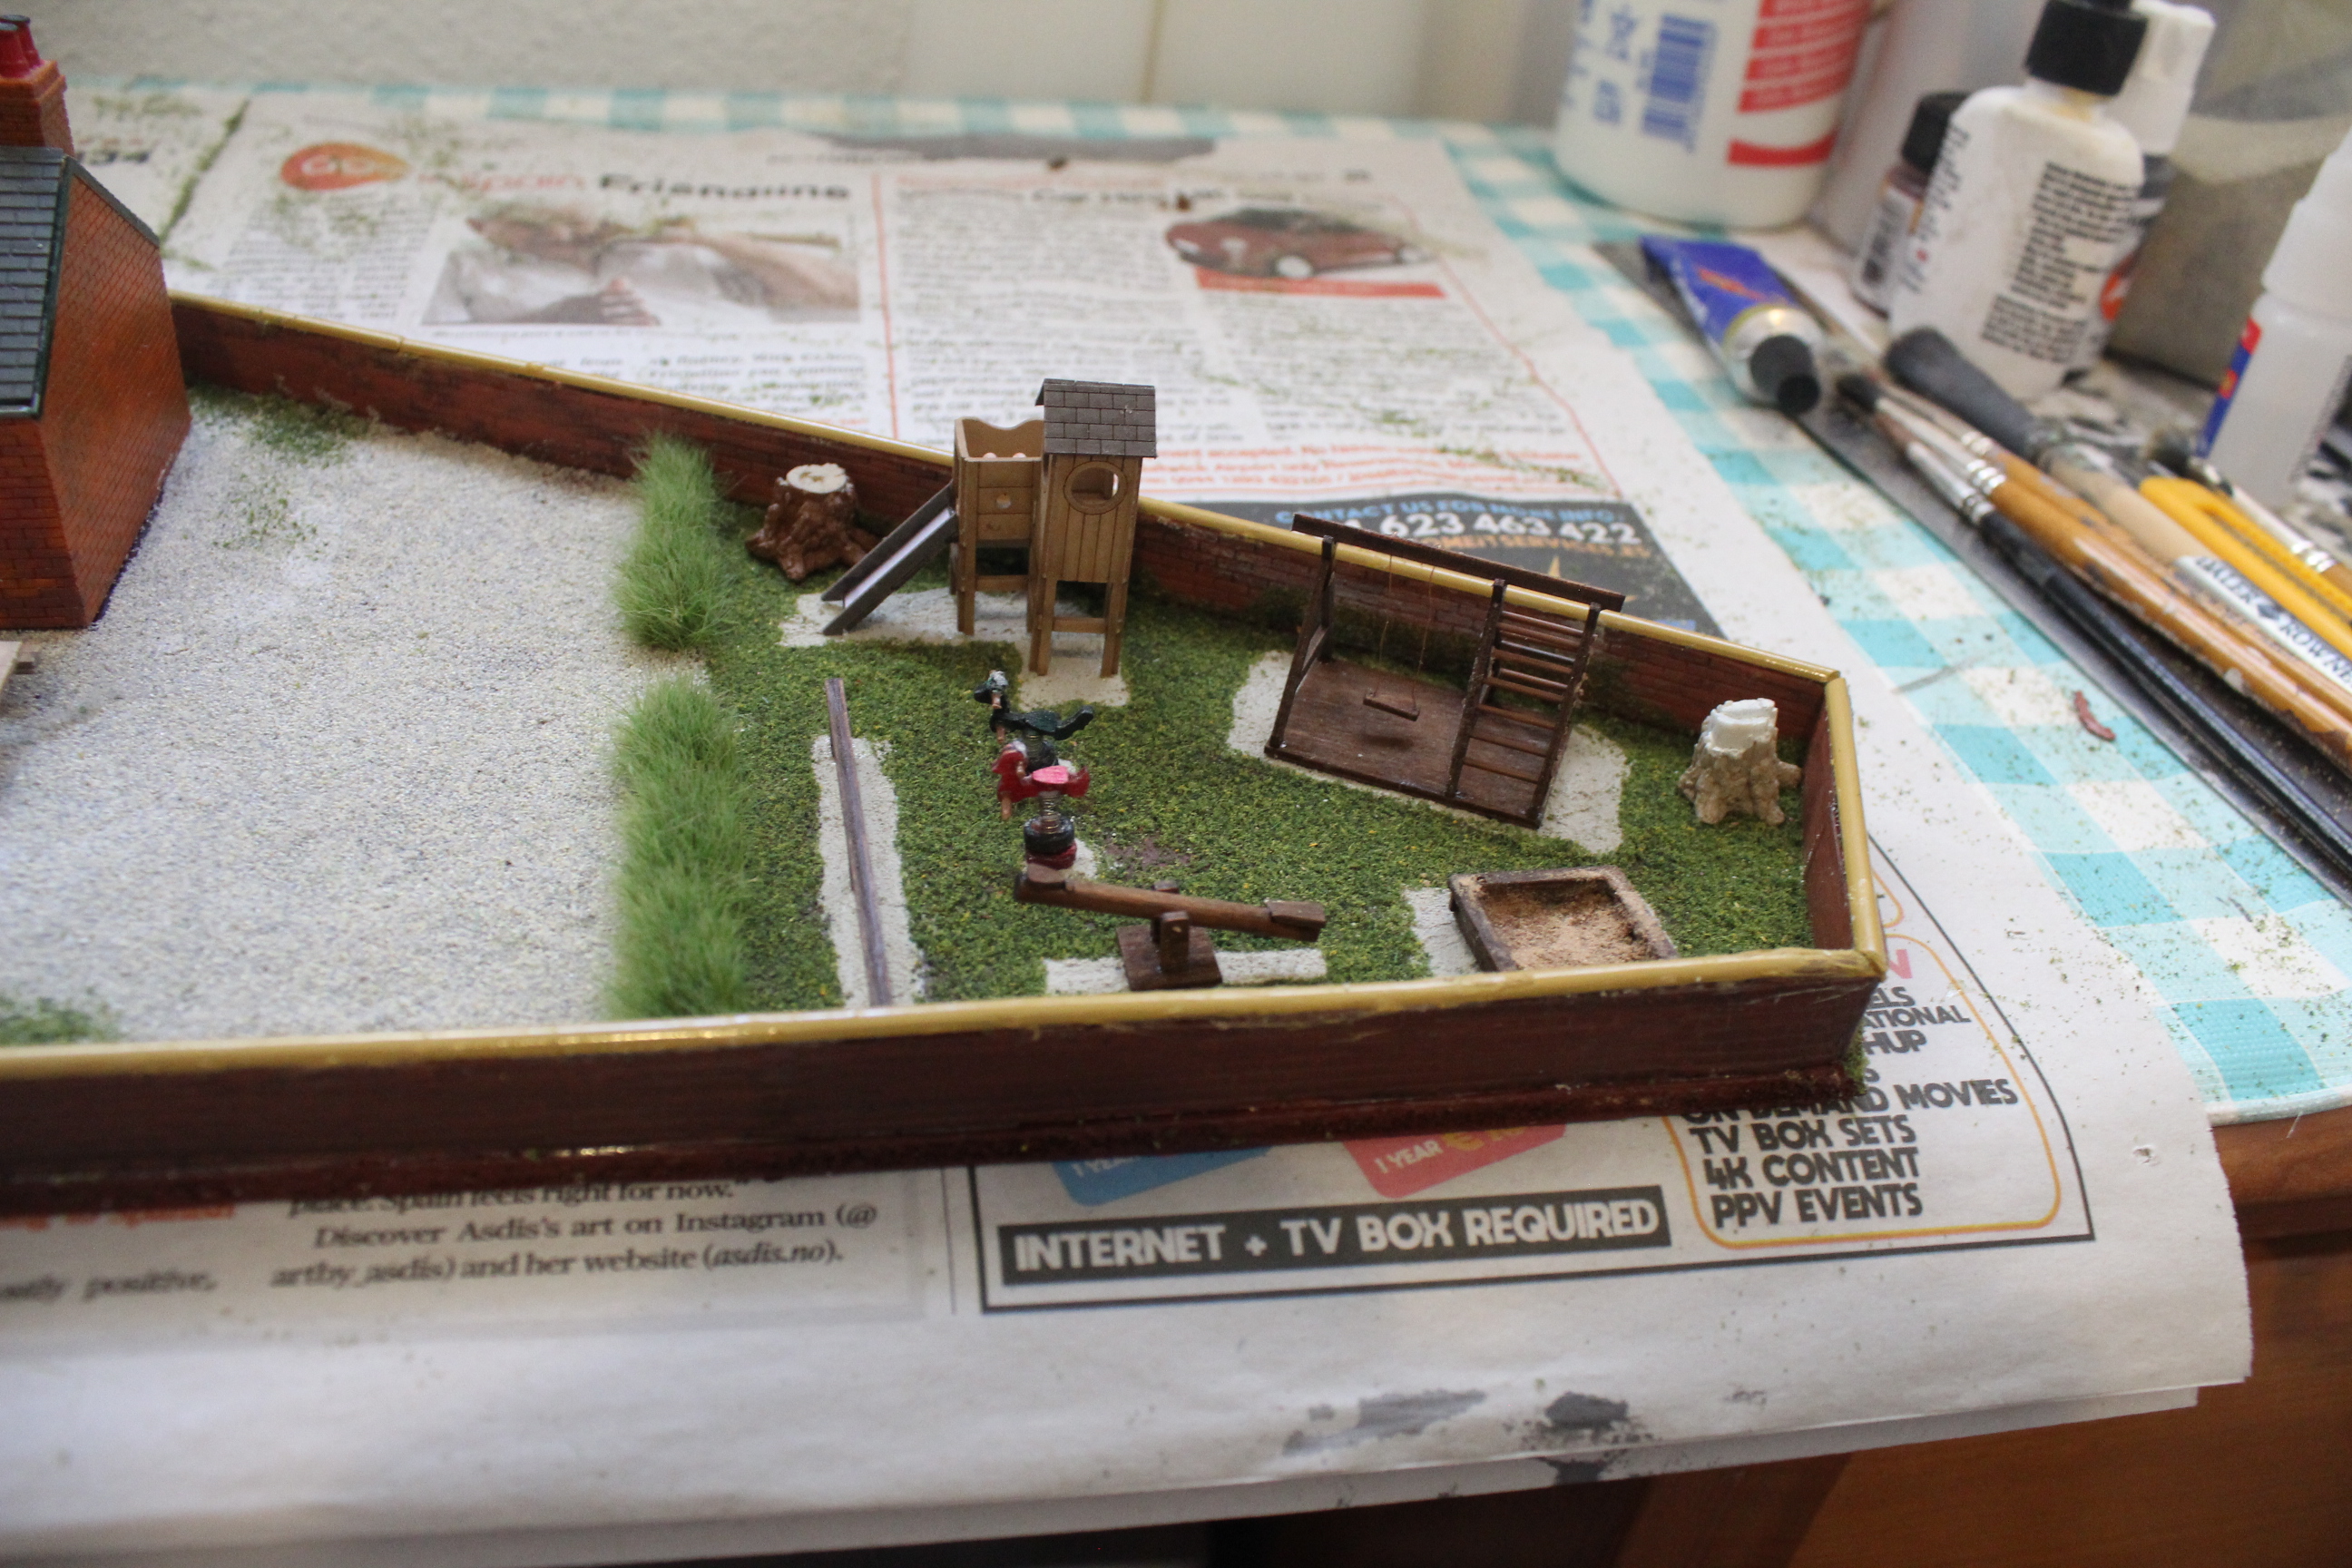
There is still a bit more work to do as I need to source vegetation, adults and children plus ancillary equipment.
Here are some later pictures of The Crooked house and Children’s Playground section now that I’ve done a bit more work on it and found some suitable playing children.
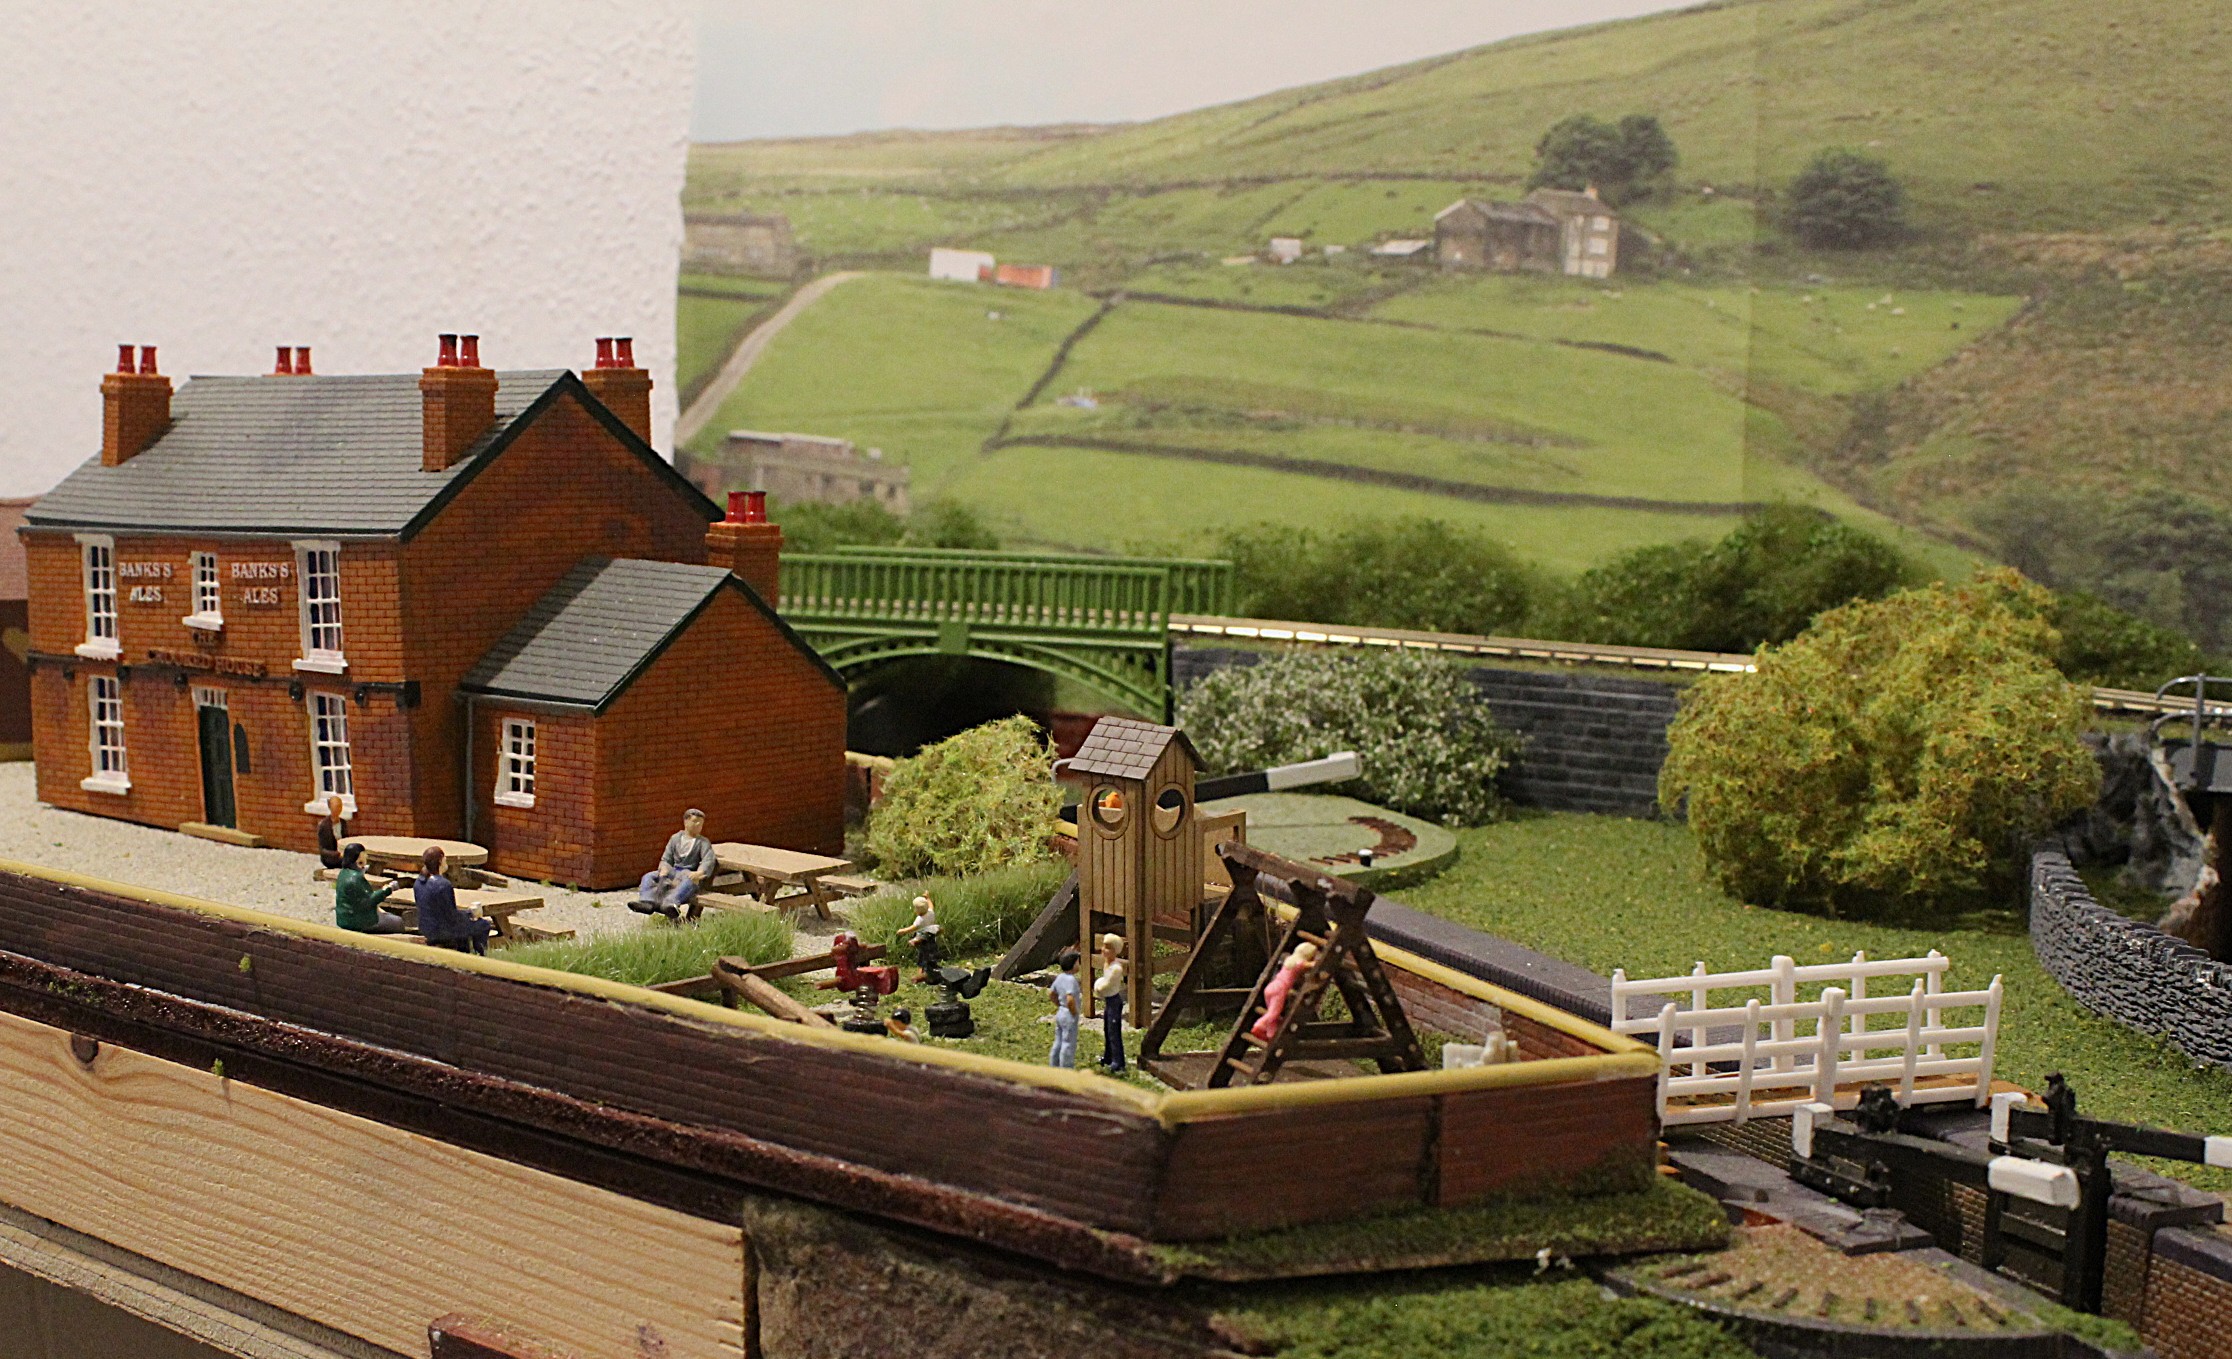

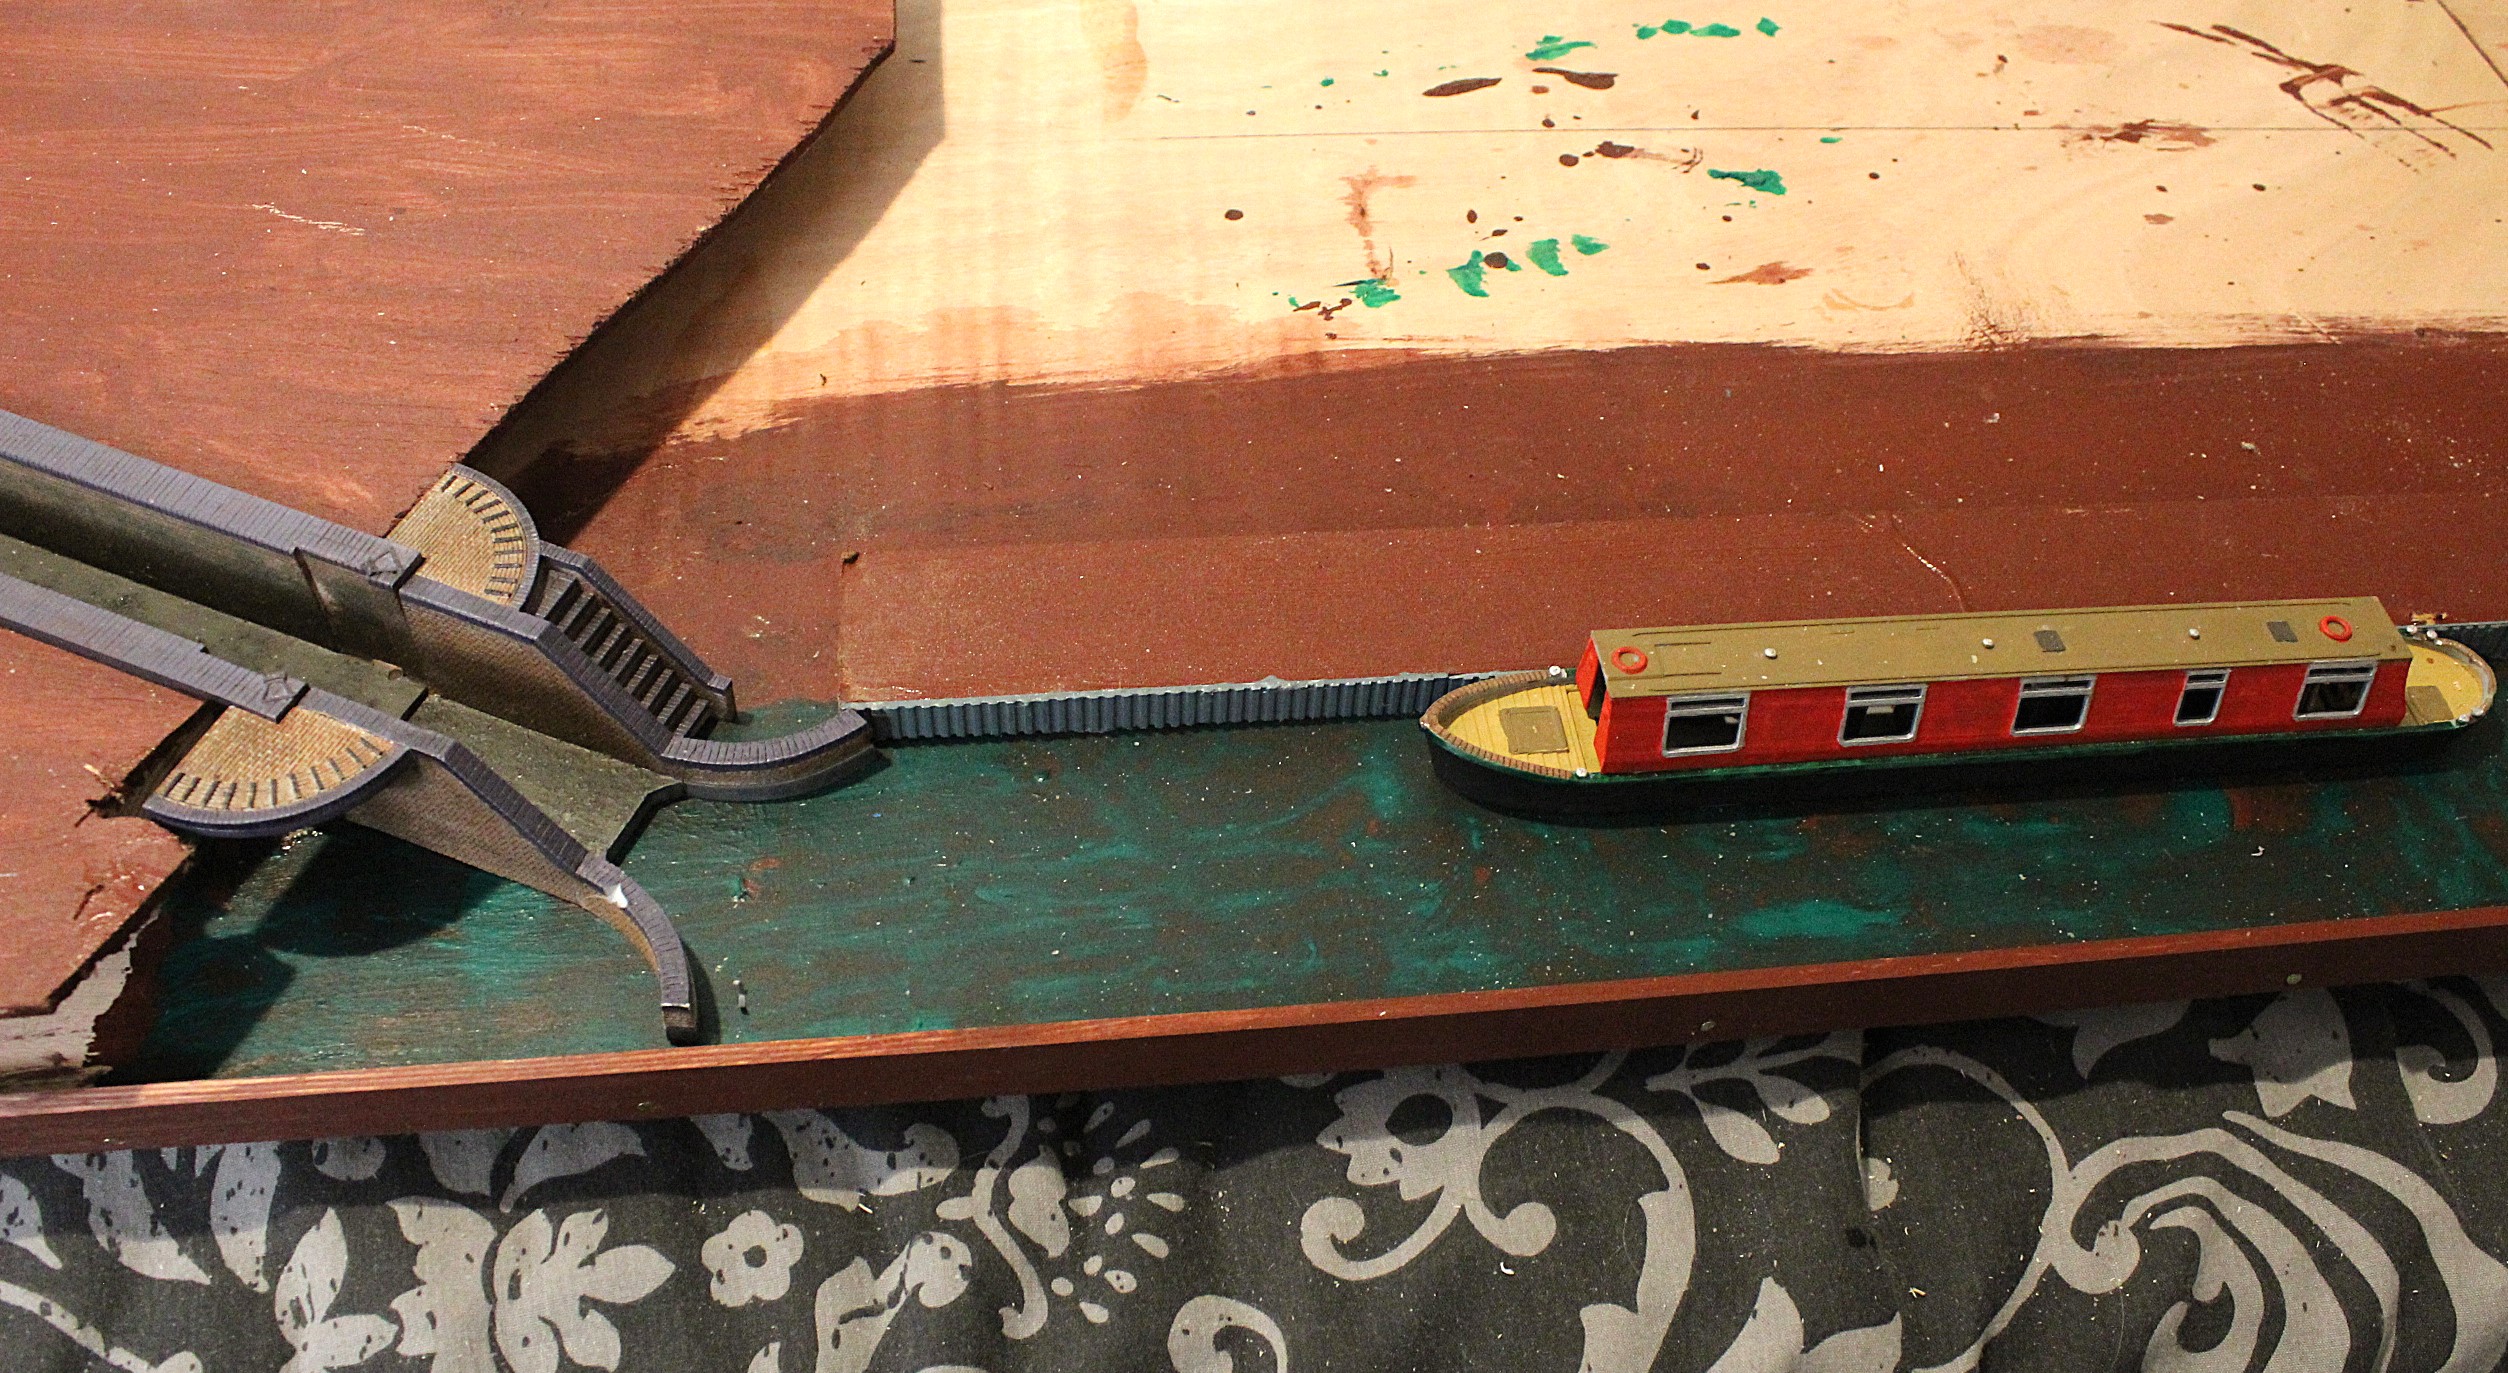
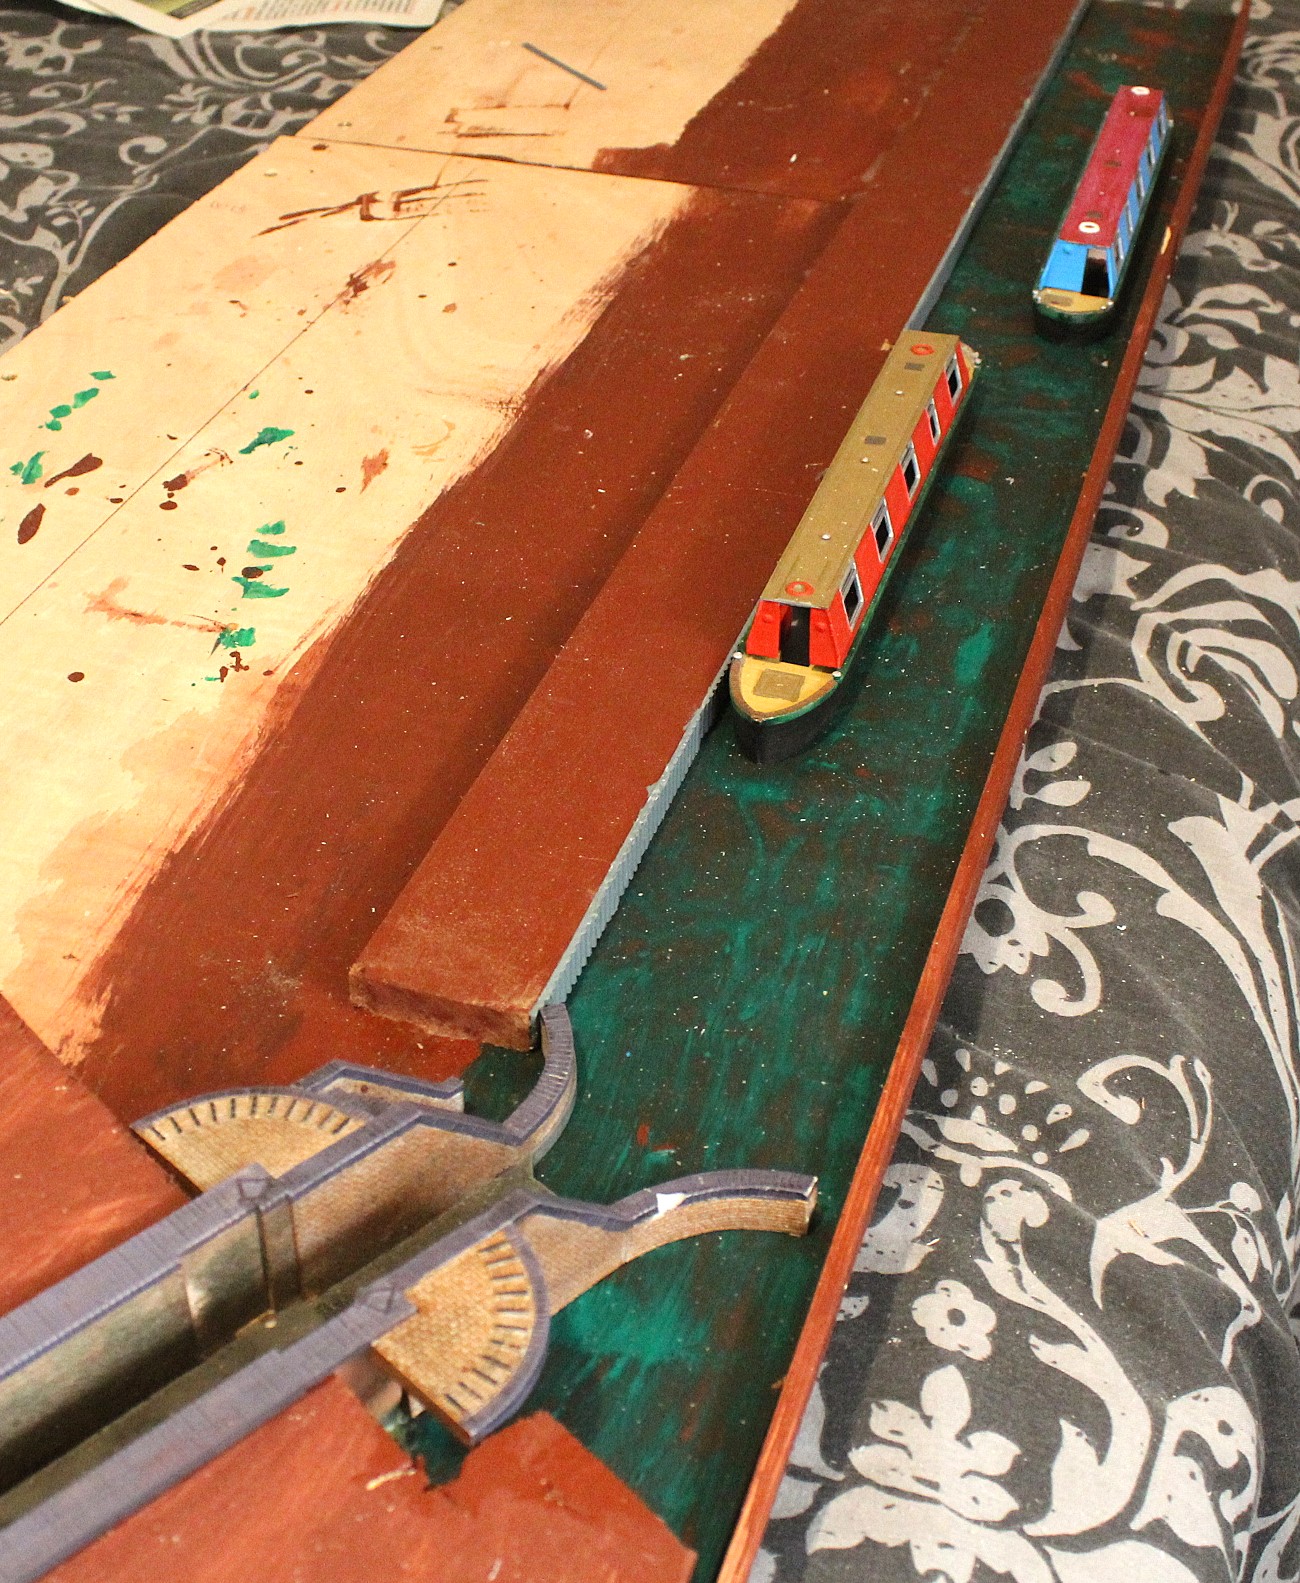
You can’t usually see all the detail on the canal lock as most of it is hidden behind the Crooked House Pub so here is a photo that shows it more clearly. The white water seeping out from the top lock gate was made by putting strips of glue on glass and once it had dried scrapping it off with a blade. The water levels still need increasing a bit more in the top canal section it should be deeper and also in the exit to cover up the steps in the base, just need to order some more resin water.
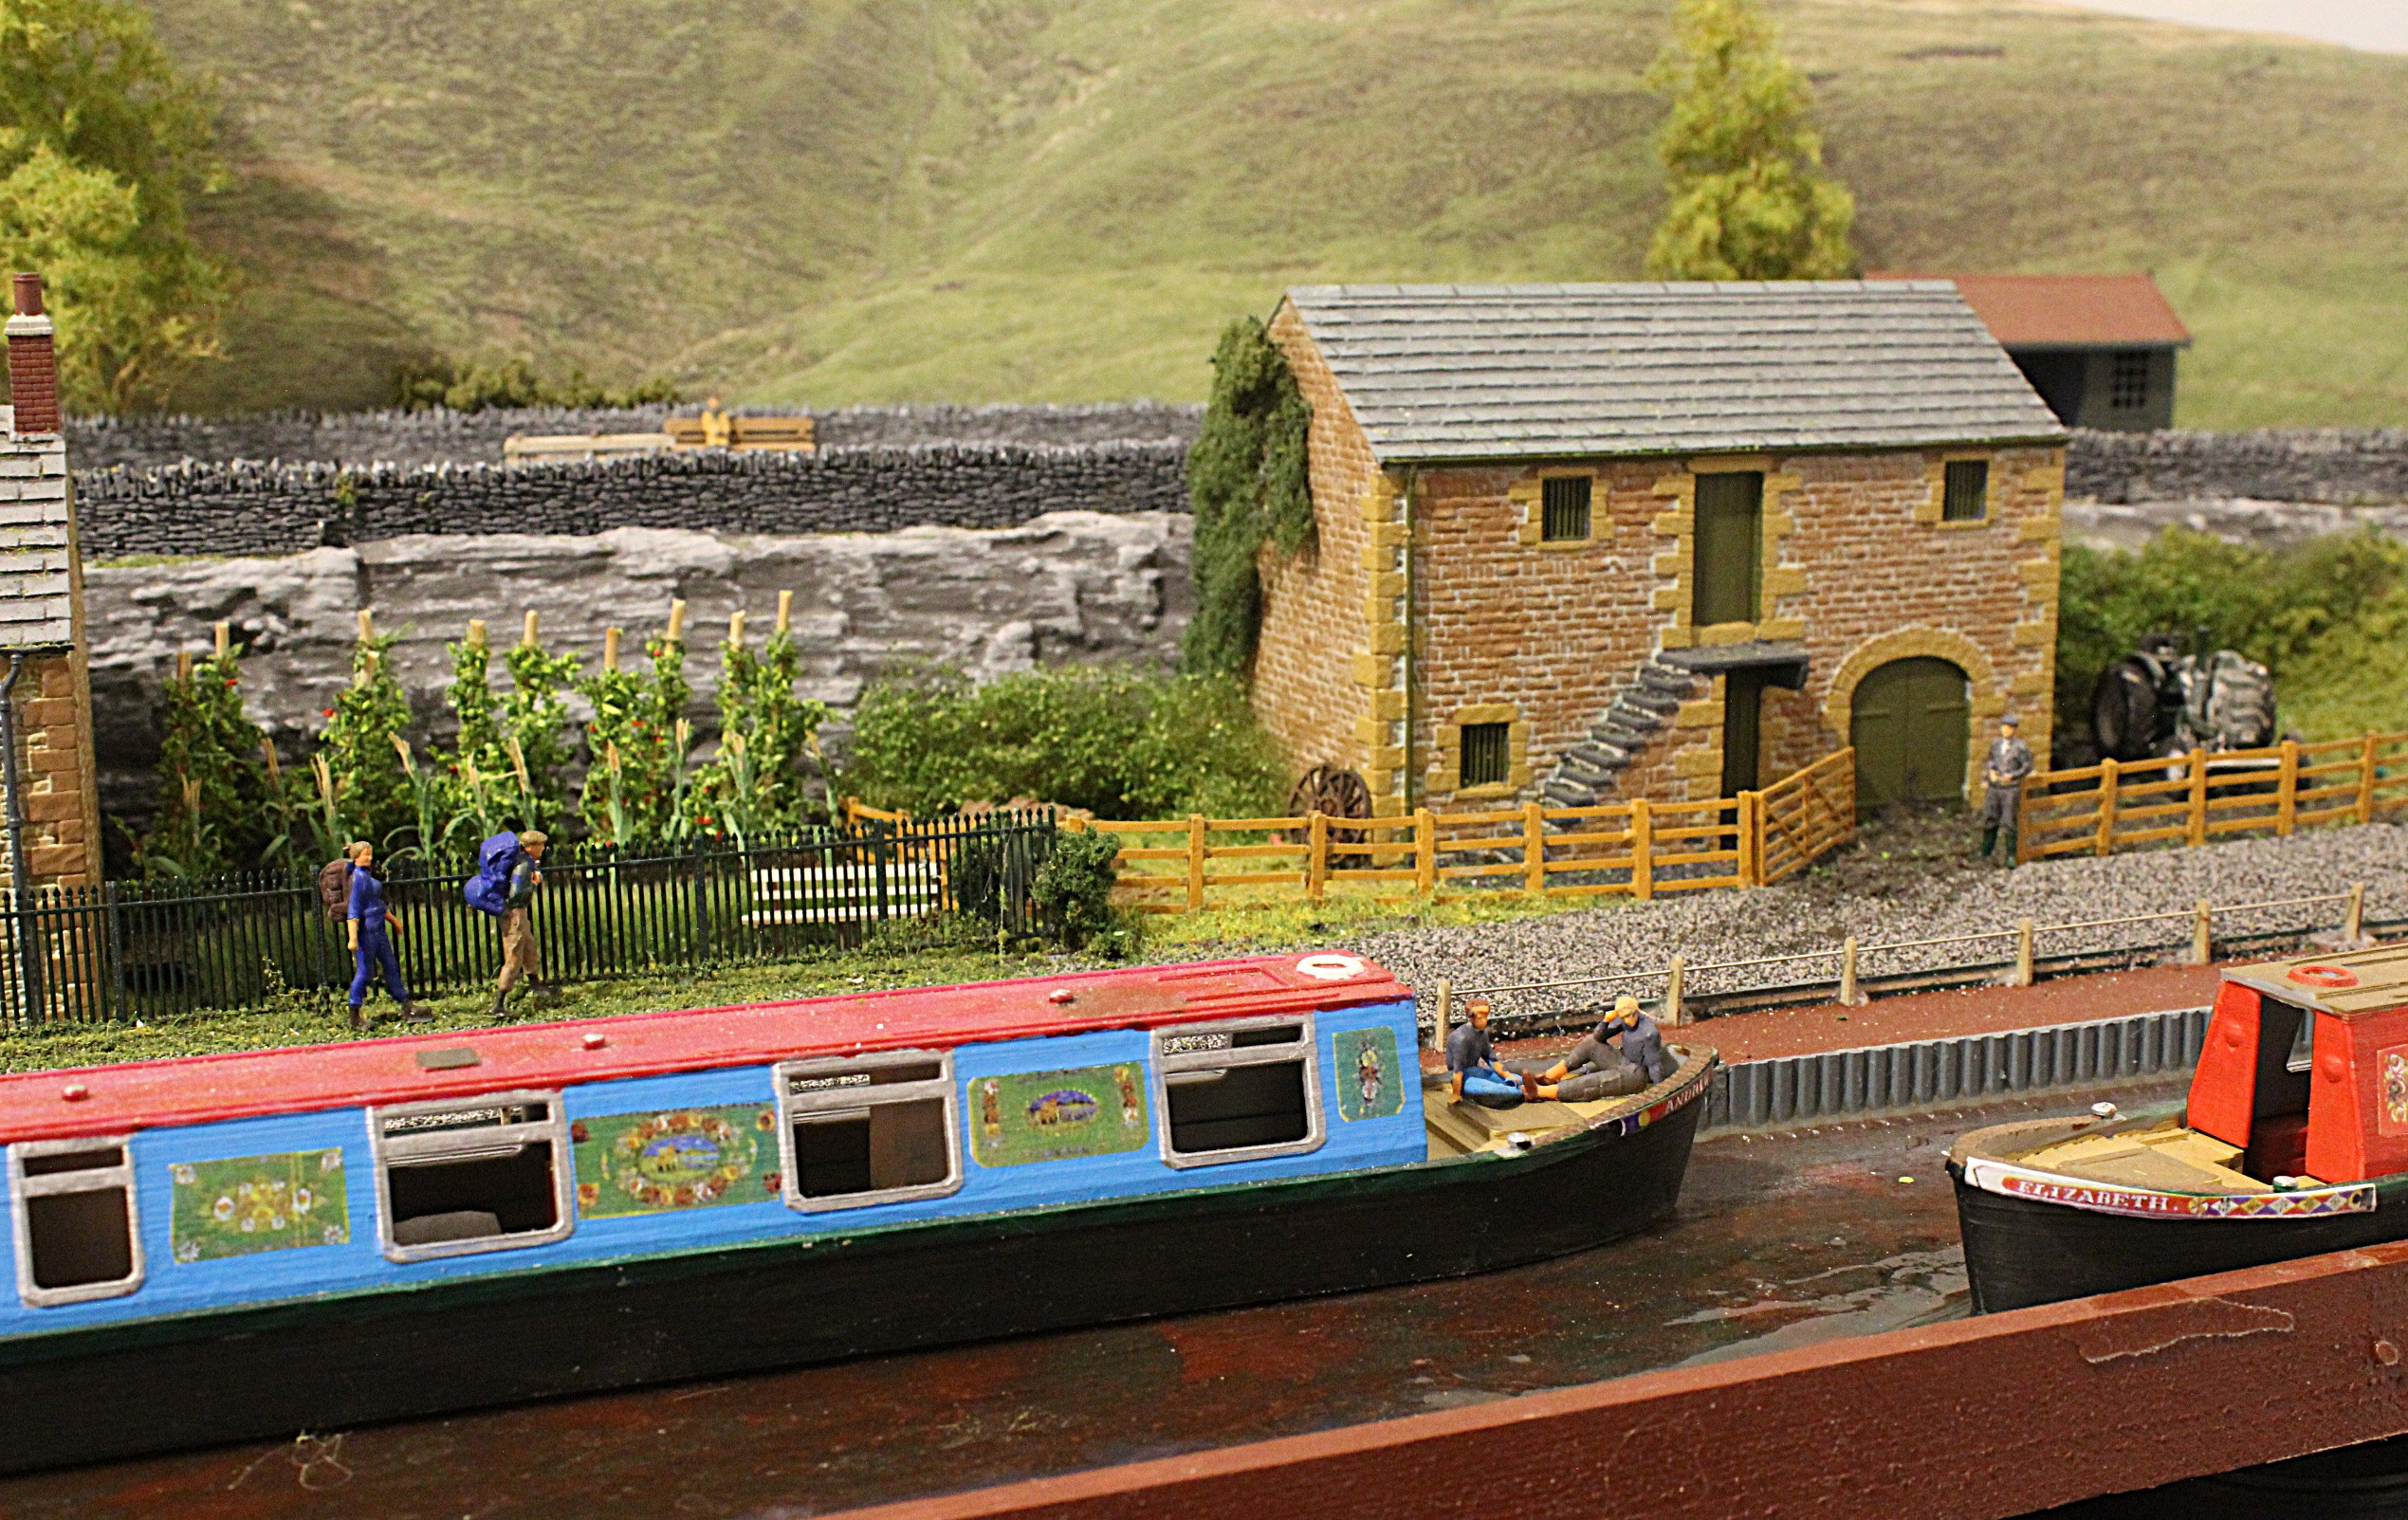
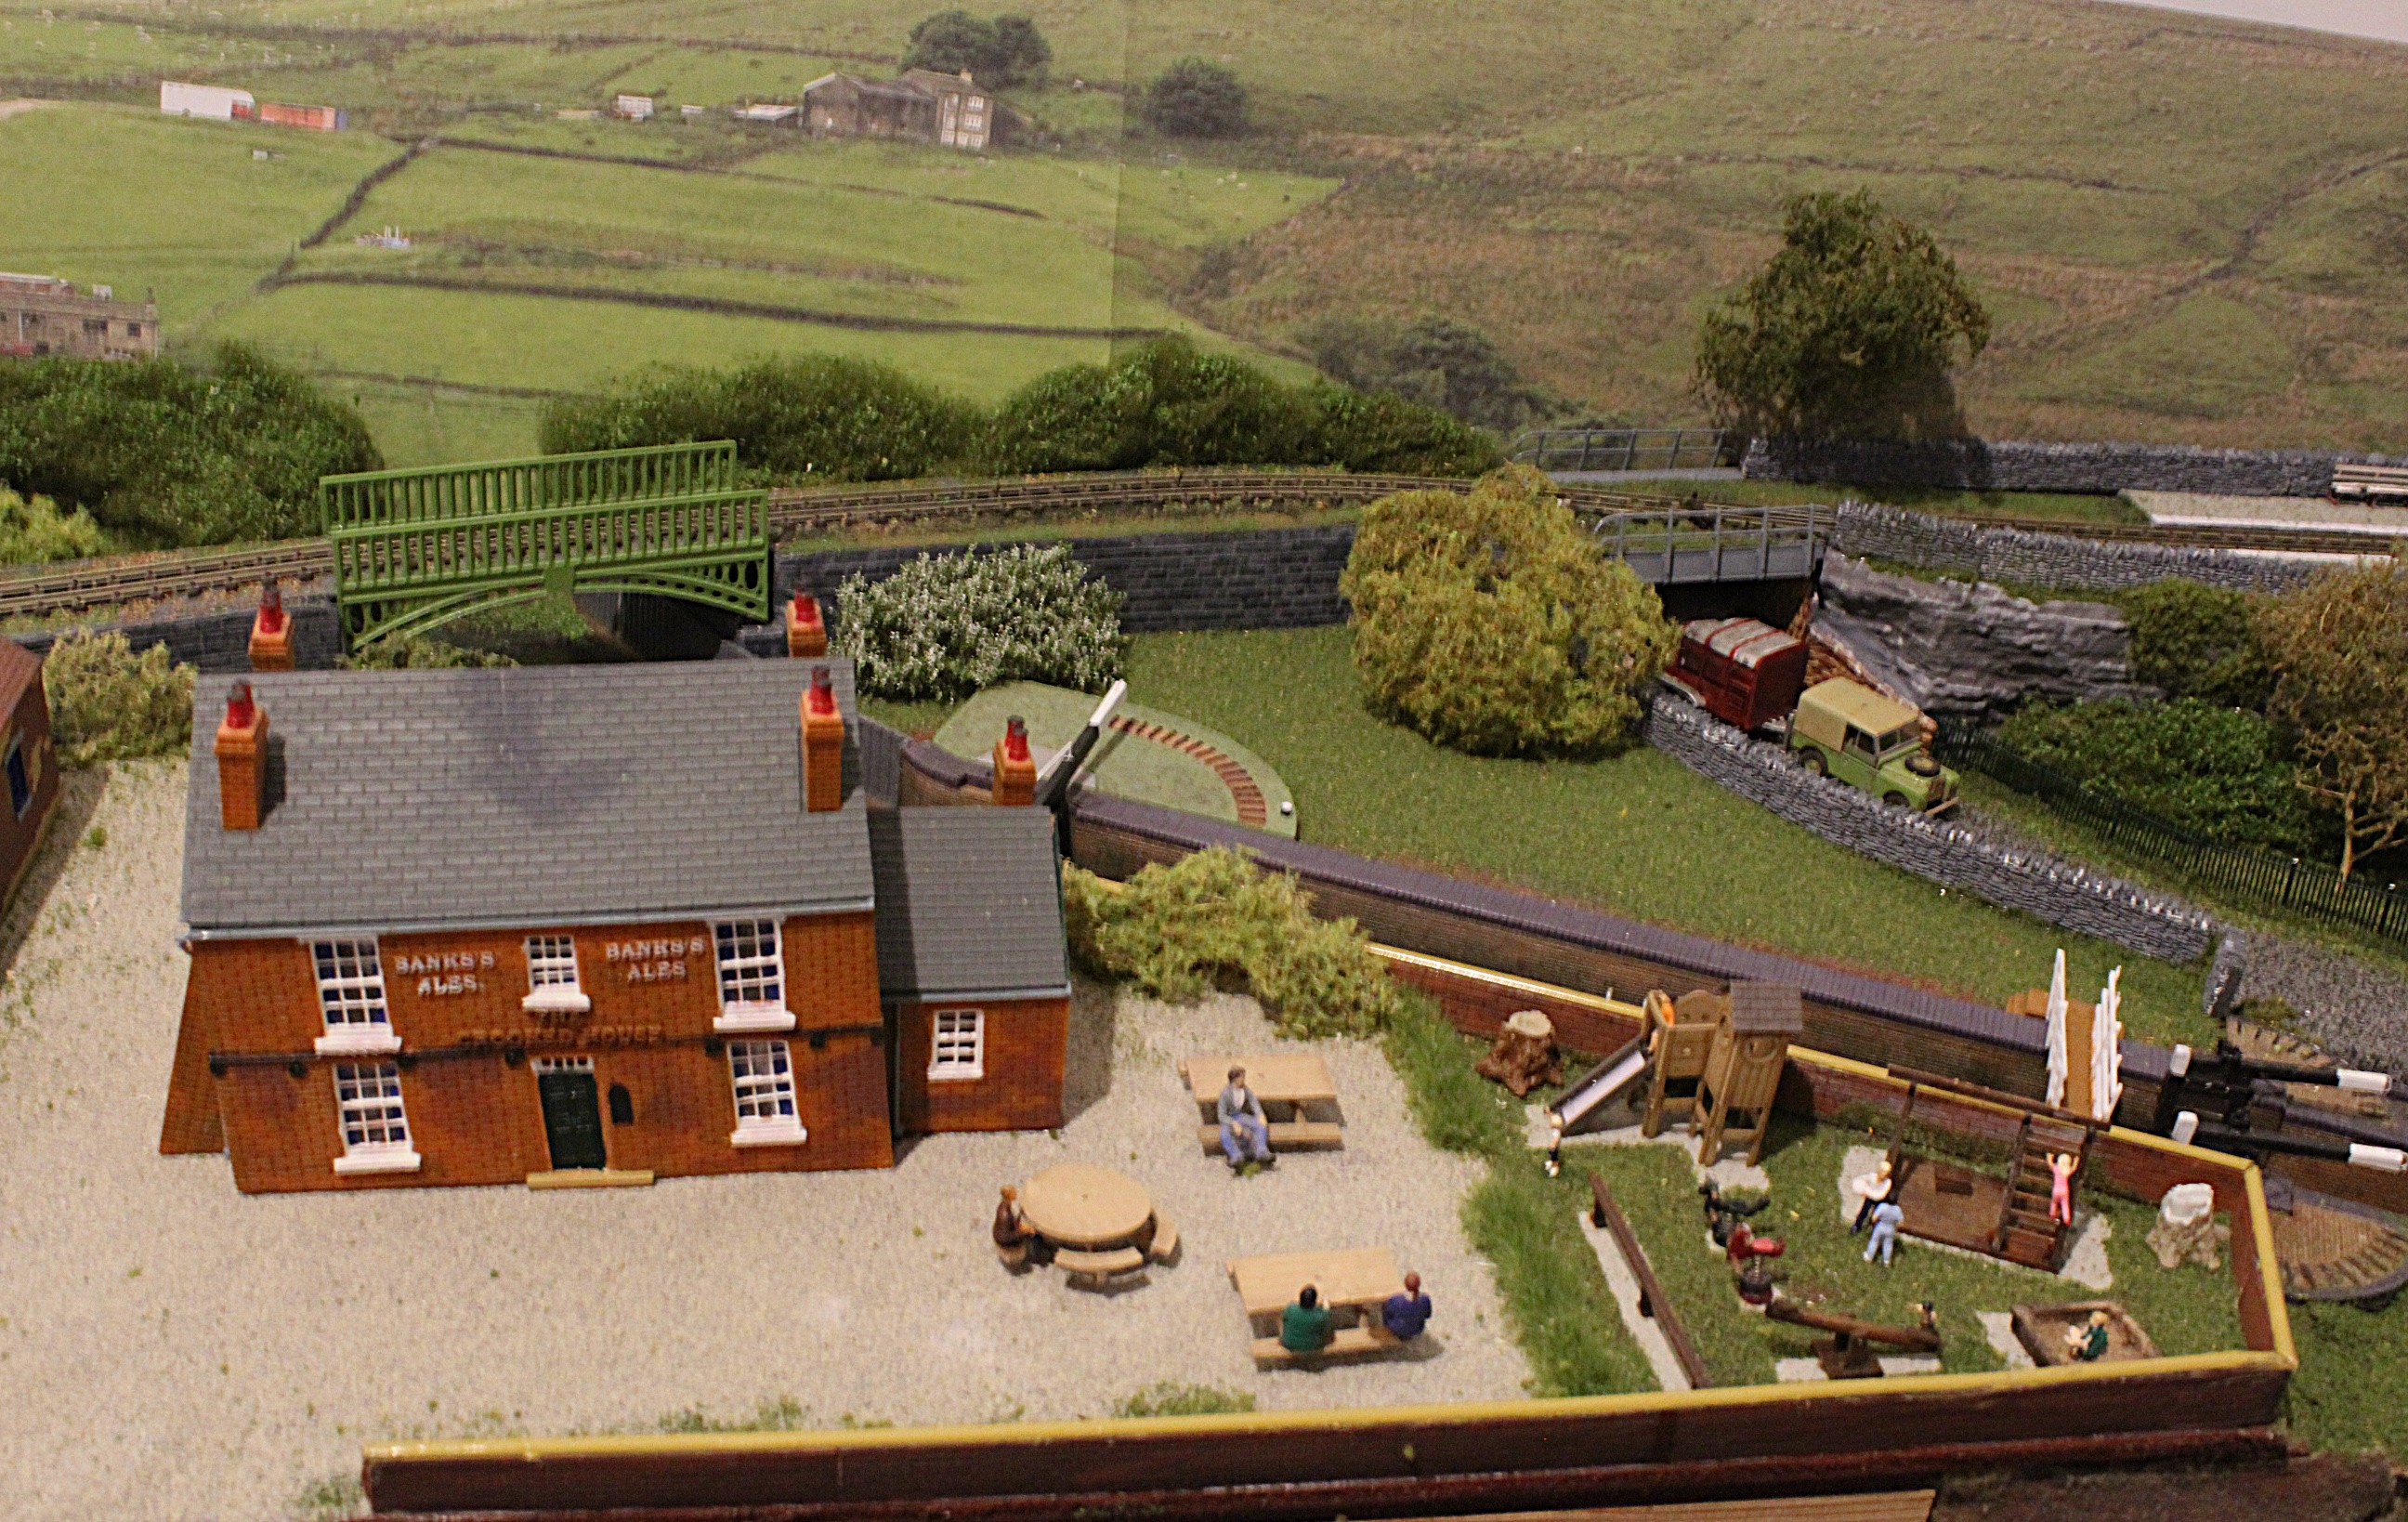
A walk along the canal bank
As we leave the lock we see Station Lane entry under the occupation bridge and a couple of workers cottages where the matriarch of the family is looking out to make sure her husband hasn’t disappeared off to the pub again. Further along a couple of hikers trudge past the vegetable patch as they make their way back to the station after a long day out.

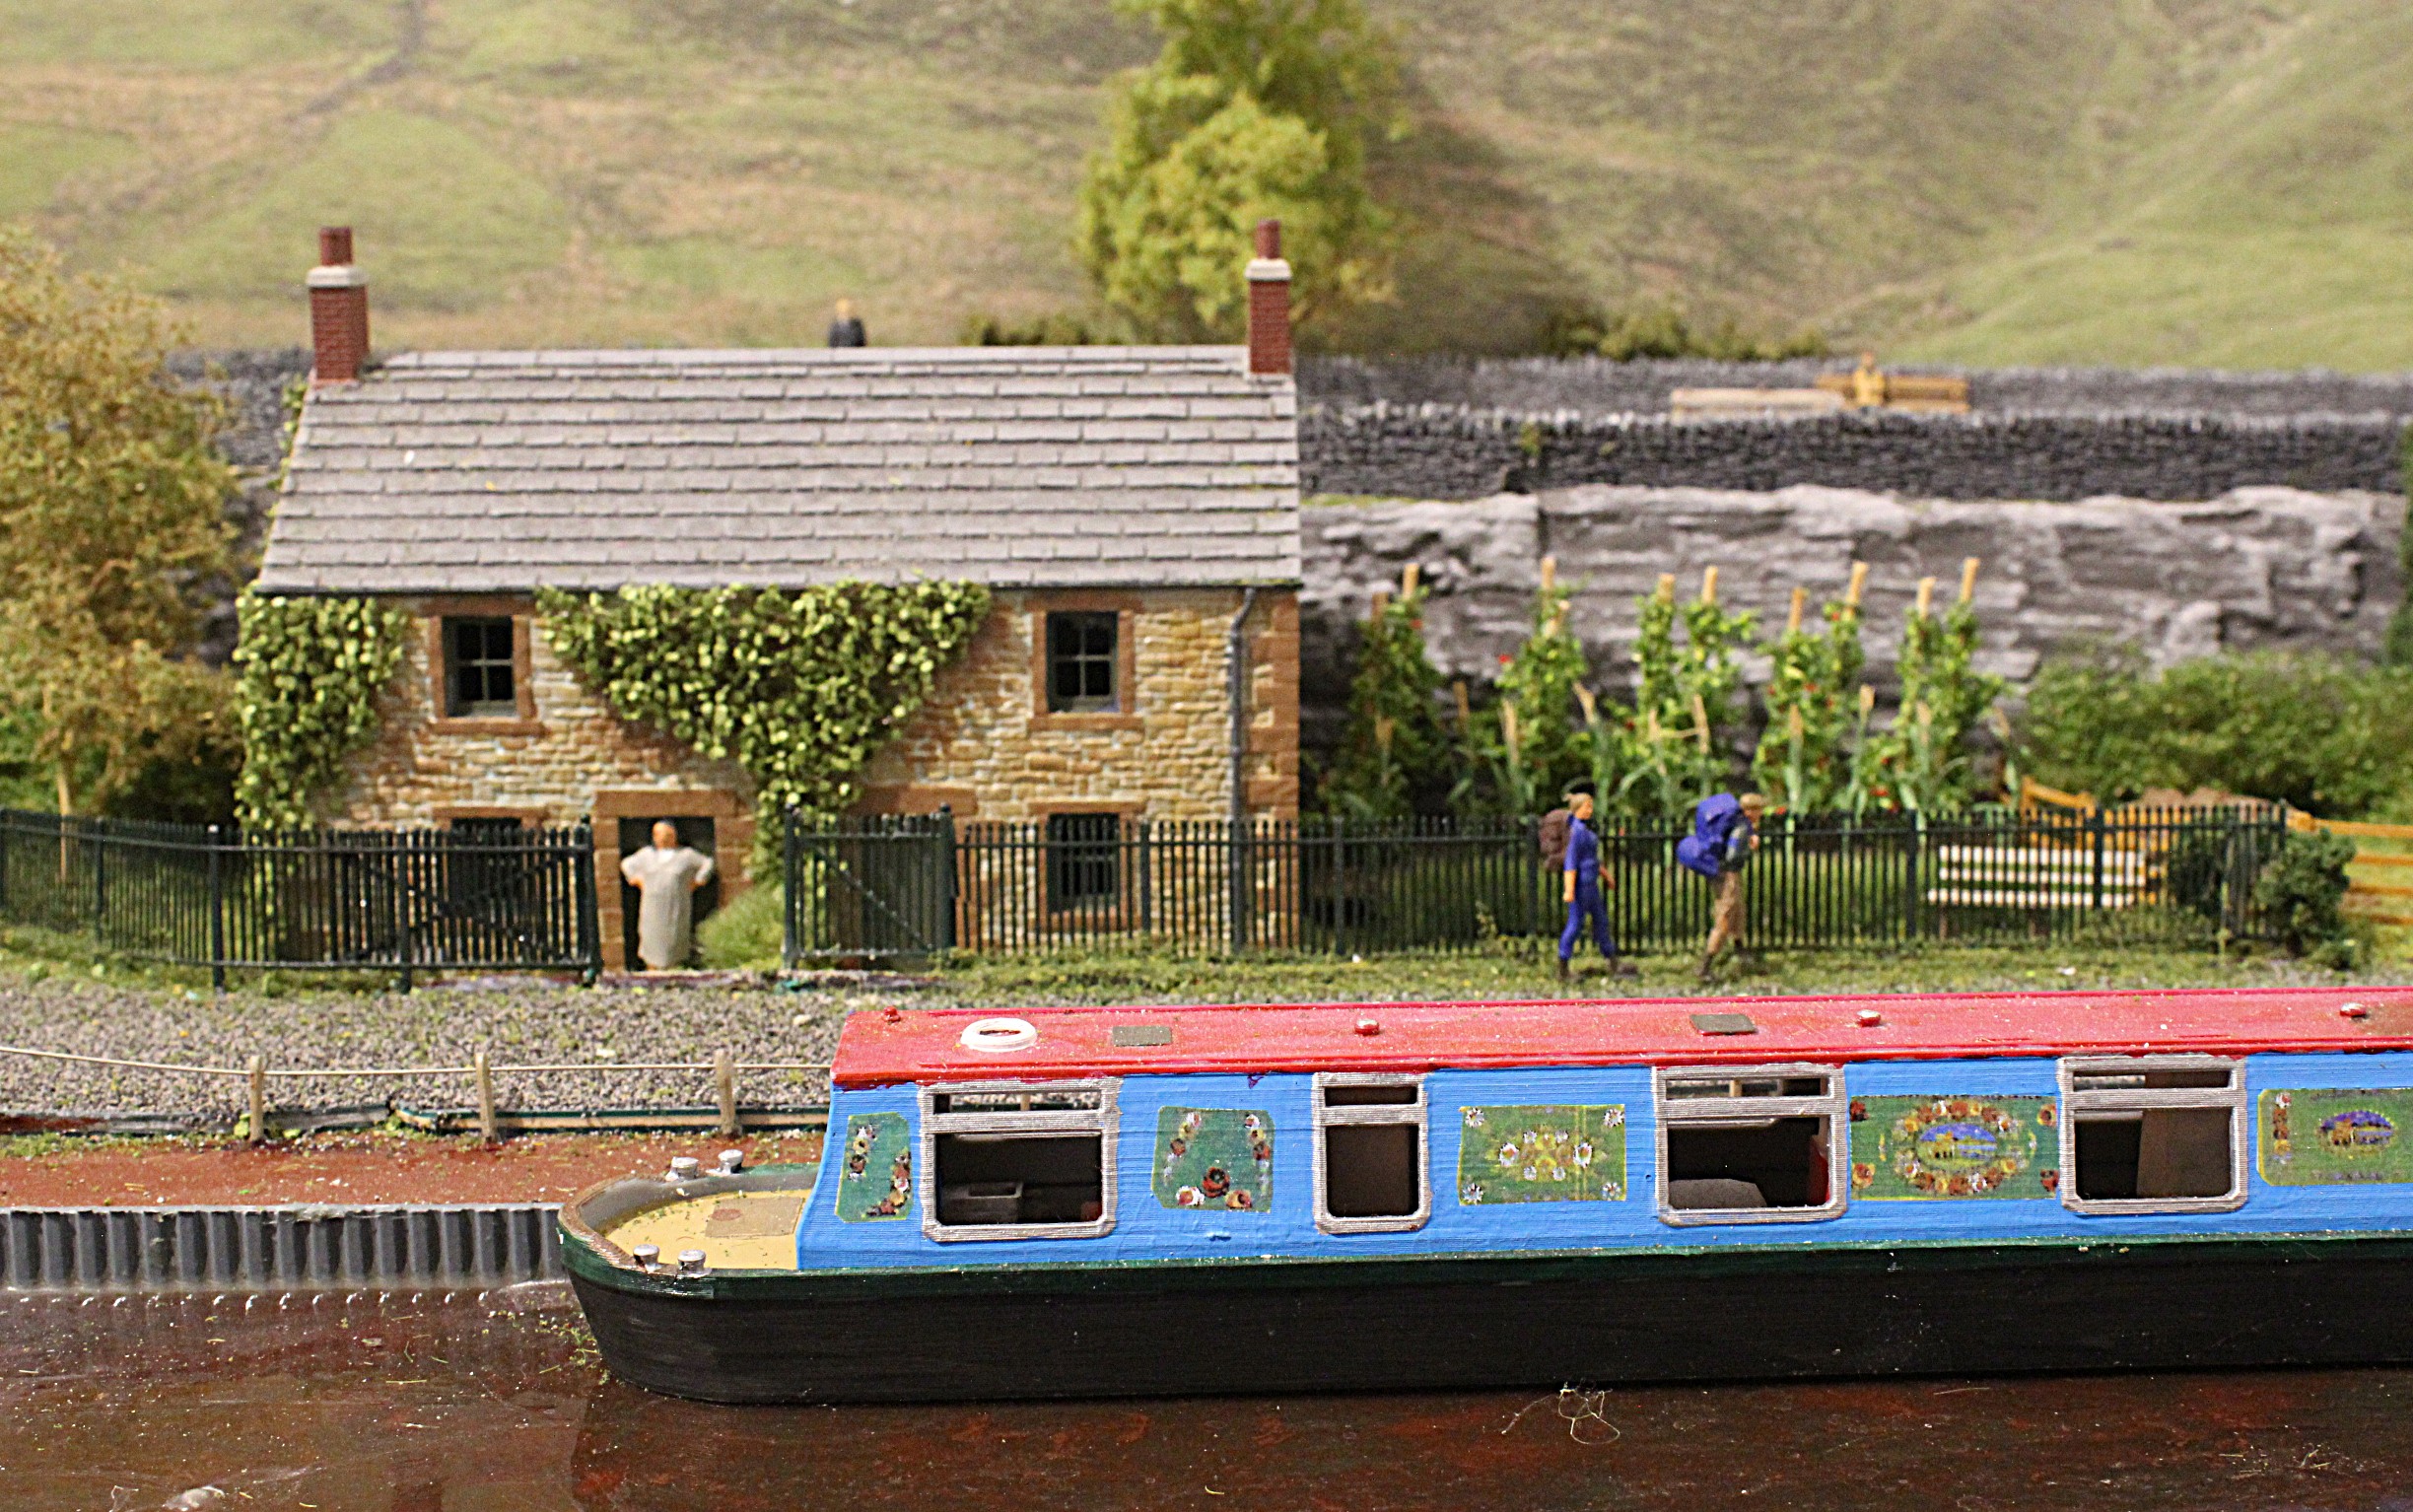
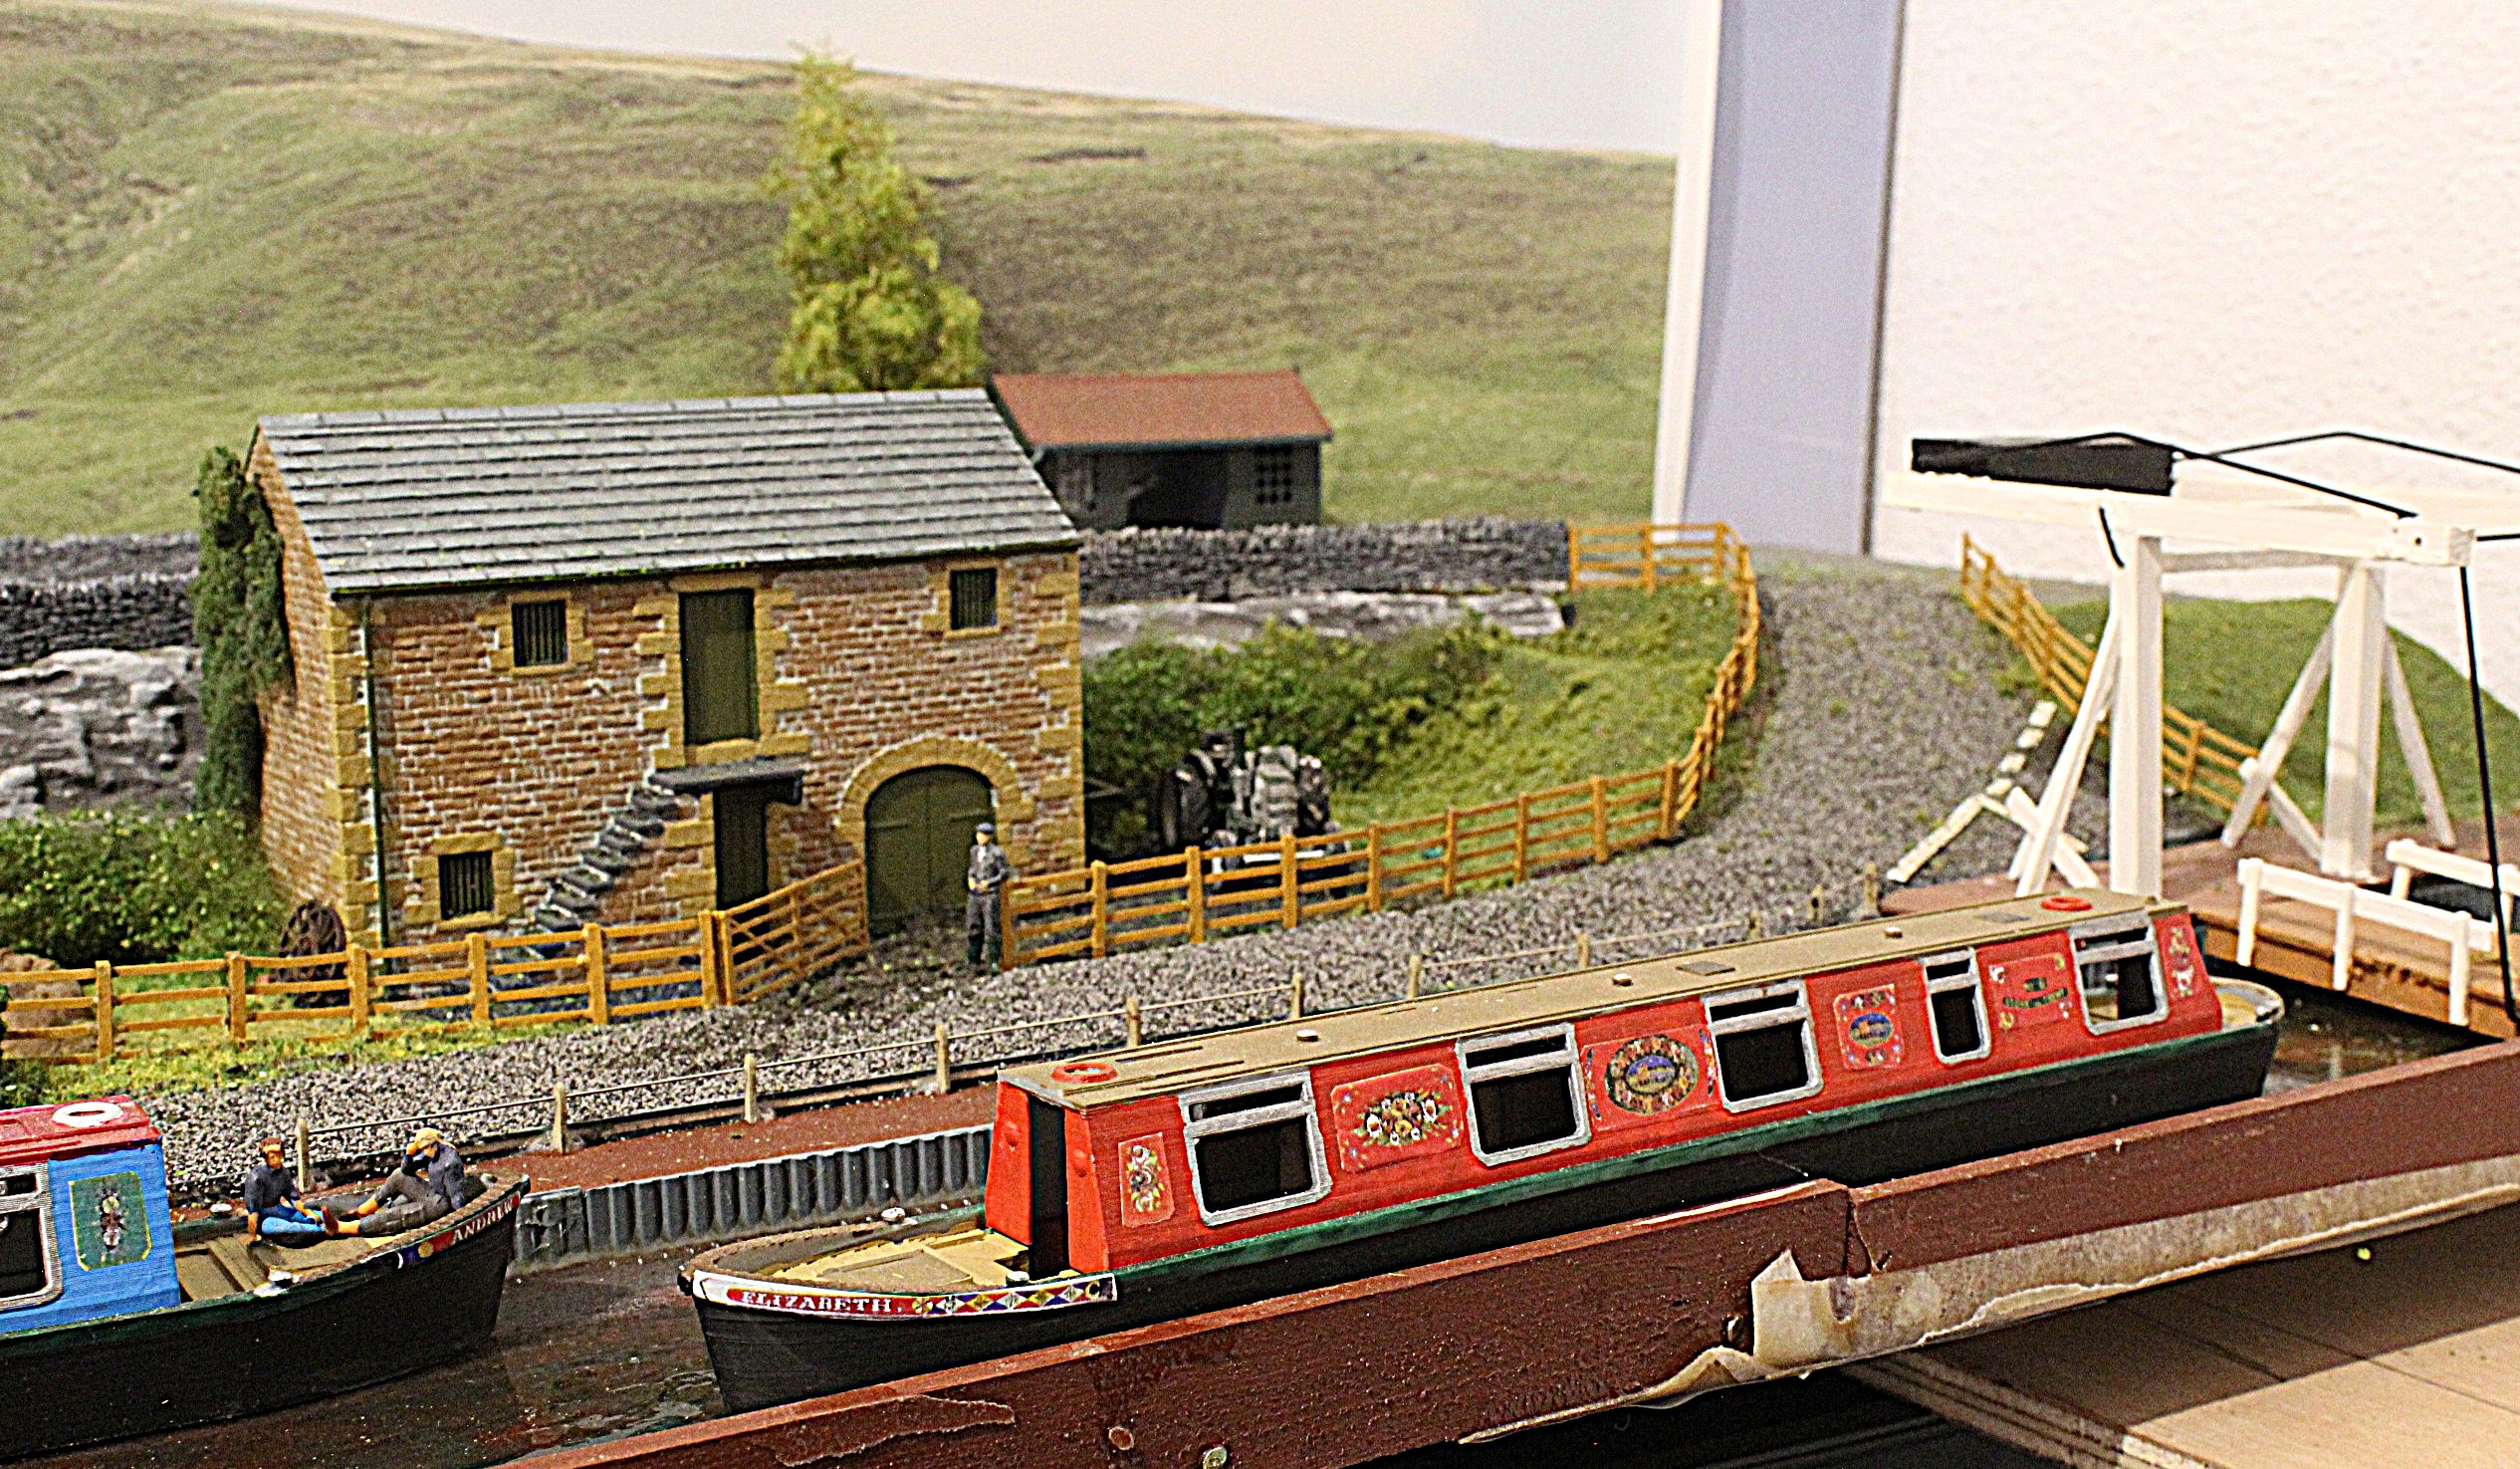
Continuing our walk along the bank we pass a couple of holidaymakers have a relaxing cuppa on the prow of their rental boat and Owen waits for the delivery coming up the road which needs to be stored in the Barn. At the end past the lifting bridge there is still a bit more work to be done, the boats need tillers making and at the top of the hill there is a level crossing and cattle grid to be fitted which cant be done until this section is connected up to the next board.